We may earn a commission when you click on the affiliate links in this post.
Learn how to make Royal Icing (and flood icing) like a pro! This simple recipe is only 3 ingredients and makes it easy to decorate sugar cookies with smooth, glossy designs that look like little works of art.
Yes, You Can Do It!
Ever go to a bakery and see a display of beautifully decorated cookies and think, “Yeah, I could never do that”? Guess what? You’re wrong (and I mean that in the nicest way possible). That smooth, glossy, professional-looking icing you see on bakery cookies? Totally doable at home (and it’s not as scary as it seems). This royal icing (and flood icing) recipe is so easy to make, and it’s the magic trick for turning regular sugar cookies into edible works of art.
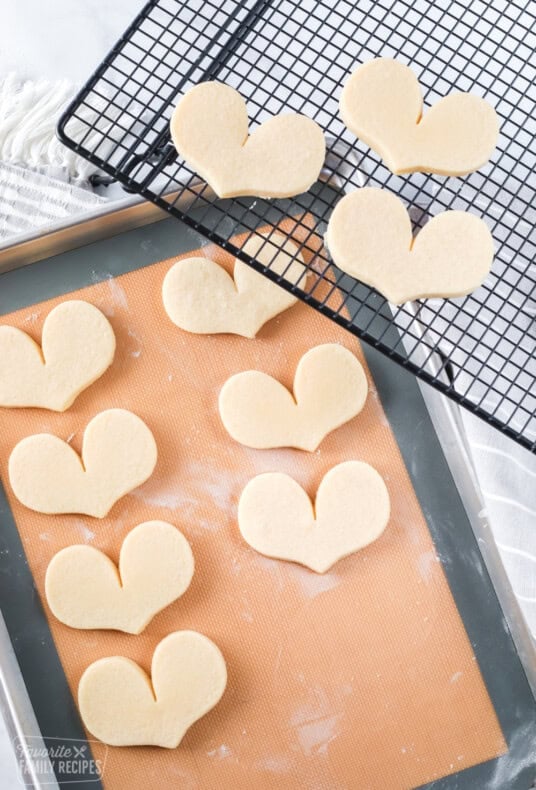
Pair this royal icing with our Cut Out Sugar Cookie recipe (the same one used for every cookie you see here) and you’ll be decorating bakery-worthy cookies in no time. No chilling required! Just roll, cut, bake, and decorate! These cookies hold their shape beautifully and taste just as good as they look. Trust me, this winning combo will have all your friends oohing, ahhing, and wondering when you secretly started a side hustle as a cookie decorator.
🩷 Heidi
Table of Contents
- Yes, You Can Do It!
- Mastering the Basics: Royal Icing vs. Flood Icing
- The Right Tools (and Ingredients) for the Job
- How to Make Royal Icing Step-by-Step
- What To Do if Your Icing is Too Thick: The Spray Bottle Trick
- Getting the Perfect Consistency for Royal Icing
- How to Decorate Cookies with Royal Icing and Flood Icing
- Royal Icing and Cake
- Pro Tips for Making Royal Icing
- Frequently Asked Questions
- Recipes for Using Royal Icing
- Show Me Your Creations!
- Royal Icing Recipe
- More Frosting and Icing Recipes
Mastering the Basics: Royal Icing vs. Flood Icing
Before you can start making royal icing and flood icing, it’s important to know the difference between the two. In a nutshell, royal icing is more solid and used to make clean, defined edges and intricate designs, while flood icing is thinner and the secret to that glossy, seamless finish. When decorating sugar cookies with pretty designs, you need both. Luckily it’s not a lot of effort to turn royal icing into flood icing. The only difference is that flood icing has a little more water added to it. I will get into all of that below.
The Right Tools (and Ingredients) for the Job

Before we dive into the recipe, let’s set you up for success by getting the right ingredients and tools. Here are some of my must-have products, tips, and suggestions:
- Powdered Sugar (aka confectioners’ sugar) – this will be the bulk of your icing. You must sift the powdered sugar if you want to have the perfect consistency. Otherwise you risk getting lumps and no one likes lumpy icing.
- Meringue Powder -The key to this royal icing recipe! We recommend using meringue powder instead of raw egg whites for consistent results and food safety. Our favorite is “Genie’s Dream Premium Blend” for its flavor and texture — we can’t promise the same results with other brands.
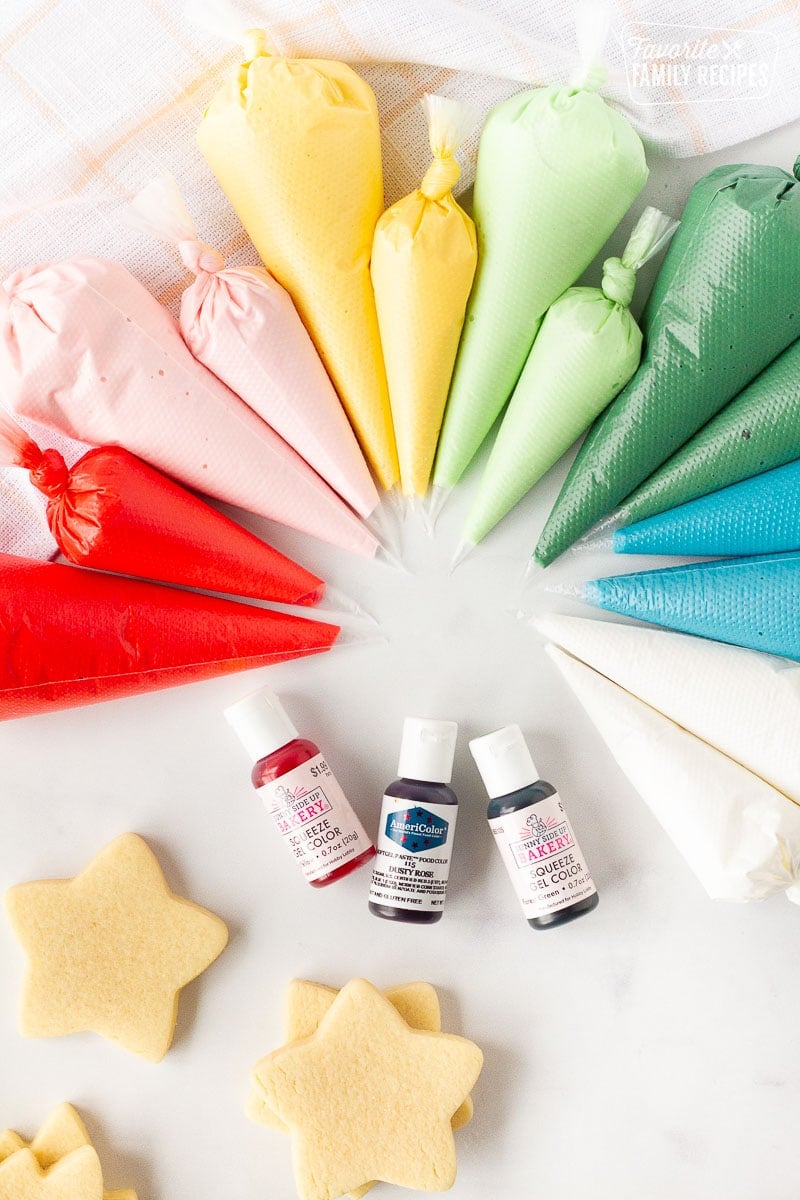
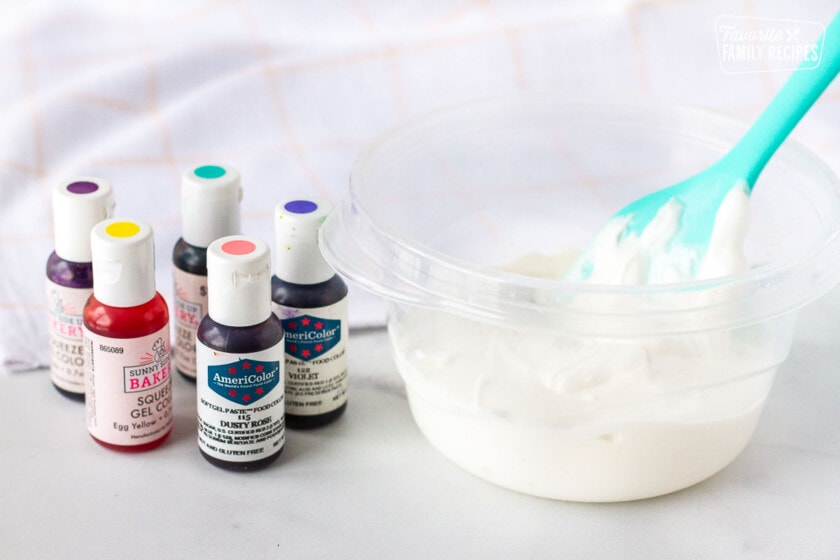
- Food Coloring – Don’t use the grocery store stuff. It will mess up your consistency. Get a high-quality gel food coloring from the craft store or from Amazon.
- Piping Bags – We like these small disposables piping bags. They make cleanup a breeze.
- Spray bottle – I have a spray bottle I use just for thinning icing. Any cheap spray bottle with a good spray nozzle will work. It’s my favorite consistency trick (more on this below).
- Toothpicks – These are lifesavers for smoothing flood icing and popping air bubbles.

How to Make Royal Icing Step-by-Step

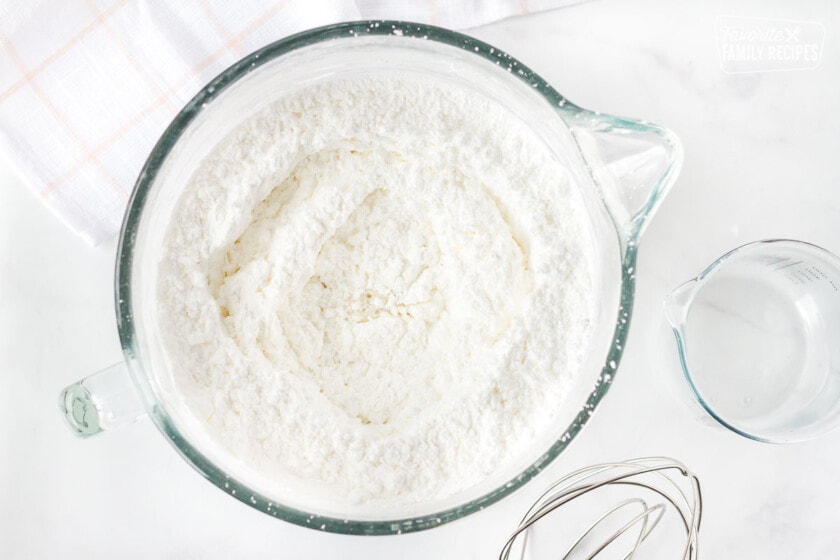
- Combine all ingredients in the bowl of a stand mixer (or a large bowl with a hand mixer). Mix on low speed with the whisk attachment until combined and the powdered sugar won’t puff everywhere.
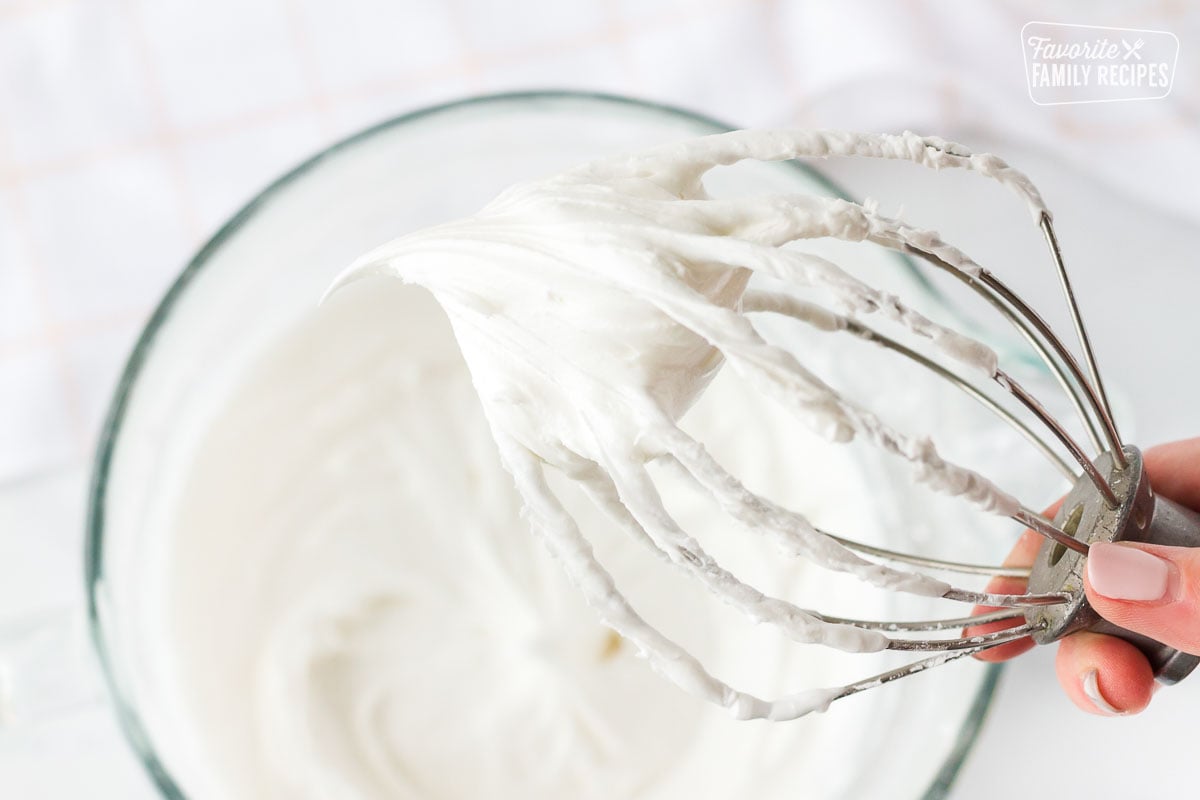
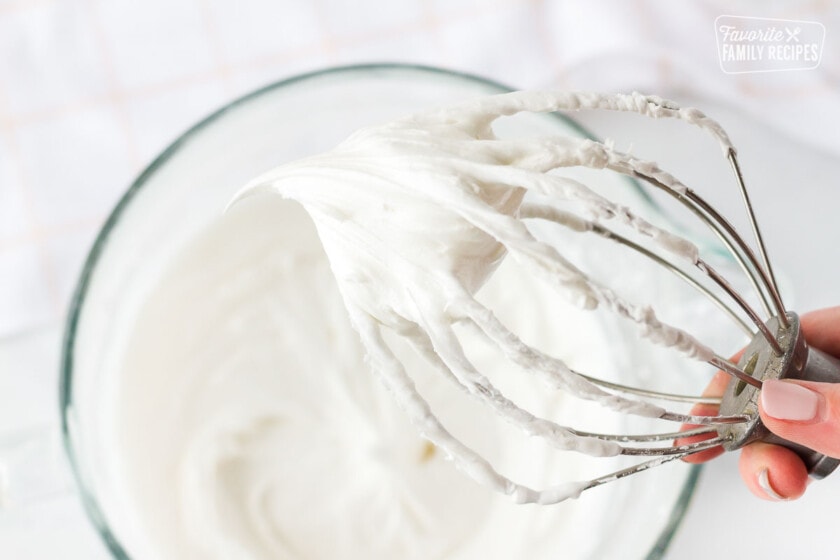
- Increase speed to medium-high and beat for about 5 minutes, until thick, shiny, stiff, and white. Peaks should stand straight up without flopping.

- For multiple colors, divide icing into bowls and stir in gel food coloring by hand with a rubber spatula.

- Adjust icing to piping consistency (see notes), then transfer to piping bags and decorate cookies.
- Let decorated cookies dry at room temperature for at least 12 hours before storing.
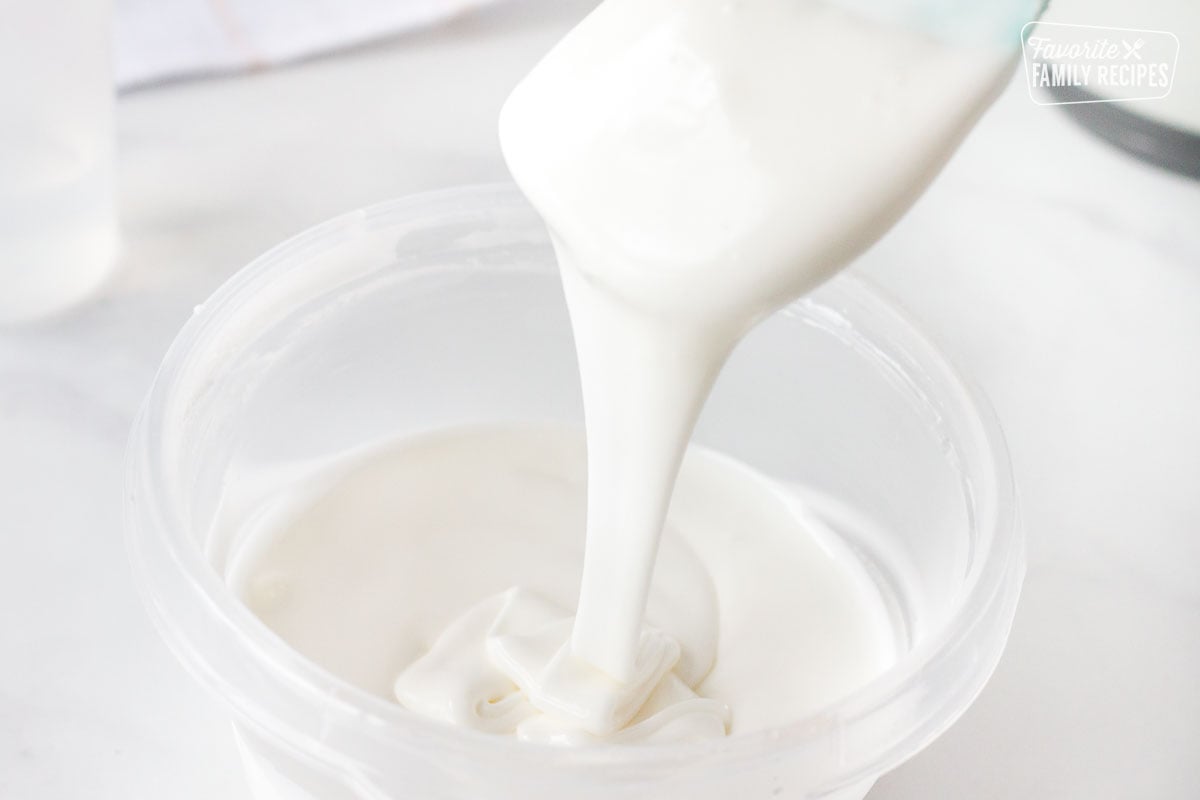
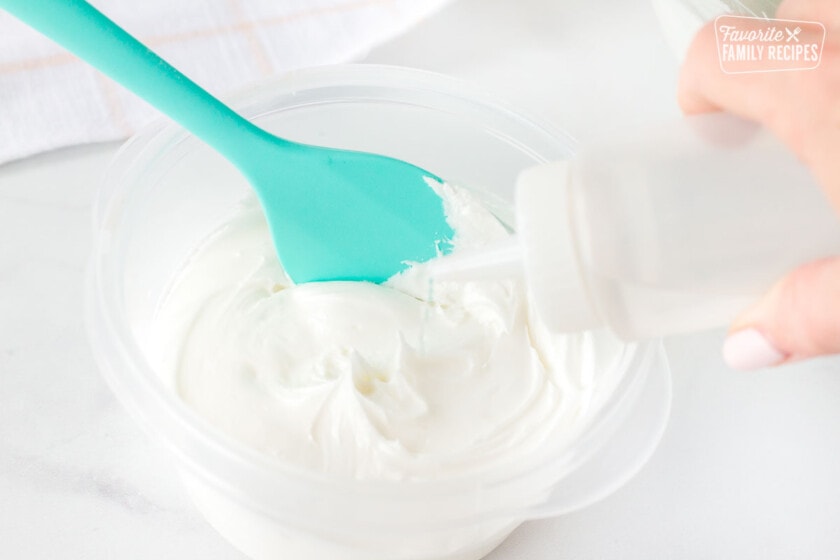
- For flood icing, add water to reserved royal icing a little at a time, stirring constantly, until a spoonful drips back into the bowl and blends in within a few seconds.
What To Do if Your Icing is Too Thick: The Spray Bottle Trick
If it’s not the right consistency for your liking, stir in a tiny bit of water, a little at a time (you can always add more but you can’t take it away). My favorite tip for getting just the right amount of water is to use a spray bottle. I know it sounds weird but a little water goes a long way. A few little spritz’s with a spray bottle can help you avoid a big headache!
Getting the Perfect Consistency for Royal Icing
Beginners often struggle with getting this just right. Too thick, and it won’t spread; too thin, and it might run off the edges. Testing the consistency before decorating can save you from some serious frustration later on! Depending on your project, you’ll need one of three consistencies:
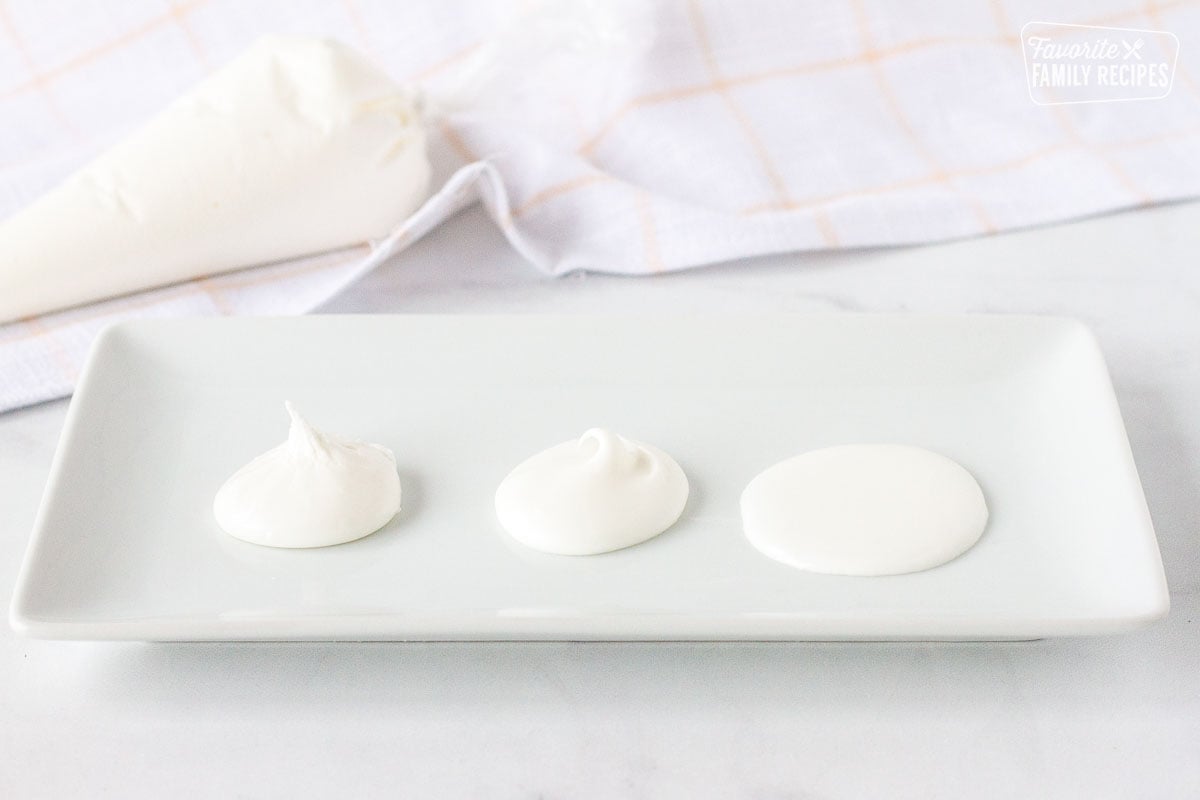
The 3 main consistencies for royal icing:
- Piping (on the left in the image above) – Piping is very stiff and gets very hard after drying. This kind of consistency is great for using as mortar on gingerbread houses. It is also good for making transfers (which means making an icing design like a flower and transferring it to a cake or cookie after drying). To get this consistency you want to have stiff peaks that don’t flop over when you pull it up.
- Outline (in the middle in the image above) – The outline consistency is for, well, outlining. This will hold in your flood icing but won’t get too hard like the piping consistency. You can easily bite into it and it won’t be crunchy. It is great for sugar cookies and gingerbread cookies. To get this consistency you want to have a soft peak that gently flops over when pulled up, but not so soft that it absorbs back into the rest of the icing. You want it to still hold its form.
- Flood (on the right in the image above) – This is that beautiful, glossy, “fill” icing. It will flood in the areas that you have outlined. It is perfect for sugar cookies. For this flooding consistency, you want the icing to absorb back into itself in 3-4 seconds after pulling it up. It should make a thick puddle and then keep its shape.

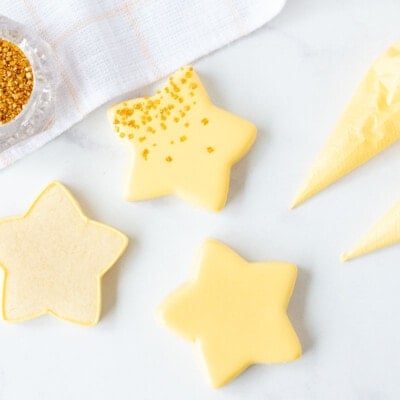
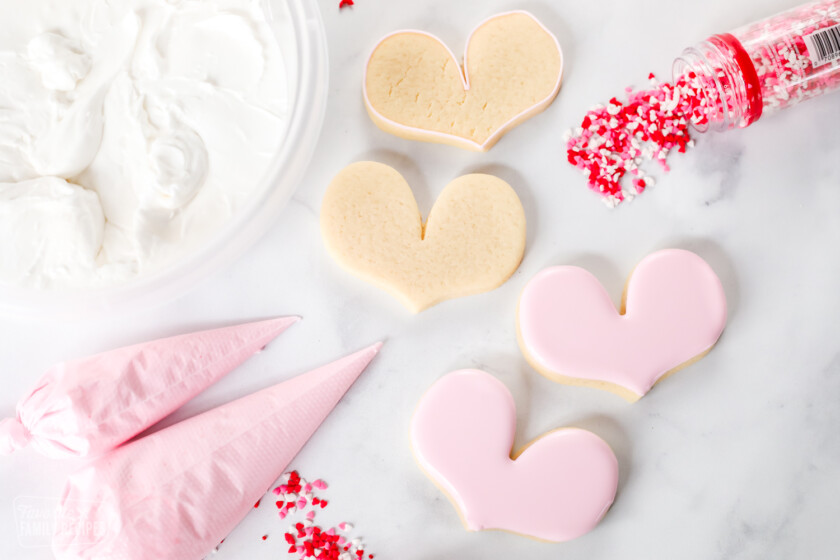
How to Decorate Cookies with Royal Icing and Flood Icing
You can decorate sugar cookies like a pro– it’s easier than it looks! Place the icing in a plastic piping bag, snip off the tip, and outline the cookies. You can also use a reusable piping bag with a very small piping tip. Fill in the outlines on the cookies with the flood icing and then use a toothpick to fill in any little gaps. Add sprinkles for more dimension and design. Be creative and have fun!


PRO TIP: When piping the outline, lift the tip of the piping bag so it isn’t directly touching the cookie. You want it lifted away from the cookie so the icing lays down gently onto the cookie rather than going directly from the tip of the bag onto the cookie. This will give you smoother, prettier lines and more control over where the icing goes.

Royal Icing and Cake
Royal icing serves a great purpose and is very beautiful, but not on a cake. At least not in large quantities. The only time you may want royal icing on a cake is if you make flowers or other decorations and transfer them to the cake after they harden. Even then, they really aren’t meant to be eaten, they are more for decoration. My mom made all of our wedding cakes and I remember her spending hours upon hours making beautiful royal icing flowers as embellishments and they all turned out beautiful. You can also use royal icing as a “glue” if you are wanting to attach the icing flowers or other embellishments onto the cake.
Pro Tips for Making Royal Icing
Start thick, thin slowly – It’s much easier to thin icing than to thicken it back up, so always start with a stiffer consistency and add water a drop at a time.
Keep icing covered – Royal icing dries quickly! Cover your mixing bowl with a damp paper towel when not in use, and seal piping bags tightly.
Color in advance – Gel colors deepen over time. If possible, mix colors a few hours ahead to get your final shade.
Test consistency before decorating – Drag a spoon through your icing and watch how fast it blends back in. For flood icing, aim for 3–4 seconds.
Dry completely before storing – Give cookies at least 12 hours to set at room temp to avoid smudges or sticking.
Frequently Asked Questions
For projects like gingerbread houses or panoramic eggs, you’ll want to let the icing dry overnight. But if you’re just wanting to decorate with layers on cookies, let it dry for at leas an hour in between.
While fresh royal icing is best to use for cookies, you can store this for up to a week in the refrigerator. But it must be covered with a damp towel to avoid drying out and hardening. Putting icing in the freezer isn’t recommended, but putting finished cookies in the freezer in an airtight container AFTER the icing has set is totally fine.
Absolutely! Almond extract, vanilla extract, or coconut extracts are all delicious ways to flavor up royal icing. The meringue powder we use (see above) is already flavored so we typically don’t need to flavor it any more. If you do want to flavor your icing, just make sure to use CLEAR extracts so you don’t mess up the white color. Also, be really careful adding those extra liquids because even a little bit will change the consistency.

Recipes for Using Royal Icing


Show Me Your Creations!
Now that you’ve got all the tips and tricks, it’s time to get baking and decorating. Trust me, with a little practice, you’ll be amazed at the beautiful cookies you can create. Don’t forget to tag us on Instagram @favoritefamilyrecipes to show us your beautiful creations! 🎨🖌️
Royal Icing Recipe
Video
Ingredients
- 2 pounds powdered sugar, sifted
- 5 tablespoons Genie's Dream Premium Meringue Powder
- 2/3 cup water, plus more for flood icing
- gel food coloring, (see notes above)
Instructions
- Combine ingredients in the bowl of a stand mixer. If you don't have a stand mixer, you can use a large bowl and a hand mixer. Mix on low speed with a whisk attachment until ingredients are combined (enough that the powdered sugar won't fly everywhere).

- Turn up the speed to med/high and mix for 5 min or until very thick, shiny, stiff and white. You want the peaks of the icing to stand straight up without flopping over at all.
- If you want to make several different colors, divide the icing into several different bowls and beat in the food coloring by hand with a rubber spatula.
- Once you get the correct consistencies for piping (see notes above), place icing in piping bags and start decorating!
- After icing your cookies, allow cookies to harden at room temperature for at least 12 hours before storing.

To Make Flood Icing:
- Once you have used all of the royal icing you plan on using (or have set aside the amount of royal icing you need) add about a little of water at a time to the royal icing that you would like to make into flood icing, stirring constantly, until you get the right consistency.
- You want to be able to pull up a spoonful of icing and have it drip back down into the bowl and combine with the rest of the icing within just a few seconds. You don't want to have it lay on top of the remaining icing for long, you also don't want it to absorb immediately. That means it is too thin. There is a fine line here, which is why you only want to add a little bit of water at a time so you don't overdo it.

Notes
Nutrition
Nutrition information is automatically calculated, so should only be used as an approximation.
Love this recipe?
We want to hear from you! Please leave a review.
More Frosting and Icing Recipes
Different cookies and confectionaries use different kinds of icing and frosting. This royal icing recipe is great for intricately decorating cookies, but depending on that you are making, you may be better off with a recipe meant for spreading or piping in larger quantities (such as on cakes and cupcakes). Find the one that is perfect for you and your next recipe:
How to Make Fondant
Vanilla Buttercream Frosting
Cream Cheese Frosting
Sugar Cookie Frosting
Chocolate Buttercream Frosting
Funfetti Frosting
Raspberry Frosting
Peanut Butter Frosting
They all came out perfect! Thank you for sharing this will be my go to for the holidays all year.
🩷🩷🩷 – I’m so happy!
Finally a recipe for Royal icing I can follow and it makes perfect sense to me. Thank You for explaining each step and not “glossing”over them like the student should already know what the teacher is talking about! Today my Sugar Cookies will soon be coated with your amazing royal icing! Anxious to start the decorations!!!God Bless You!
So glad this was helpful!
Is it okay to use the original icing as outline then add extra water for flooding consistency?
I’m not sure what you are asking. Yes, I always use the original icing and then add sprays of water to get the flood icing. I hope this makes sense!