We may earn a commission when you click on the affiliate links in this post.
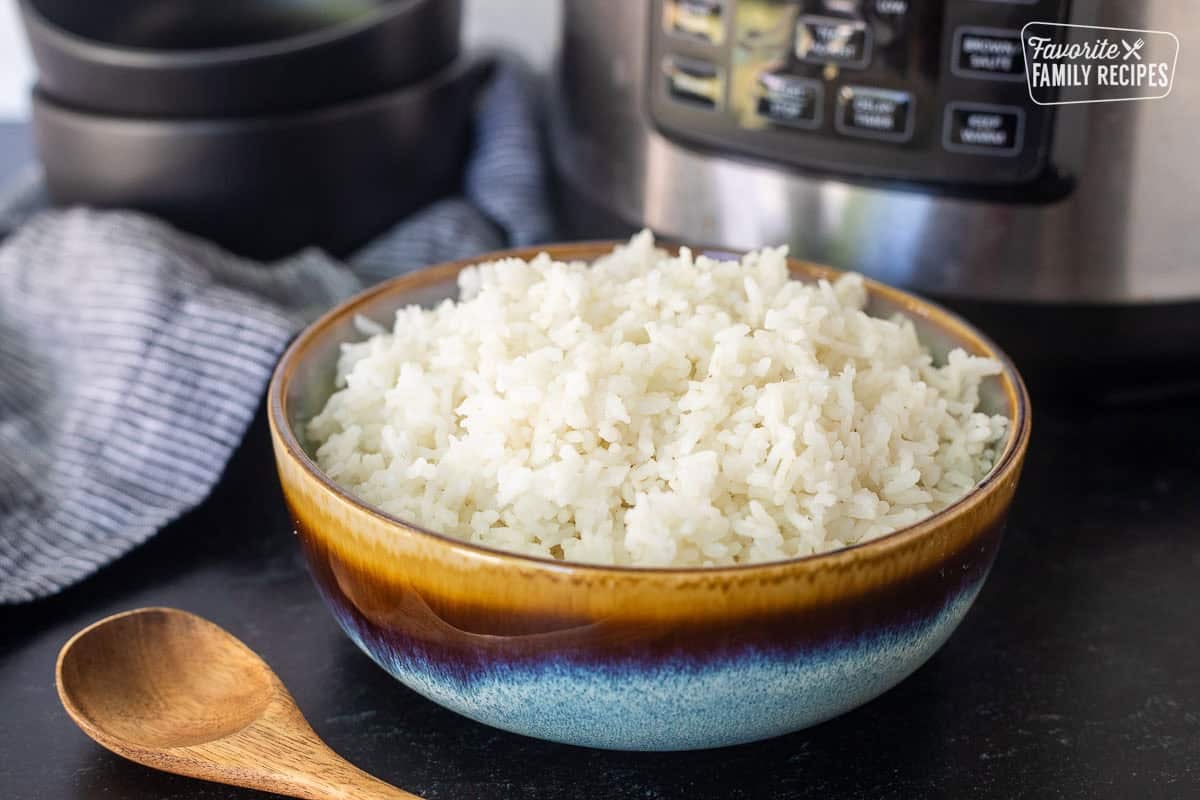
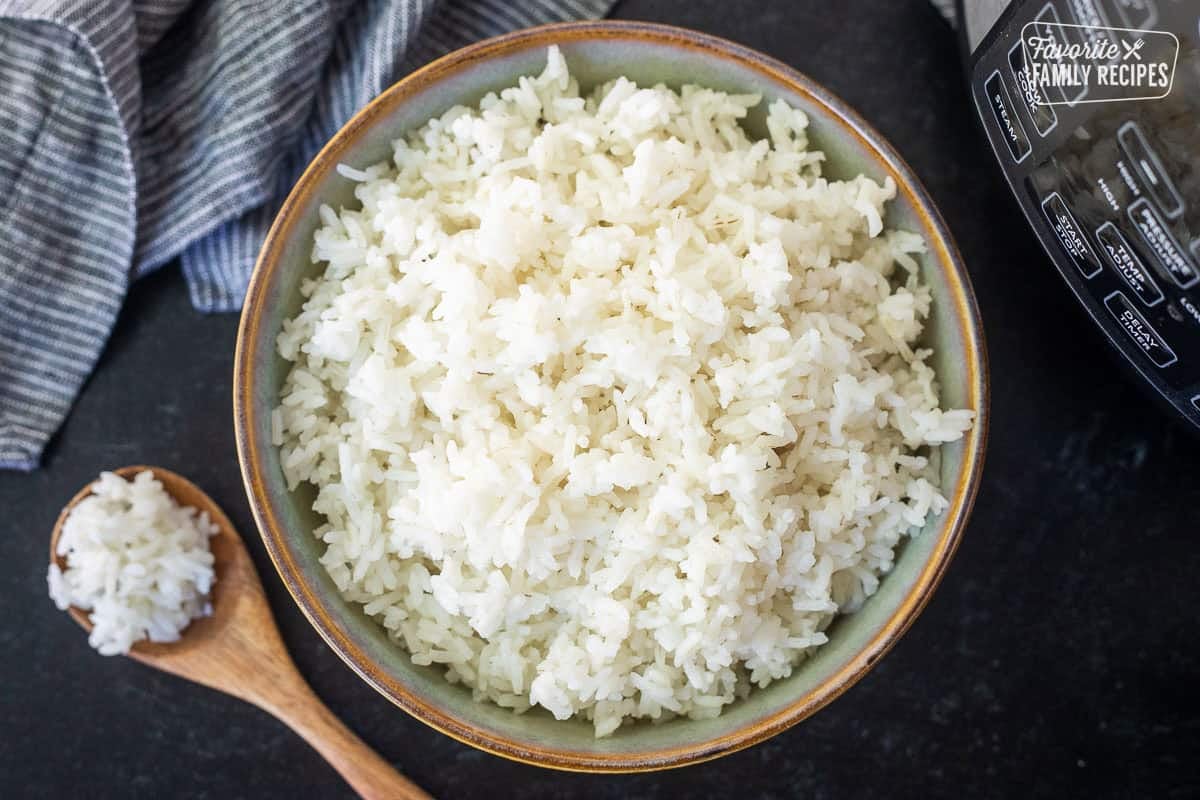
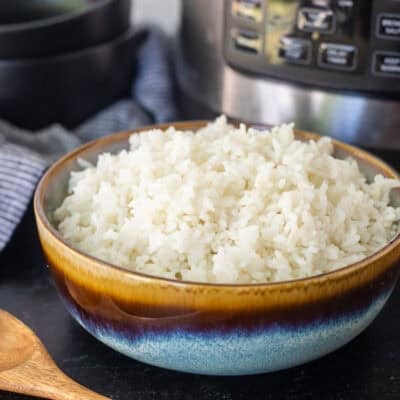
Making rice in the Instant Pot couldn’t be easier! Follow our easy step-by-step guide for perfect Instant Pot Rice every time!
Why Make Rice In the Instant Pot?
Once I discovered how easy rice is in the Instant Pot, I ditched my old rice cooker for good. It’s faster than the stovetop, more consistent, and works for all types of rice: white, brown, wild, and more. No guessing, no scorching (or “burn notices”), just perfectly cooked rice every time.
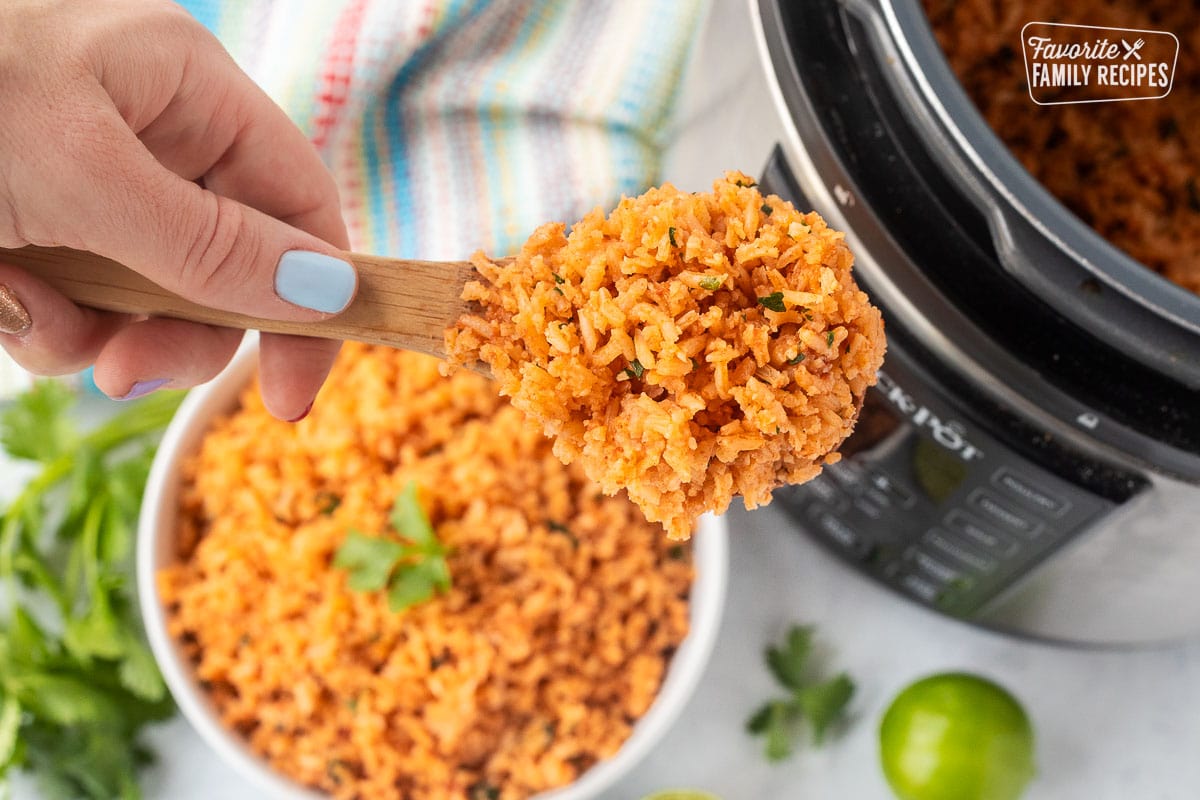
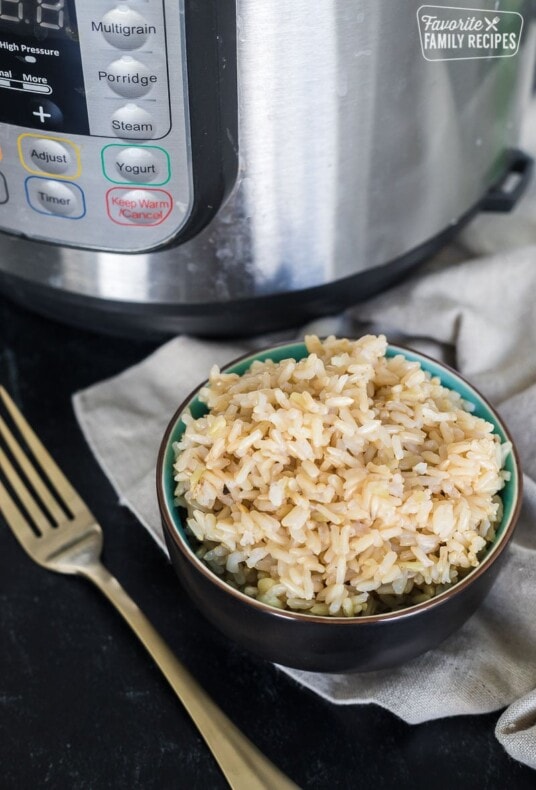
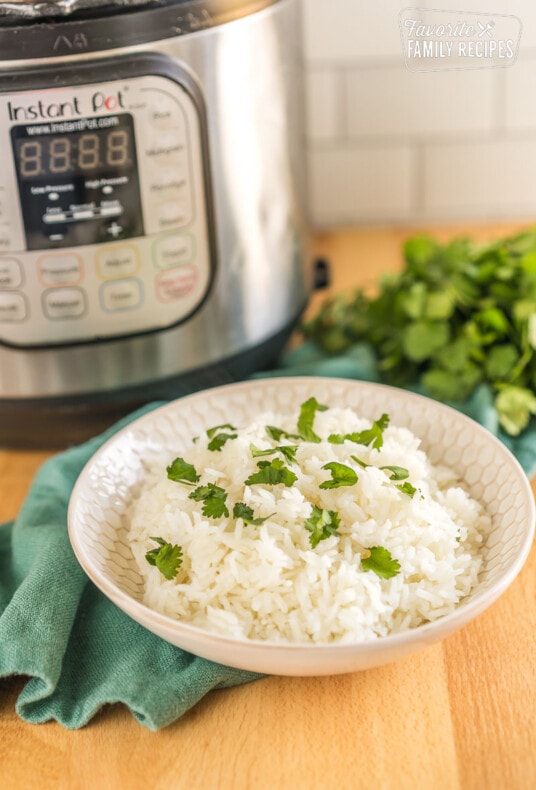
For more detailed instructions for specific types of rices, try our Instant Pot Jasmine Rice, Instant Pot Sushi Rice, or Instant Pot Brown Rice recipes. We even have a great Instant Pot Quinoa recipe if you would like to try an alternative to rice. If you want to add some flavor, definitely check out our Instant Pot Mexican Rice recipe (my favorite! I use this recipe at least once a week). Once you get the basics down for cooking rice in the Instant Pot, the flavor possibilities are endless!
🩷 Erica
Table of Contents
- Why Make Rice In the Instant Pot?
- Key Ingredients and Supplies
- How to Cook Rice in the Instant Pot Step-byStep
- Instant Pot Rice Cheat Sheet
- Don’t Use the “Rice” Button
- For Seasoned Rice
- Storing and Reheating Rice
- Pro Tips for Making Instant Pot Rice
- Frequently Asked Questions
- More Instant Pot Rice Recipes
- Instant Pot Rice Recipe
Key Ingredients and Supplies
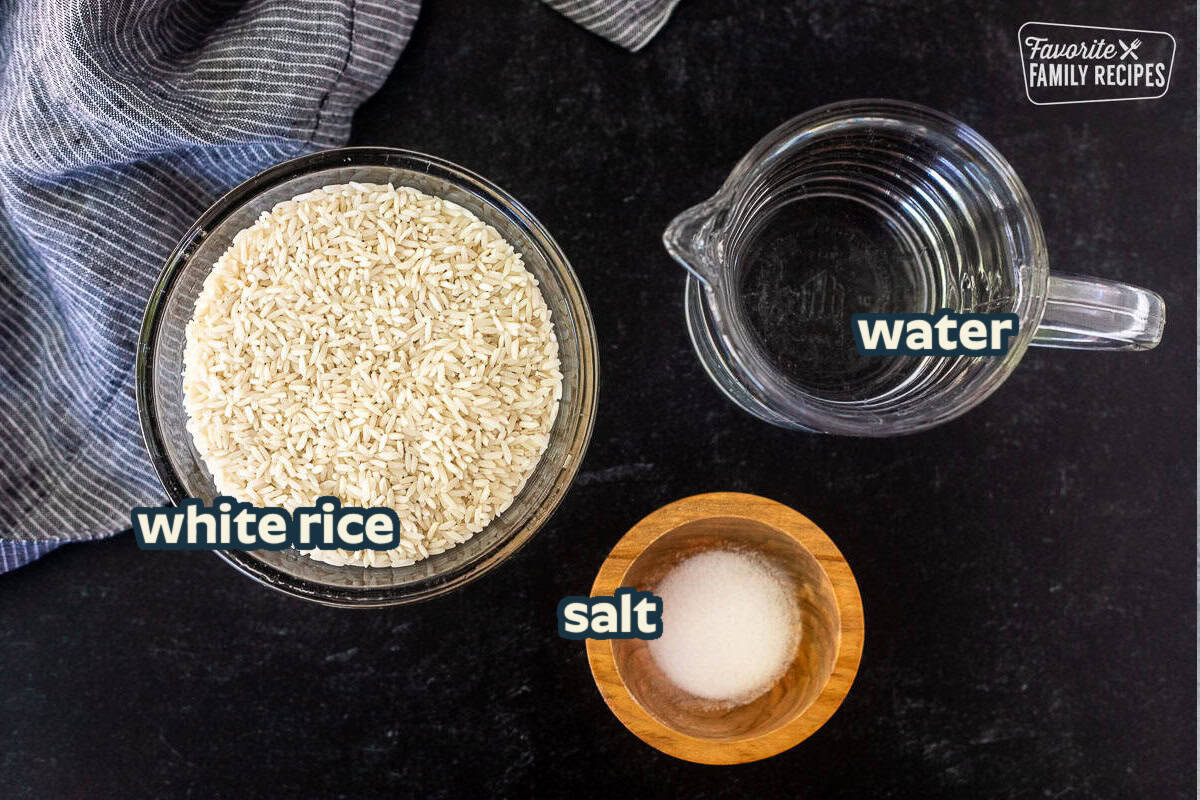
Long grain white rice (including Jasmine or Basmati) – These varieties cook up light, fluffy, and separate easily. See chart below for more rice options including water ratios and times.
Water – Use fresh, cold water for the best texture. For added flavor, swap part or all of the water for chicken or vegetable broth.
Instant Pot or electric pressure cooker – A 6-quart model is the most common, but any size and any brand will work. The cooking time stays the same regardless of the amount of rice.
How to Cook Rice in the Instant Pot Step-byStep
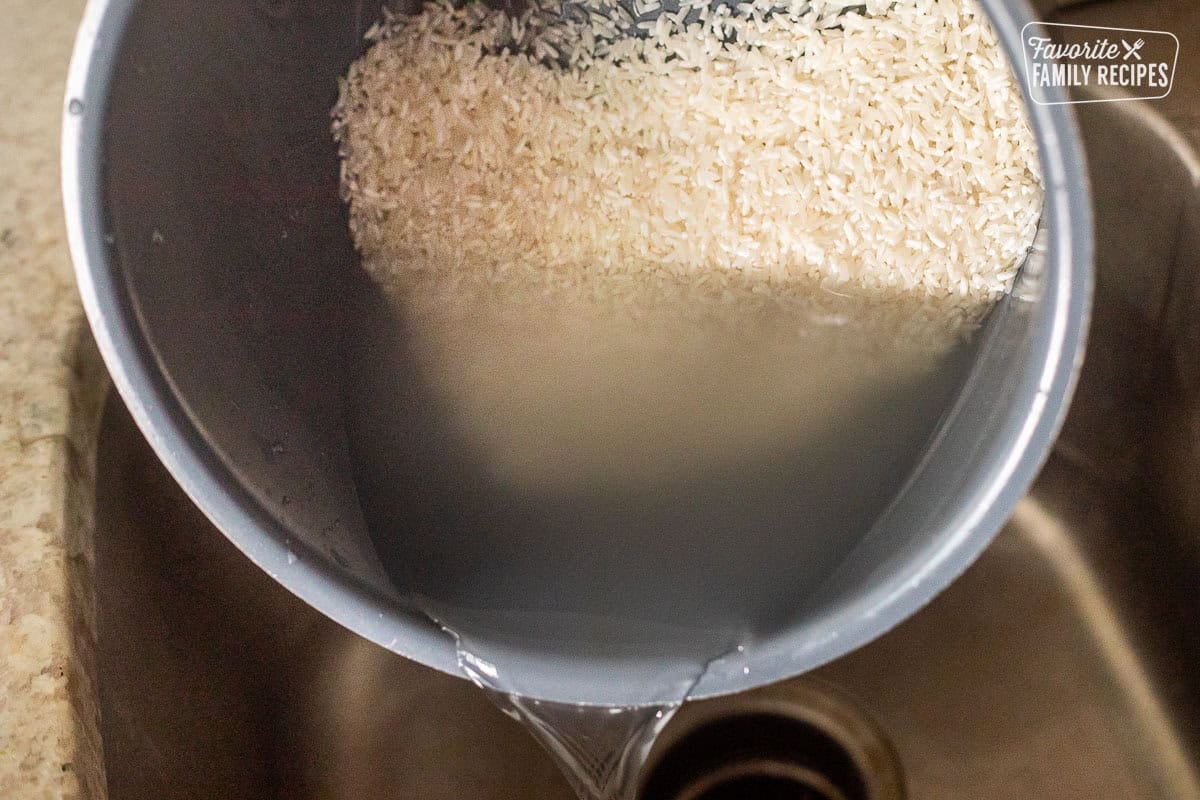
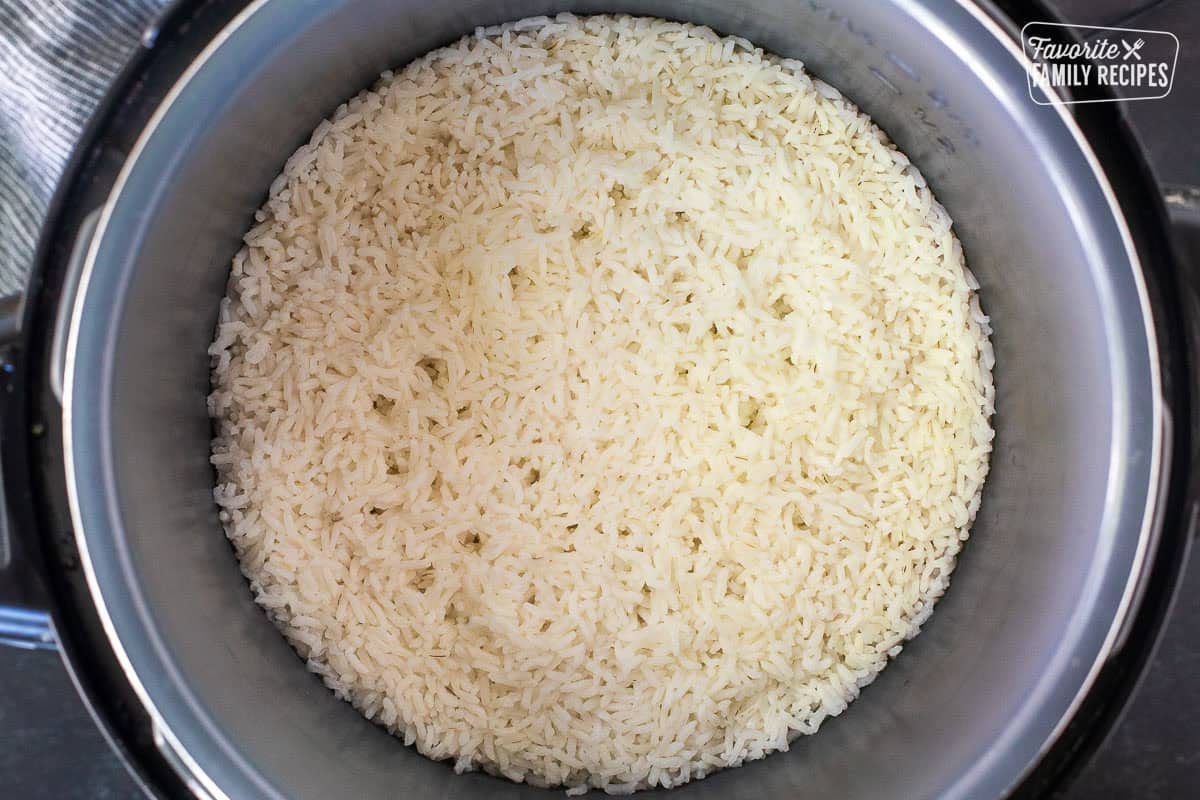
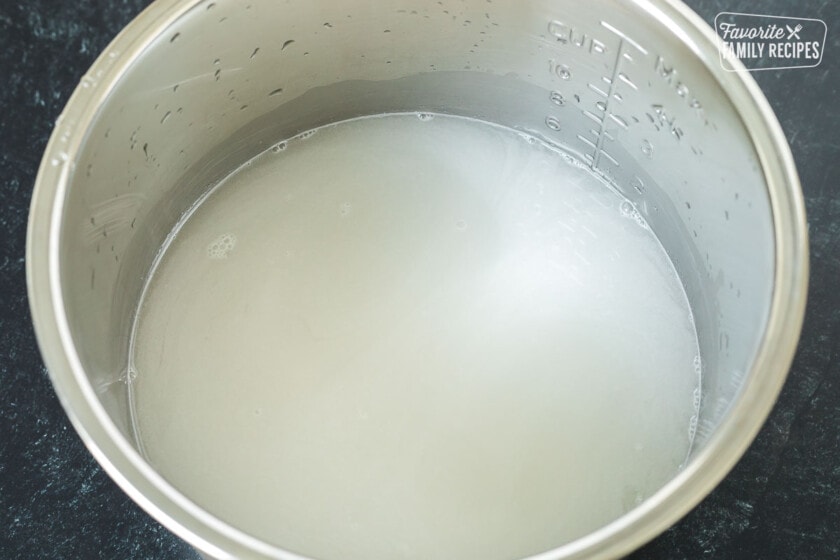
- Add rice to the Instant Pot insert and cover with water. Swirl with your hand, drain, and repeat until the water runs clear. This removes excess starch for fluffier rice. Drain completely.

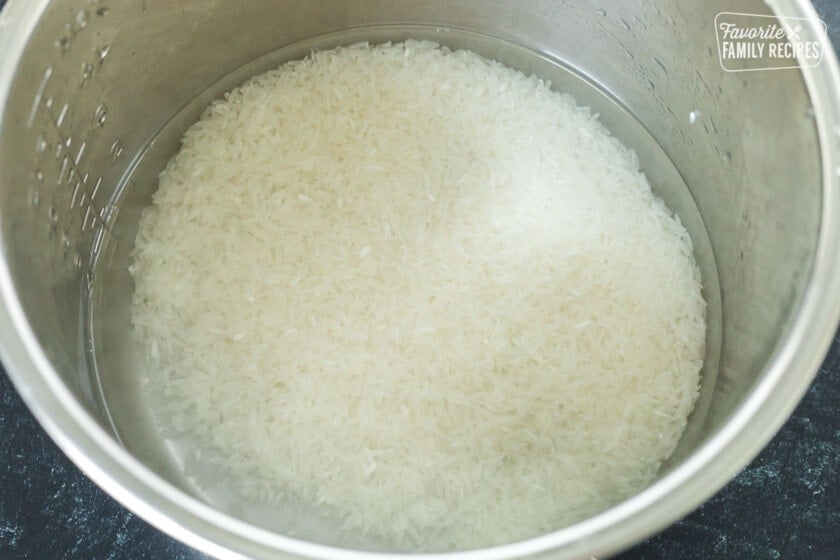
- For long grain white rice (including basmati and Jasmine rice) use a 1:1 rice-to-water ratio. For 2 cups rice, add 2 cups water. Season with salt if desired. (See chart below for water ratios and pressure times for different rice varieties)

- Secure the lid and set the valve to the Sealing position.
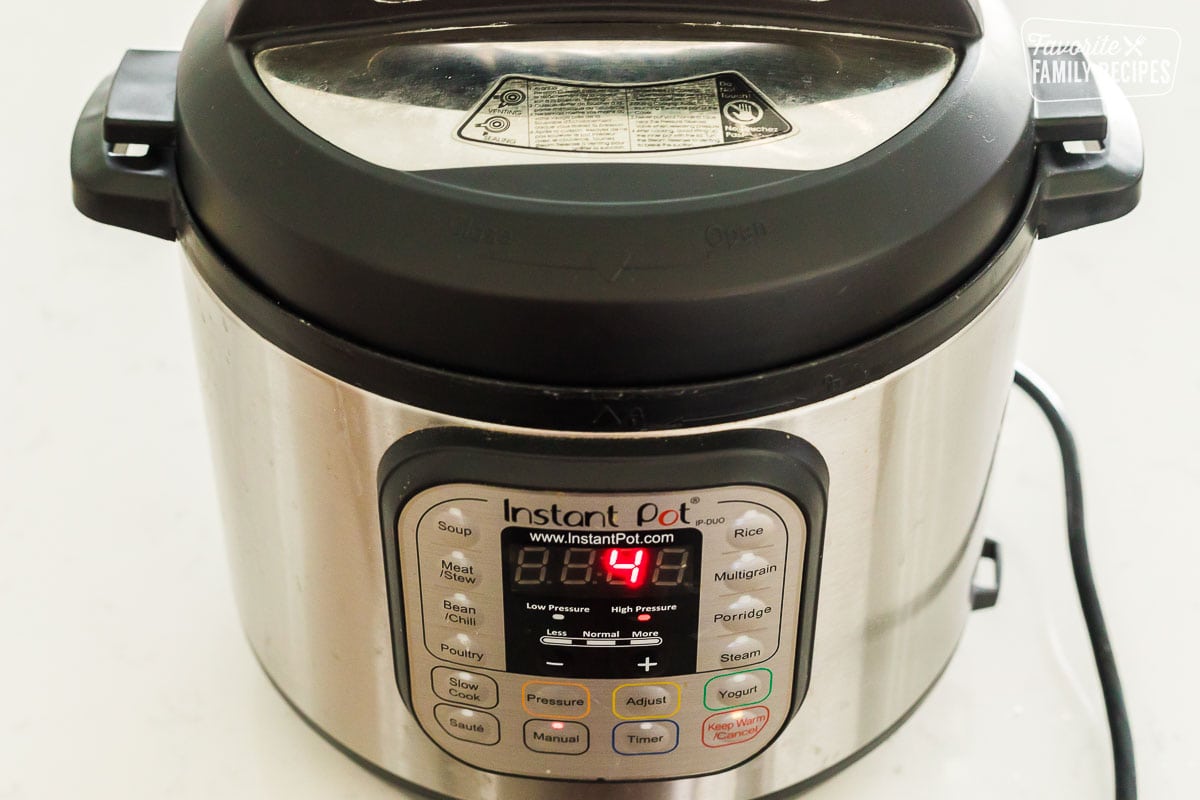
- Cook on High Pressure for 4 minutes, then let the pressure release naturally for 10–12 minutes. Turn the valve to Venting to release any remaining pressure.
- If serving right away, remove lid. If not serving right away, turn off the Instant Pot and leave the lid on for up to 20 minutes to keep rice warm without drying it out.
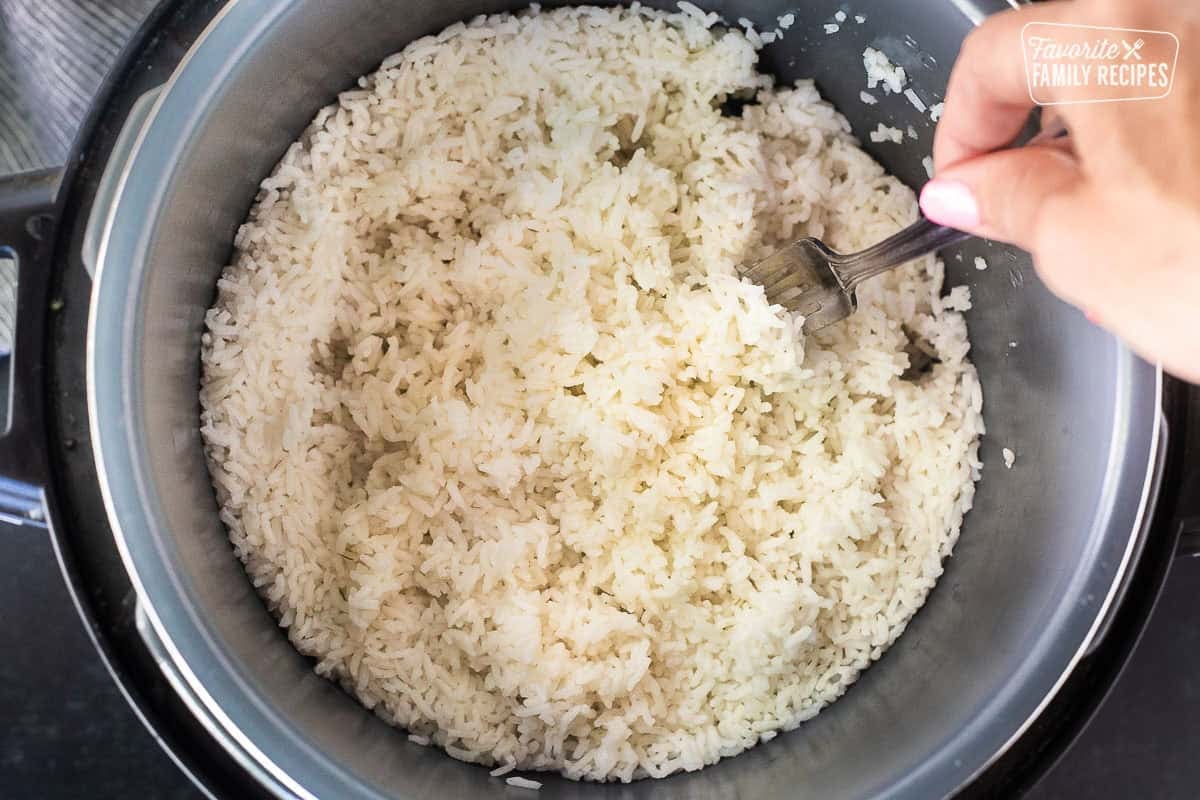
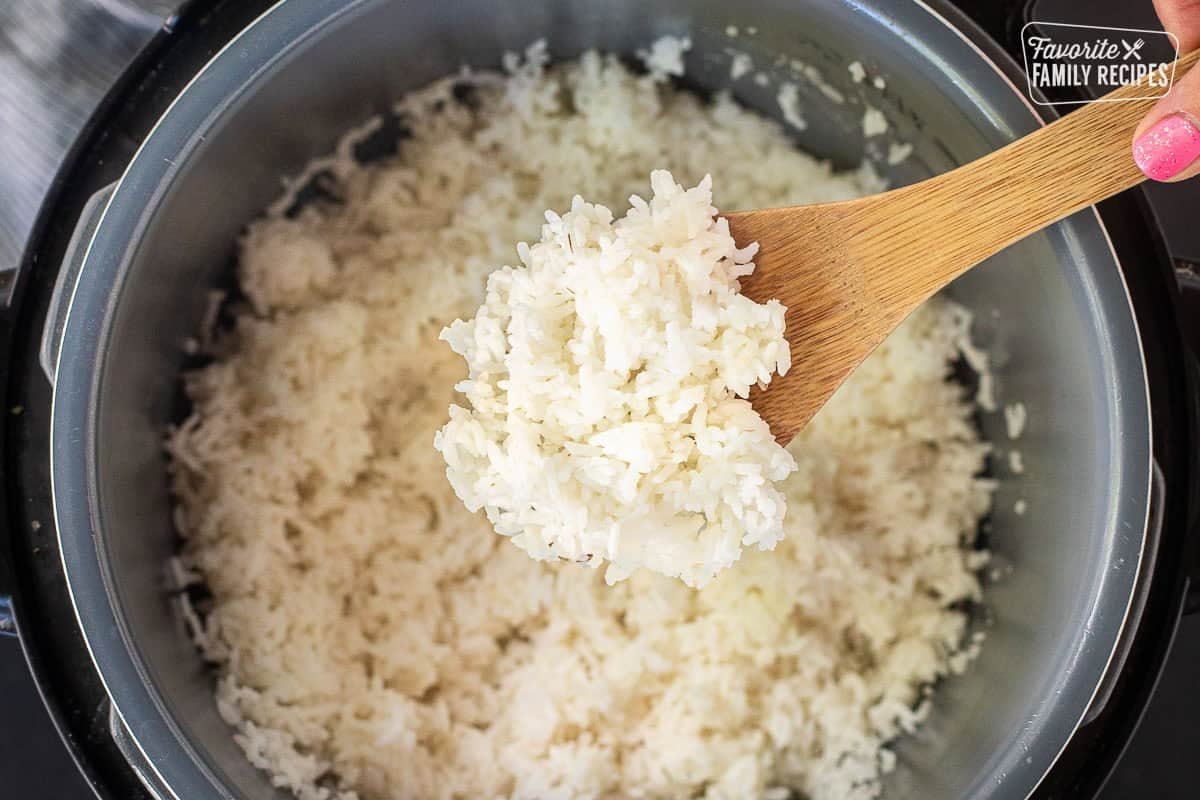
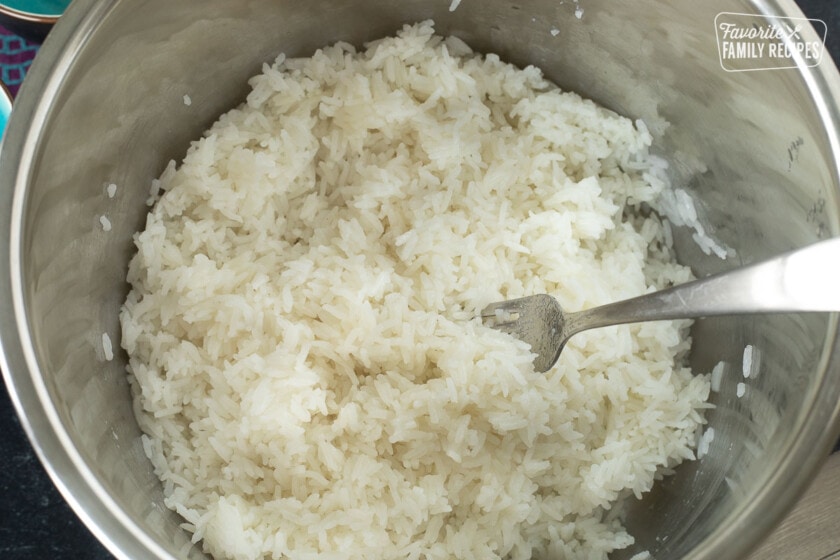
- Fluff the rice with a fork and serve.
Instant Pot Rice Cheat Sheet
Here is an easy cheat sheet (below) that you can print off and store next to your Instant Pot. Simply right click on the image and click “Save Image As”. From there you can save the image and then open it on your desktop to print.

Don’t Use the “Rice” Button
Don’t be tempted to use the rice button on your Instant Pot or pressure cooker. The rice function may work well enough for white rice varieties but won’t work for any other variety. The “rice” function is programmed to “low” pressure and cooks for 12 minutes which gets the job done but all of the water will not be absorbed into the rice making it more sticky. Set your cooking time manually on high pressure for the times suggested above and your rice will have absorbed all of the water. The texture will be lighter and the rice will be ready to serve.
For Seasoned Rice
It’s easy to give your rice a little flavor by switching out the water for broth and by adding a few easy ingredients such as finely chopped onion or garlic or a tablespoon of butter. You can season this rice with the same seasonings as our Cafe Rio Cilantro Lime Rice (or our Chipotle Cilantro Lime Rice), Yellow Rice, or Vegetable Rice Recipe.
Storing and Reheating Rice
Rice keeps nicely in the fridge, as long as it’s kept in an airtight container, for up to five days. My favorite way to use up leftover rice is to make fried rice, stir fry, or Mexican rice. I just heat a little oil in a skillet and toss the rice with some seasonings or other ingredients while heating. The oil keeps the rice from sticking together and gives it the perfect texture for these types of recipes. However, if I just want to re-heat the rice as is, I simply heat it in the microwave. Sprinkle a little water over the rice and cover with a lightly damp paper towel. Then heat for 45 seconds at a time until hot, fluffing with a fork between each time.
Pro Tips for Making Instant Pot Rice
- Always rinse rice unless making a dish where sautéing the rice first is part of the recipe (like Mexican or fried rice). Even then, if I have the time I will rinse the rice and let it dry in a colander before toasting.
- Keep the Instant Pot no more than halfway full to allow rice to expand. If you are looking to make very large quantities of rice, our recipe for Cooking Rice for a Crowd might be a better option.
- No matter how much rice you make, the cooking time stays the same. Just be sure to not overfill your Instant Pot.
Frequently Asked Questions
Overly mushy rice usually results from using too much water. Unlike stovetop cooking, pressure-cooked rice doesn’t lose water to evaporation, so the 1:1 ratio is ideal for most white rice varieties.
If your rice ends up dry or undercooked, it could be due to not enough water or cutting the cooking time (or natural release) short. The steam during the 10-minute natural pressure release is crucial for the rice finishing its cooking properly.
Yes! You can scale it up without changing the cooking time. Just keep the same 1:1 rice-to-water ratio, and stay within your Instant Pot’s fill limits.
More Instant Pot Rice Recipes


Have you tried making this Instant Pot Rice? I’d love to hear what you think! Drop a comment below and let me know how you liked it and how you served it. And don’t forget to take a pic and tag us on Instagram @favoritefamilyrecipes! 🍚🍙
Instant Pot Rice Recipe
Video
Ingredients
- 2 cups long grain white rice, (or Jasmine or Basmati rice)
- 2 cups water
- salt, to taste
Instructions
- Place 2 cups of rice in the Instant Pot liner and cover with water. Agitate the rice with your hand and drain off the water. Repeat until water runs clear.

- Drain off all the water, then add 2 cups of water to the rice. Season with salt (to taste).
- Cover the Instant Pot with the lid and turn knob to the sealing position. Pressure cook on high pressure for 4 minutes. Natural pressure release 10-12 minutes, then quick release by turning the knob to the venting position.
- Uncover and fluff rice with fork before serving.

Equipment
- Instant Pot (or Pressure Cooker)
Notes
Cooking time and water ratio vary depending on rice variety: Long grain white, Jasmine, Basmati: 1:1 ratio, 4 minutes, natural release 10 min
Short grain white (sushi rice): 1:1 ratio, 5–6 minutes, natural release 10 min
Brown rice: 1:1.25 ratio, 22–24 minutes, natural release 10 min
Wild rice: 1:1.5 ratio, 28–30 minutes, natural release 10 min
Red or black rice: 1:1.25 ratio, 28–30 minutes, natural release 10 min *ratios are rice:water
Nutrition
Nutrition information is automatically calculated, so should only be used as an approximation.
Love this recipe?
We want to hear from you! Please leave a review.
I use the same one-to-one rice-to-water ratio, but then just press the RICE button on the upper right hand of the panel. It automatically sets the time and temperature. When the rice button finishes, do the 10 min natural release! Perfect rice!!
I am making 8 cups of rice in my instant pot. Do I add 4 mins of cooking time for every cup of rice?
I haven’t made that much rice in the instant pot before, so I am not sure. The most I have done is 4 cups with the times listed.
The only way I’m going to make rice moving forward! So much easier in the instant pot!
We make rice in the instant pot every week – no fail, love it!
I always have a hard time getting brown rice to turn out perfectly. Thanks to your handy chart, it was just perfect. The only way I’ll make it from now on!