We may earn a commission when you click on the affiliate links in this post.
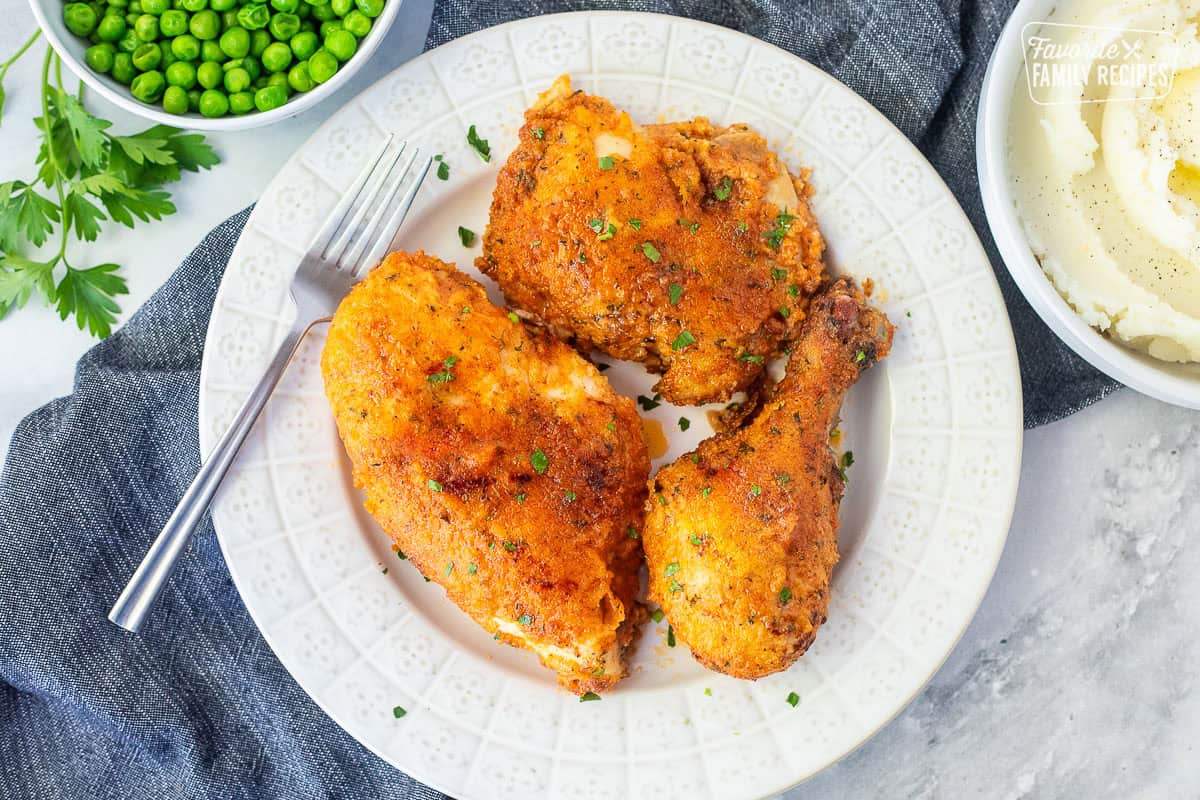
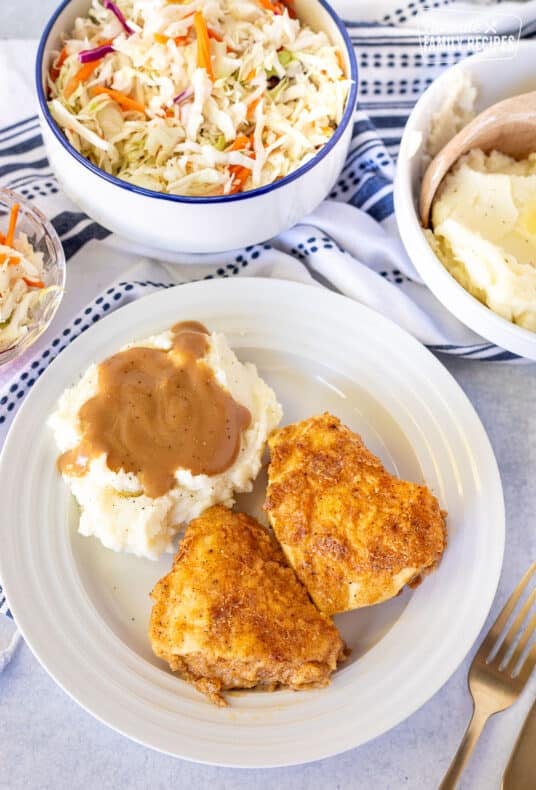
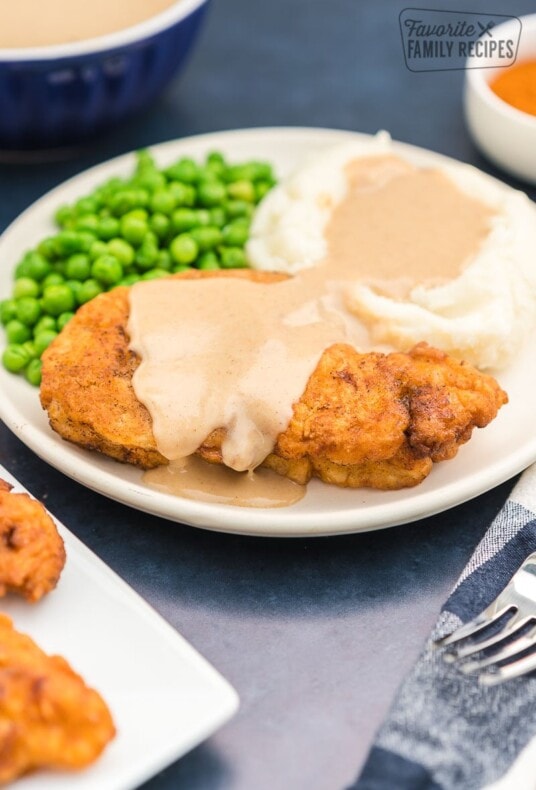
Skip the box and make this homemade Shake N Bake Chicken for a fraction of the price. This chicken is so crispy, flavorful, and juicy, you’ll forget it was baked!
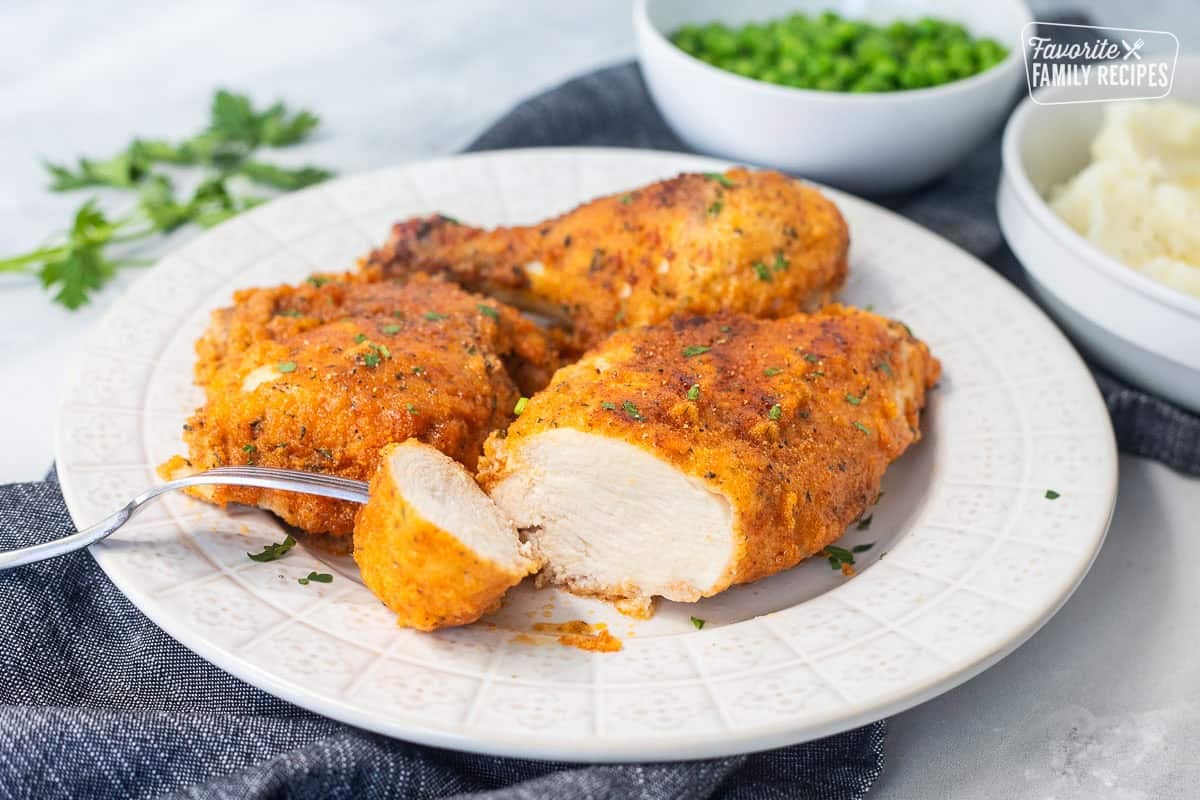
So Good You’ll Think It’s Fried!
Do you remember those old Shake N Bake commercials? Like the “It’s Shake N Bake and I helped” commercials? I remember watching those and thinking, that it looked super fun… but we were deprived us of such luxuries. To be honest, I think my mom bought the actual Shake N Bake box once but realized it wasn’t worth the price because she already had all the ingredients on hand most of the time. It’s really just a box of ingredients with a bag inside (which now I don’t even think it includes a bag)! You can buy the actual “Shake-N-Bake” for almost $5 a box (no joke I saw it at the store yesterday and it was $5)! Or you can make it at home for maybe a dollar’s worth of ingredients, and it’s *so* much better!
I admit, now that I am an adult, I have actually bought the box to see if it is as fun as it looked on TV and yes, it is fun to shake and bake. But I can also tell you, it is just as fun to make it on your own, maybe even more fun because you know you are saving money, which is a whole new kind of fun I wasn’t aware of as a kid. You know what I’m talking about. Try it for yourself and see! You are going to love how flavorful and juicy this chicken is!
🩷 Erica
Shake N Bake Ingredients
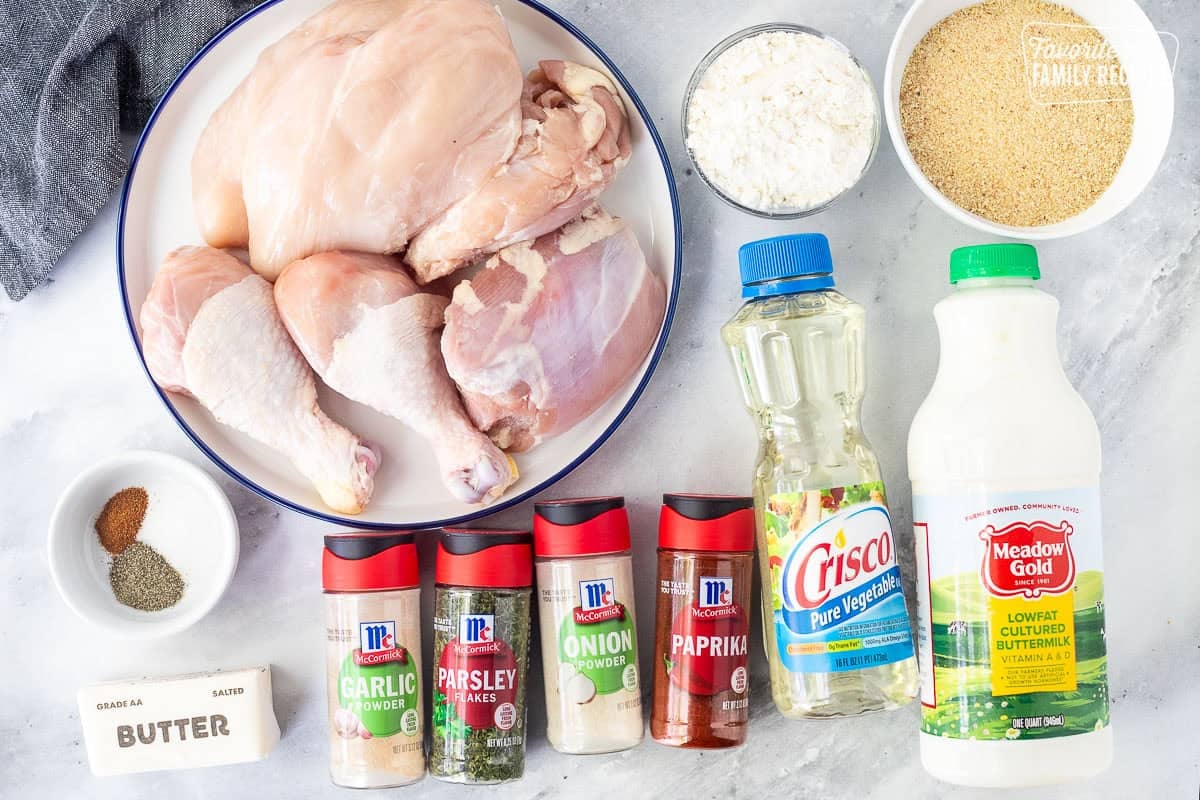
- Chicken – This works great for one whole chicken cut into pieces. It’s just the right amount. You can also just buy a pack of whole chicken pieces or just use drumsticks, thighs, or chicken breasts.
- Buttermilk – I like using buttermilk to tenderize and flavor the chicken. It also gives it a great flavor. You can marinate it in the buttermilk overnight or just do a quick dip to moisten if you are in a hurry. The original method (on the box) tells you to just wet the chicken with water but it’s not near as good.
- Flour – A little bit of flour will help give the chicken more of a crispy coating. It helps everything just cling together a little better. Try using “Wondra” flour for an even lighter coating.
- Breadcrumbs – Plain, fine breadcrumbs work best. Because you are adding your own seasonings to the mix, you won’t want to get the seasoned kind.
- Seasonings – For the seasonings, I like to use garlic powder, onion powder, paprika, parsley, salt, pepper, and a little cayenne (optional). For more of a cajun flair, you can use Cajun seasoning like Tony Chachere’s instead of the cayenne.
- Butter and oil – After testing this recipe several different ways, I found that using a combination of both butter and oil gives the best results. The butter adds a rich flavor and gives the coating that classic golden-brown color, while the oil helps the chicken crisp up evenly without burning. Butter on its own can brown too quickly, especially at 400°F. Oil has a higher smoke point, so it helps protect the butter while still giving you all the buttery flavor. The combination makes it taste more like fried chicken while still being baked in the oven.

Flavor Variations
Now that you have the original shake and bake version, you can get all creative and make different variations, just like the variations in the store. Add these seasonings in addition to the original blend from the recipe:
- Ranch: 2 tablespoons dry ranch seasoning mix. Use store bought or our recipe for homemade ranch dressing mix.
- Garlic Parmesan: ½ cup grated Parmesan cheese and increase garlic powder to 1 tablespoon.
- BBQ: 1 tablespoon brown sugar, 2 teaspoons smoked paprika, and 1 teaspoon chili powder for a sweet and smoky flavor. You can also brush on BBQ sauce to moisten and then shake with the original seasoning mix.
- Lemon Herb: 1 tablespoon lemon pepper seasoning, 1 teaspoon dried thyme, and 1 teaspoon dried rosemary.
- Italian Herb: 2 teaspoons Italian seasoning, 1 teaspoon dried basil, and ½ cup grated Parmesan cheese
- Cajun: 2 teaspoons Cajun seasoning and 1 teaspoon smoked paprika.
- Buffalo: Brush with buffalo sauce to moisten, shake with the original mix, then serve with ranch or blue cheese dressing.
- Extra Crispy: Replace ¼ cup of the breadcrumbs with panko breadcrumbs, crushed cornflakes, or crushed Ritz crackers.
How to Make Shake N Bake Chicken
For full ingredient amounts and instructions, see the recipe card below.

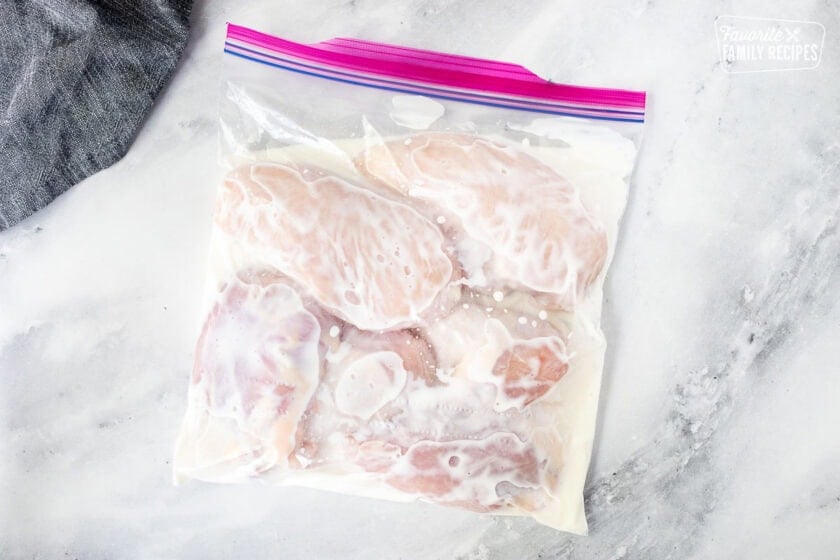
- Pat the chicken pieces dry and place them in a large zip-top bag. Pour the buttermilk over the chicken, seal the bag, and turn the pieces until they are evenly coated. Let the chicken sit while you prepare the breading mixture.
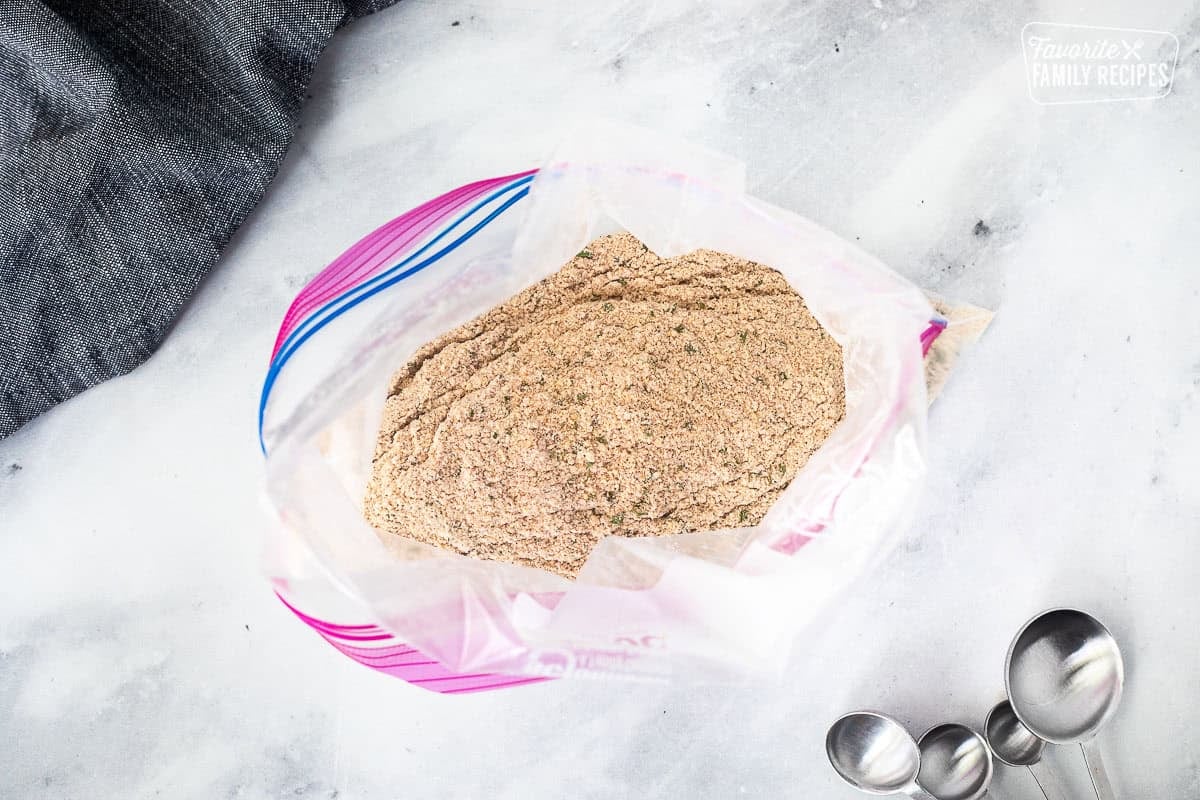
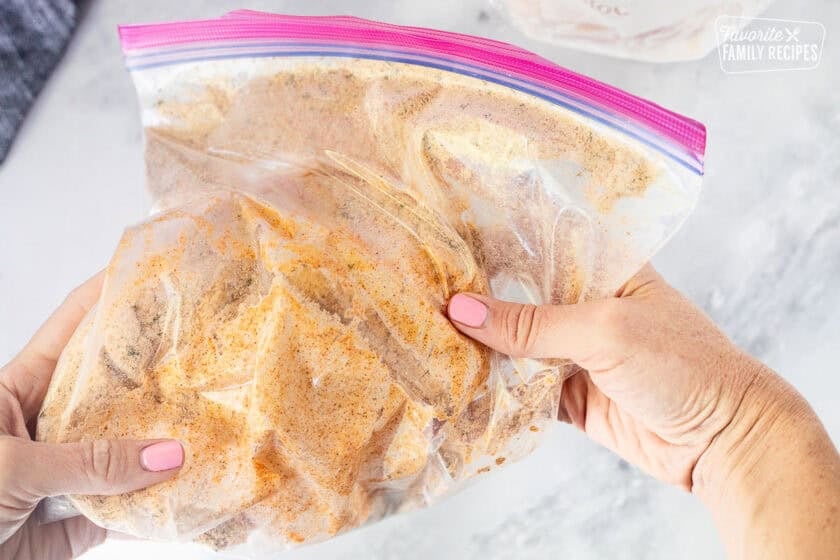
- In a separate large zip-top bag, combine the breadcrumbs, flour, garlic powder, onion powder, parsley, paprika, salt, pepper, and cayenne (if using). Seal the bag and shake until all the ingredients are evenly mixed.
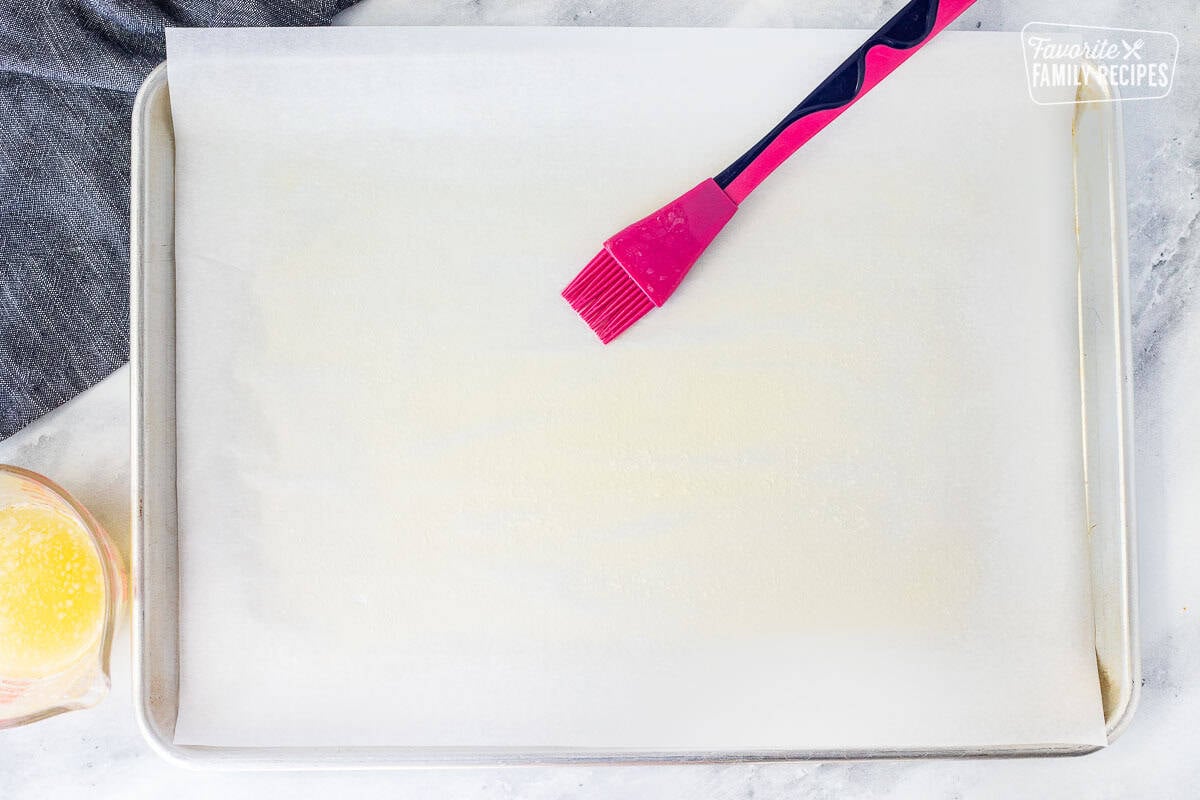
- Line a large baking sheet with parchment paper or foil. Stir together the melted butter and oil, then pour about half of the mixture onto the baking sheet. Use a pastry brush to spread it into an even layer.
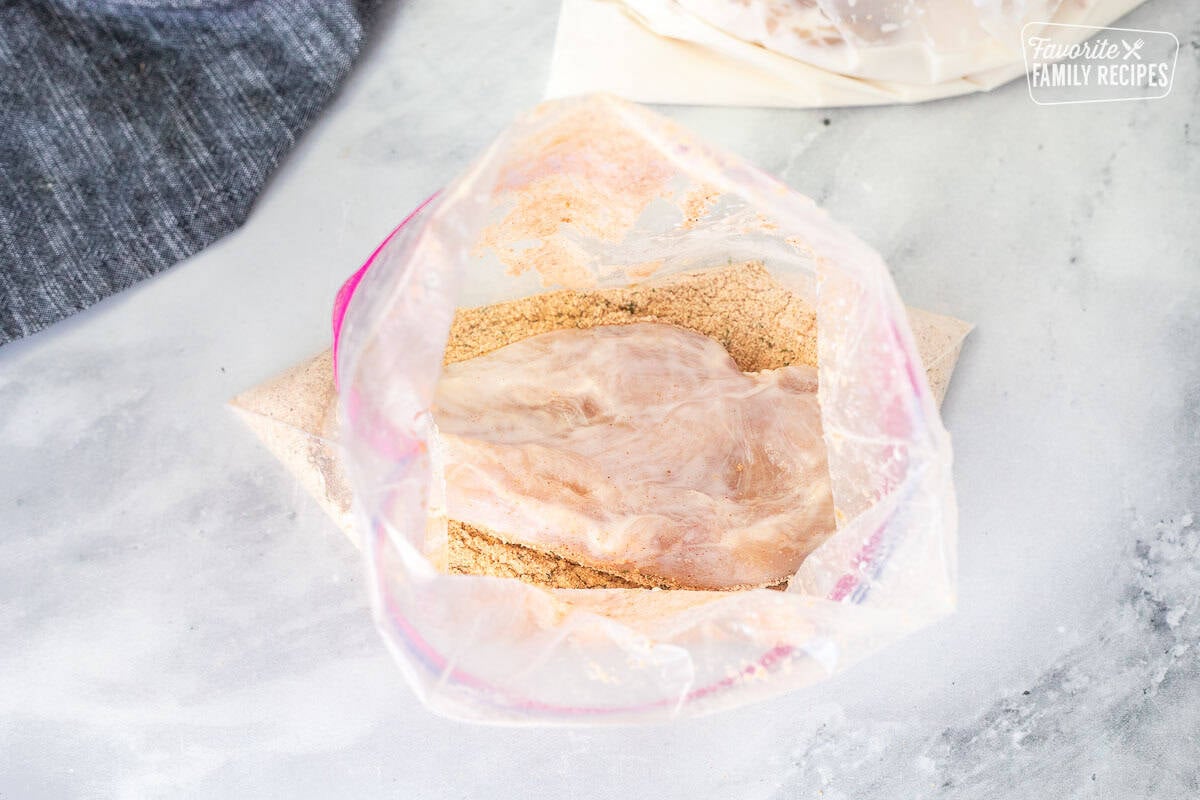
- Remove one piece of chicken from the buttermilk, allowing any excess to drip off. Place it in the breadcrumb mixture and shake until fully coated.
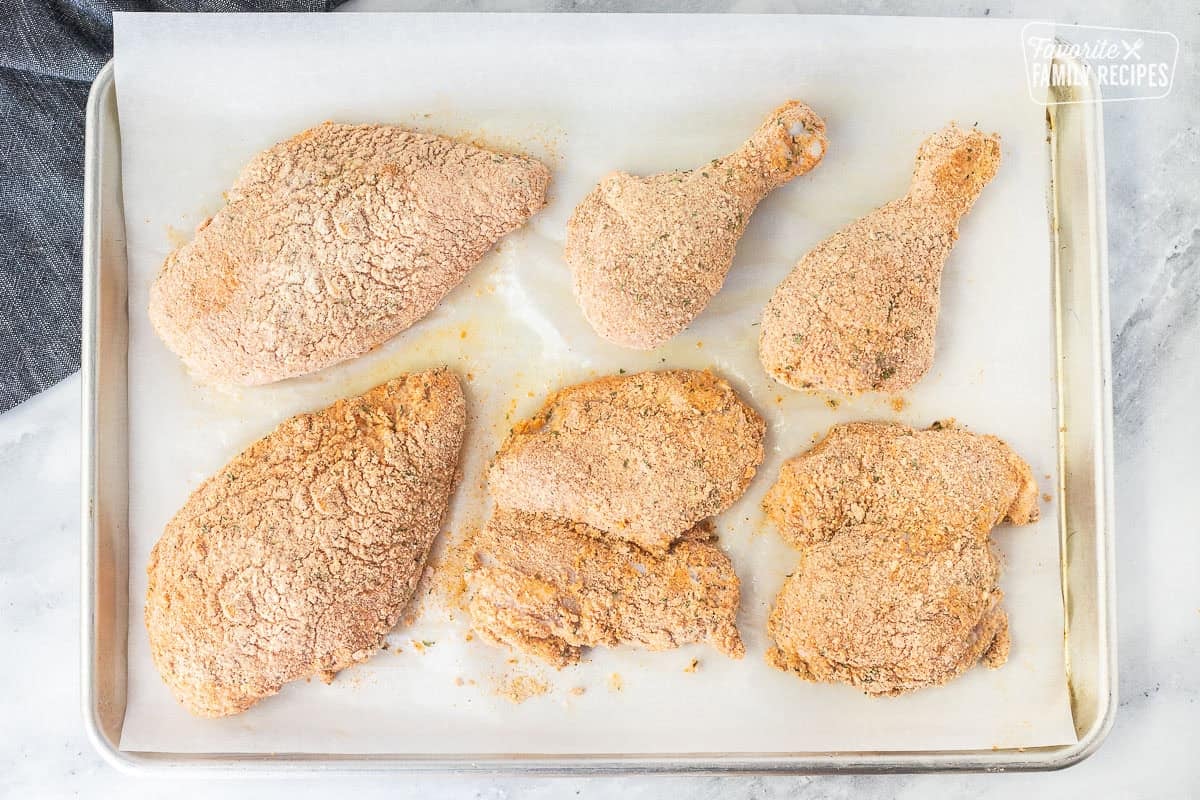
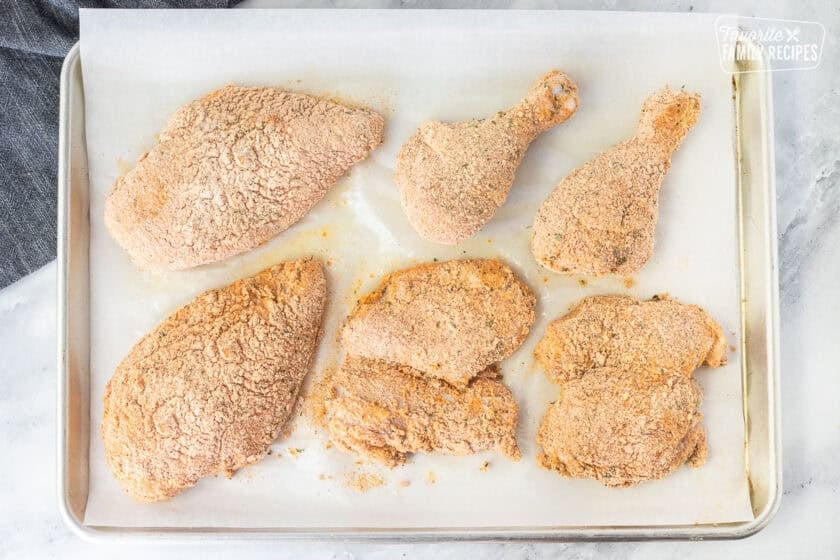
- Arrange the chicken on the prepared baking sheet, leaving space between each piece so the coating can crisp up as it bakes.
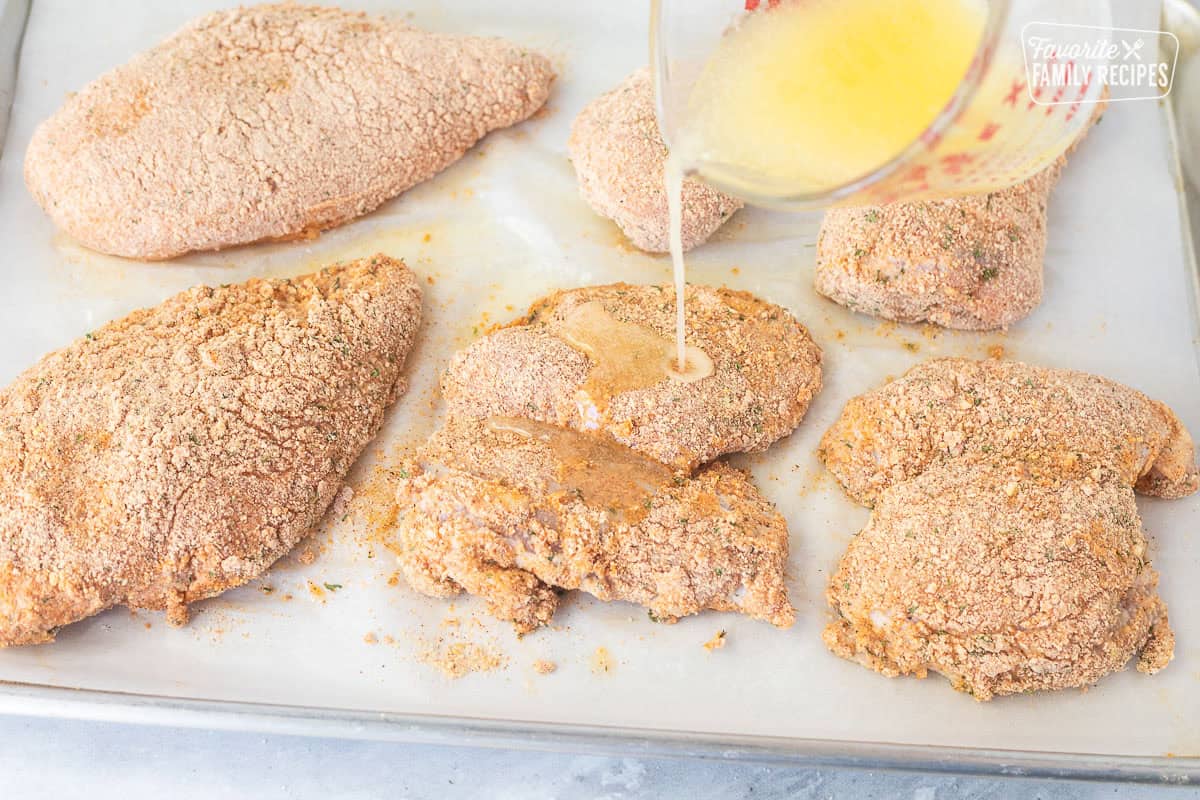
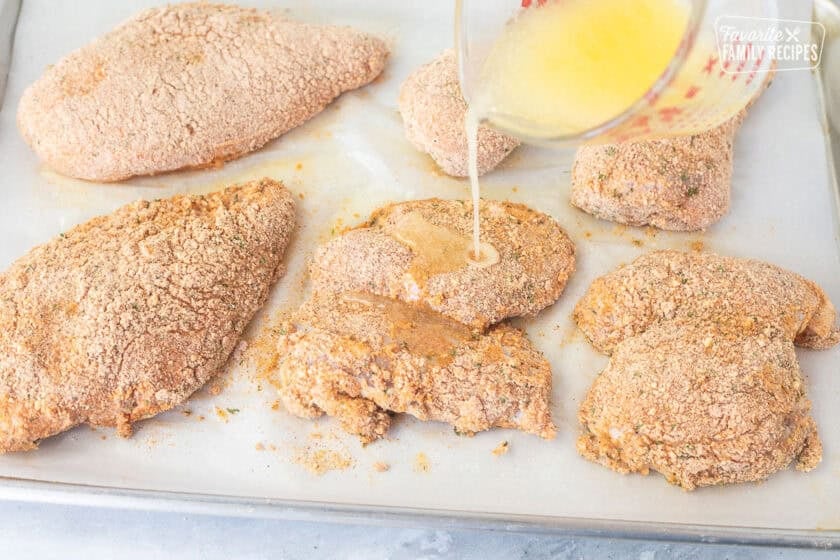
- Drizzle the remaining butter and oil mixture over the coated chicken.
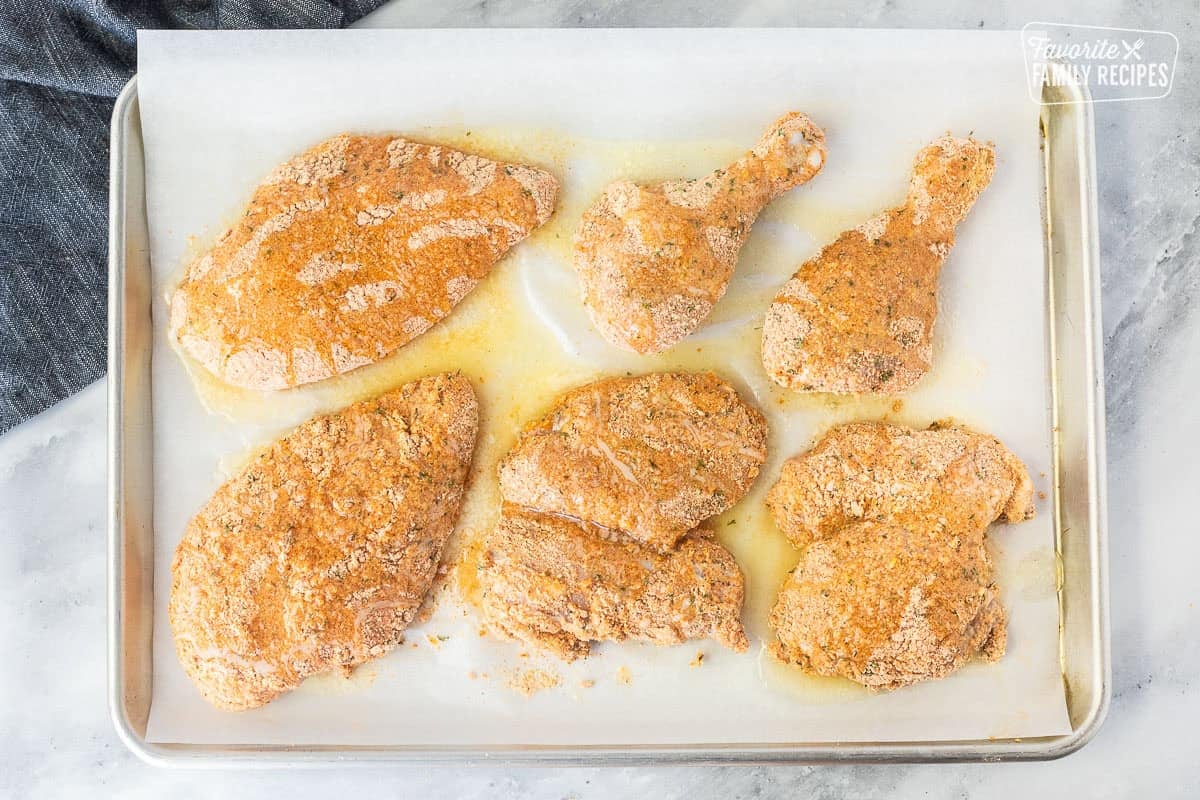
- Bake for 20 minutes, then carefully turn each piece over and continue baking for another 20–25 minutes.
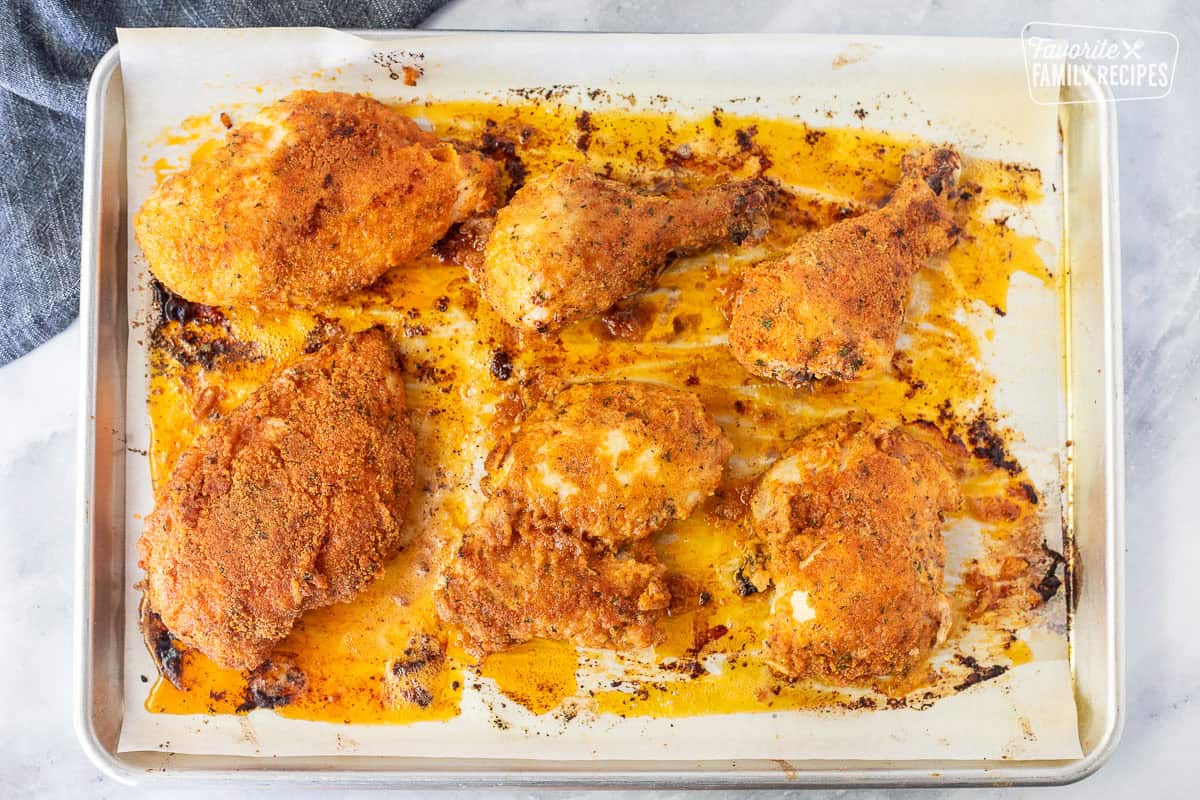
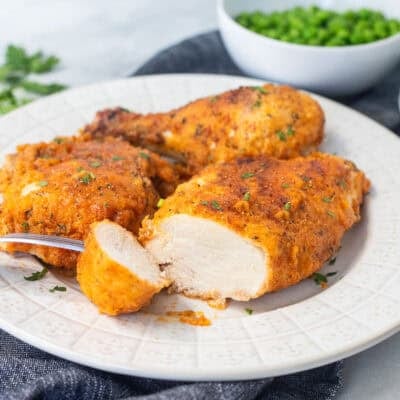
- The chicken is done when the coating is golden brown and the thickest part reaches 165°F. Let the chicken rest for a few minutes before serving. Boneless pieces may cook faster, so check them early to avoid overcooking.
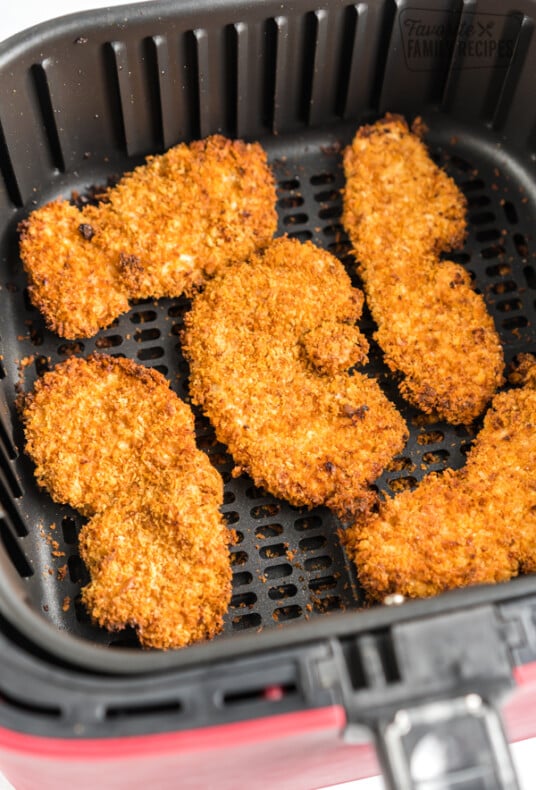
Try it in the Air Fryer
Shake N Bake chicken turns out great in the air fryer too! Preheat the air fryer to 375°F and lightly spray the basket with cooking spray. Arrange the breaded chicken in a single layer, leaving space between each piece so the air can circulate. Lightly spray the tops of the chicken with cooking spray or oil, then cook until golden brown and crispy, flipping halfway through. Boneless chicken pieces usually take 12-18 minutes, while bone-in pieces take 22-28 minutes. Because air fryer models vary, always use a meat thermometer and cook the chicken until it reaches an internal temperature of 165°F. For the crispiest coating, let the breaded chicken rest for 5-10 minutes before air frying.
Expert Tips
Leave space between the pieces: Crowding the pan traps steam and can make the coating soft instead of crispy. Use two baking sheets if necessary.
Use a wire rack for maximum crispiness. If you have an oven-safe wire rack, place it on the baking sheet before adding the chicken. Air can circulate underneath, creating an even crispier coating.If you have a convection oven, even better!
Let the chicken rest before serving. I do this any time I grill or bake chicken. Letting the chicken rest for just 5 minutes allows the juices to redistribute and helps keep the chicken moist.
Frequently Asked Questions
The most common culprit is overcrowding the pan. Make sure there’s space between each piece so the hot air can circulate. Using the butter and oil mixture and flipping the chicken halfway through baking also helps you get a crispy coating.
You can bread the chicken several hours ahead of time and keep it covered in the refrigerator until you’re ready to bake. This actually helps the coating stick even better.
I usually use vegetable oil or avocado oil because both have a neutral flavor and a higher smoke point. Either one works great when mixed with the butter.
More Easy Chicken Recipes
Have you tried this Shake N Bake Chicken? I’d love to hear what you think! Drop a comment below and let me know how you liked it. And don’t forget to take a pic and tag us on Instagram @favoritefamilyrecipes! 📸🍗
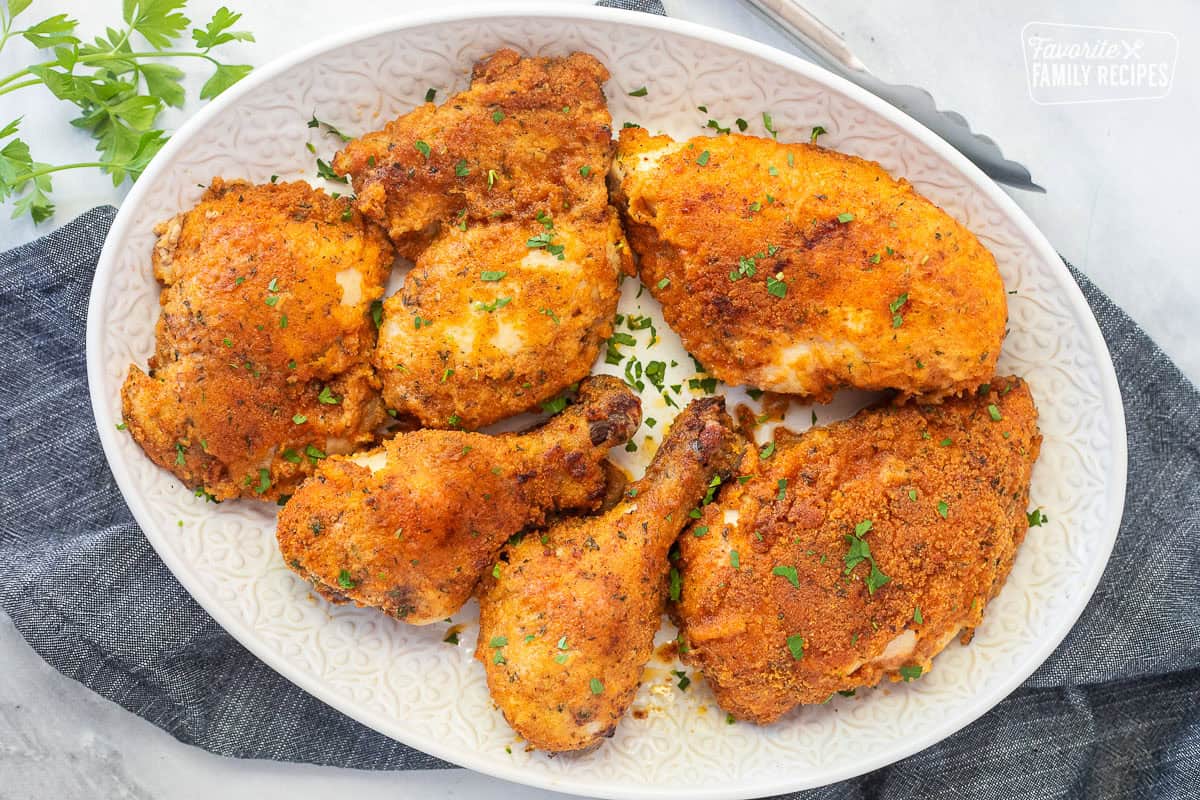
Homemade Shake and Bake Chicken
Ingredients
- 3 pounds chicken pieces, about one whole chicken or 6-8 pieces
- 1 cup buttermilk
- 3/4 cup plain breadcrumbs
- 1/2 cup all purpose flour
- 2 teaspoons garlic powder
- 2 teaspoons onion powder
- 2 teaspoons dried parsley
- 2 teaspoons paprika
- 1 1/2 teaspoons salt
- 1/2 teaspoon ground black pepper
- 1/4 teaspoon cayenne, optional, or more if you like it spicy
- 1/3 cup butter, melted
- 1/3 cup vegetable or avocado oil
Instructions
- Preheat oven to 400℉.Pat chicken dry and place in a gallon sized zip-top bag. Pour buttermilk over the top, seal the bag tightly, then move chicken around until it seems evenly coated. Set aside.
- In a separate gallon-sized zip-top bag, add breadcrumbs, flour, garlic powder, onion powder, parsley, paprika, salt, pepper, and cayenne (optional). Mix until well combined.

- Prepare the baking sheet by lining with foil or parchment paper. Combine melted butter and oil in a glass measuring cup and pour half of it onto the baking sheet. Use a basting brush to spread it around evenly.

- Working with the chicken one piece at a time, remove chicken from the buttermilk and shake off the excess until there is just a thin coating of buttermilk.
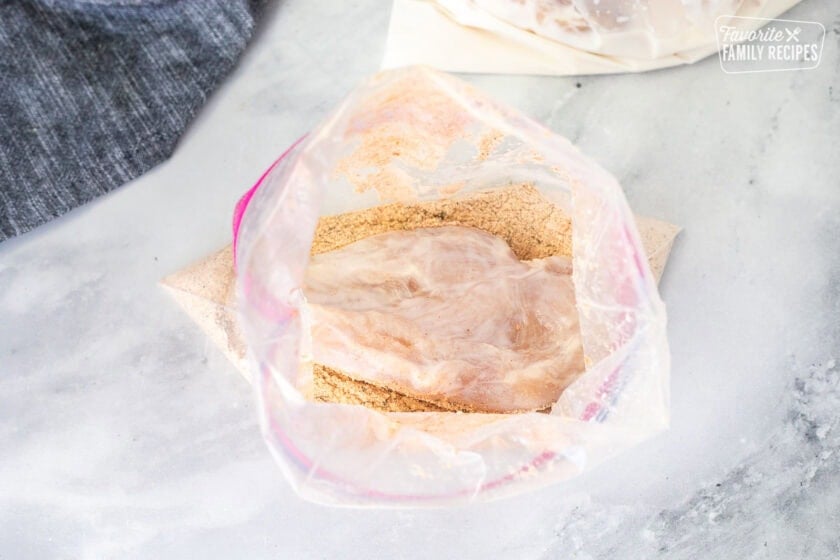
- Place chicken, one at a time, into the breadcrumb bag. Seal the bag and shake until the chicken is evenly coated.
- Place the coated chicken piece on the prepared baking sheet and repeat with remaining pieces of chicken. Make sure you leave some space between the chicken pieces so they can get crispy. If you put the chicken too close together the chicken will steam instead of bake and you won't get a crispy coating.
- Pour the remaining butter/oil mixture evenly over the top of the chicken and bake for 20 minutes.
- Flip the chicken pieces over and bake another 20-25 minutes or until internal temperature reaches 165℉.Note: Boneless pieces will cook faster than bone-in pieces so check boneless pieces after 25 minutes. It's crucial to use a meat thermometer to check the chicken so it doesn't get overcooked. You want the chicken to be crispy on the outside and perfectly juicy on the inside.

Notes
- You can marinate the chicken in the buttermilk in the refrigerator up to 48 hours before shakin’ and baking’. This will give the chicken extra delicious flavor.
- Instead of buttermilk, you can brush the chicken with some mayonnaise. You can use whatever you have on hand. It’s going to taste amazing either way.
Nutrition
Nutrition information is automatically calculated, so should only be used as an approximation.
Love this recipe?
We want to hear from you! Please leave a review.