
We may earn a commission when you click on the affiliate links in this post.
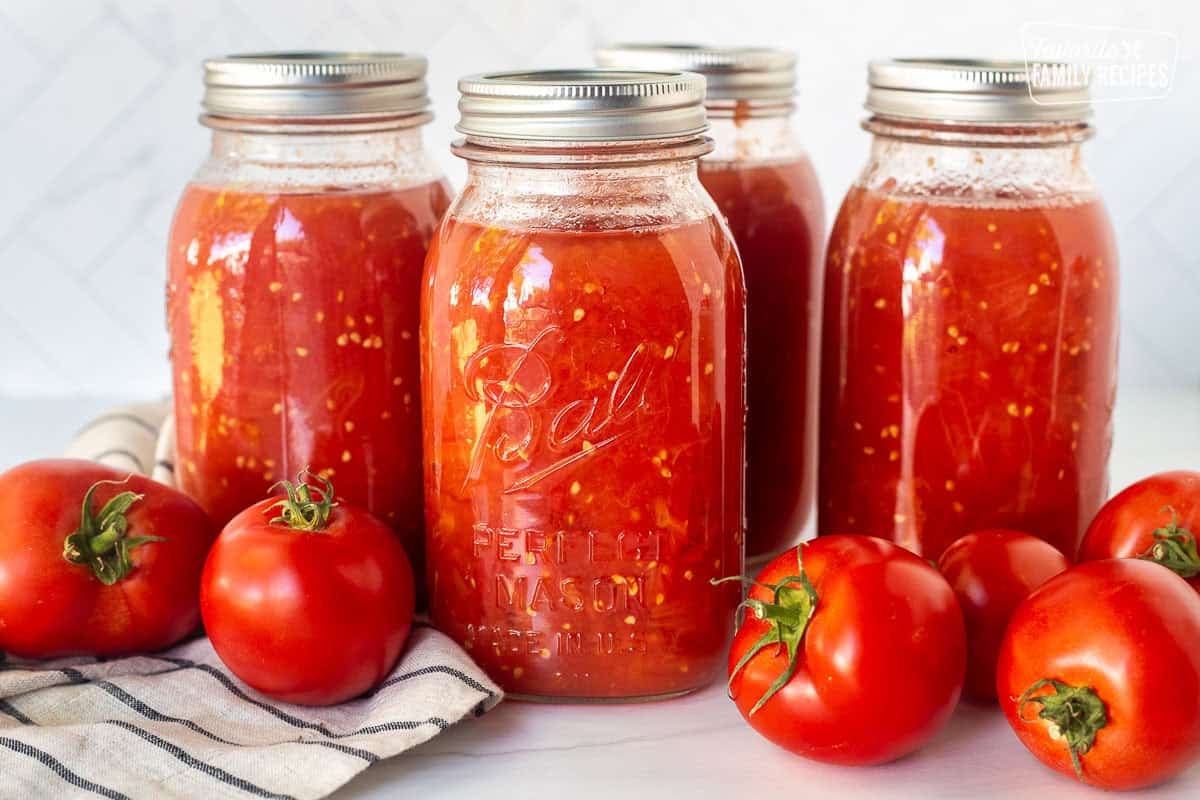
Learning How to Can Diced Tomatoes is one of my favorite ways to preserve a big garden harvest. These home-canned tomatoes are ready for soups, chili, pasta sauces, casseroles, and any recipe that calls for canned tomatoes. Once your jars are on the pantry shelf, you will be so glad you took the time to make them!
5 Star Reviews ⭐️⭐️⭐️⭐️⭐️
“Love the step-by-step instructions! Easy to follow…easy to execute. Thanks for sharing!” – Traci
“I’m so glad I came across this recipe! My garden is bursting with tomatoes, and this is perfect for making sure they don’t go to waste. Thanks for all the tips!” – Amanda
“Fabulous way to save the fantastic homegrown tomatoes of summer.” – Robin
Why I Love Canning Tomatoes
Growing and canning tomatoes is one of my favorite things to do each year. It feels like I am bottling up a little bit of summer to enjoy when garden season is long gone. Every time I open a jar in the middle of winter, the tomatoes still have that fresh garden flavor. If you are new to growing tomatoes, check out our easy guide for growing the BEST tomatoes.
I also love having a shelf full of tomatoes that are ready to add to dinner. They work in so many recipes, save me trips to the grocery store, and help make good use of every last tomato from the garden. This method leaves plenty of soft tomato pieces in their own juice, so I can use them anywhere I would normally use diced or crushed tomatoes.
🩷 Erica
Table of Contents
- 5 Star Reviews ⭐️⭐️⭐️⭐️⭐️
- Why I Love Canning Tomatoes
- Ingredients You’ll Need
- Ingredient Additions and Substitutions
- Equipment You’ll Need
- Canning Diced Tomatoes Step by Step
- Water Bath Processing Times
- Canning Safety
- Recipe Tips
- Frequently Asked Questions
- Troubleshooting
- Make Ahead and Storage
- Pairing Ideas
- More Canning Recipes
- How to Can Diced Tomatoes Recipe
Ingredients You’ll Need
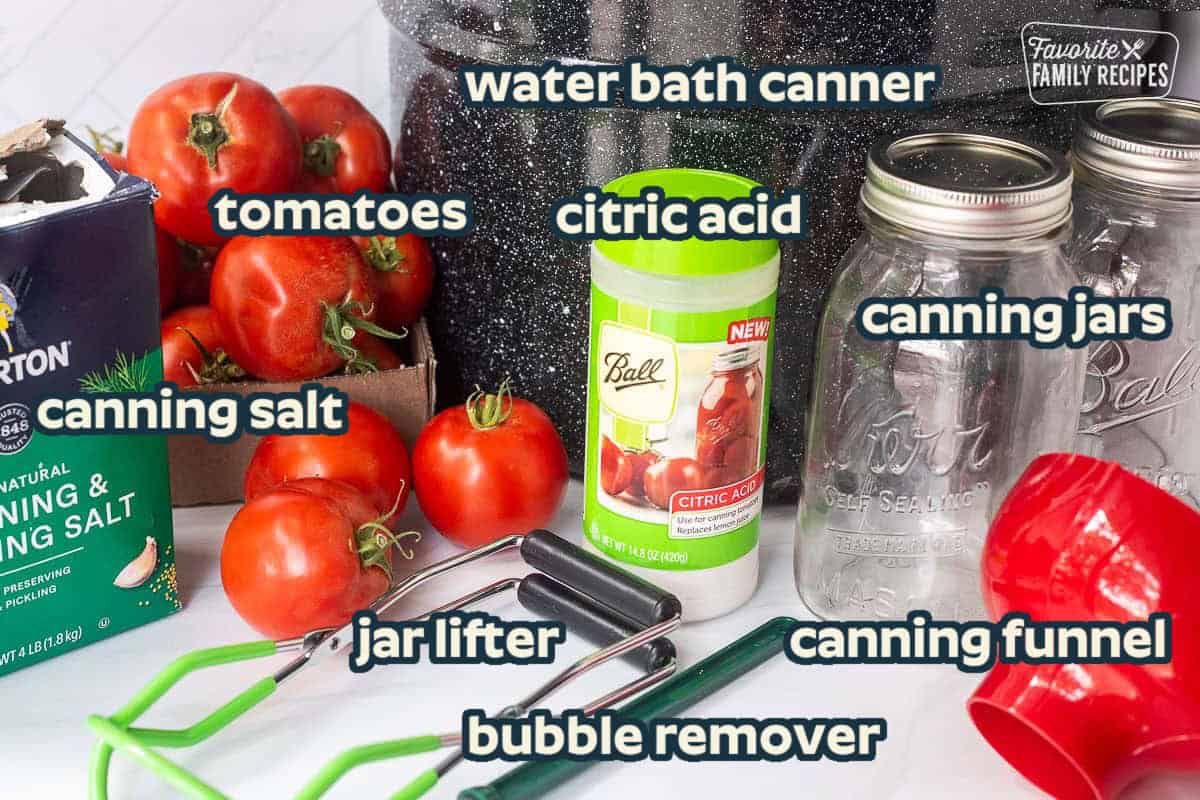
- Fresh tomatoes: Firm, ripe paste tomatoes such as Roma, San Marzano, or Amish Paste have more flesh and less water, but other ripe tomato varieties can also be used.
- Bottled lemon juice or citric acid: Tomatoes must be acidified for safe canning, even when they taste acidic.
- Canning salt: Salt is optional and is used only for flavor, not for canning safety.
Ingredient Additions and Substitutions
- Citric acid: You can use food-grade citric acid instead of bottled lemon juice. Add ½ teaspoon per quart jar or ¼ teaspoon per pint jar.
- Different tomato varieties: Paste tomatoes give you a thicker finished product, but slicing, cherry, heirloom, and other tomato varieties can be used as long as they are firm, ripe, and free from disease.
- Salt: Canning salt can be reduced or left out completely. It does not affect the safety of the tomatoes.
- Sugar: A small amount of sugar can be added after opening the jar if you find the tomatoes too tart. I prefer to season them when I use them rather than adding sugar during canning.
- Fresh lemon juice: Do not substitute freshly squeezed lemon juice. Its acidity can vary. Use commercially bottled lemon juice or food-grade citric acid.
- Herbs, onions, peppers, and garlic: Do not add herbs, vegetables, garlic, oil, or other ingredients to this recipe unless you are following a research-tested variation. Add seasonings after opening the jar instead.
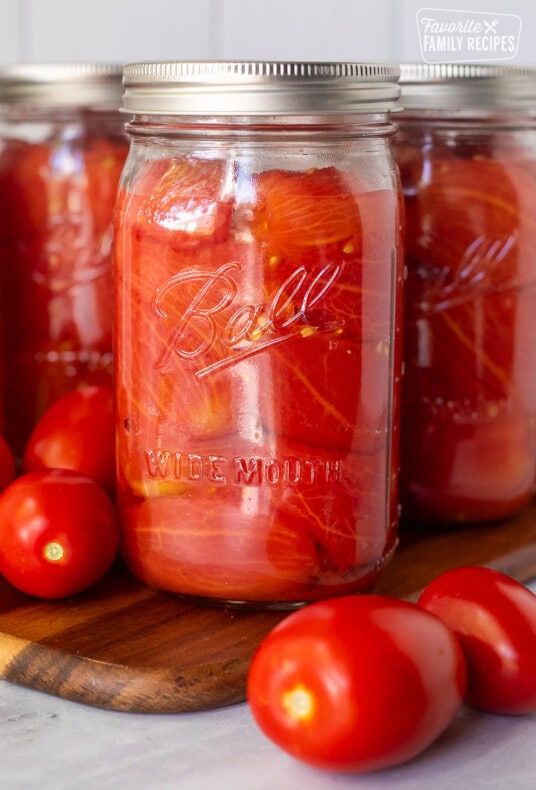
- Canning Whole Tomatoes: Canning whole tomatoes or tomato halves is another good option when you want larger pieces. Be sure to follow the processing method and times written specifically for whole or halved tomatoes rather than using the instructions interchangeably.
Equipment You’ll Need
- Water bath canner with a rack: Use a canner deep enough to cover the filled jars with 1 to 2 inches of water.
- Pint or quart canning jars: Check each jar for cracks, chips, or damage before filling.
- New canning lids and bands: Use new flat lids for each batch and clean bands that are free from rust or damage.
- Large stainless steel pot: You’ll need a nonreactive pot for heating the tomatoes before filling the jars.
- Large pot for blanching: This makes it easy to loosen the tomato skins before peeling.
- Large bowl of ice water: The ice bath stops the cooking and helps the skins slip off more easily.
- Jar lifter: A jar lifter lets you safely move hot jars in and out of the canner.
- Canning funnel: This helps you fill the jars neatly and keeps food off the rims.
- Bubble remover or plastic utensil: Use it to release trapped air bubbles before adding the lids.
- Ladle: A ladle makes it easier to transfer the hot tomatoes and juice into the jars.
- Paring knife: Use a small sharp knife to core, peel, and cut the tomatoes.
- Clean towels: Place the hot jars on a folded towel to cool and use another clean towel to wipe the jar rims.
Canning Diced Tomatoes Step by Step
There is one important thing to understand before you begin. The National Center for Home Food Preservation does not publish a separate tested process called “diced tomatoes.” To stay within research-tested canning directions, I use its hot-pack method for crushed tomatoes.
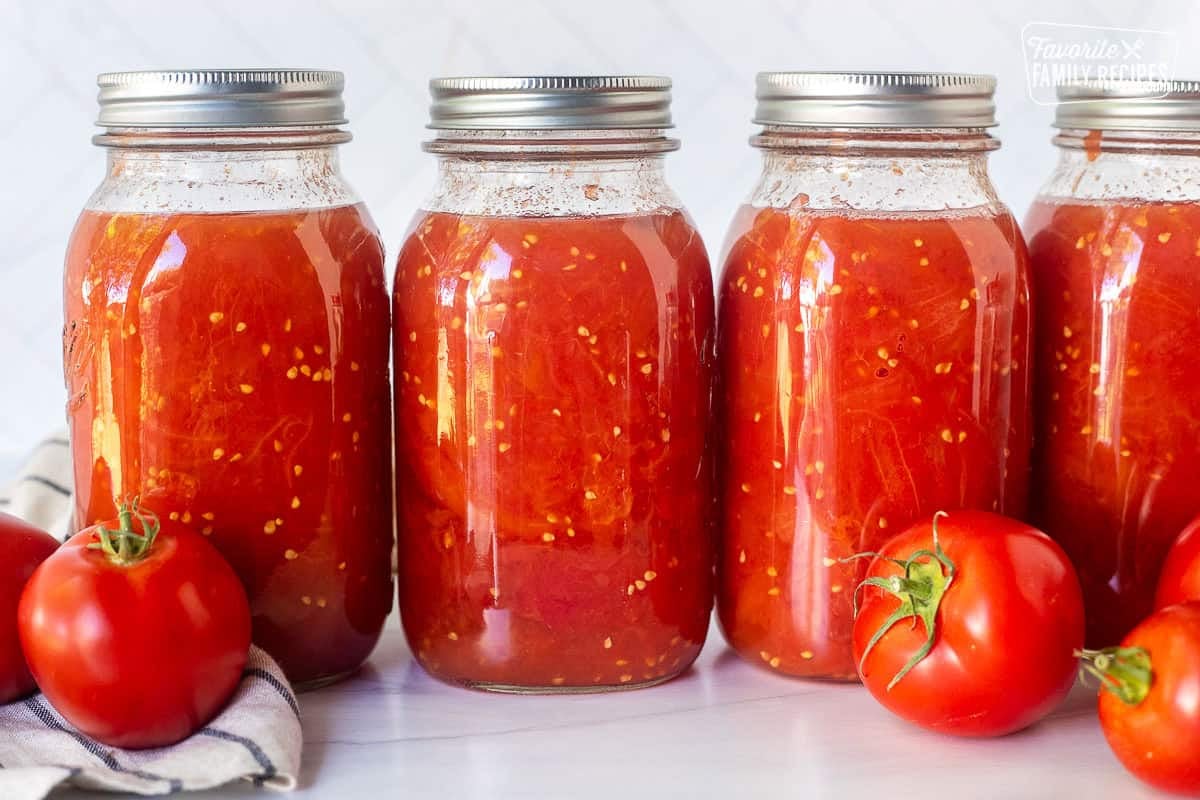
Only the first small portion of tomatoes is crushed to create enough juice. The remaining tomatoes are added in pieces and soften as they cook. The finished jars contain plenty of chunky tomato pieces, but they will not look like the firm, perfectly shaped cubes in a store-bought can. When I need a smaller dice, I quickly chop the tomatoes after opening the jar.
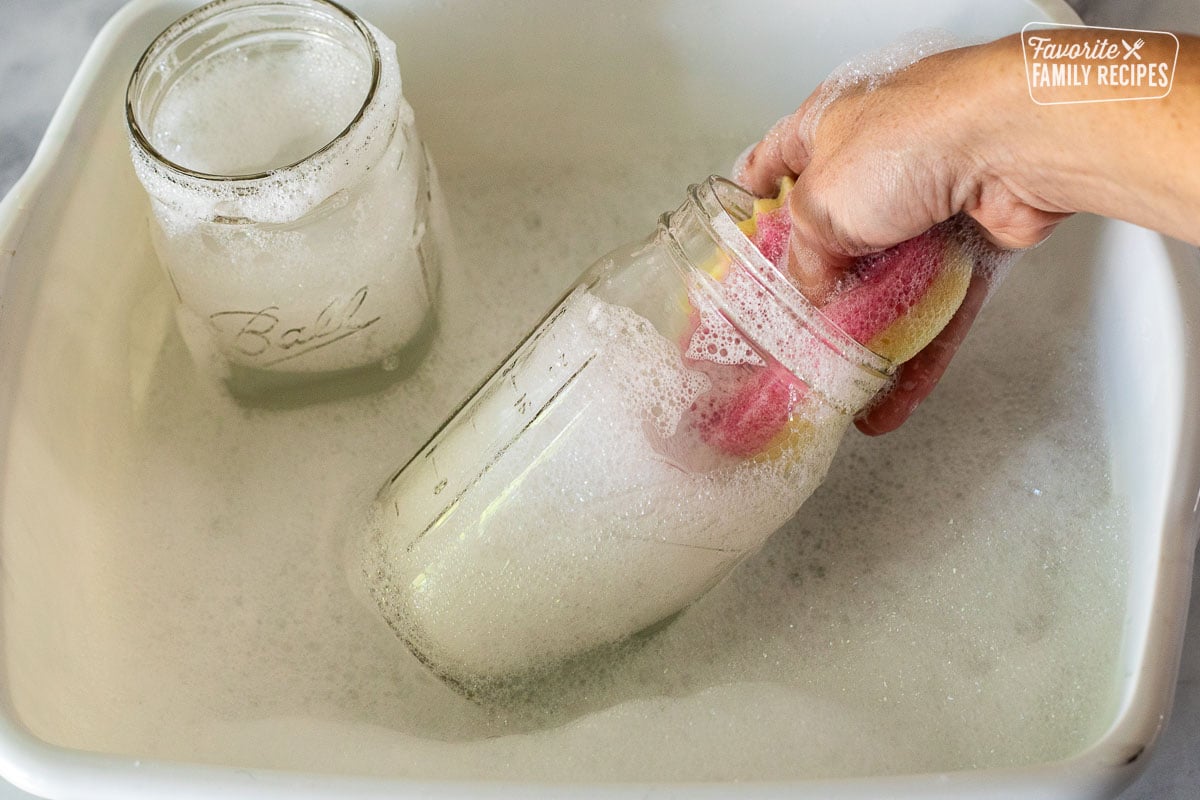
- Prepare the canner and jars. Wash your jars, lids, and bands in hot, soapy water. Place the jars in a water bath canner filled with water and keep them hot at a gentle simmer. Prepare the lids according to the manufacturer’s directions.
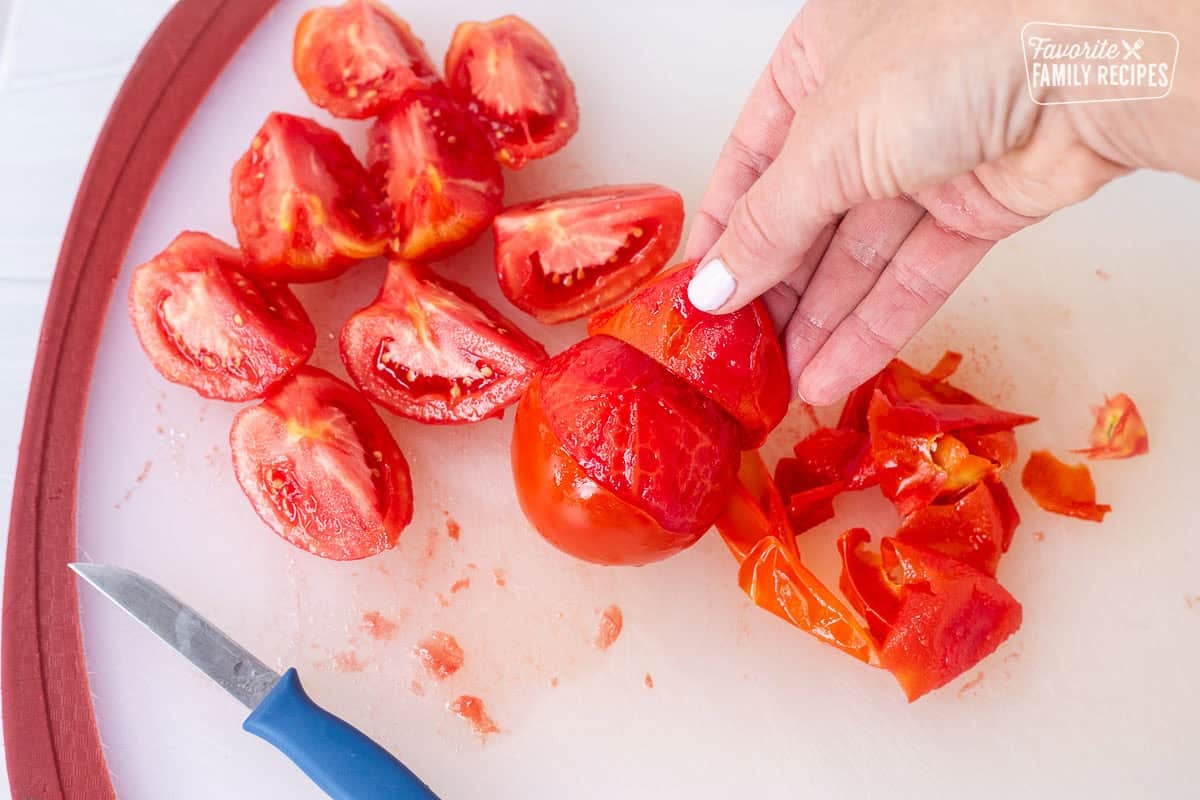
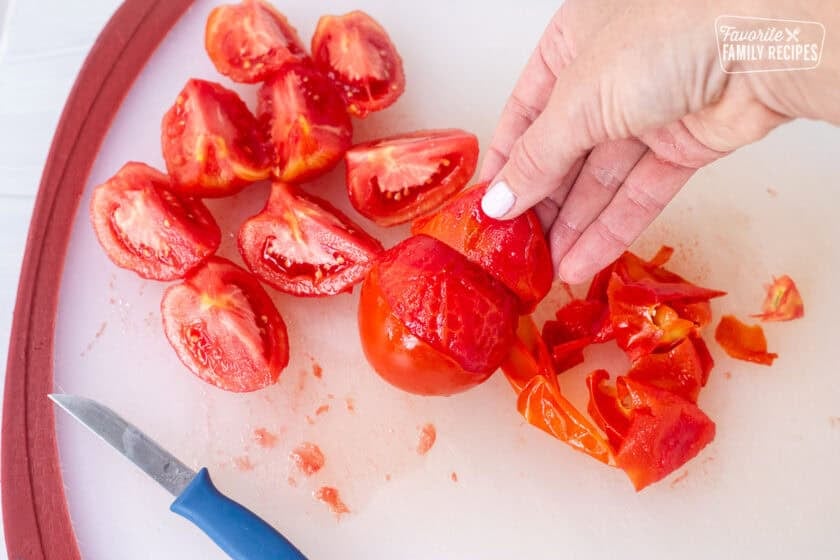
- Peel and prepare the tomatoes. Wash the tomatoes and remove any bruised, discolored, or damaged areas. Place a few tomatoes at a time in boiling water for 30 to 60 seconds, or until the skins begin to split. Move them immediately to ice water. Slip off the skins, remove the cores, and cut the tomatoes into quarters.
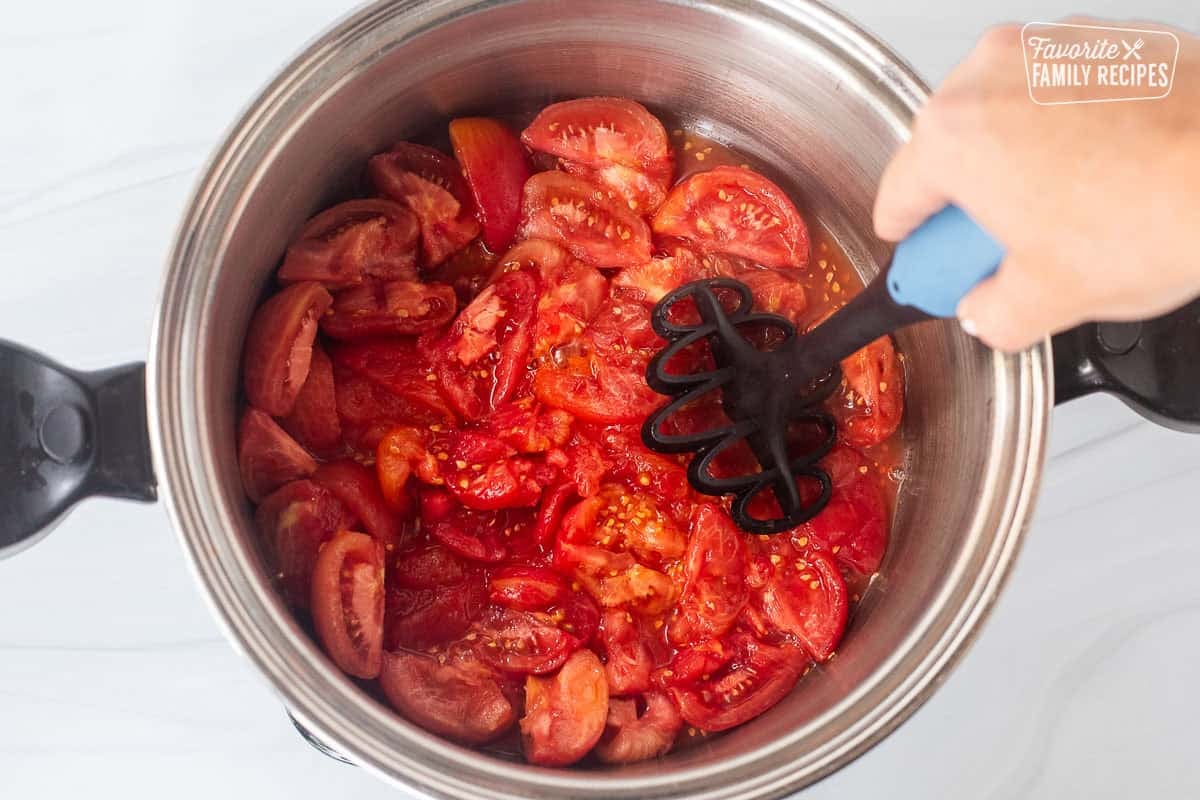
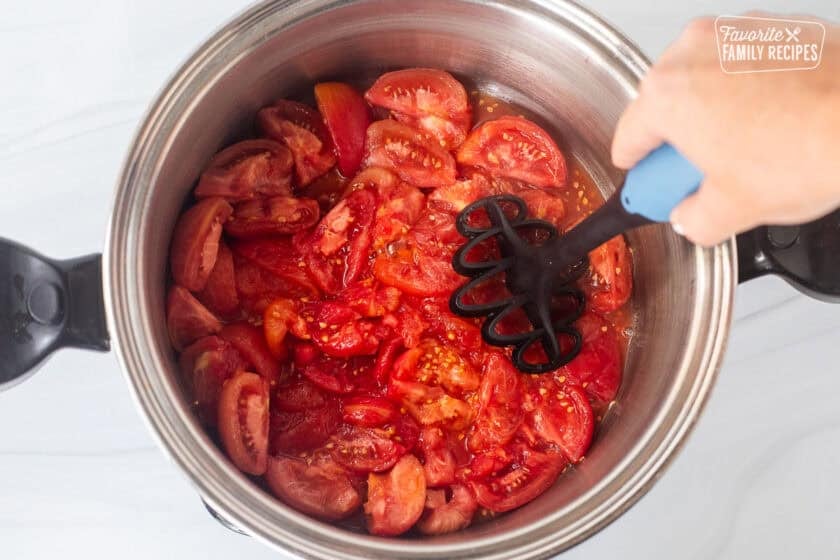
- Heat the tomatoes. Place about one-sixth of the prepared tomatoes in a large stainless steel pot. Heat them quickly while crushing them with a potato masher or wooden spoon to release their juice. Once they are boiling, gradually add the remaining tomato pieces while stirring. Keep the mixture boiling as you add the tomatoes, then boil gently for 5 minutes.
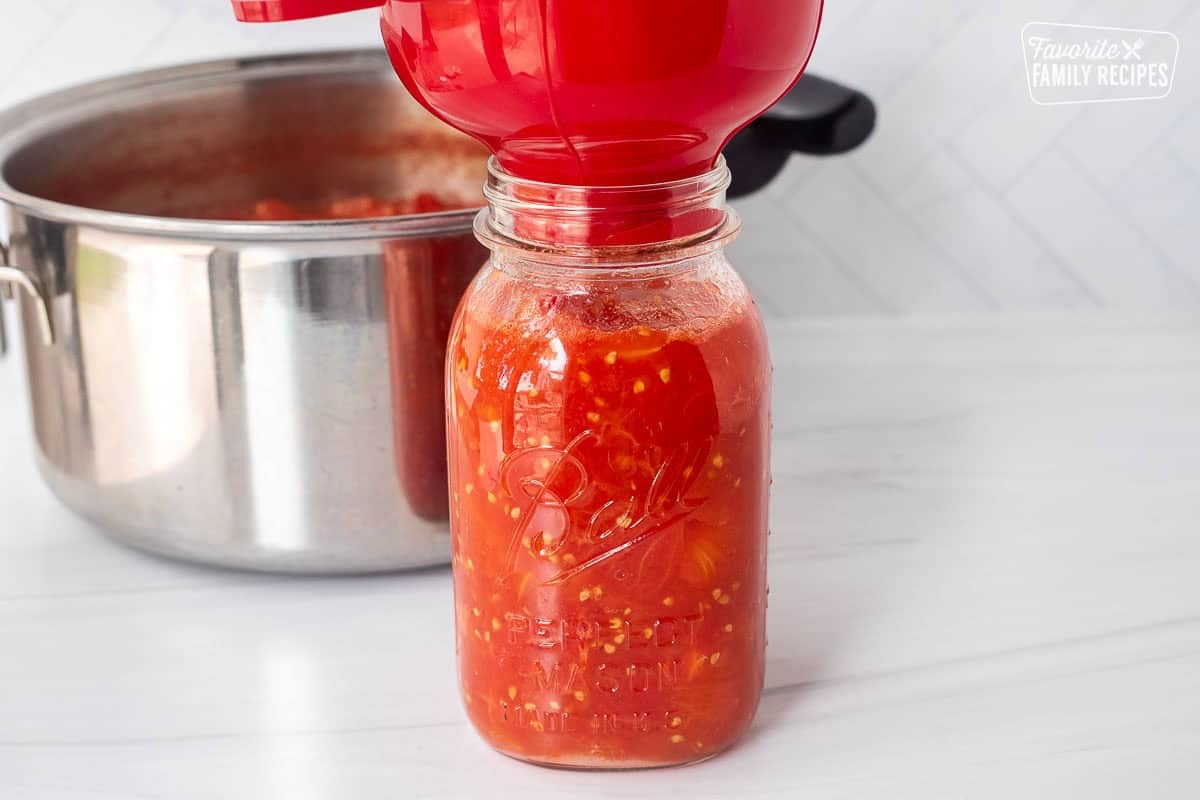
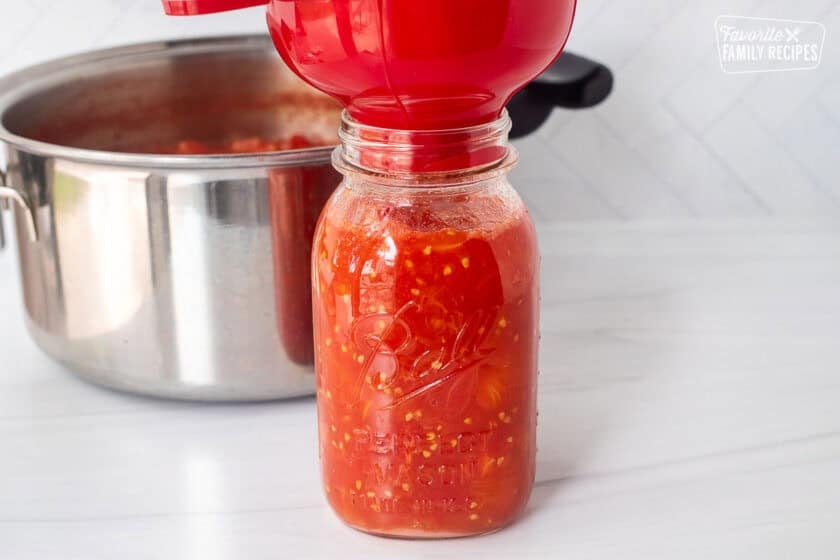
- Acidify and fill the jars. Add 2 tablespoons bottled lemon juice or ½ teaspoon citric acid to each quart jar. For pint jars, add 1 tablespoon bottled lemon juice or ¼ teaspoon citric acid. Add canning salt, if desired. Ladle the hot tomatoes and juice into the hot jars, leaving ½ inch of headspace. Remove air bubbles and adjust the headspace as needed.
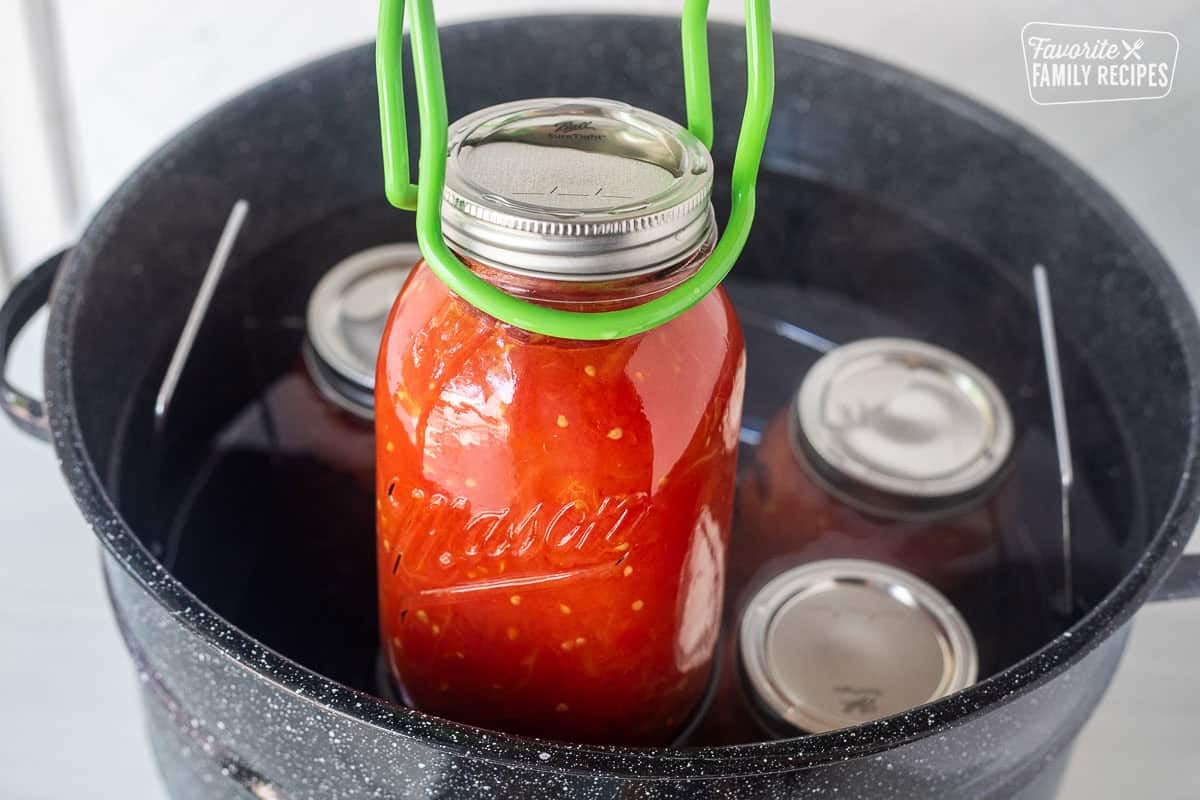
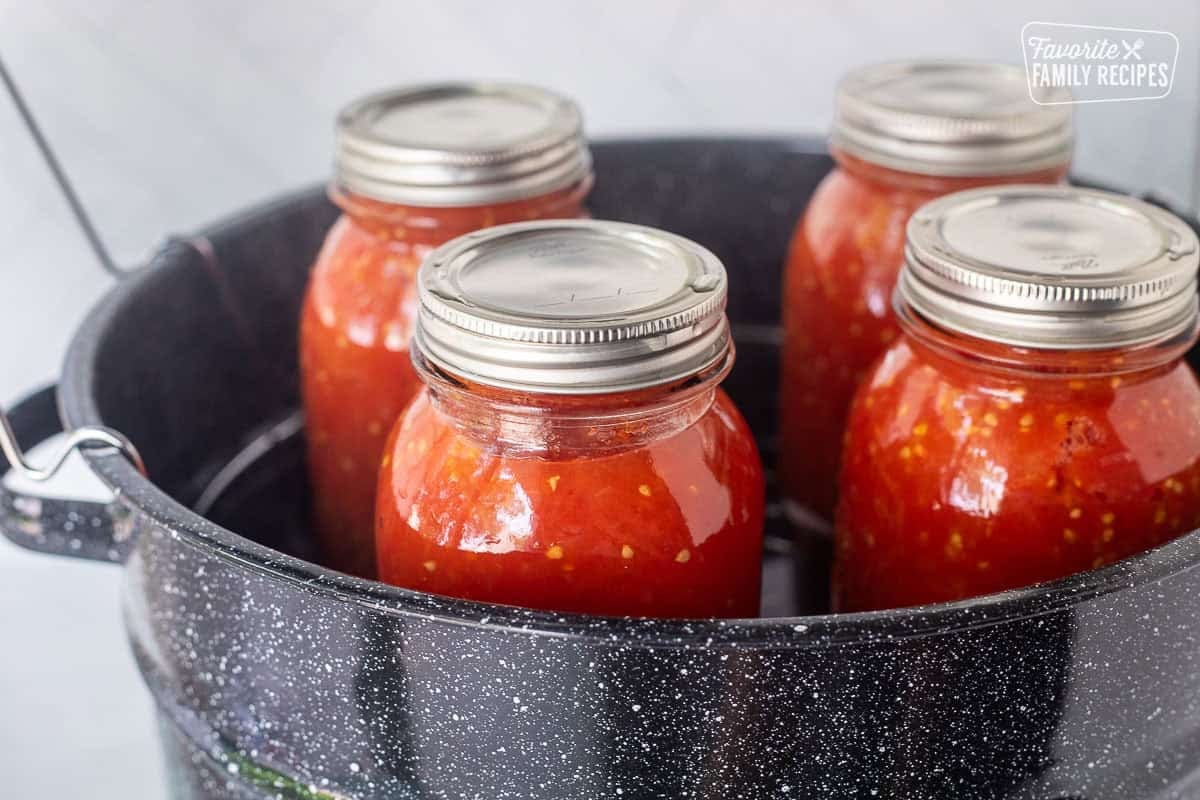
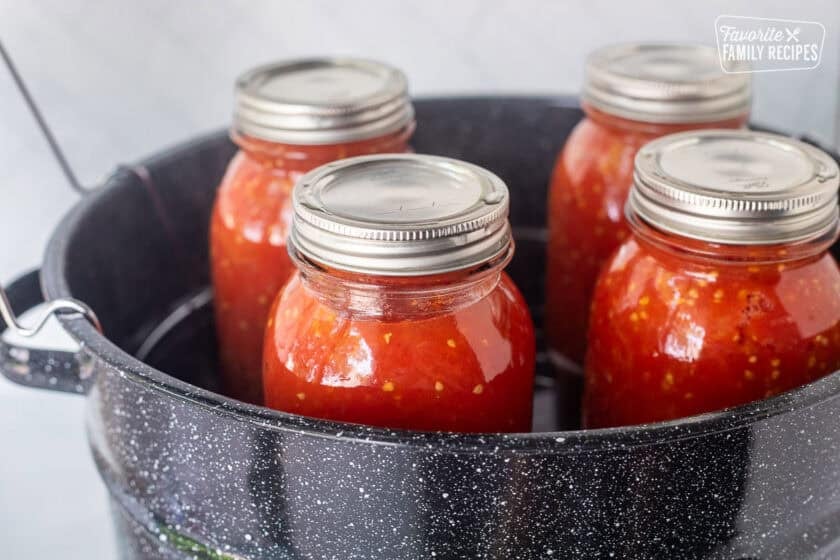
- Process the jars. Wipe each rim with a clean, damp cloth. Center a lid on the jar and tighten the band until fingertip tight. Place the jars in the canner, making sure they are covered with 1 to 2 inches of water. Bring the water to a full boil, cover the canner, and process according to your jar size and altitude.
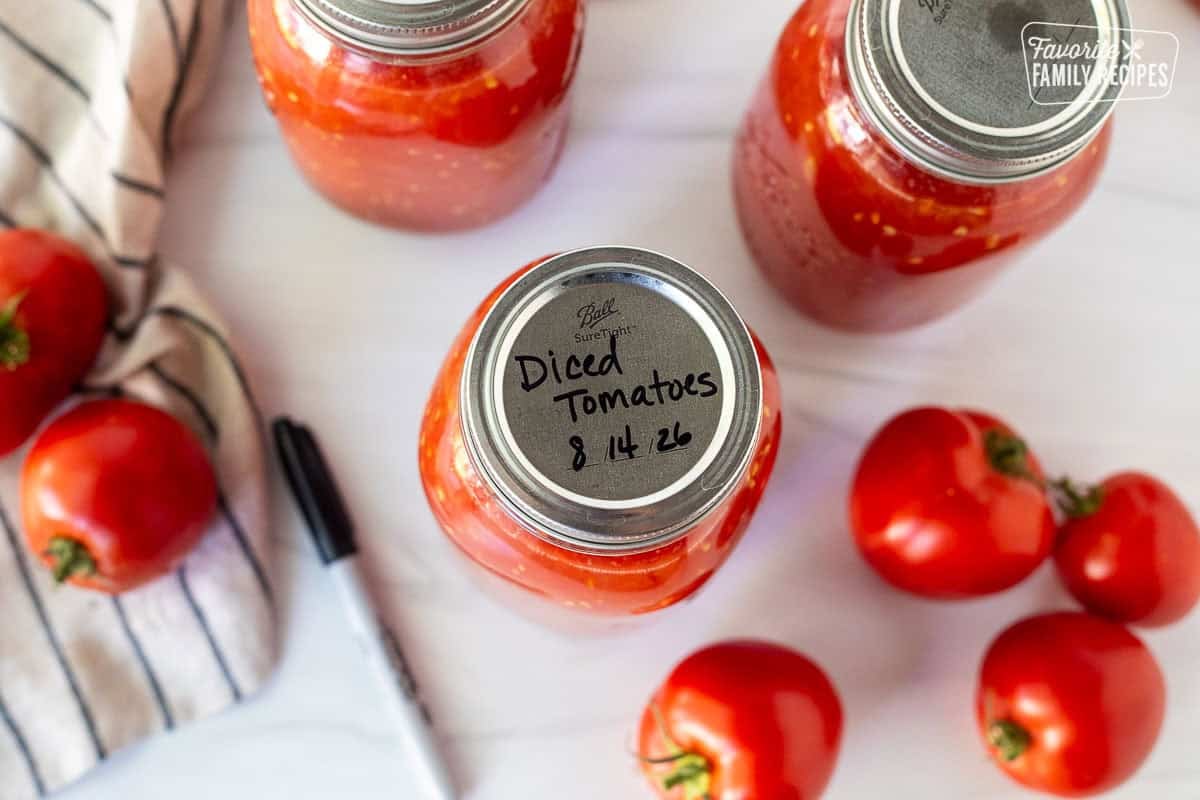
- Cool and check the seals. When the processing time is finished, turn off the heat, remove the canner lid, and wait 5 minutes. Lift the jars straight up and place them on a towel with space between each jar. Let them cool undisturbed for 12 to 24 hours before checking the seals.
Water Bath Processing Times
Begin timing only after the canner has returned to a full boil.
| Altitude | Pint Jars | Quart Jars |
|---|---|---|
| 0 to 1,000 feet | 35 minutes | 45 minutes |
| 1,001 to 3,000 feet | 40 minutes | 50 minutes |
| 3,001 to 6,000 feet | 45 minutes | 55 minutes |
| Above 6,000 feet | 50 minutes | 60 minutes |
If the water stops boiling at any point during processing, bring it back to a full boil and restart the processing time from the beginning. These times are for the research-tested hot-pack crushed tomato method.
Canning Safety
Home canning is safe when you follow a current, research-tested recipe exactly. Do not change the jar size, headspace, acid, preparation method, or processing time.
- Always acidify tomatoes. Add 2 tablespoons bottled lemon juice or ½ teaspoon citric acid to every quart jar. Add 1 tablespoon bottled lemon juice or ¼ teaspoon citric acid to every pint jar. This acid is required even when tomatoes are processed in a pressure canner. Salt is optional and does not make the tomatoes safe.
- Choose good tomatoes. Use firm, disease-free tomatoes, preferably ripened on healthy vines. Do not can tomatoes from dead or frost-killed vines. Cut away bruised or discolored areas before processing.
- Do not add untested ingredients. Fresh onions, peppers, celery, garlic, oil, flour, cornstarch, rice, pasta, or other additions can change how heat moves through the jar. Use a tested recipe when canning tomatoes with other ingredients.
- Keep the correct headspace. Leave ½ inch between the tomatoes and the top of the jar. Too little space can cause liquid to escape during processing. Too much space can prevent the jar from sealing correctly.
- Keep jars hot. Because this recipe is processed for longer than 10 minutes, the jars do not need to be separately sterilized before filling. They should still be washed thoroughly and kept hot until you are ready to fill them.
For more detailed information about preparing equipment, filling jars, checking seals, and choosing the right canner, read our Canning 101 and Water Bath Canning guides as well as the USDA Complete Guide to Home Canning before you begin.
Recipe Tips
- Plan on approximately 22 pounds of tomatoes for seven quart jars. The amount can vary depending on the tomato variety and how much needs to be trimmed. You may need closer to 28 pounds if your tomatoes are especially juicy or require a lot of trimming.
- Use paste tomatoes for a thicker result. Roma, San Marzano, and Amish Paste tomatoes have more flesh and usually produce less watery jars.
- Work in manageable batches. Blanch only a few tomatoes at a time so you can move them into the ice bath as soon as the skins split.
- Keep the tomatoes hot. Heating the tomatoes quickly helps reduce separation between the tomato pulp and juice.
- Do not skip peeling. Removing the skins gives the tomatoes a much better texture and follows the tested preparation method.
- Seeds can stay. You can remove seeds for a smoother texture, but it is not required.
- Use wide-mouth jars when possible. They are easier to fill and make it easier to remove the tomatoes later.
- Choose pint jars for smaller meals. One pint jar is close to the amount in a 14.5 to 15-ounce store-bought can of diced tomatoes.
- Expect the pieces to soften. Home-canned tomatoes will not stay in firm cubes. They become tender and chunky during cooking and processing.
- Remove the bands before storage. This makes it easier to notice if a jar loses its seal while sitting on the shelf.
Frequently Asked Questions
Yes. The tested process used for this recipe calls for the tomatoes to be blanched, peeled, and cored. Leaving the skins on can also give the tomatoes a tough or curled texture.
Yes. Use ½ teaspoon food-grade citric acid per quart jar or ¼ teaspoon per pint jar. Add it directly to each jar before adding the tomatoes.
Yes. Pint jars work well and are a convenient substitute for a standard can of tomatoes. Process pints for 35 minutes at elevations up to 1,000 feet, then adjust the processing time for higher elevations.
Roma, San Marzano, and Amish Paste tomatoes are some of my favorites because they are meaty and contain less water. You can also use slicing or heirloom tomatoes, but the finished jars may contain more liquid.
Do not add fresh garlic, onions, peppers, or other vegetables to this plain tomato recipe. You can add seasonings after opening the jar, or follow a tested seasoned tomato recipe with its own ingredient amounts and processing directions.
For the best quality, use fresh, firm tomatoes. Previously frozen tomatoes become very soft and watery when thawed. I would use frozen tomatoes for freezer sauce, tomato juice, or another cooked recipe rather than this canning method.
No. Whole, halved, quartered, crushed, and water-packed tomatoes can have different preparation and processing directions. Follow our separate How to Can Whole Tomatoes recipe when you want to preserve larger tomato pieces.
Bottled lemon juice has a standardized acidity. Fresh lemon juice varies depending on the type, ripeness, and growing conditions of the lemons, so it is not a reliable substitute for home canning.
Troubleshooting
- The tomatoes and juice separated: Some separation is normal and does not automatically mean the tomatoes are spoiled. Heating the tomatoes quickly and using a hot pack helps reduce separation. Stir the tomatoes after opening the jar.
- The tomatoes floated to the top: Floating is usually caused by excess air in the tomato tissue or jars that were packed too loosely. Hot-packing the tomatoes, removing air bubbles, and using the correct headspace can help.
- Liquid leaked out of the jars: This is called siphoning. It can happen when jars are overfilled, bands are tightened too much, the temperature changes too quickly, or the jars are removed from the canner immediately. Do not open the jar to replace the liquid. When at least half the liquid has been lost, refrigerate the jar and use it within 2 to 3 days.
- A jar did not seal: Refrigerate it and use it within several days, freeze it in a freezer-safe container, or reprocess it within 24 hours using a new lid and the full processing time. Reprocessing is only recommended when the tested recipe was followed correctly the first time.
- I forgot to add the lemon juice or citric acid: Do not store those jars at room temperature. The processing times in this recipe rely on the tomatoes being properly acidified. When in doubt, discard the jars without tasting the contents.
- The jars have more headspace after processing: Tomatoes shrink and release juice as they heat. A small increase in headspace can be normal. Do not open a properly sealed jar to refill it.
- The liquid looks cloudy: Cloudiness can sometimes come from minerals in the water or anti-caking ingredients in regular table salt. Use canning salt and soft or filtered water. If the jar also has a broken seal, bubbles, mold, an unusual smell, or leaking liquid, discard it without tasting.
- The tomatoes turned darker at the top: This can happen when tomatoes are exposed to air because of excess headspace or liquid loss. Follow the recommended ½-inch headspace and remove air bubbles before applying the lid.
- The lid buckled: Bands that are tightened too firmly can prevent air from escaping during processing and cause the lid to buckle. Do not store a jar with a buckled lid on the shelf.
- A jar broke in the canner: Cracks, chips, thermal shock, and direct contact with the bottom of the pot can cause jars to break. Inspect jars before filling, keep them hot, use a canning rack, and avoid adding hot food to a cold jar.
Make Ahead and Storage
You can wash your canning equipment, check your jars for chips, and organize your supplies before canning day. I recommend peeling, cutting, and processing the tomatoes on the same day for the best quality.
After the jars have cooled for 12 to 24 hours, check each seal by pressing the center of the lid. A properly sealed lid should be concave and should not flex up and down.
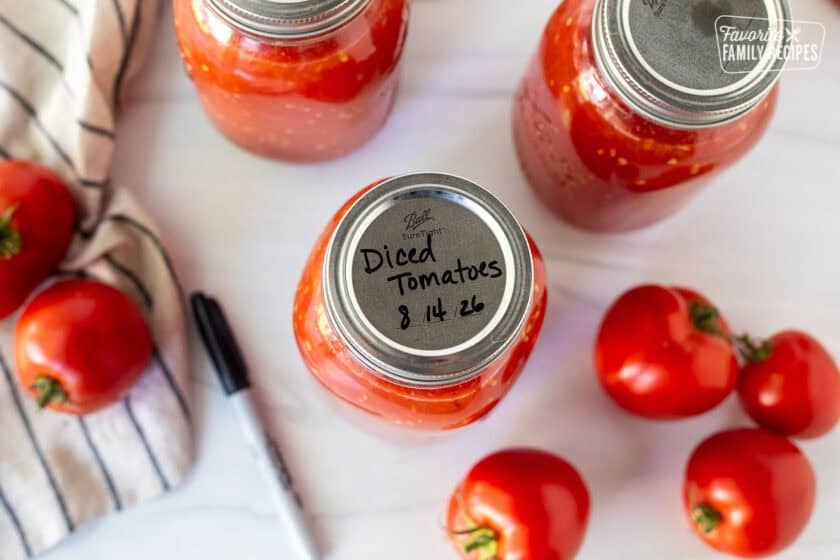
Remove the bands, wipe the jars clean, and label each jar with the contents and date. Store the jars in a clean, dry, dark place, ideally between 50 and 70 degrees F.
For the best quality, use home-canned tomatoes within one year. High-acid canned foods may keep their quality for 12 to 18 months, but I try to rotate through my jars within 12 months.
After opening a jar, refrigerate the tomatoes and use them within 5 to 7 days. You can also transfer leftovers to a freezer-safe container and freeze them.
Before opening any home-canned food, inspect the jar. Discard it without tasting if the lid is loose or bulging, the jar is leaking, liquid spurts out when opened, or the food has mold, bubbles, or an unusual odor.
Pairing Ideas
I use these canned tomatoes anywhere I would normally reach for a can of diced or crushed tomatoes. They are perfect for making spaghetti sauce, homemade pizza sauce, lasagna soup, and easy chili. You can also blend them into homemade salsa or add them to casseroles, soups, and pasta dishes. Home-canned tomatoes add that fresh garden flavor that makes all of these recipes even better.
More Canning Recipes
Once you learn How to Can Diced Tomatoes, it is easy to see why they are such a useful pantry staple. I love knowing that our garden tomatoes are not going to waste, and opening a jar in the winter always feels like a little reminder of summer.
Give this canning recipe a try, then let me know how your tomatoes turned out. Please leave a comment and a rating below! 💛🍅
How to Can Diced Tomatoes
Ingredients
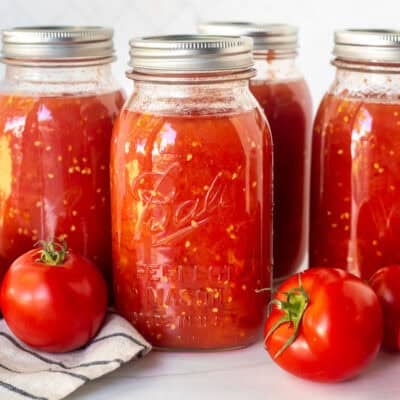
- 22 pounds ripe tomatoes, approximately, for 7 quart jars
- 14 tablespoons bottled lemon juice (2 tablespoons per quart jar), or 3 ½ teaspoons food-grade citric acid (½ teaspoon per quart jar)
- 7 teaspoons canning salt, 1 teaspoon per quart jar, optional
Instructions
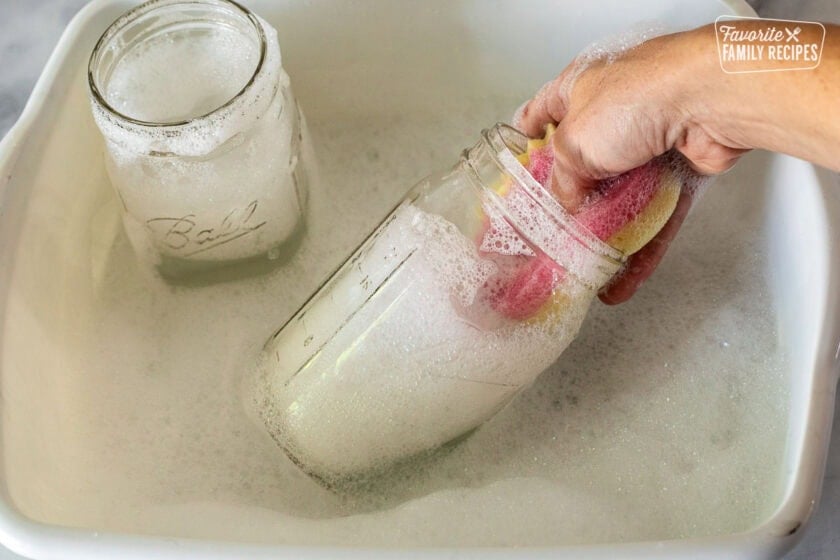
- Prepare the canner and jars. Wash the jars, lids, and bands in hot, soapy water. Place the jars on the rack in a water bath canner and keep them hot in gently simmering water. Prepare the lids according to the manufacturer’s instructions.

- Peel and cut the tomatoes. Wash the tomatoes and remove bruised or discolored areas. Place tomatoes in boiling water for 30 to 60 seconds, or until the skins split. Transfer immediately to ice water. Slip off the skins, remove the cores, and cut the tomatoes into quarters.
- Heat the tomatoes. Add approximately one-sixth of the tomatoes to a large stainless steel pot. Heat quickly while crushing them with a potato masher or wooden spoon to release their juice. Once boiling, gradually add the remaining tomato pieces while stirring constantly. Keep the mixture boiling while adding the tomatoes, then boil gently for 5 minutes.
- Fill the jars. Add 2 tablespoons bottled lemon juice or ½ teaspoon citric acid to each hot quart jar. Add 1 teaspoon canning salt, if desired. Ladle in the hot tomatoes and juice, leaving ½ inch of headspace. Remove air bubbles and adjust the headspace with additional hot tomatoes if needed. Wipe the rims, apply the lids, and tighten the bands until fingertip tight.
- Process the tomatoes. Place the jars in the water bath canner with 1 to 2 inches of water covering the lids. Bring the water to a full boil, cover, and process quart jars for 45 minutes or pint jars for 35 minutes at elevations up to 1,000 feet. Adjust the time for higher elevations. (see notes below)
- Cool and store. Turn off the heat, remove the canner lid, and wait 5 minutes. Lift the jars straight out and place them on a towel. Cool undisturbed for 12 to 24 hours. Check the seals, remove the bands, label the jars, and store them in a cool, dark, dry place.
Equipment
- Pint or quart canning jars
- Water Bath Canner with rack and lid
Notes
- This recipe follows the tested hot-pack process for crushed tomatoes. The finished tomatoes will be soft and chunky rather than firm, evenly shaped cubes.
- Always use bottled lemon juice or food-grade citric acid. Do not use fresh lemon juice.
- Acidification is required even if you choose an approved pressure-canning option.
- Salt is optional and may be reduced or omitted.
- Use firm, disease-free tomatoes from healthy vines.
- Do not add onions, peppers, fresh garlic, oil, flour, cornstarch, pasta, rice, or other ingredients.
- Leave exactly ½ inch of headspace.
- Begin the processing time only after the canner reaches a full boil.
- If the boil stops during processing, return the canner to a full boil and restart the processing time.
- Process pints for 35 minutes and quarts for 45 minutes at elevations up to 1,000 feet.
- At 1,001 to 3,000 feet, process pints for 40 minutes and quarts for 50 minutes.
- At 3,001 to 6,000 feet, process pints for 45 minutes and quarts for 55 minutes.
- Above 6,000 feet, process pints for 50 minutes and quarts for 60 minutes.
- Some separation between the tomatoes and juice is normal.
- One pint jar can replace approximately one 14.5 to 15-ounce can of tomatoes.
- Allow jars to cool undisturbed for 12 to 24 hours before checking the seals.
- Remove the screw bands before pantry storage.
- For the best quality, use within one year.
- To ensure safety before canning any type of food, review the USDA Complete Guide to Home Canning.
Nutrition
Nutrition information is automatically calculated, so should only be used as an approximation.
Love this recipe?
We want to hear from you! Please leave a review.

I have never been able to find a diced tomato recipe in the Ball preserving blue book or online. I thought you had to crush them to heat correctly. Is this one checked for safety by someone? I’d love to make diced tomatoes rather than crushed.
Thank you for asking about this. You are right that there is not a separate research-tested process for firm, evenly diced tomatoes. We have updated this recipe to follow the National Center for Home Food Preservation’s tested hot-pack method for crushed tomatoes.
With this method, about one-sixth of the tomatoes are crushed to create juice, then the remaining quartered tomatoes are gradually added while the mixture stays boiling. Those remaining pieces do not need to be crushed, so the finished tomatoes are still soft and chunky, but they will not stay in firm, evenly shaped cubes. Be sure to follow the preparation method, acidification amounts, headspace, and processing times exactly.
Hi. I ran out of lemon juice. Can I substitute with citric acid? If yes, how much per quart sized jar? Thanks.
Yes. Use ½ teaspoon food-grade citric acid per quart jar or ¼ teaspoon per pint jar.
I have a lot of “flash” frozen plum tomatoes. Can I use them with this recipe? How would I modify the recipe?
We don’t recommend using frozen tomatoes for canning diced tomatoes. The texture of frozen tomatoes is a little off. I would suggest canning tomato juice or tomato sauce instead.
Can pint size jars be used instead of quart jars?
Yes, you can use pint jars. For this hot-pack method, process pint jars for 35 minutes at elevations up to 1,000 feet. Process them for 40 minutes at 1,001 to 3,000 feet, 45 minutes at 3,001 to 6,000 feet, or 50 minutes above 6,000 feet.
Be sure to add 1 tablespoon bottled lemon juice or ¼ teaspoon food-grade citric acid to each pint jar.
I LOVED you added that link, I check to make sure it’s referenced whenever I use a website for credible information in canning! Thank you so much! Food just isn’t the same anymore and it’s not safe to be tweaking recipes that haven’t been tested! Love this! I’ve had food poisoning once (not from canned food) from fast food and I wouldn’t ever want it again!
Can’t wait to try these!!
So glad to find this recipe as I do use a lot of diced/stewed tomatoes throughout the year and I have already canned a dozen jars of spaghetti sauce. I filled seven jars using 17 pounds of tomatoes.
Hello. I tried your recipe. But forgot the salt and lemon juice, and canned them. Are they going to be on?
Salt is optional, so forgetting the salt is not a safety problem. However, the bottled lemon juice or citric acid is required.
Because the acid was left out, do not store the jars at room temperature or taste the tomatoes to determine whether they are safe. If the jars were processed within the last 24 hours, they may be opened and reprocessed using the correct acidification amounts, new lids, and the full processing time. Otherwise, refrigerate or freeze them promptly, or discard them without tasting.
There is such great information here. I look forward to adding other flavors into the tomatoes.
Love the step-by-step instructions! Easy to follow…easy to execute. Thanks for sharing!
I’m so glad I came across this recipe! My garden is bursting with tomatoes, and this is perfect for making sure they don’t go to waste. Thanks for all the tips!
I can’t wait to try this. We go through so many diced tomatoes at my house and love using my own stuff.
I’ve canned pickles, but never tried tomatoes!! Thanks for this easy recipe and instructions!
Would I just cut the salt and lemon juice in half for pint jars?
Yes, use half the quart amount of acid for pint jars. Add 1 tablespoon bottled lemon juice or ¼ teaspoon food-grade citric acid to each pint.
Salt is optional and is added only for flavor. If you choose to use it, add ½ teaspoon canning salt per pint jar. You can also leave the salt out completely without affecting canning safety.
I usually buy the Italian diced tomatoes from the store. It has basil and oregano in it i think. Would it be okay to add these to this recipe?
No, it is best to add any seasonings later when you open the jar so that is stays within safety guidelines.
This is fantastic! I always make sauce or cook the tomatoes to preserve them, and never thought to just can them diced to use like that. Love this, thanks for sharing.
Fabulous way to save the fantastic homegrown tomatoes of summer.
How long do you can the diced tomatoes in a pressure canner when you use pint jars?
For the tested hot-pack method used in this recipe, pint and quart jars have the same pressure-canning times. The tomatoes must still be acidified with bottled lemon juice or citric acid before pressure canning.
For a weighted-gauge pressure canner, process for 20 minutes at 5 pounds of pressure at elevations up to 1,000 feet or 10 pounds above 1,000 feet.
For a dial-gauge pressure canner, process for 20 minutes at 6 pounds up to 2,000 feet, 7 pounds at 2,001 to 4,000 feet, 8 pounds at 4,001 to 6,000 feet, or 9 pounds at 6,001 to 8,000 feet.
Follow the instructions for your specific pressure canner, including properly venting the canner before bringing it to pressure. Hope this helps!
Don’t you have to sterilize the jars first?
The jars should be thoroughly washed, checked for cracks or chips, and kept hot until they are filled. However, they do not need to be separately pre-sterilized for this recipe because the processing time is longer than 10 minutes. The jars will be sterilized during processing in the canner.
Separate pre-sterilization is generally needed when a tested recipe has a processing time of less than 10 minutes. Hope this helps!
You mentioned steam canner. I bought one this summer but can’t find any info about how safe they are to use. Are they comparable to the water bath for processing. I did some salsa with my steam canner. Hope it will be ok.
An atmospheric steam canner can be used for certain high-acid or properly acidified foods, but it is not interchangeable with a boiling-water canner in every situation. You must use a research-tested boiling-water recipe, adjust the time for your elevation, and make sure the total processing time is no longer than 45 minutes.
For this tomato recipe, pints can be processed in an atmospheric steam canner only when the altitude-adjusted time is 45 minutes or less. Quart jars qualify only at elevations up to 1,000 feet because their processing time is already 45 minutes at that elevation.
I can’t confirm whether previously canned salsa is safe without knowing the exact tested recipe, jar size, elevation, and processing time that were used.
Can I use lime juice instead of lemon? I thought I had enough lemon, but I do not.
I would not substitute lime juice in this recipe. Use commercially bottled lemon juice or food-grade citric acid so you know the tomatoes have been acidified according to the tested directions.
Use 2 tablespoons bottled lemon juice or ½ teaspoon citric acid per quart jar. For pint jars, use 1 tablespoon bottled lemon juice or ¼ teaspoon citric acid. If you do not have either one available, refrigerate or freeze the tomatoes until you can process them with the correct acid.
Great post! Thanks for the information. I’ll definitely refer to this next growing season. Pinned!