
We may earn a commission when you click on the affiliate links in this post.
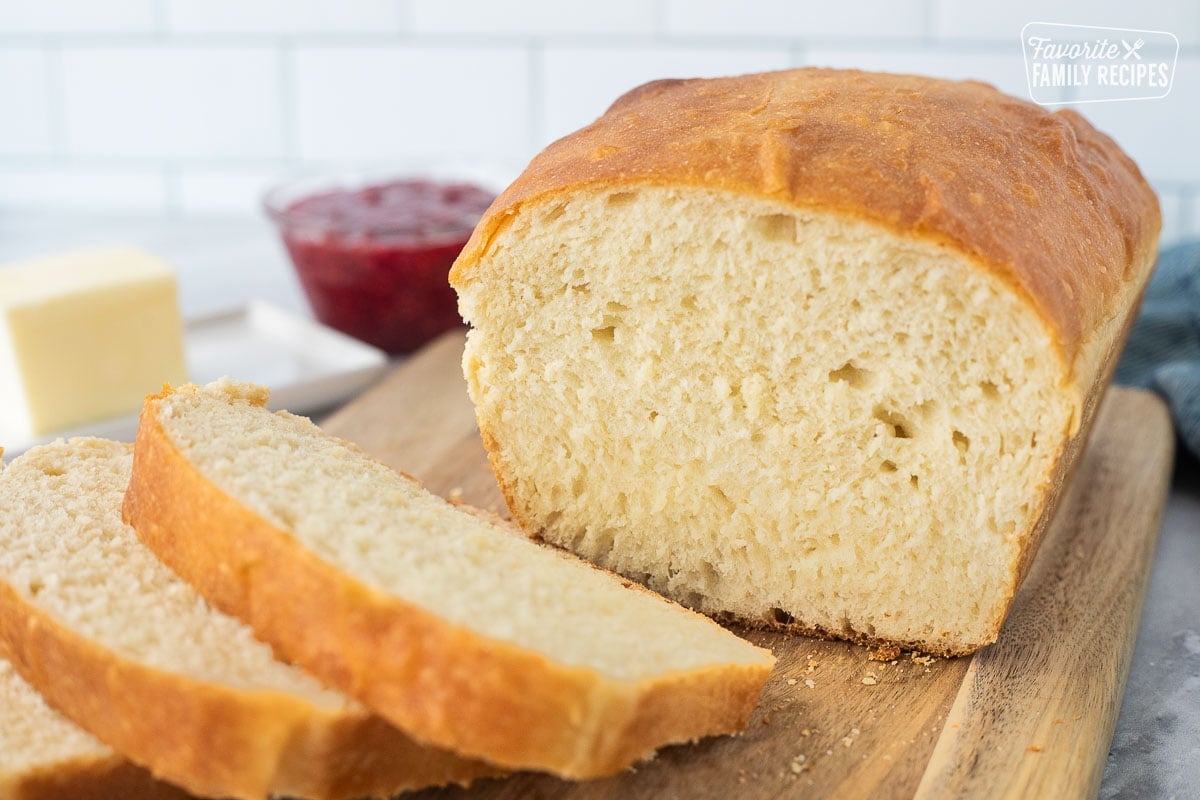
This Bread Machine Bread is my go-to method for a soft, fluffy white loaf with almost no hands-on work. I let the bread machine do the mixing, kneading, and rising, then I bake it in the oven for a taller loaf and better texture. It is easy, reliable, and perfect for sandwiches, toast, and warm buttered slices straight from the pan.
Why I Love This Bread
I love this recipe because it gives me the convenience of a bread machine without the dense, dry loaf I used to get when I baked the whole thing in the machine. My friend Abby convinced me to try using the bread machine just for the dough cycle, and it completely changed the game for me. Now it is my favorite way to make homemade bread because it is simple, dependable, and turns out soft and delicious every time.
🩷 Erica
Table of Contents
- Why I Love This Bread
- Ingredients You’ll Need
- How to Make Bread Machine Bread
- Why This Method Works
- Recipe Tips
- Frequently Asked Questions
- Troubleshooting
- Make Ahead and Storage
- Best Bread Machine to Use
- Ways to Use This Bread
- Using the Dough for More Recipes
- 5 Star Reviews ⭐️⭐️⭐️⭐️⭐️
- Bread Machine Bread Recipe
Ingredients You’ll Need
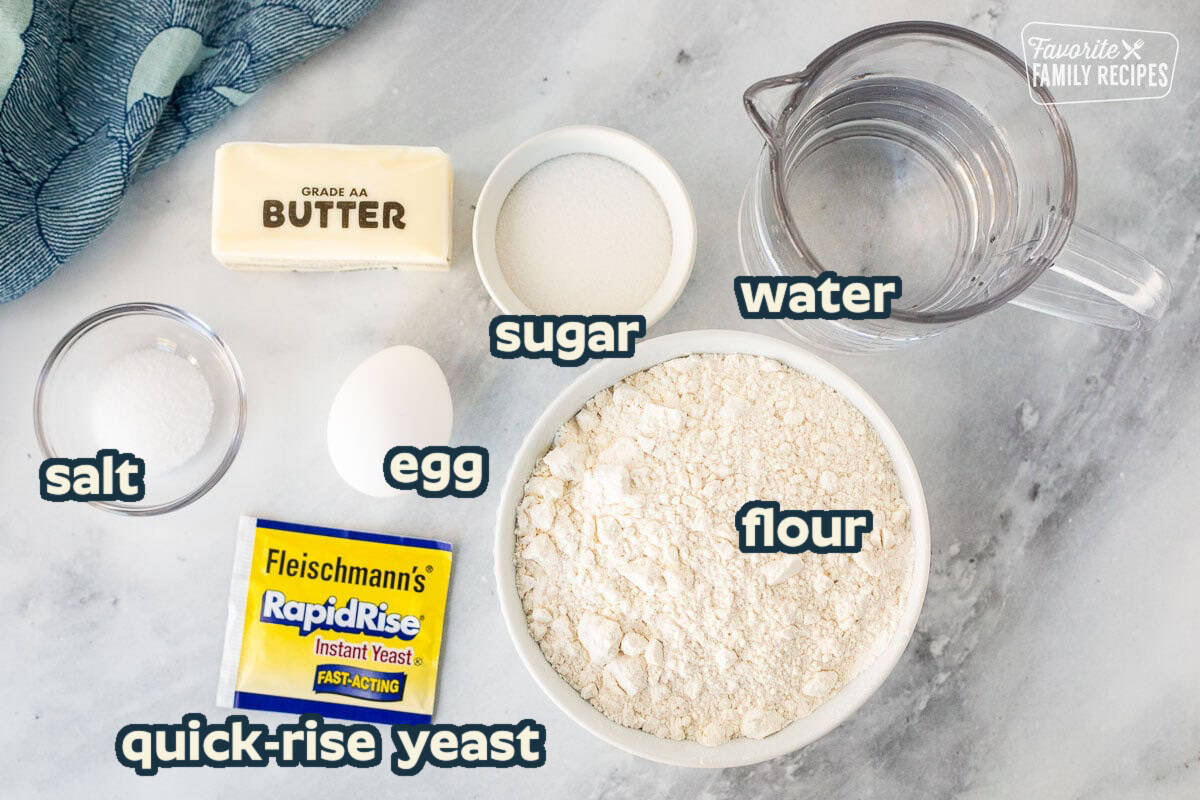
- Water: I use very hot tap water (not boiling) to help the dough get going in the machine.
- Egg: Adds richness, color, and a softer texture.
- Butter: I use cold butter straight from the fridge, and it works great here.
- Sugar: Adds a touch of sweetness and helps feed the yeast.
- Salt: Balances flavor and strengthens the dough.
- Flour: All-purpose flour or bread flour both work, with slightly different textures.
- Quick-rise yeast: Helps the dough rise quickly and reliably in the bread machine dough cycle.
Ingredient Additions and Substitutions
- Flour options – Bread flour gives a chewier loaf and often a little more rise, while all-purpose flour gives a softer crumb.
- Whole wheat option – Start with half whole wheat and half white flour for better texture and rise.
- Yeast swap – Instant/quick-rise yeast is easiest, but active dry yeast can work too.
- Butter + salt adjustment – If using salted butter, reduce the added salt a bit if needed.
- Sweetness adjustment – You can slightly reduce the sugar if you prefer a less sweet sandwich bread.
How to Make Bread Machine Bread
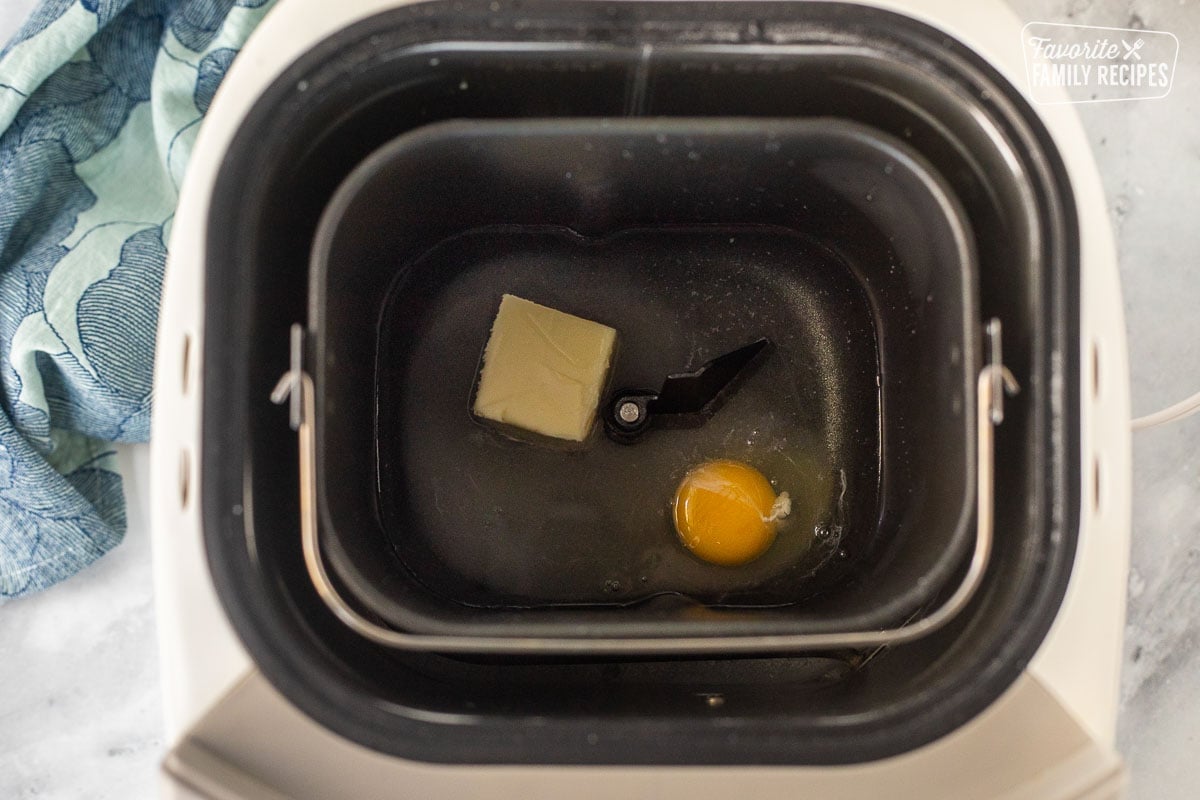
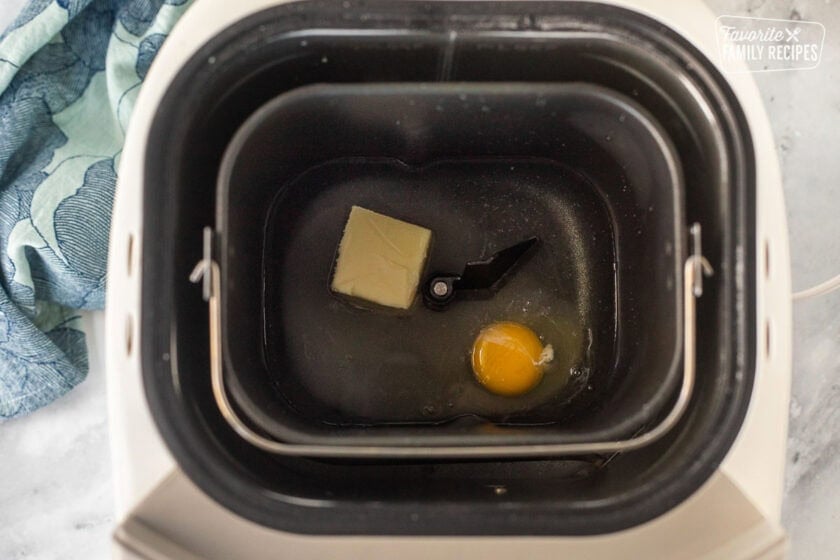
- Place the hot water, egg, cold butter, sugar, and salt into the bread machine pan. No need to stir.
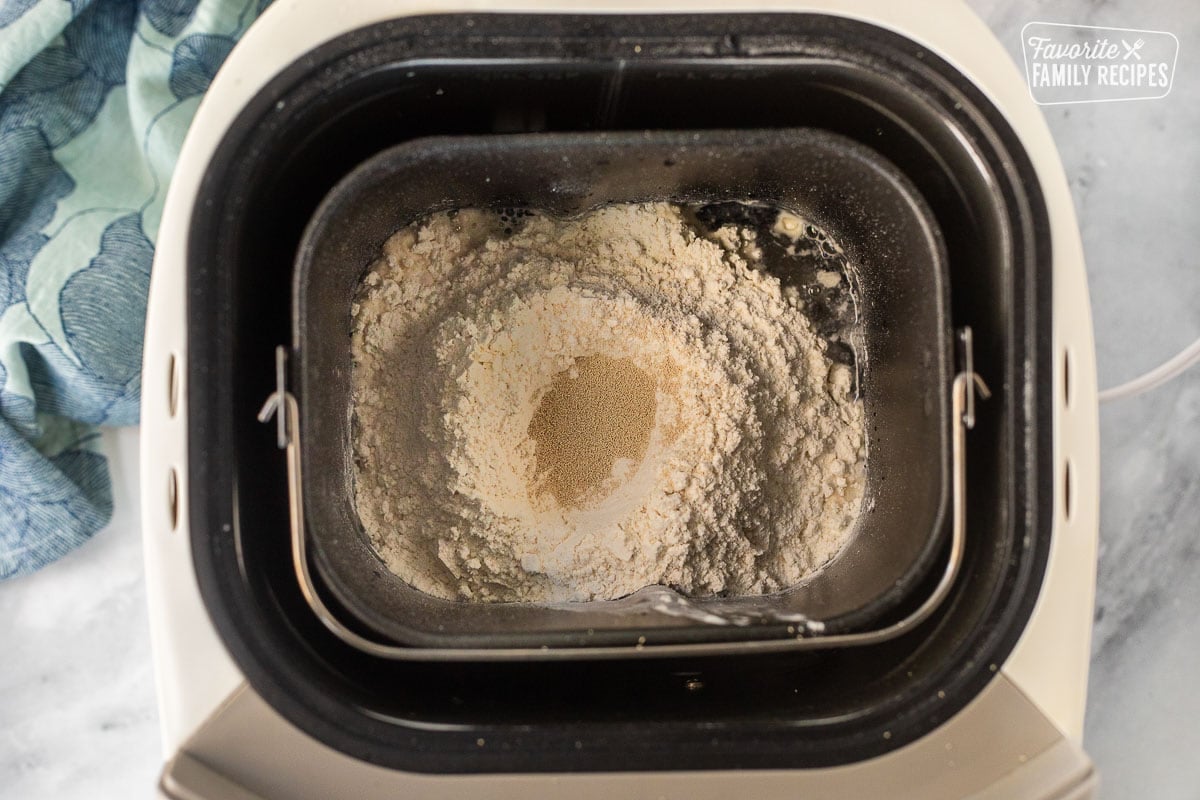
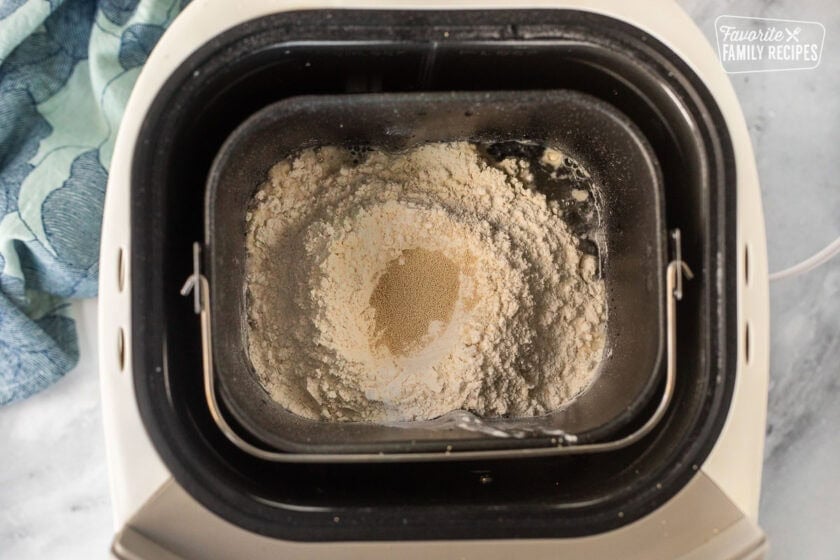
- Add the flour on top, then make a small well in the flour and add the yeast.
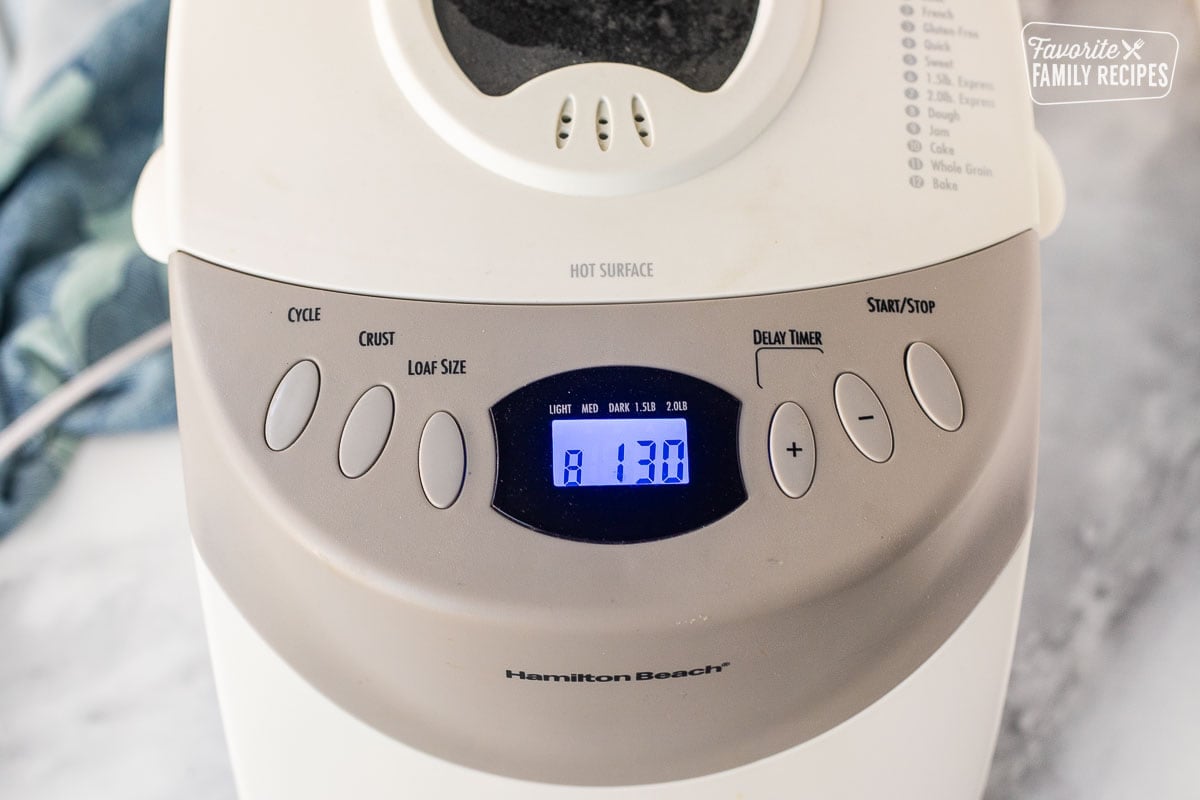
- Set your bread machine to the dough setting (about 90 minutes) and press start.
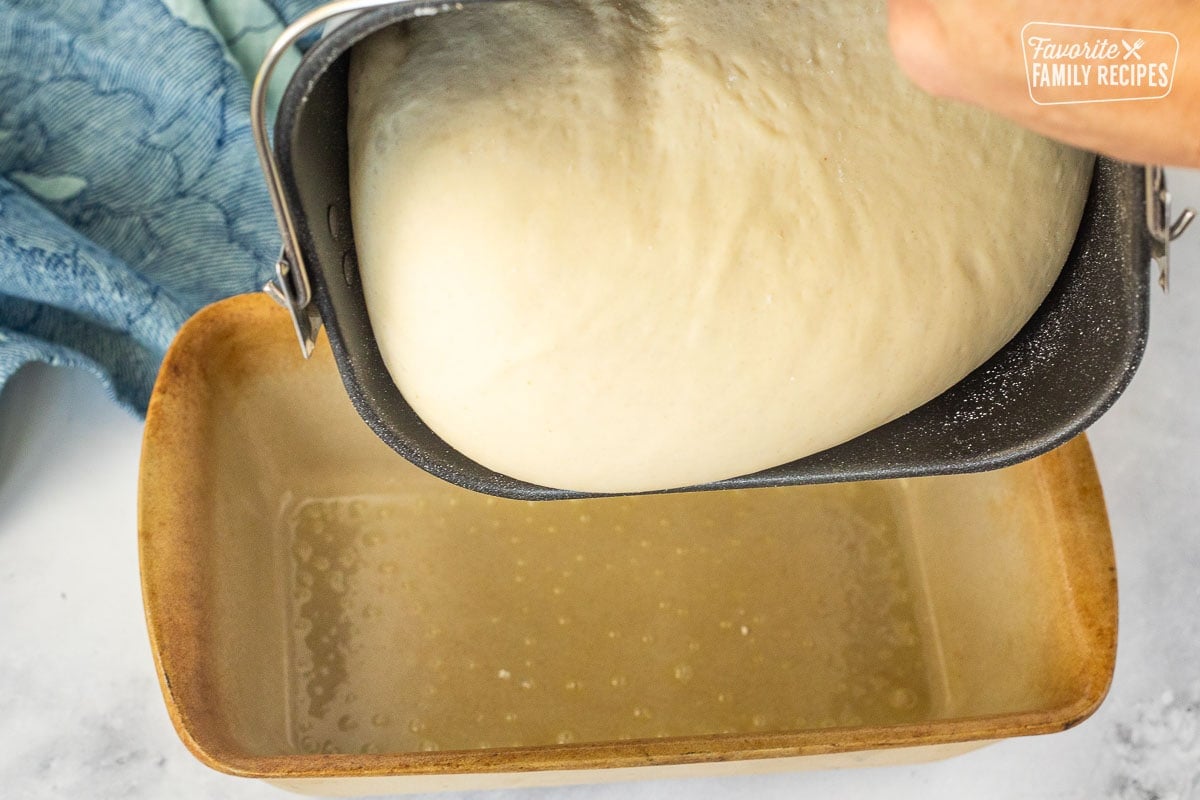
- When the dough cycle is done, pour the dough into a greased loaf pan. Smooth the top if needed and tuck in any uneven edges.
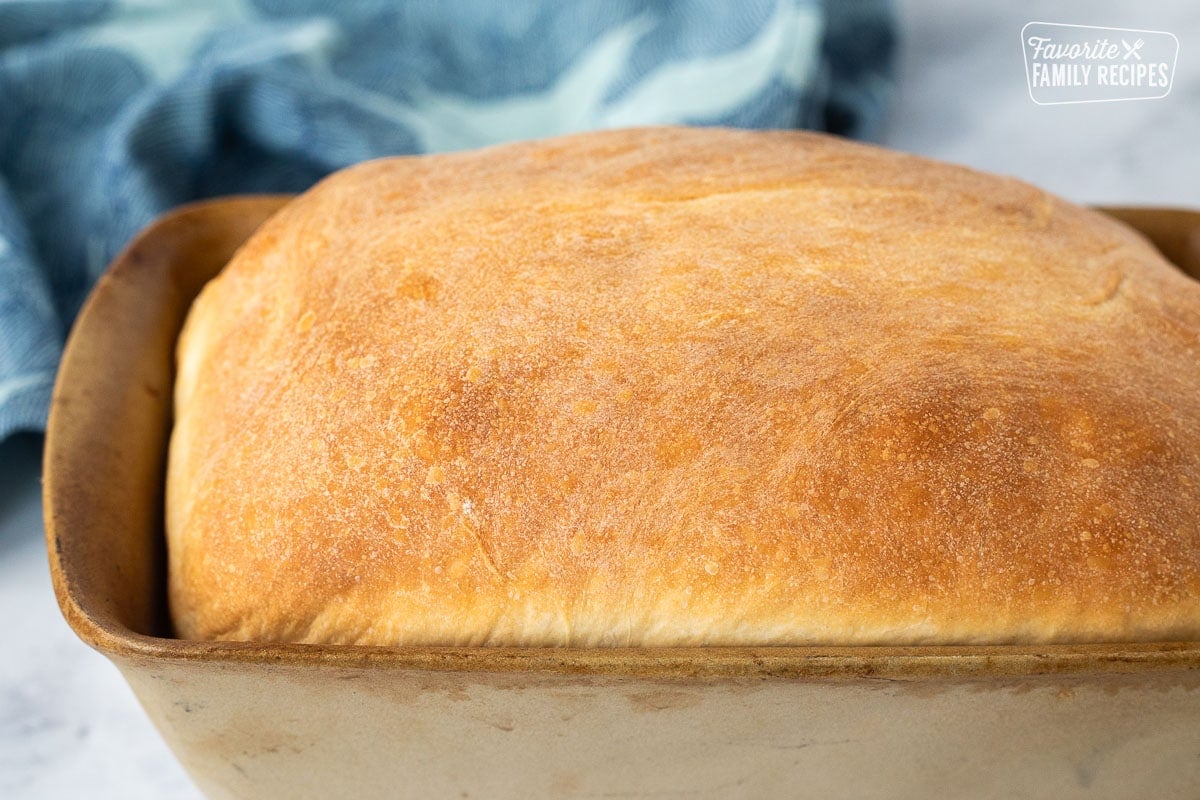
- Put the loaf pan into a cold oven. Turn the oven to 350°F and set the timer for 30 minutes. The bread rises and bakes as the oven heats.
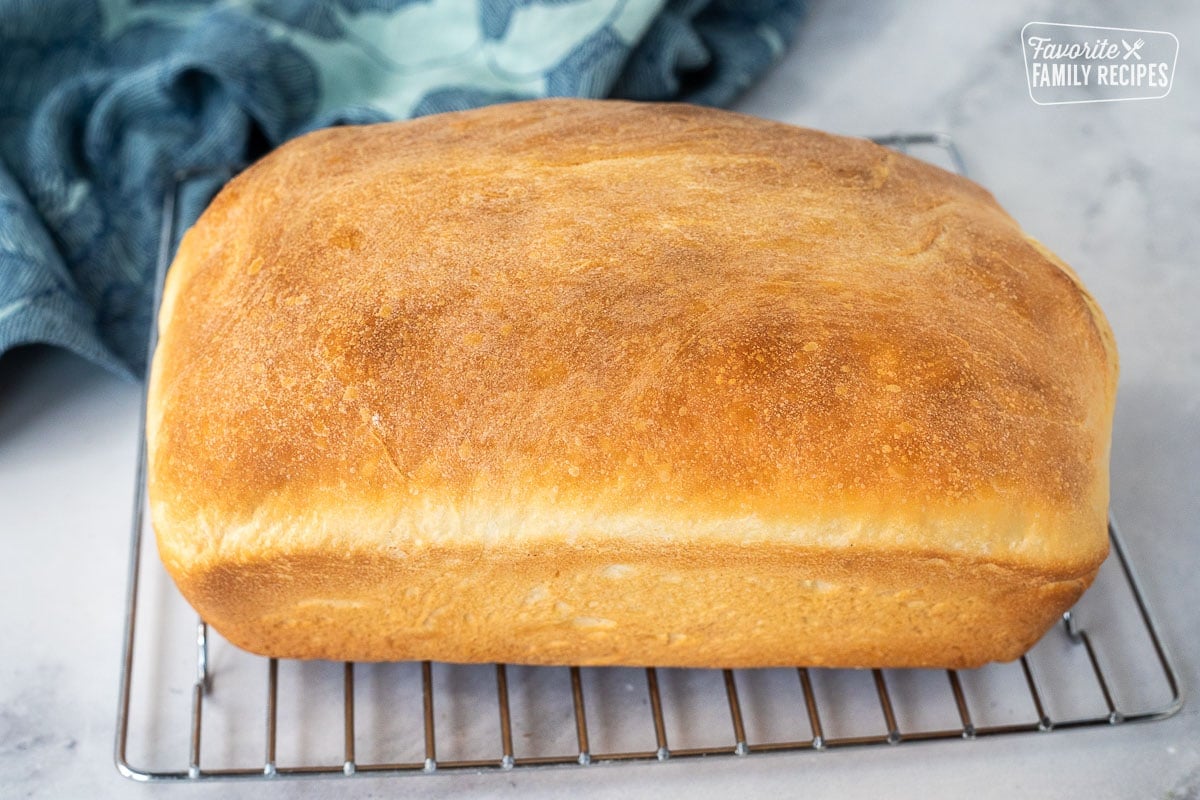
- Remove the bread from the oven, take it out of the pan quickly, and place it on a cooling rack. Brush the top with butter and cover with a towel (or store in a bag once cooled) so it stays soft.
Why This Method Works
The secret to this Bread Machine Bread is using the machine for what it does best:
- Mixing
- Kneading
- Rising
Then I bake it in the oven for:
- A taller loaf
- Better shape
- Softer crust and crumb
- More classic homemade bread texture
This is the biggest difference-maker in this recipe.
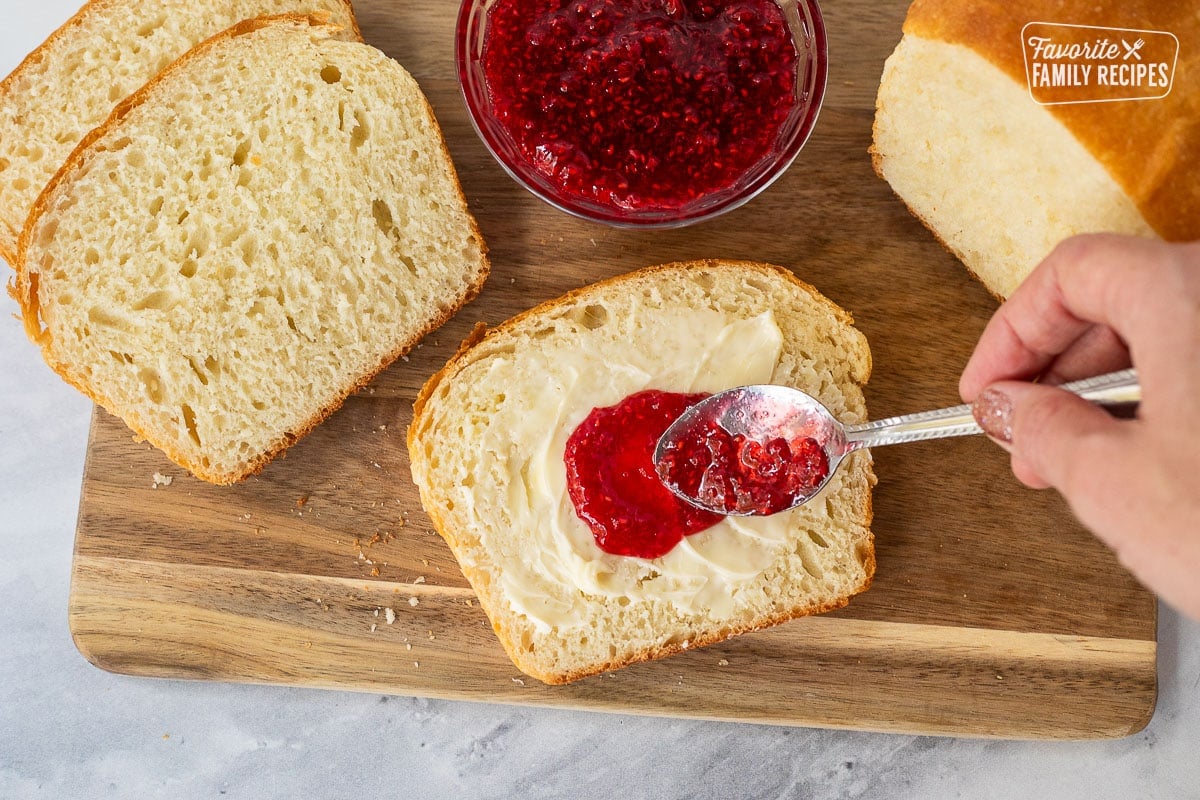
Recipe Tips
- Use a bread machine with a dough setting so it stops after mixing, kneading, and rising.
- Check the dough early during the first few minutes of mixing. It should look soft and slightly tacky, not like batter and not dry/crumbly.
- Use a 9×5-inch loaf pan for a standard sandwich loaf.
- Do not preheat the oven for this method. The cold oven rise is part of the process.
- Remove from the pan quickly after baking so the sides do not steam and soften too much.
- Brush with butter after baking for extra softness and flavor.
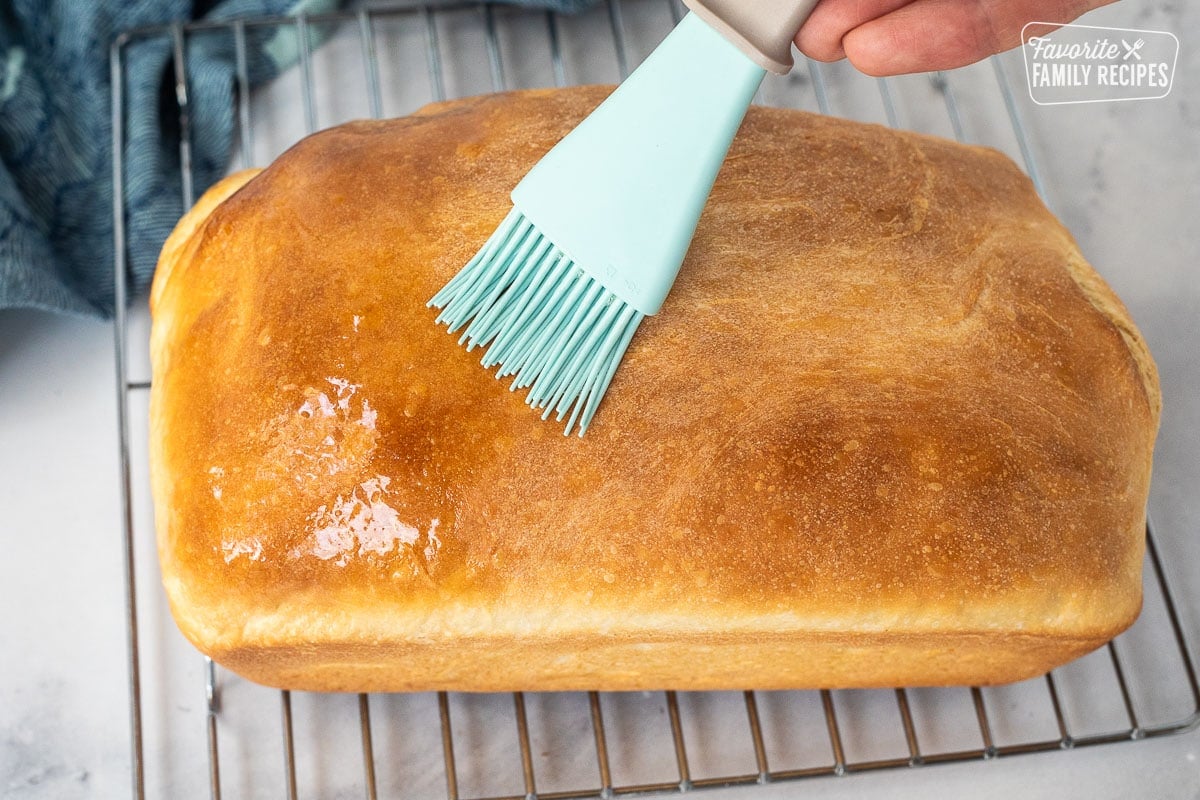
Frequently Asked Questions
Yes. You can use a full basic/white bread cycle, but I prefer this recipe baked in the oven because it gives a taller loaf and better texture.
You can use instant/rapid-rise or active dry yeast.
Instant/rapid-rise: add it dry to the machine (no proofing needed).
Active dry: you can also add it dry in most bread machines, but if you’ve had trouble with rising, you can proof it first in warm water until foamy.
Tip: If your machine has a yeast dispenser, follow your machine’s instructions.
Yes—the recipe uses tablespoons, which can be more than a single packet. A packet is usually 2¼ teaspoons, so make sure you’re measuring the yeast with teaspoons/tablespoons rather than assuming “1 packet.”
Use hot tap water, not boiling. If you’re worried, aim for roughly 110–120°F (warm/hot but not scalding). Bread machines mix quickly, so the egg gets incorporated fast, but if your water is near boiling, it can cause issues.
Start timing when you put the loaf into the cold oven and turn the oven on. That ramp-up time is included in the bake.
This recipe makes a standard sandwich loaf. A 9×5-inch loaf pan is the most common fit. If using a smaller pan, don’t fill more than about ½–⅔ full before the rise to avoid overflow.
YES! Not only is it cheaper, but you know exactly what is going into it! No mystery ingredients in your sandwich bread.
Broken down, the savings look like this: The average cost of a loaf of basic white bread is around $4 (more or less), making it yourself costs about $1.
(It also tastes better!)
Troubleshooting
- Bread tastes too salty: If you used salted butter, reduce the added salt next time.
- Dough too sticky: Add flour 1 tablespoon at a time during mixing until it forms a soft, tacky ball.
- Dough too dry or crumbly: Add water 1 tablespoon at a time until the dough is smooth and soft.
- Loaf did not rise well: Usually caused by expired yeast, water that is too hot or too cool, too much flour (packed measuring cup), or a cold kitchen.
- Bread is dense: Often caused by too much flour or weak yeast. Spoon-and-level flour and make sure your yeast is fresh.
- Top browns too fast, middle not done: Loosely tent with foil and bake a little longer. The loaf should sound hollow when tapped, and the center is usually about 190°F.
- High altitude adjustments (3,000+ ft): Bread can rise faster and dry out more easily at higher elevations. If your loaf over-rises, collapses, or turns out dry/dense, try reducing yeast slightly (start with ¼ teaspoon less), adding 1 to 2 tablespoons more water, and checking dough texture early so it stays soft and tacky. Make only one small change at a time.
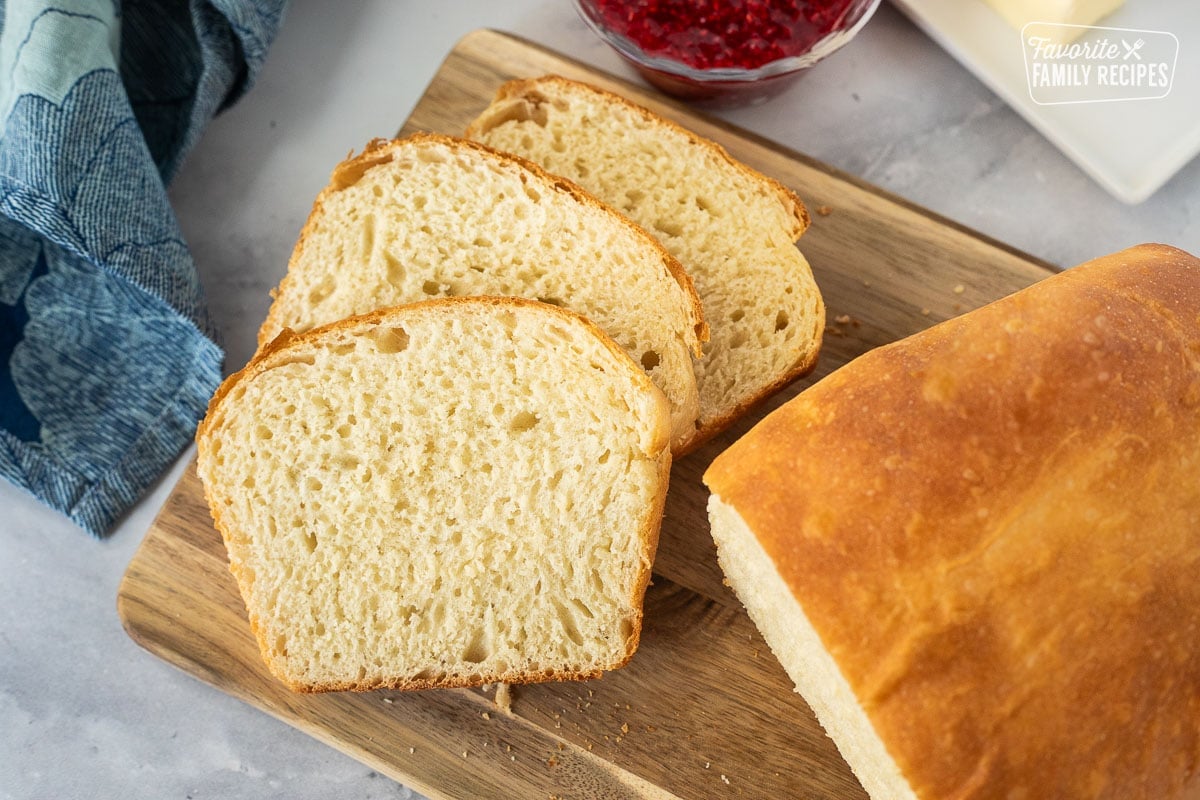
Make Ahead and Storage
- Make ahead dough: After the dough cycle, shape and refrigerate the dough covered, then let it sit at room temperature until puffy before baking.
- Room temperature: Store fully cooled bread in a bag or airtight container for 2 to 3 days.
- Refrigerator: Store fully cooled bread in an airtight container or bag for up to 5 to 7 days (just note the fridge can dry bread out faster).
- Freeze: Slice first, then freeze in a freezer bag for up to 2 to 3 months so you can thaw slices as needed.
Best Bread Machine to Use
Honestly, it doesn’t really matter what kind of bread machine you have. We got the cheapest bread maker on Amazon that had decent reviews. I think it was under $100. Any basic bread maker will do the trick. Just make sure it has a “dough” option so it will stop once the dough is done.
Ways to Use This Bread
I also love how versatile this Bread Machine Bread is. We use it for toast, and sandwiches like our Club Sandwich or Grilled Cheese. It is also great for French Toast, and even as a base dough for rolls and other recipes. It feels like one of those recipes that makes everyday meals easier.
Using the Dough for More Recipes
We have used this exact dough recipe for all sorts of recipes. Sometimes you have to knead it with some flour to get the right consistency depending on what you are making, but it works like a charm in these recipes:
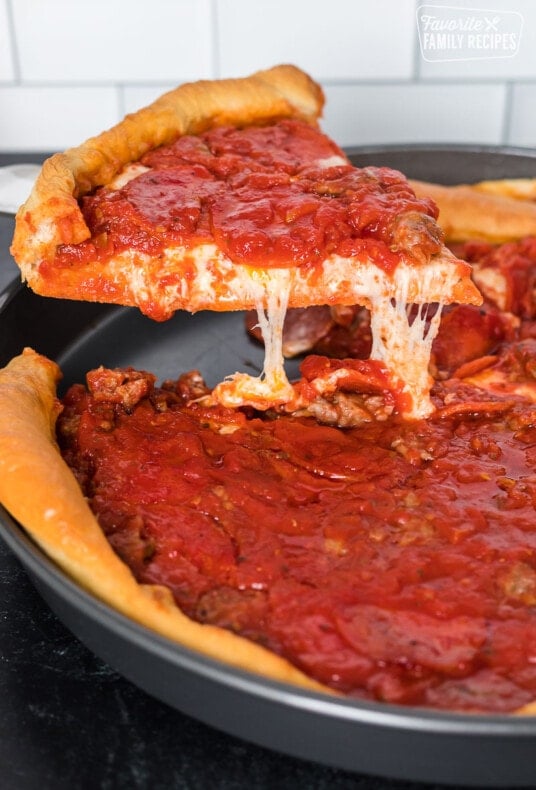
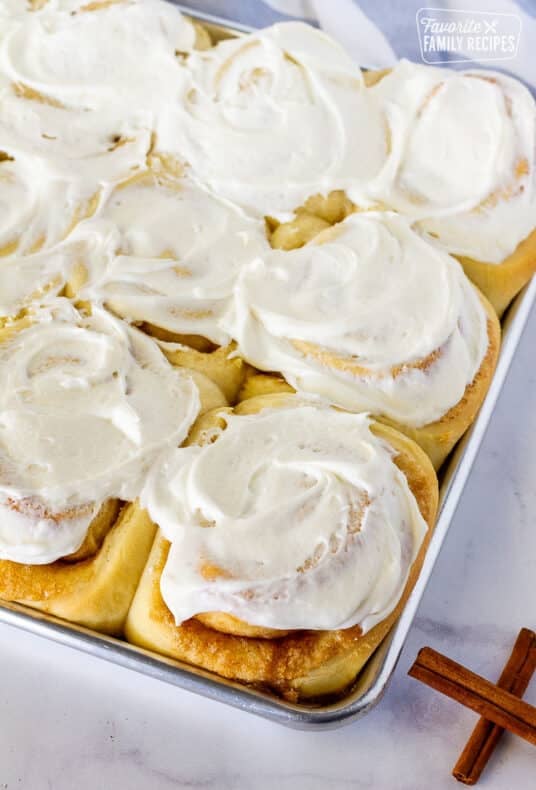
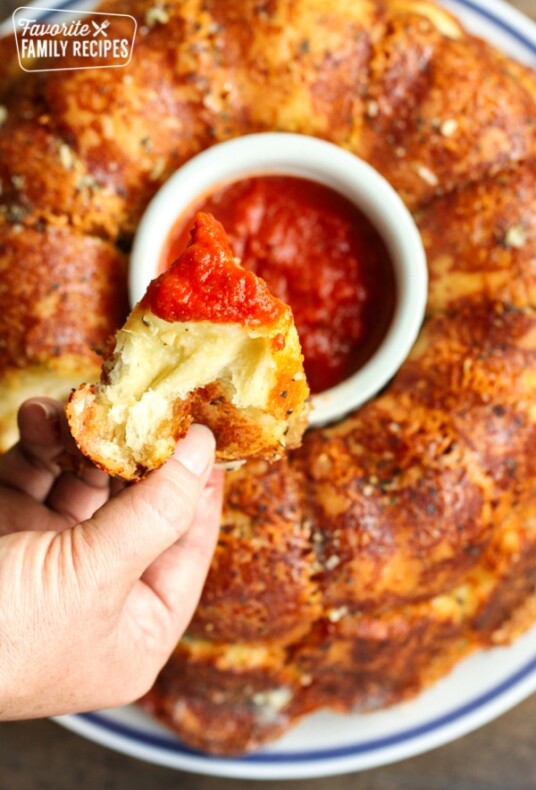

- Pani Popo (Samoan Coconut Rolls)
- BBQ Cilantro Pizza
- Caramel Monkey Bread
- Pesto Rolls
- Fry Bread
- Bread Twists
5 Star Reviews ⭐️⭐️⭐️⭐️⭐️
“This is the best bread I’ve ever made! So light and fluffy with just the right amount of sweetness… This will definitely be my go to recipe!” – Vicki
“Awesome, delicious, easy… followed [the instructions] to the letter. It was perfect. Love, love, love it!! My new go to.” – Jan
“First time making bread in years. This is the BEST bread EVER! No joke! So easy. Highly recommend.” – Autumn
If you have been disappointed by bread machine loaves in the past, this Bread Machine Bread method is the one I recommend trying next. Let the machine do the hard work, then finish the loaf in the oven for that soft, homemade texture everyone loves. If you make it, I would love for you to come back and leave a review or tell me how you used it. 🍞💛
Bread Machine Bread

Video
Ingredients
- 1 cup hot water, about 110–120°F or I just do it as hot as my tap will get
- 1 egg
- 4 tablespoons butter, cold- not softened
- 1/4 cup sugar
- 1 1/4 teaspoons salt
- 3 cups flour, you can use either all-purpose or bread flour
- 1 tablespoon quick-rise yeast
Instructions
- Place hot water, egg, butter, sugar, and salt in bread machine.
- Add 3 cups flour. Make a small well in the flour and add yeast.
- Set bread machine to "dough" for 90 minutes (1 hour 30 minutes) and start.
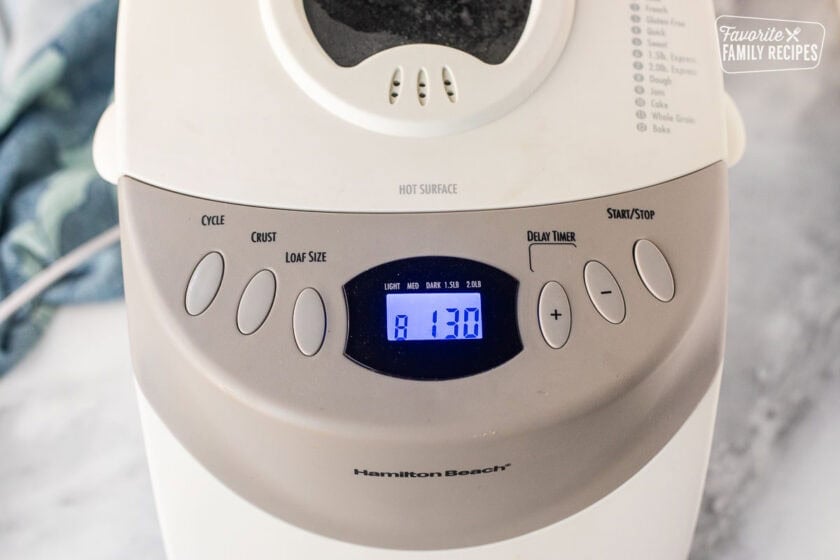
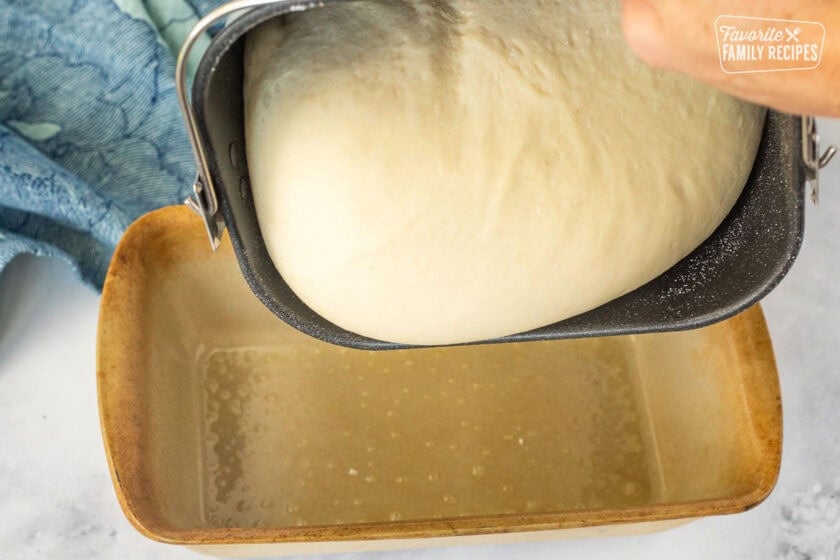
- When dough is finished. Pour directly into a greased bread pan. If needed, gently turn the bread or tuck in the edges so the top is smooth (it's ok if it is sticky).
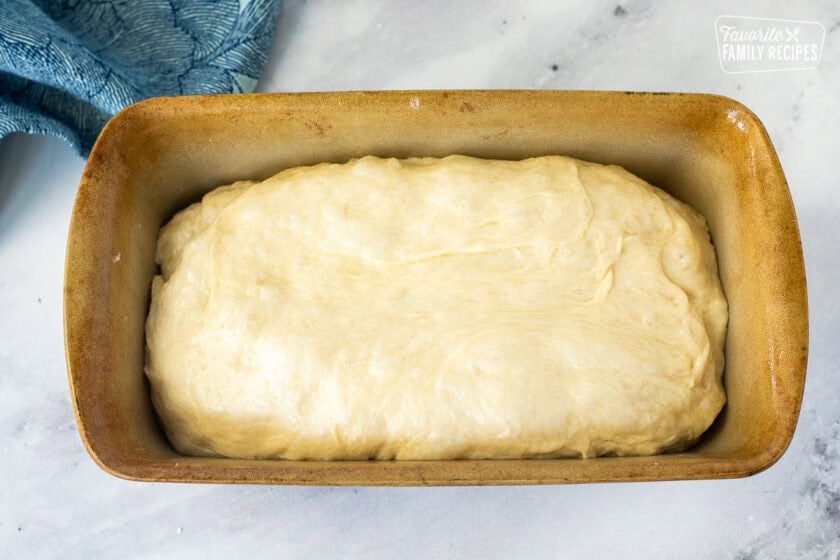
- Place bread in COLD oven and set oven to 350 degrees. Set timer for 30 minutes.
- When finished baking, remove from oven and carefully remove bread from the pan.
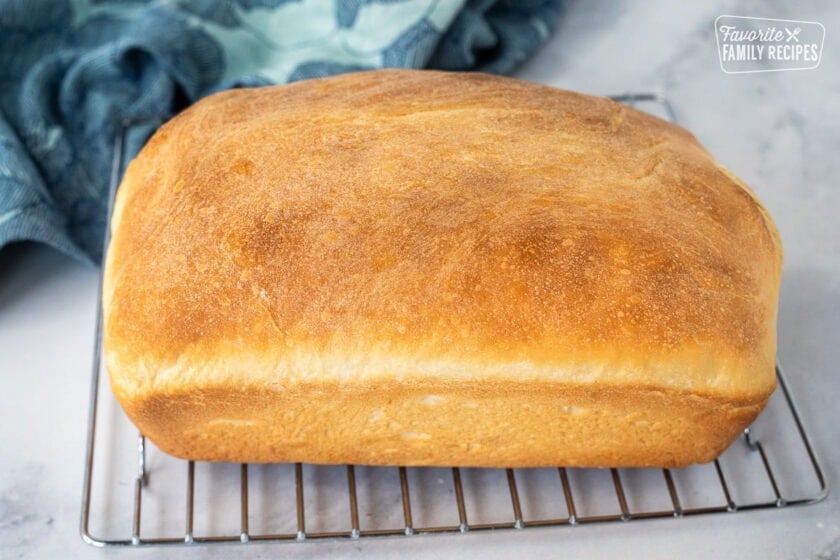
- Place on a baking rack to cool and brush the top with butter. Place a towel over the bread or place in a plastic Ziplock bag to keep from drying out.
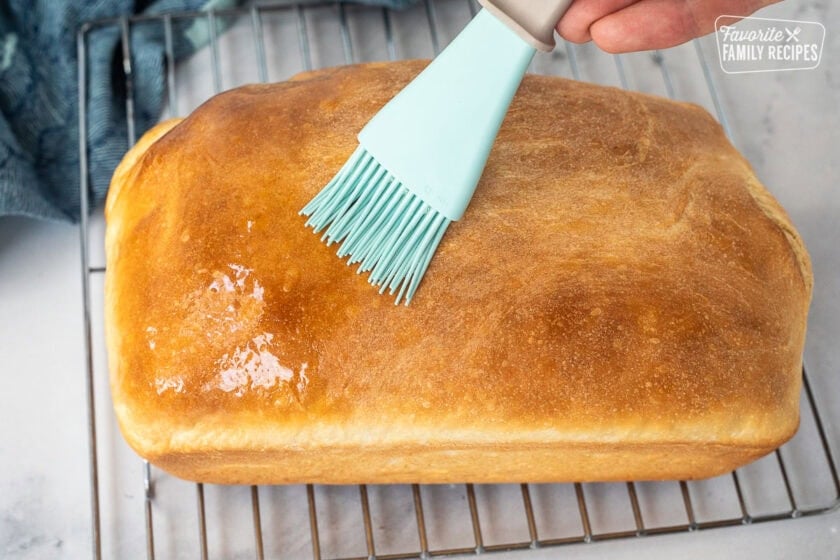
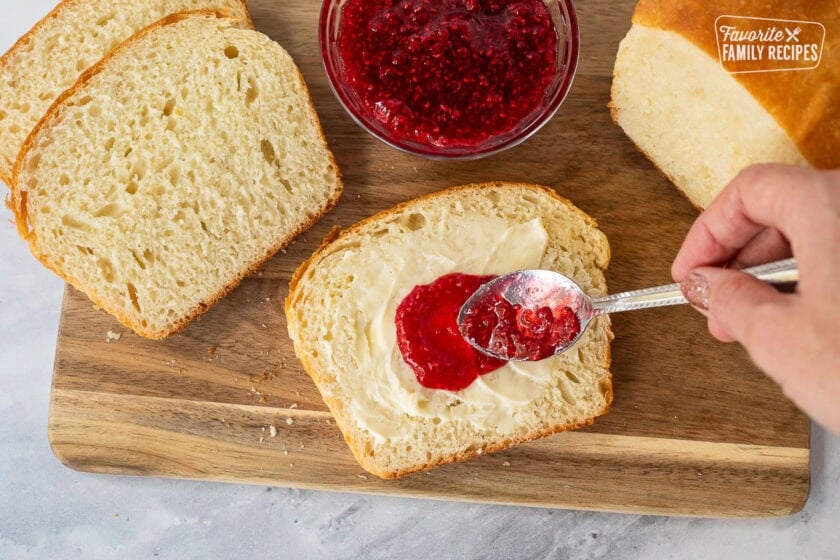
- Serve immediately or place in a plastic Ziplock bag to keep from drying out.
If Making Rolls:
- Remove dough from bread machine and place on a floured surface.
- Knead in a little flour if dough is too sticky to handle.
- Divide dough into 12 equal pieces. Fold and pinch into dough balls and place in a greased 9×13 glass baking dish.
- Place in a COLD oven and set to 350 degrees. Set timer for 25 minutes.
- Remove rolls from oven and brush with butter.
Equipment
- Bread Machine
Notes
- Use the dough cycle only for best results, then bake in the oven.
- Cold oven method: place loaf in a cold oven, then turn oven to 350°F and start the 30-minute timer right away.
- Dough texture matters: soft and slightly tacky is perfect. Adjust with flour or water 1 tablespoon at a time.
- Bread flour and all-purpose flour both work.
- Quick-rise yeast is easiest, but active dry can work too.
- Use a 9×5 loaf pan for a standard sandwich loaf.
- Remove from pan quickly after baking and brush with butter for a softer crust.
- Store fully cooled bread in a bag/container, or slice and freeze for longer storage.
Nutrition
Nutrition information is automatically calculated, so should only be used as an approximation.
Love this recipe?
We want to hear from you! Please leave a review.

Thank you for this recipe! It is both delicious and easy to follow. My family and I love it!
So glad your your bread was a success!
My go to bread recipe, asked for by all family members. I have never had a loaf not be perfect using this recipe. Passed the recipe on to the younger newlyweds in the family who wanted to try breadmaking.
Thank you so much for sharing this! I am so happy to hear it is now one of your favorite family recipes! 😊
Excellent recipe
Easy to follow fast
I especially love using my bread machine and then being able to transfer to oven for baking
Will be my weekly go to bread recipe.
Yay so glad you liked it! Thanks for sharing your positive experience and for the 5-stars!
OMG…this is such an easy and amazing recipe. I made a loaf last night, has one slice and then my son polished off the entire rest of it today. I am making 2 more loaves this evening
Hi Jennifer- I am thrilled to hear this was such a big hit for young your son. I’m glad you are making 2 more so you can have a slice or two!
Hi, what if my oven is not cold? I was just finishing Salisbury steaks in the oven and was going to bake my bread?
I’m guessing by the time it took me to respond, your bread has baked. How did your bread turn out? The purpose of the cold oven is to give the bread a little more time to rise. Hopefully it still worked out and you were able to enjoy homemade bread with your Salisbury steaks!
How many grams of flour is 3 cups? Also, my oven takes 20- 30 minutes to preheat. Any suggestions? Thank you
3 cups of flour is roughly equal to 360 grams. 1 cups is 120 grams so 3 would be 360. Also, you should be able to just follow the recipe. Keep an eye on the bread as it cookes and pull it out when it gets nice and golden. Hope this helps!
I didn’t take the dough out to bake in my oven. I let the bread machine bake it and it was so delicious! Thank you for the recipe!
I’m so glad you enjoyed the bread! Thank you for the 5-stars!
First time making bread in years. This is the BEST bread EVER! No joke! So easy. Highly recommend.
Thank you for the 5-stars, Autumn! I’m so happy you like the recipe!
Hi
Such a high rating for bread maker bread, hoping to make this soon.
Love the comments, but after reading quite a few have not noticed any referencing adjustments for altitude. I live in SLC at approximately 5140ft, any additional recommendations?
Thanks so much
You should be fine just making the recipe as-is. It may cook a little faster, you may just want to check it 5 minutes before the baking time is up. If it is totally baked through you can remove it a little early. Hope this helps!
I live in a high altitude area. Do you have high altitude directions?
What elevation? You may want to bake for a little less time, when baking at high altitudes I just check it at 5-8 minutes before the baking time is up. You may end up just removing it a few minutes early.
I am not familiar with bread machines but I had a piece of this bread at a function at work today and it was amazing!! Would this work in a KitchenAid mixer if I have no access to a bread machine? I honestly have no clue and don’t have space for another appliance in my kitchen!
I’m so glad to hear you liked the bread! I haven’t made it with a kitchen aid before. The big difference between the two is that the dough rises and mixes a couple times automatically in the bread machine. It doesn’t really do that in the kitchen aid and I’m not sure what the timings are on the cycle to do it manually. Sorry this isn’t much help :/
I wasn’t sure how the machine works – but makes total sense! Thank you for your reply!
I love this recipe! The taste is perfect! I have a problem with the top burning though. After about 12 minutes the top starts to get really brown and then will burn if I don’t tent the bread with aluminum foil. I have followed the instructions exactly. I have made this 3 times now and each time the top starts to burn halfway through. Any suggestions? Should I try lowering the temperature to 325 and baking a little longer? I don’t know why it is happening and none of the other comments I have read on here seem to have this issue. Thanks!
I’m not sure what is happening in your oven but my first thought was to try lowering your rack, the bread might be too high in the oven.
This happened to me as well. I know my oven is accurate. I tried removing the bread before the 30 minutes was up, but the bottom was not fully cooked. All that said, this bread is delicious and a bit brioche-like.
This is the best bread I’ve ever made! So light and fluffy with just the right amount of sweetness. The only tweak I made was substituting milk for the water. This will definitely be my go to recipe!
Thank you so much! And thanks for sharing how it worked with milk.
Hi, I have a bread machine that makes so so bread. I can’t wait to try baking this in a oven. Is this recipe for a one pound loaf pan or 2 lbs? I want to use a pullman loaf pan and am not sure which size to place the dough in.
This recipe is for a 2 lb loaf pan.
I have made lots of bread as I can’t have any enriched products, and this is by far the best! My husband and kids can’t get enough. I was very skeptical due to the way the ingredients were just thrown in there, not to mention only 1 rise. And who would ever think to NOT preheat the oven? But I followed the directions exactly and it was truly amazing!! Thanks for sharing this recipe. I will be playing with some herbs in it for a dinner bread. Can’t wait!
So glad you liked it, you have to trust the process but it’s worth it!
Mine didn’t rise very well, the dough was pretty loose. Maybe I need more flour? I used bread flour and measured ingredients in grams.
This can also be effected by humidity or elevation.
This bread was very good. It was lightand had good flavor.
So glad you like it!
Excellent bread!! I’ll be making this regularly!! Thank you!
You are very welcome!
Awesome, delicious, easy. The dough was literally popping the lid on the bread maker. Was worried about the time instruction but followed them to the letter. It was perfect. Love, love, love it!! My new go to. 🥰
So glad you liked it!
Fantastic bread! My husband’s new favorite.
Have you ever shortened the “dough time”? Accidently put on 30 vs 90 today… we will see how it turns out!
I haven’t, let me know how it goes!
Why are you not baking your bread in your machine?
You definitely can, but I think it turns out better in the oven.
I may have missed it if someone else asked, sorry, but can you use this recipe without a bread machine? My husband has just started making bread, and I’d love for him to try this one if possible.
Yes, you definitely can, the bread machine just takes the work out of the mixing and kneading and rising.