We may earn a commission when you click on the affiliate links in this post.
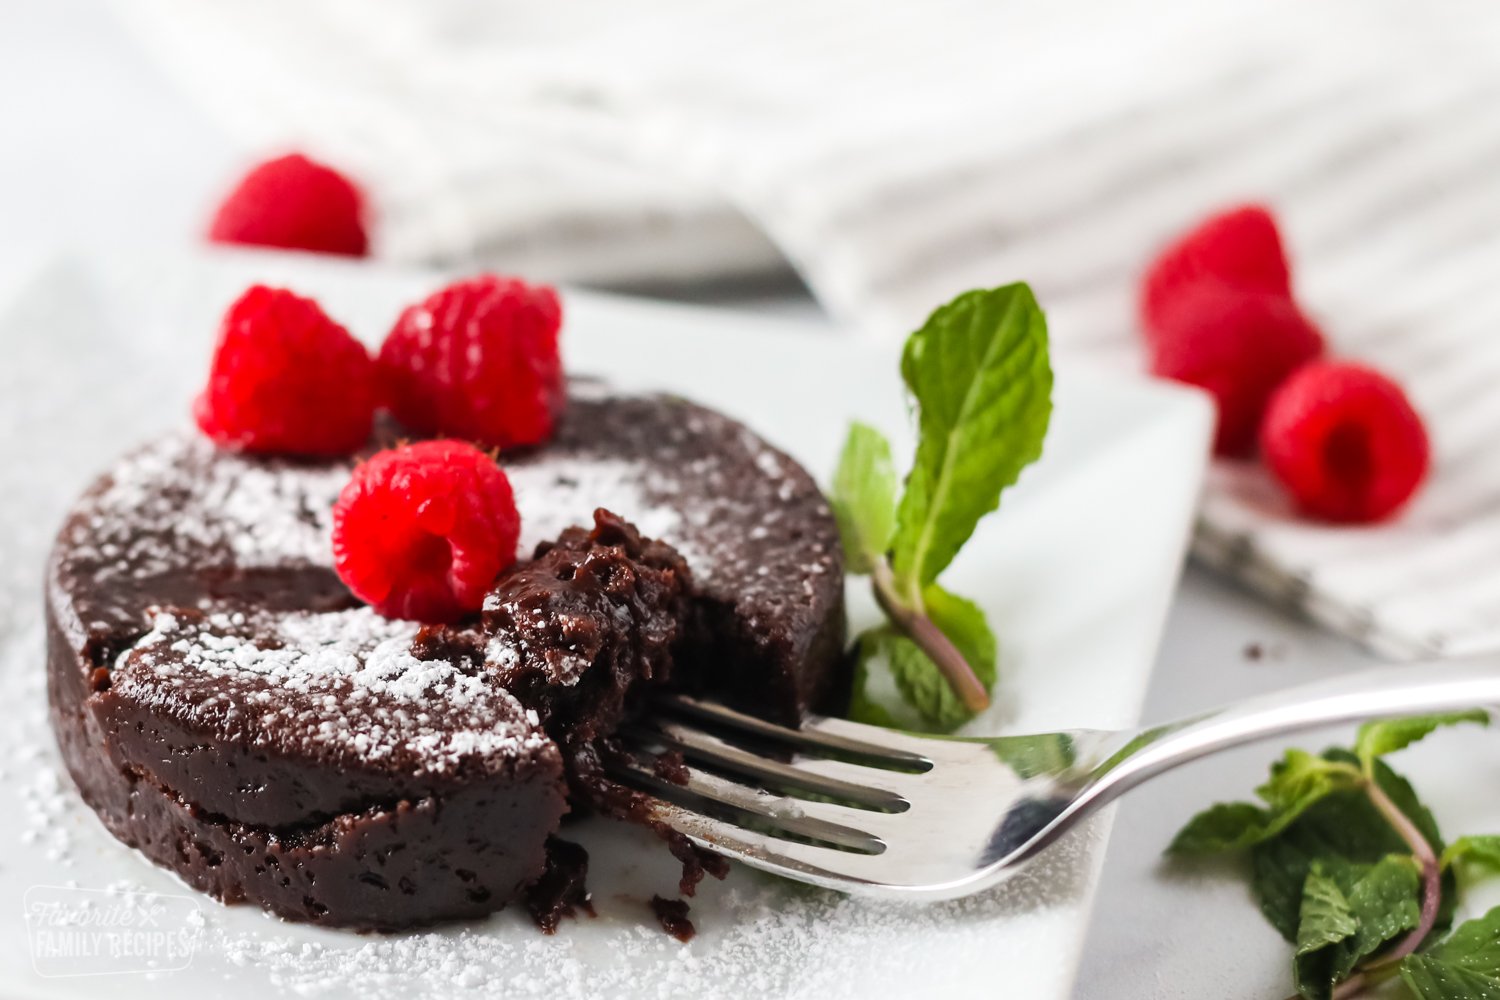
Instant Pot lava cake is rich, gooey, and done in 30 minutes! Perfect quick fix for when those chocolate cravings hit.
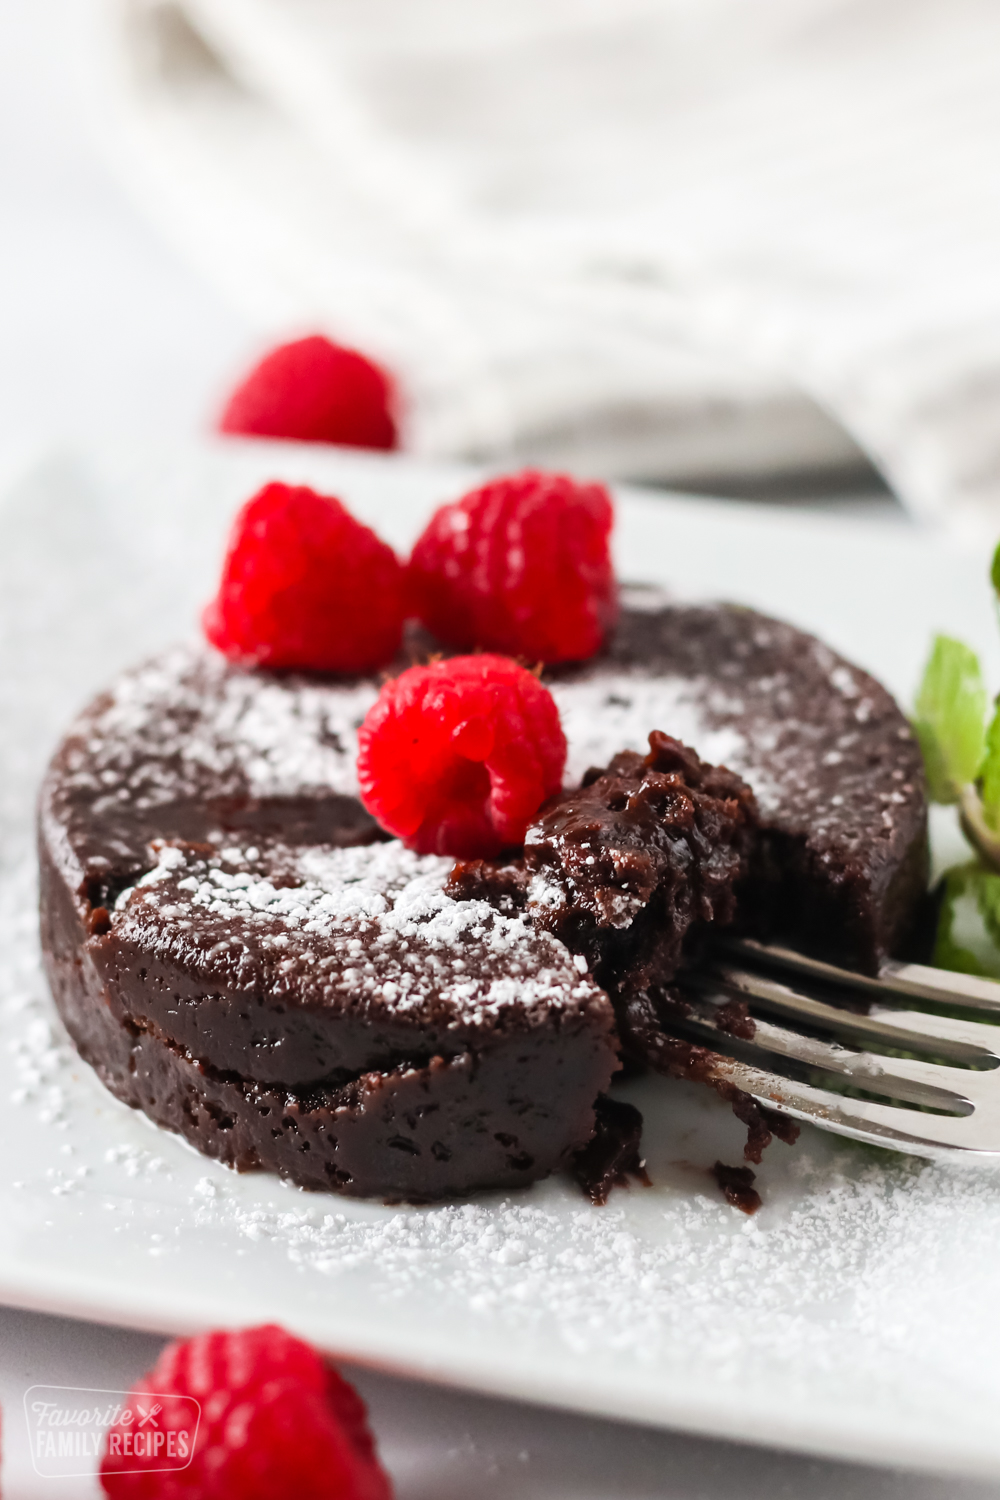
Table of Contents
- Ingredients for Instant Pot Lava Cake
- Steps to Make Instant Pot Lava Cake
- Toppings for Instant Pot Lava Cake
- Getting The Right Consistency
- Recipe Tips
- Variations and Additions to this Instant Pot Lava Cake
- Frequently Asked Questions
- Storing Instant Pot Lava Cake
- More Decadent Chocolate Desserts
- How to Make Instant Pot Lava Cake
- Instant Pot Lava Cake Recipe
Instant Pot lava cake comes together in just a few minutes and is made with simple ingredients. This is the best dessert to whip up when it’s late, you’re wandering around the house craving something sweet and a handful of chocolate chips from the pantry just isn’t going to cut it. It just as easily can be a centerpiece dessert after a special Valentine’s Day dinner. Super versatile, gooey, and full of chocolate flavor, this is one of my favorite chocolate cake recipes!
This Instant Pot Lava Cake just happens to be one of our favorite things to bake right in the Instant Pot. No need to heat your ovens for this treat. It’s the perfect dessert for Valentine’s Day or any other special occasion!
Ingredients for Instant Pot Lava Cake
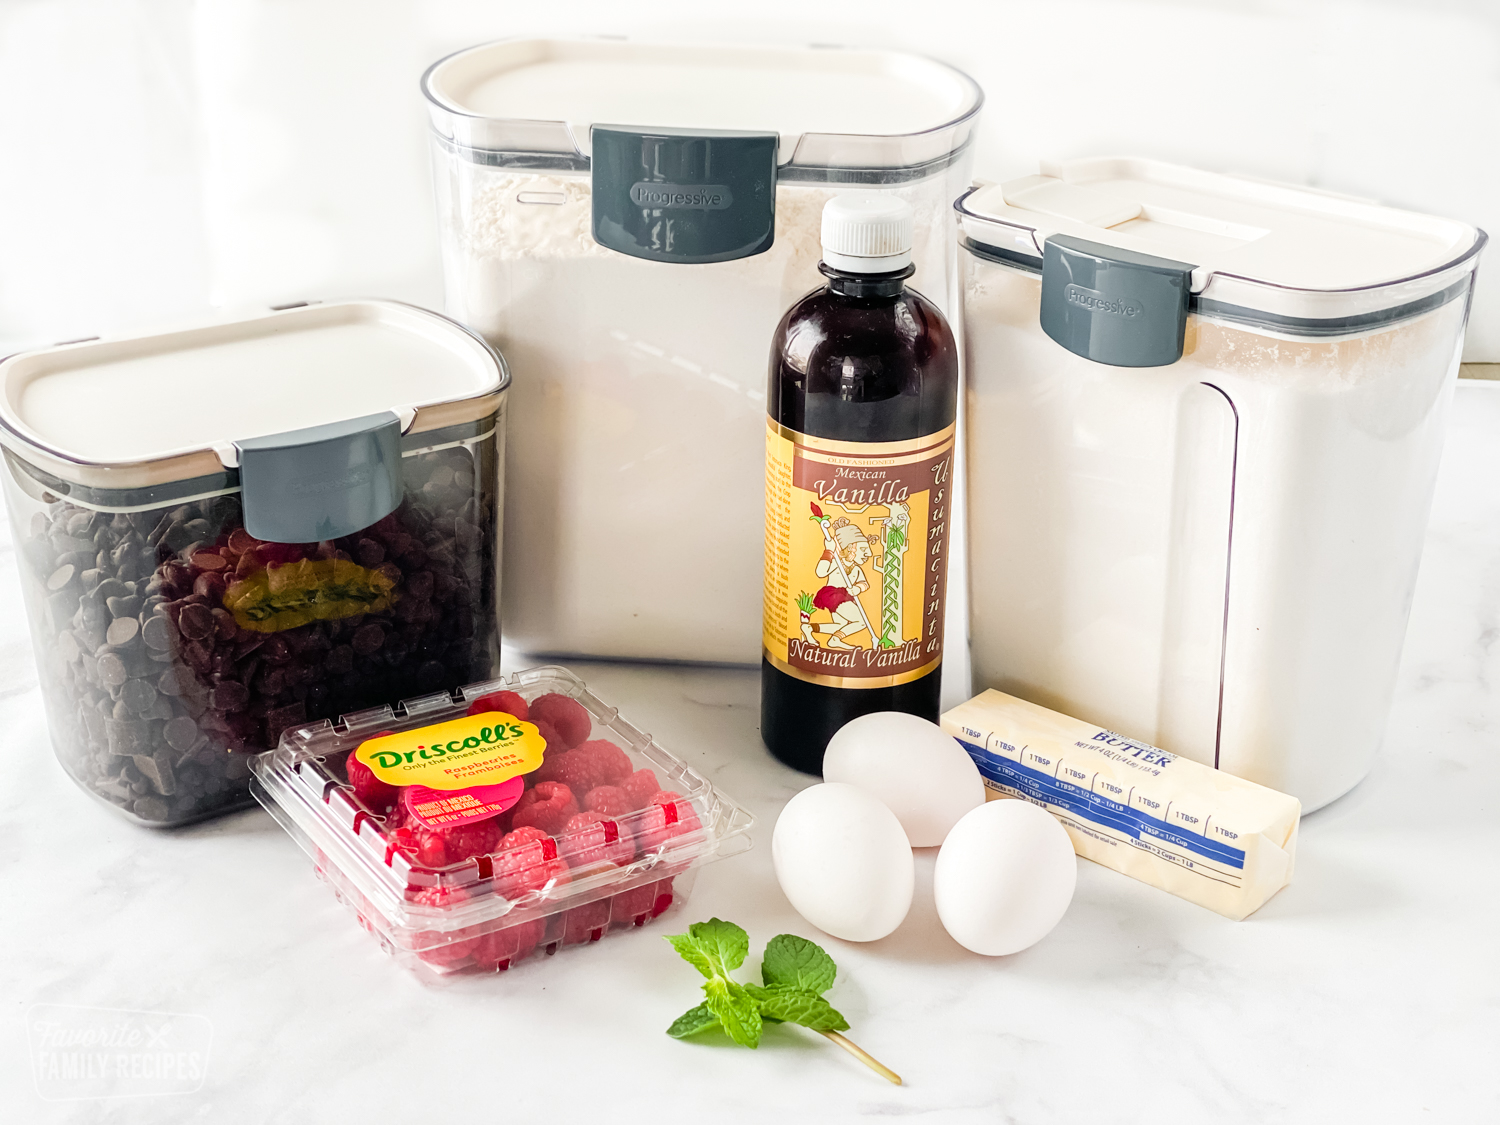
Instant Pot lava cake ingredients are very simple. Chances are, you probably have everything you need in your pantry right now!
- Semi-sweet chocolate chips – I like to use semi-sweet but you could add dark chocolate, milk chocolate, bittersweet chocolate, or a combination of both.
- Unsalted butter – For the perfect consistency, you will melt the butter with your chocolate chips. This gives it a ribbon-looking effect!
- Sugar – Regular, granulated sugar for the recipe. You can dust some powdered sugar or a dusting of cocoa powder on top if you like.
- Eggs – Use both the egg yolks and the whites for this recipe.
- Flour – This is the base of the cake. There is not much flour but it does go a long way. All-purpose flour gives it depth and thickness.
- Vanilla – Use good quality vanilla extract for the best flavor.
Steps to Make Instant Pot Lava Cake
Inside an Instant Pot lava cake is an overflowing amount of chocolate that is going to be running through the cake. It is the perfect combination and gives depth and flavor to this cake. Learn the steps to making this dessert!
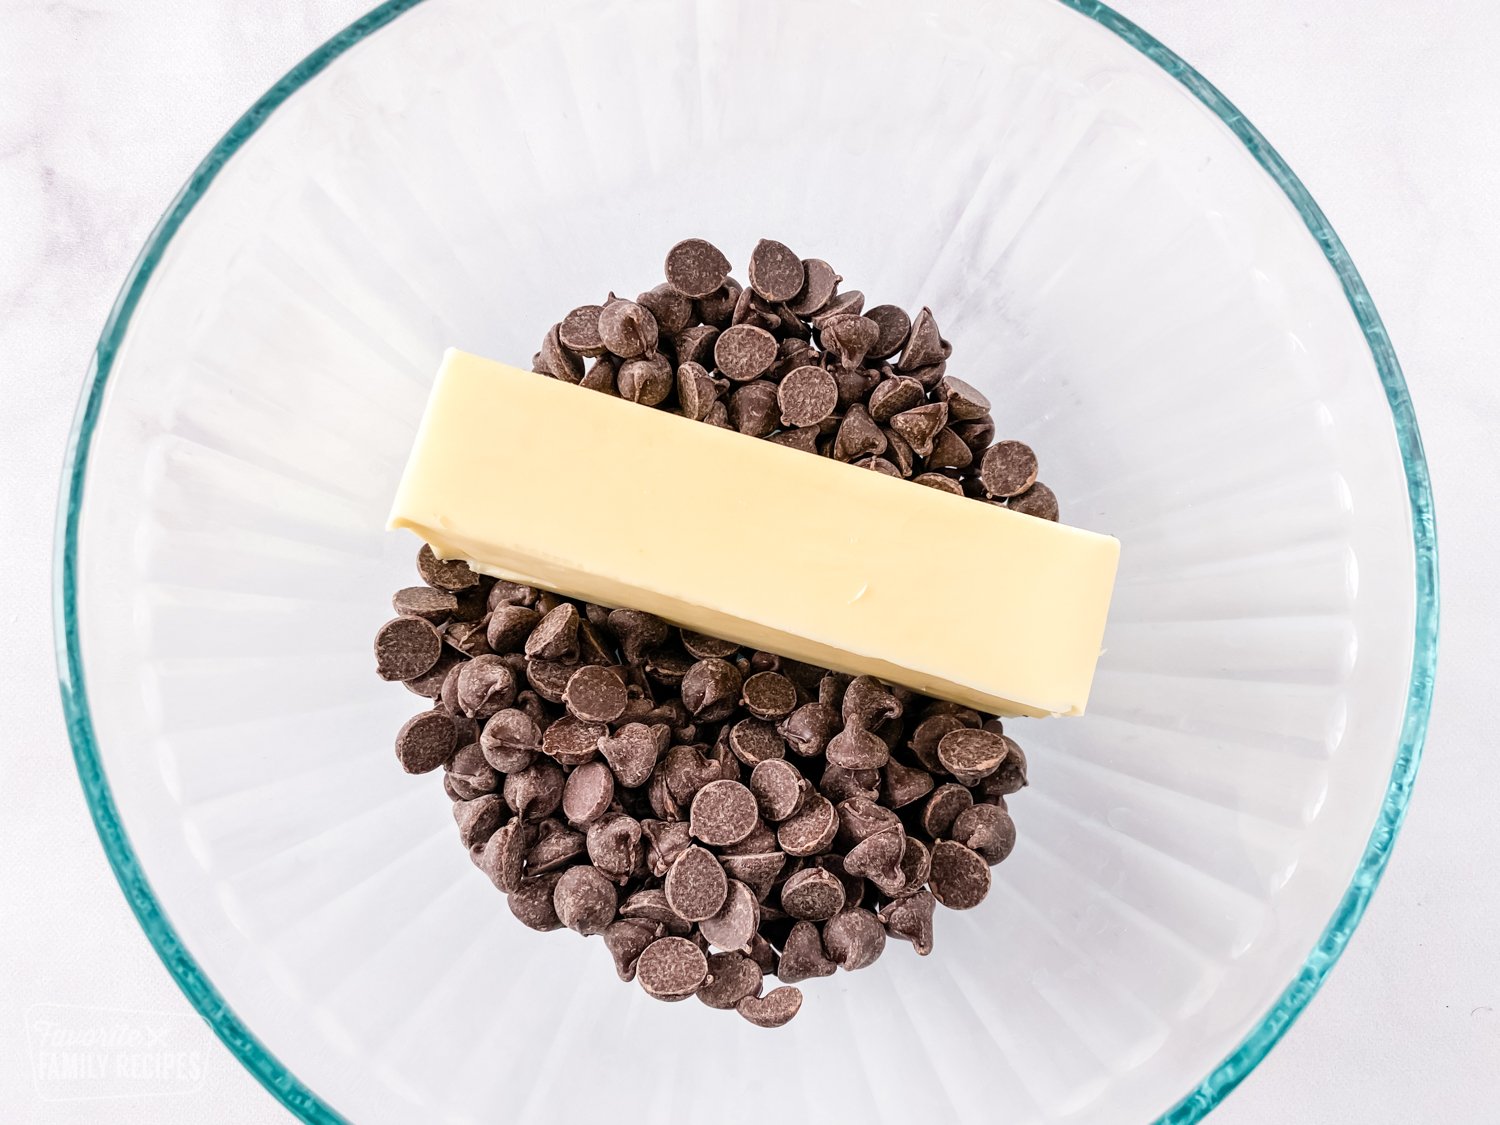
- Microwave – Place chocolate chips and butter in a microwave-safe bowl. Microwave for 30 seconds, remove from microwave, and stir. Place back in the microwave for another 30 seconds and stir until smooth.
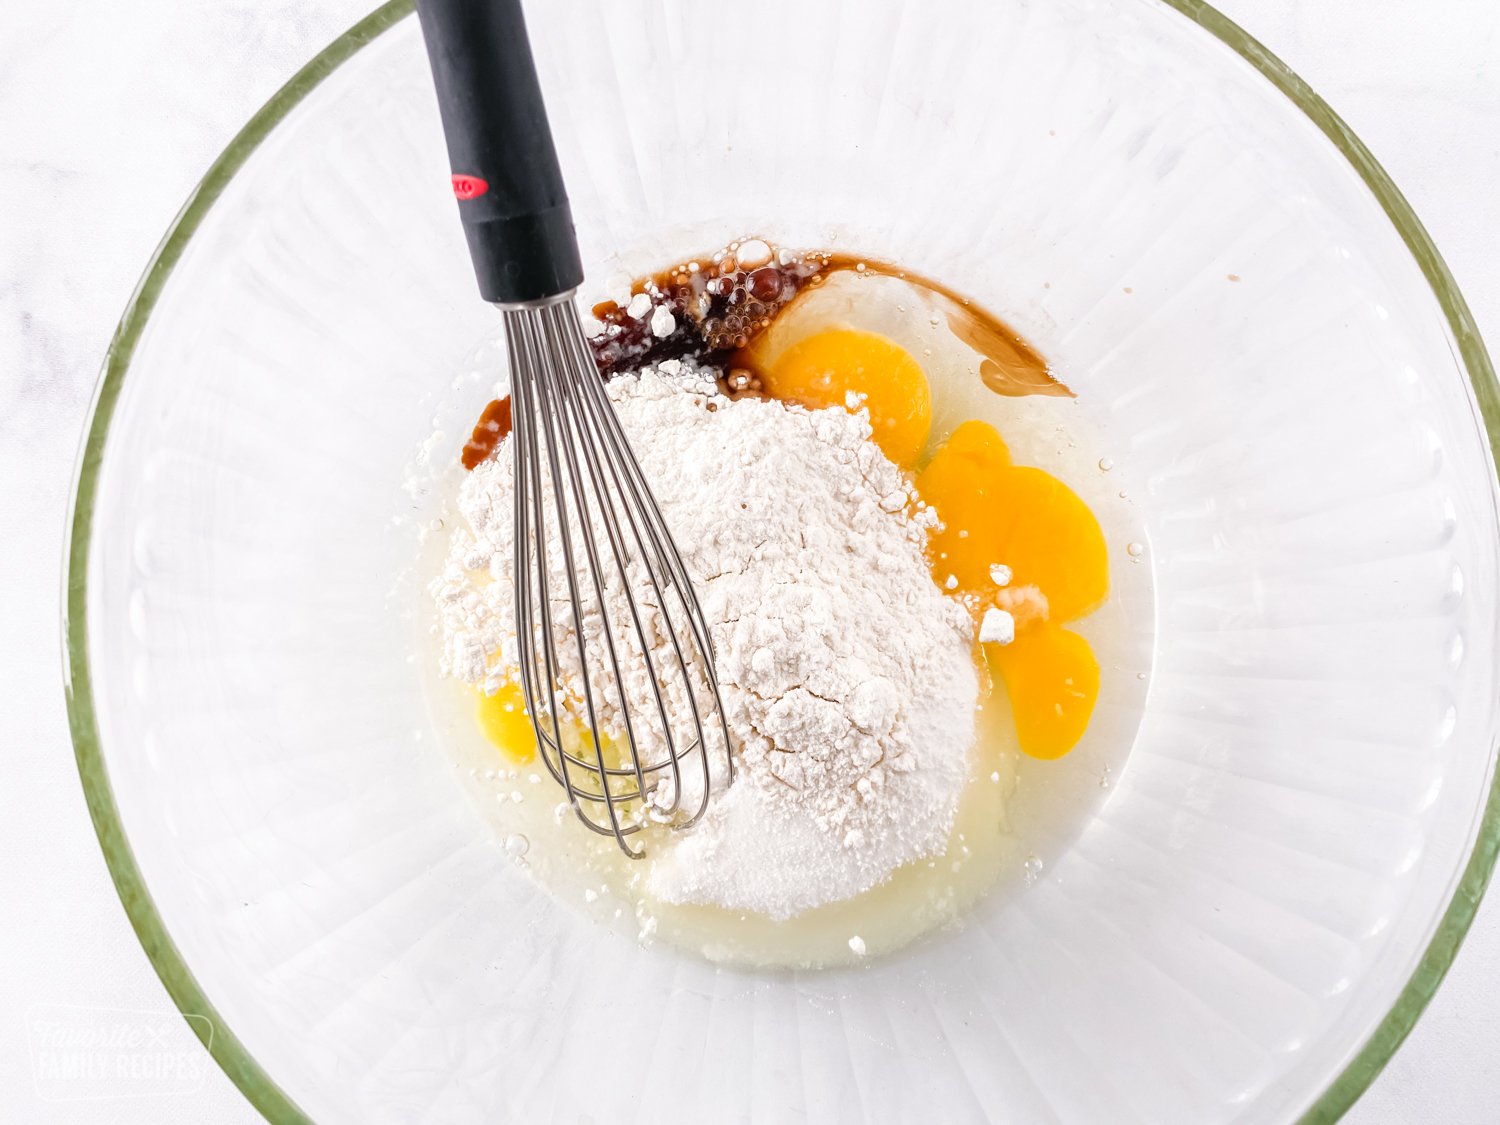
- Whisk – In a separate bowl, whisk eggs, sugar, flour, and vanilla together until smooth.
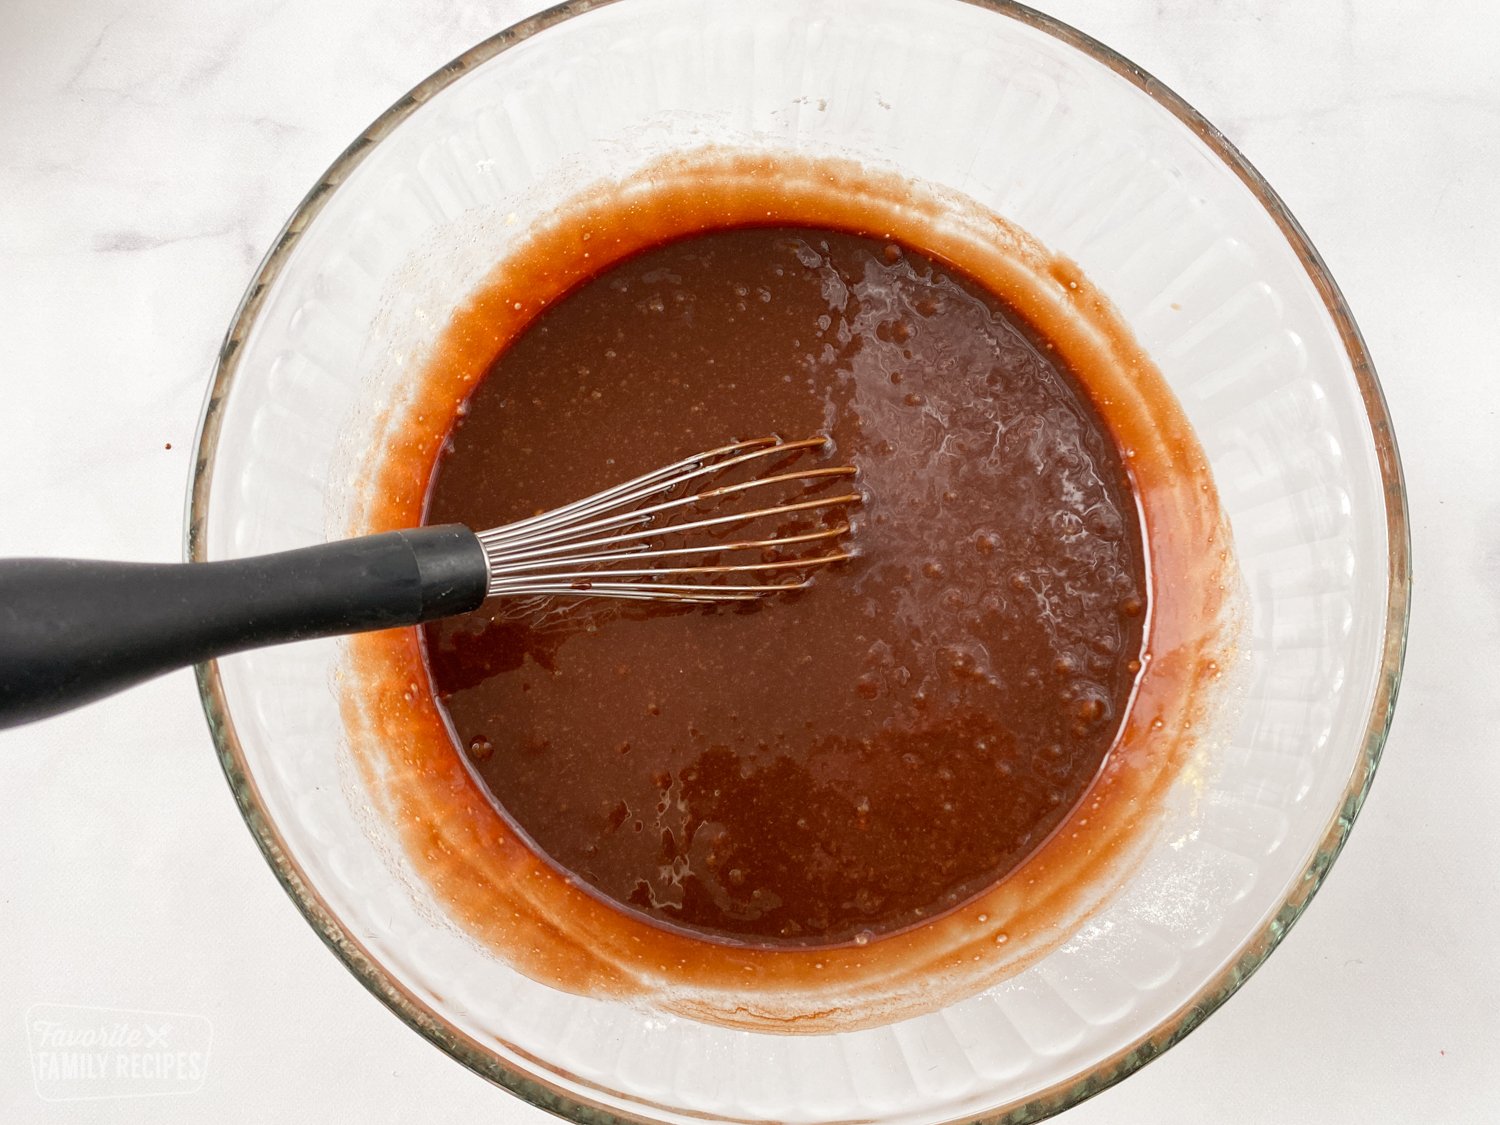
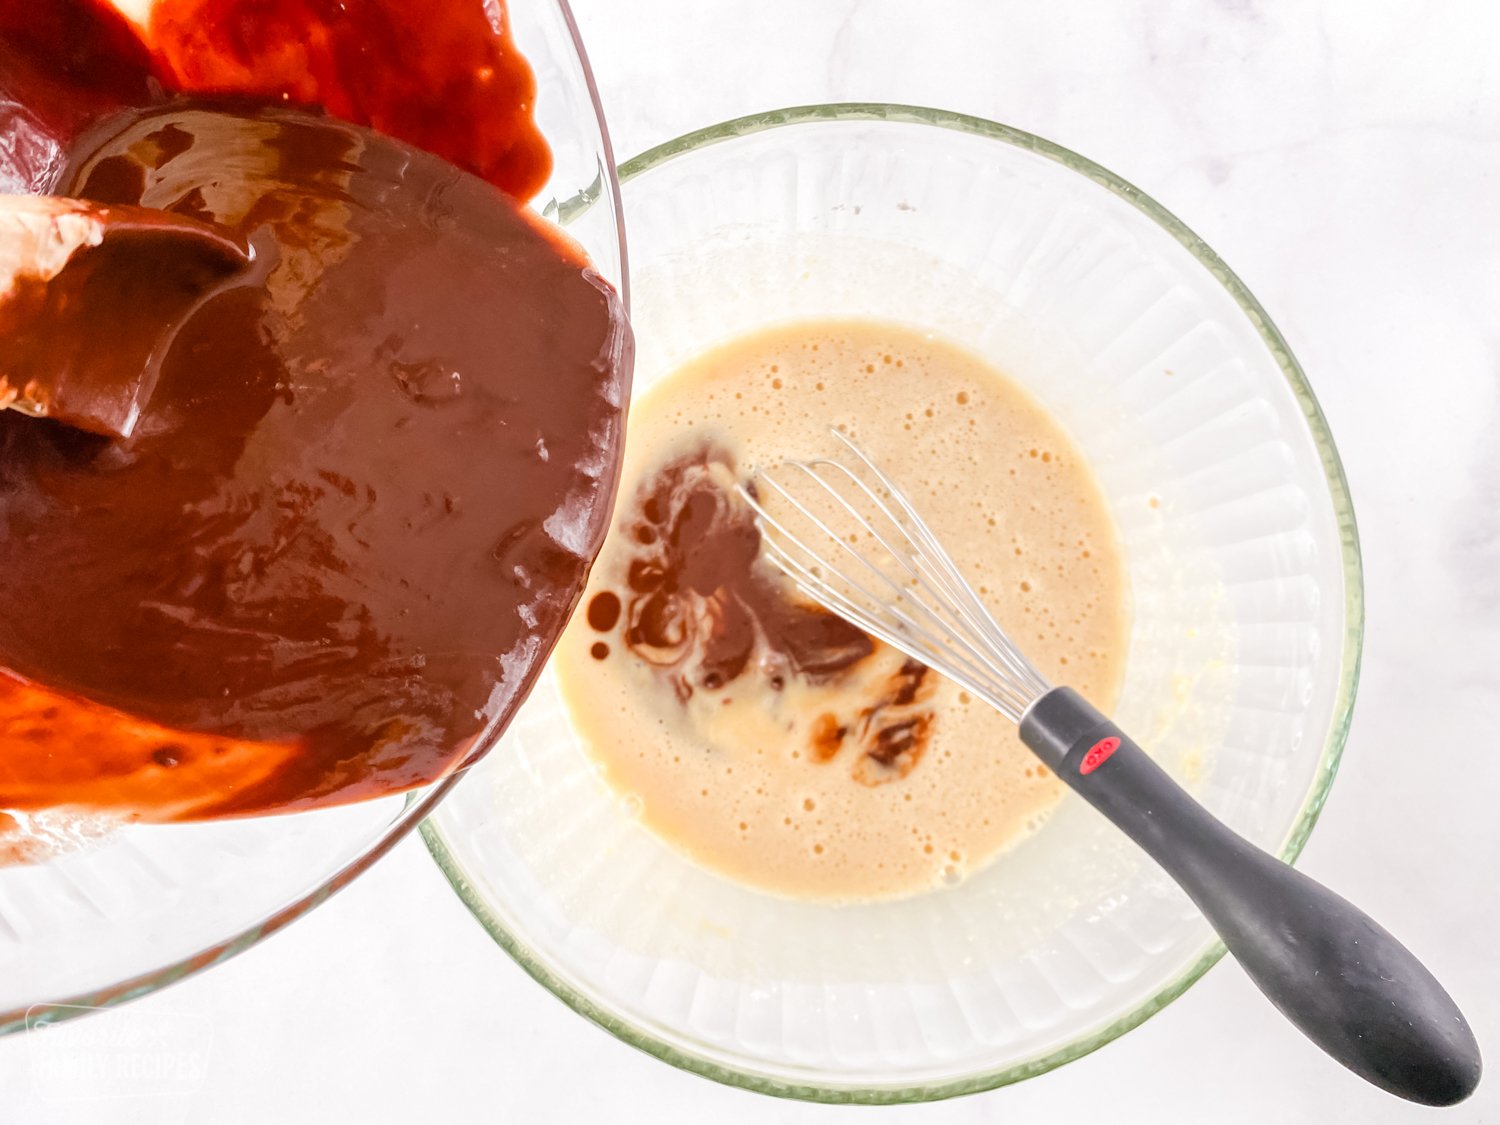
- Combine – Pour the chocolate mixture into the egg mixture and stir well to combine.
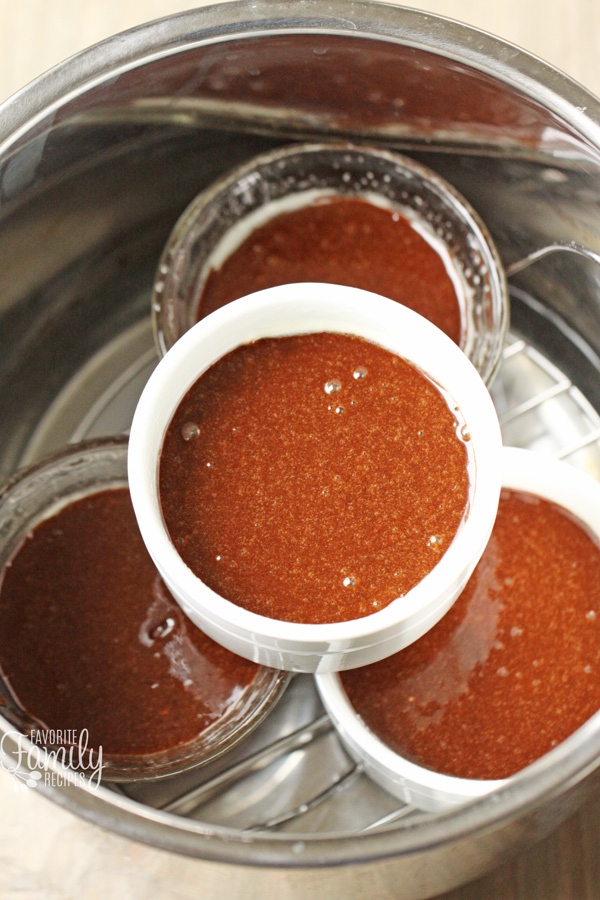
- Prepare and assemble – Spray four 6 to 7-ounce ramekins with cooking spray. Fill each ramekin 2/3 of the way full with batter. Put a steam rack in the bottom of the Instant Pot and add 1 cup of water. Place ramekins on the steam rack, placing 3 of the ramekins directly on the rack and one over the top and in the center of the 3 ramekins.
- Instant Pot – Place lid on Instant Pot and place tab to “sealing”. Manually set the time to 8 minutes on “high” pressure. Quickly release the pressure and carefully remove ramekins from the Instant Pot.
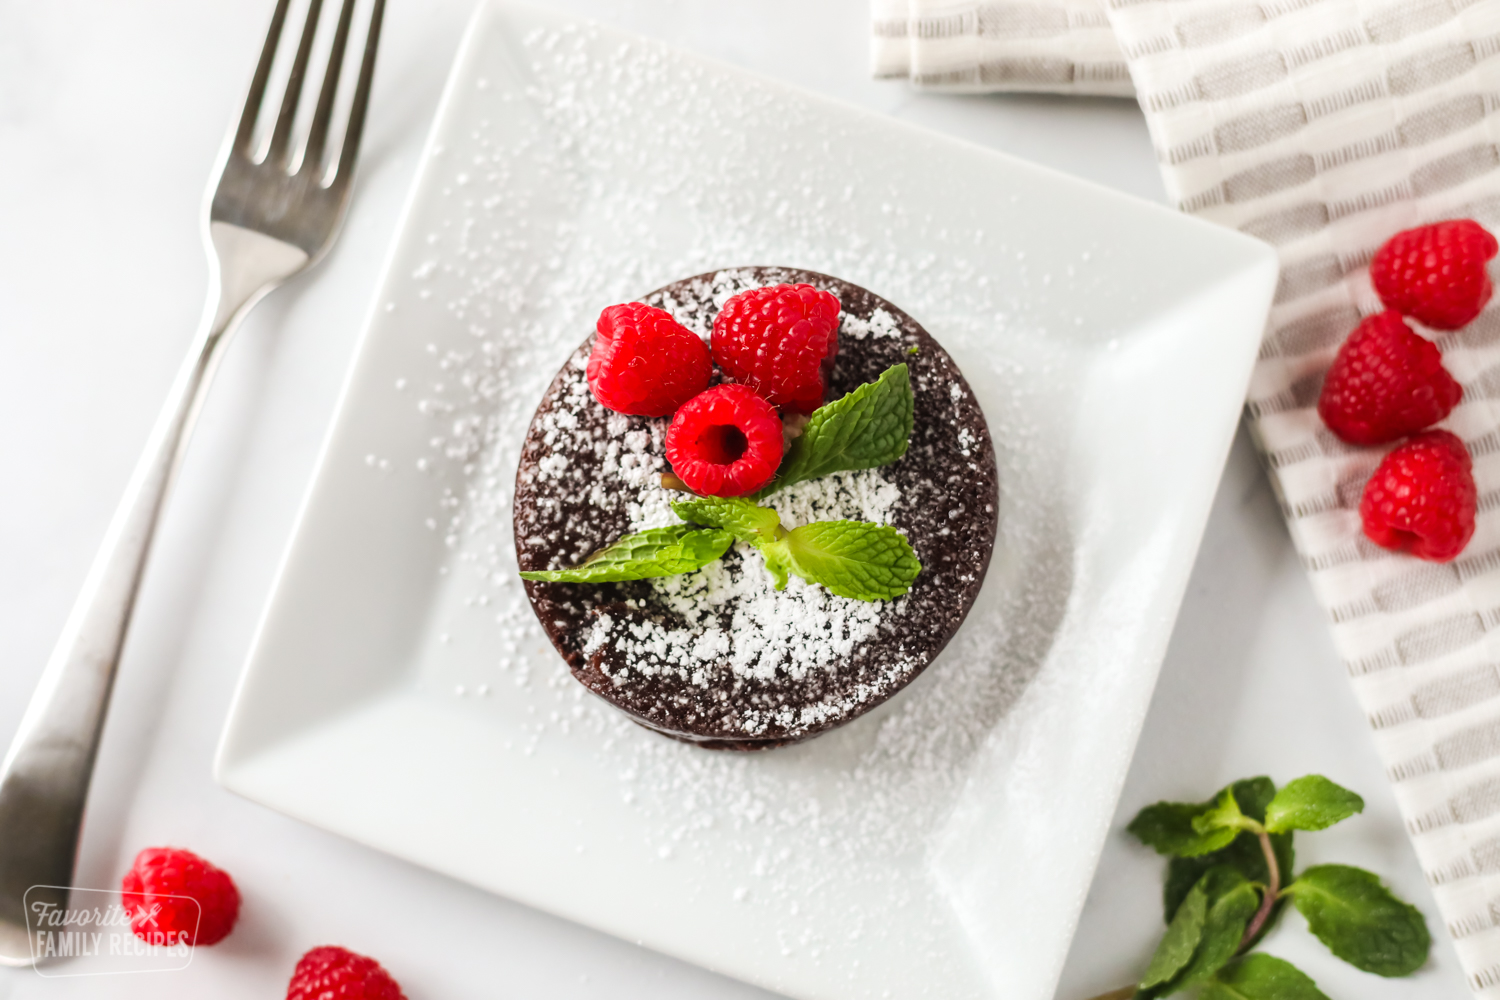
- Serving – Serve with ice cream and add mint leaves and raspberries for garnish.
Toppings for Instant Pot Lava Cake
Once you have your instant pot lava cakes, you can top it any way you like! Use all your favorite toppings and enjoy so many different ways to make this decadent dessert. The options are endless!
- Sauces – Spoon caramel sauce over the top or an extra chocolate ganache drizzled over the instant pot lava cake.
- Powder – Dust with cocoa powder or confectioners’ sugar to give a light sweetness.
- Berries – Top with fresh berries and a dollop of whipped cream. This is always my favorite!
- Ice cream – Add a big scoop of vanilla ice cream to the hot cake. It will melt nicely into the cake.
Getting The Right Consistency
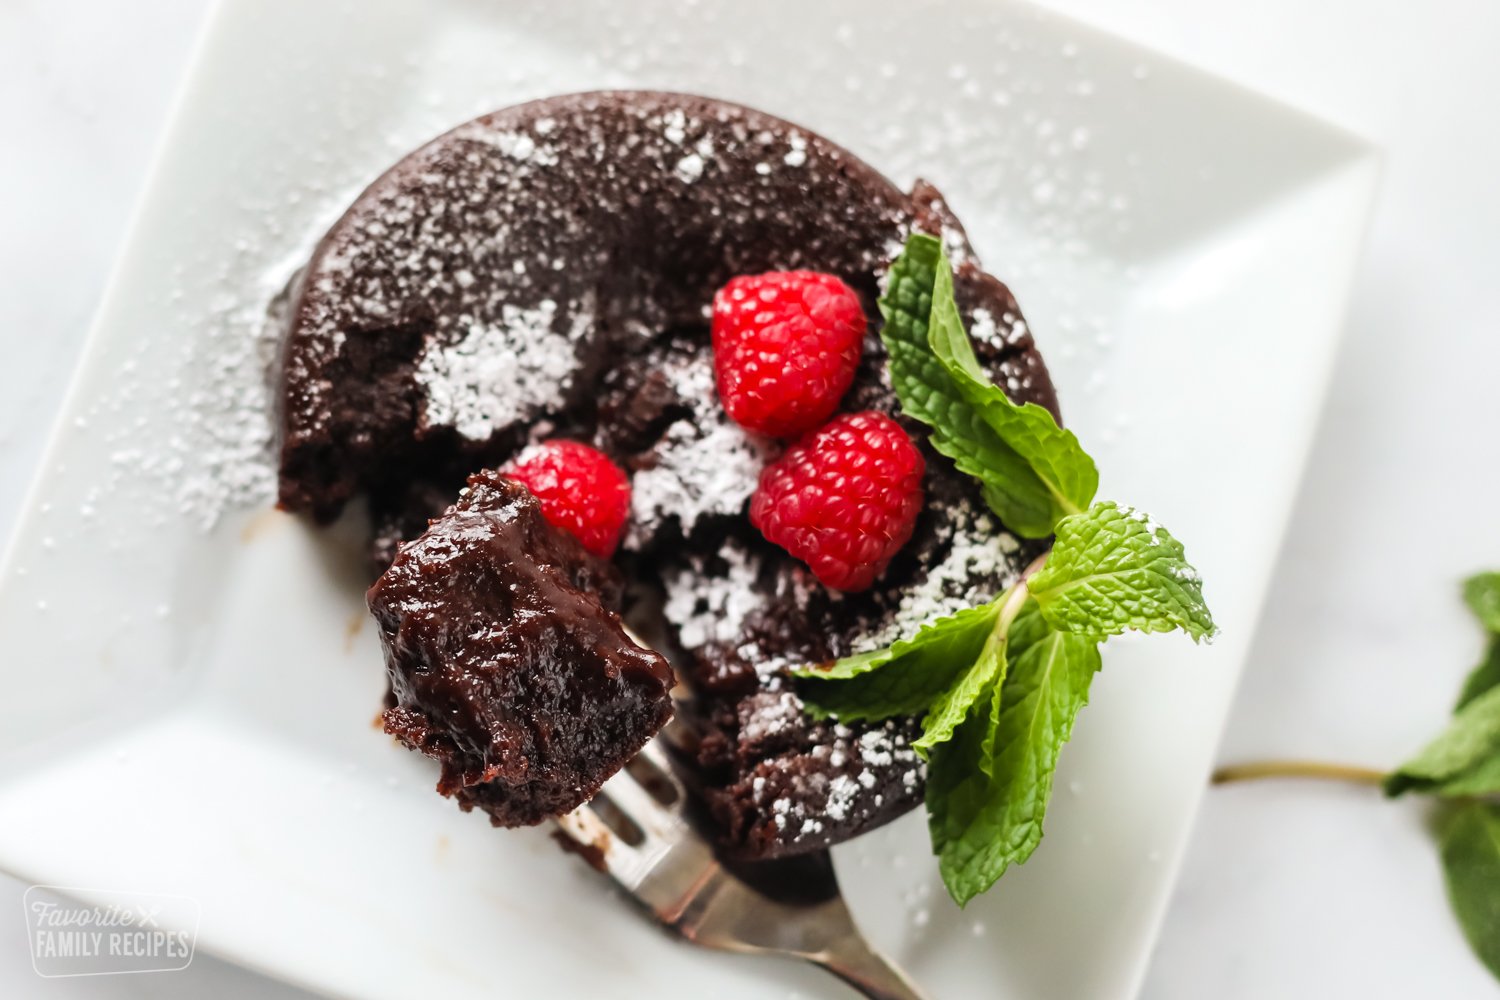
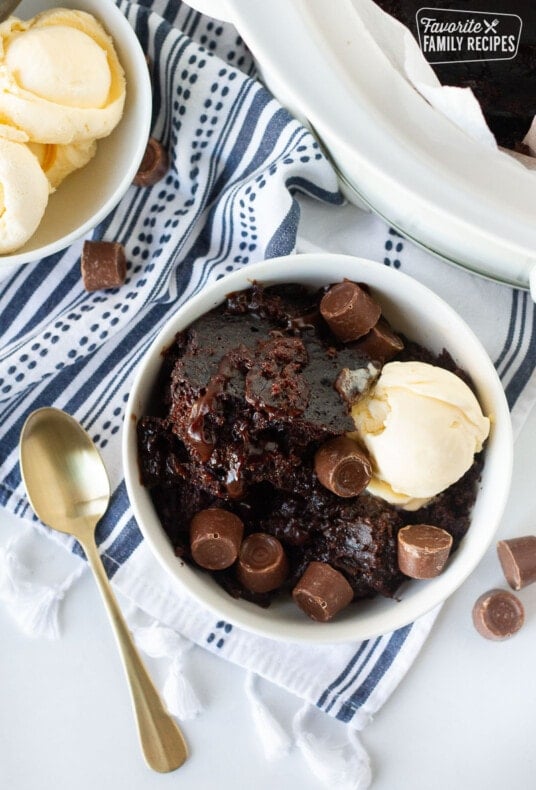
Do you like your chocolate lava cake with more melted chocolate lava flow like chocolate cake batter or do you like your cake gooey, but a little more intact? The center “lava” consistency depends on the amount of time it is cooked. In the picture above, I cooked the lava cake in the Instant Pot for 8 minutes. In the picture below I did 9 minutes with a 1-minute slow-release.
Recipe Tips
Follow these helpful tips when making this chocolate dessert in the Instant Pot for the best results!
- Instant Pot tip – Dessert in the Instant Pot or a pressure cooker can be tricky. Trust me, this recipe came about after three failed attempts to pressure cook. With Instant Pot desserts you need to be fairly exact with your cooking times. You also need to consider that cooking times will be different at different elevations.
- Liquid – When cooking dessert or anything in the Instant Pot, you need to make sure you have enough liquid. To make this easier, I like to place the steam rack in the instant pot first. Then, I like to add a couple of cups of water to the bottom. Lastly, I place the dessert containers on the steam rack. This places the 6-ounce ramekins out of the water and makes them easier to remove from the Instant Pot when they are finished.
- Stacking – Since this molten lava cake recipe makes 4 dessert cups, you will have to place 3 cups on the bottom and one cup over the top. Don’t worry, they will all still cook perfectly, even if they are stacked!
- Elevation – I cooked these instant pot lava cakes for 8 minutes and did a quick release. I live at a fairly low altitude so this time was perfect for me. If you are at a higher elevation, you may want to add a minute to the cooking time or allow it to slow-release for a minute or two. Just don’t let it slow release for too long or it will overcook and you won’t get that liquid chocolate center.
Variations and Additions to this Instant Pot Lava Cake
This Instant Pot lava cake is perfect in every way! There are times that there needs to be variations and additions to a recipe and these are great to choose from. You can’t go wrong with these changes for this instant pot lava cake recipe!
- Chocolate – For this recipe, I like to use dark chocolate because I think it makes it extra rich. You are adding sugar to the batter so it will still be plenty sweet. If you simply won’t use dark chocolate or if you don’t have it, you can also use semi-sweet.
- Toppings – If you aren’t a fan of having fruit with chocolate, instead of adding raspberries, you can drizzle a little salted caramel or whipped cream on the top.
- Espresso powder – We don’t drink coffee, but a little espresso powder in this recipe enhances the chocolate flavor and tastes absolutely delicious.
- Peanut butter – If you’re a peanut butter fan, melt some in the microwave and drizzle on top of the chocolate lava cake.
- Gluten-free – This recipe uses VERY little flour. Only a quarter cup! That is great news for those who want to make a gluten-free version. Just swap out the flour for your favorite GF flour and you are good to go! If you have good GF flour, you won’t even be able to tell the difference because the flour amount is so small. Namaste flour from Costco works great or if you have a homemade flour blend that you like, that will work great too!
“Super easy and quick to make. Rich but just the right amount with some berries! Kids loved! Thanks for the terrific recipe.”
-Julie
Frequently Asked Questions
A chocolate lava cake is a cake that has a center filled with a chocolate ganache addition. This will help the chocolate melt away from the chocolate cake. It looks like lava is flowing from the cake.
The cake is formed, shaped, and baked with a center that is filled with ganache. Once the cake is broken into by a fork or spoon, the ganache will flow out of the cake similar to a lava flow. It is pretty and decadent. Usually served at fancy restaurants or special occasions in our home.
No, instant pot lava cake is served warm. You will want to remove it from the instant pot as quickly as possible and enjoy it right away. That way the lava of the chocolate cake will still be melted and flow through the cake.
They both have the same appearance and look they also have a few differences that help them stand out. A chocolate lava cake has a runny center whereas a chocolate souffle has a puffed-up middle in the cake.
For this instant pot lava cake recipe, we used chocolate chips and melted them down for a type of chocolate ganache for the filling made in the lava cake.
Storing Instant Pot Lava Cake
Once you have baked this instant pot lava cake it will be hard to save any for leftovers! It is rich and flavorful when baked. Release the cake from the ramekin and carefully place it in an airtight container. Store the instant pot lava cake in the fridge for two to three days. When ready to enjoy, reheat in the microwave or oven until it is warmed through. Enjoy!
Read Next: 27 BEST Instant Pot Recipes
More Decadent Chocolate Desserts
If chocolate is your love language, welcome to our blog! We are huge chocolate fans here too. Try one or all of these sinfully sweet and rich chocolate treats next time the craving hits.
How to Make Instant Pot Lava Cake
Instant Pot Lava Cake
Equipment
- Whisk
- Mixing Bowls
- Measuring Cups
Ingredients
- 1 cup dark chocolate chips
- ½ cup butter
- 3 large eggs
- ½ cup sugar
- ¼ cup flour
- 1 teaspoon vanilla
- mint leaves (optional)
- raspberries (optional)
Instructions
- Place chocolate chips and butter in a microwave-safe bowl. Microwave for 30 seconds, remove from microwave, and stir.
- Place back in the microwave for another 30 seconds and stir until smooth.
- In a separate bowl, whisk eggs, sugar, flour, and vanilla together until smooth.
- Pour the chocolate mixture into the egg mixture and stir well to combine.
- Spray four 6-7-ounce ramekins with cooking spray. Fill each ramekin 2/3 of the way full with batter. Put the steam rack in the bottom of the Instant Pot and add 1 cup of water. Place ramekins on the steam rack, placing 3 of the ramekins directly on the rack and one over the top and in the center of the 3 ramekins (as seen in the photo above).
- Place lid on Instant Pot and place tab to "sealing". Manually set the time to 8 minutes on "high" pressure (see notes above for consistency times). Quickly release the pressure and carefully remove ramekins from the Instant Pot.Serve with ice cream and add mint leaves and raspberries for garnish.

Tried to make lava cakes 3 times and never come out right.
Thought I i used the instant pot that maybe it would come out right this time.
No luck only 1 out of the 4 was cooked liked it should be.
However still love the chocolate cake even if no lava rolls out.
Maybe next time will cook only 7 minutes!
I would love to have your recipes. I tried a couple, and they were delicious. Thank You.
Is the nutritional information for all four ramekins?
Sadly, no. I wish I could say this decadent and rich dessert was only 150 calories. The nutrition information is for one serving.
I have made this recipe over a dozen times and love it so much. It is always requested when we have family over for dinner. I do 5 minutes because my ramekins are 4 oz and they turn out perfectly. Super yummy with a scoop of ice cream on top but delicious as they are. I’ve used semisweet when I don’t have dark chocolate, both are great!
Wonderful recipe. Next time I will cover them with foil so that the water doesn’t get into the cake .
Super easy and quick to make. Rich but just the right amount with some berries!
Kids loved! Thanks for the terrific recipe.
Can you do this recipe in the oven too?
We haven’t tried it in the oven, but let us know how it turns out if you try it!
My daughter made this last night, first dessert in instant pot. It came out like firm pudding. No lava! We are not in a high altitude area and she followed the instructions, to a tee. Any suggestions?
That’s so weird! I know some of the newer Instant Pots can cook a little hotter, so maybe that’s why? I am so sorry it didn’t work for you guys!
I have made this dozens of times a s it is excellent. I live at high altitude so I add a smidge more flour. If you double it they turn out not as consistent (some not quite as set), but I still do it!
Made this tonight, the whole family loved it. Absolutely delicious. I did 8 minutes and one minute of slow release and the center was ooey gooey. I will try just the 8 minutes next time. But seriously one of the best desserts I’ve ever had!
What do I do if I don’t have the steam rack?
You can use anything that is metal and oven safe that will prop the ramekins up enough so that you can fit one cup of water underneath them. I’ve seen people us metal cookie cutters!