
We may earn a commission when you click on the affiliate links in this post.
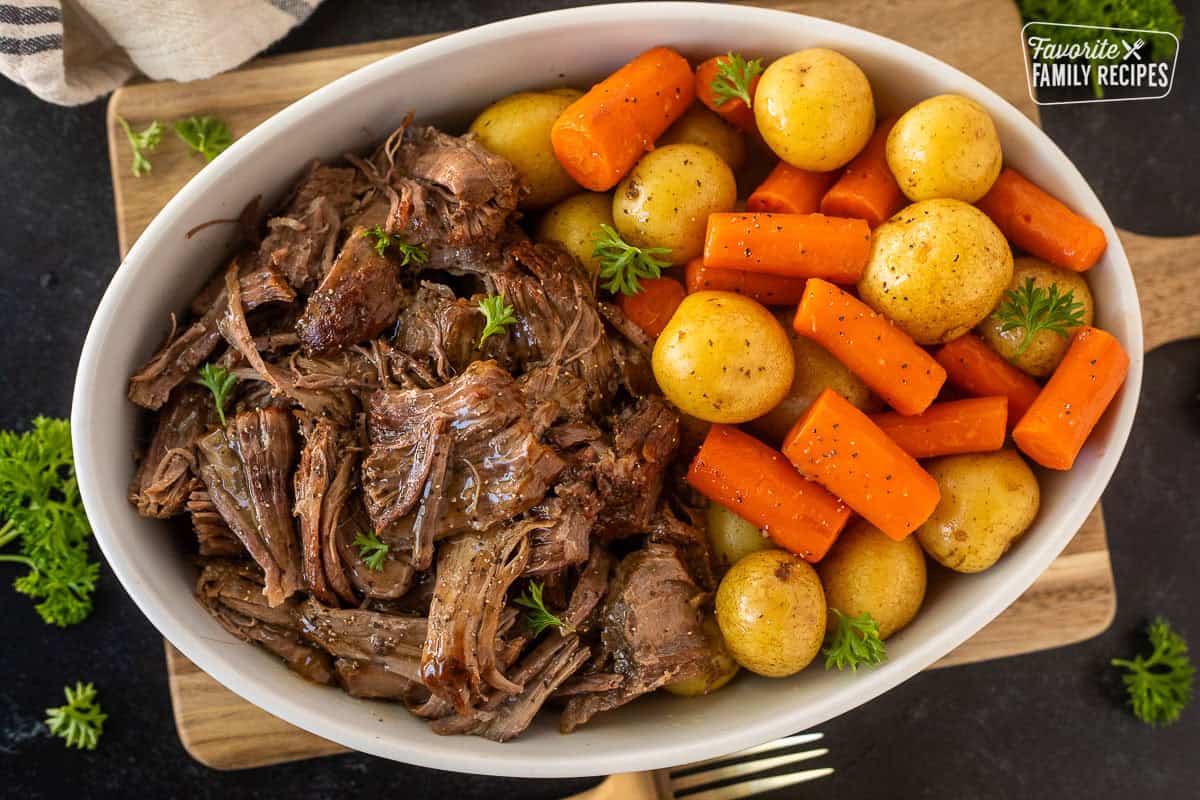
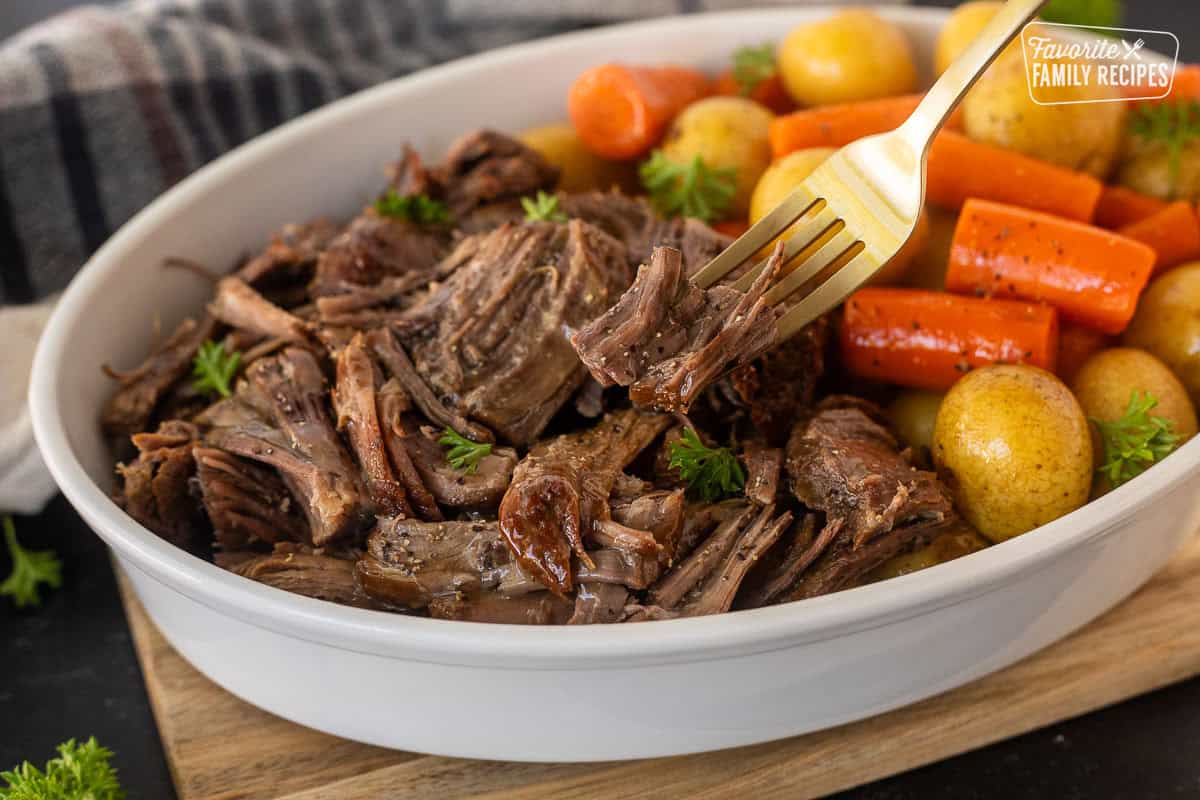
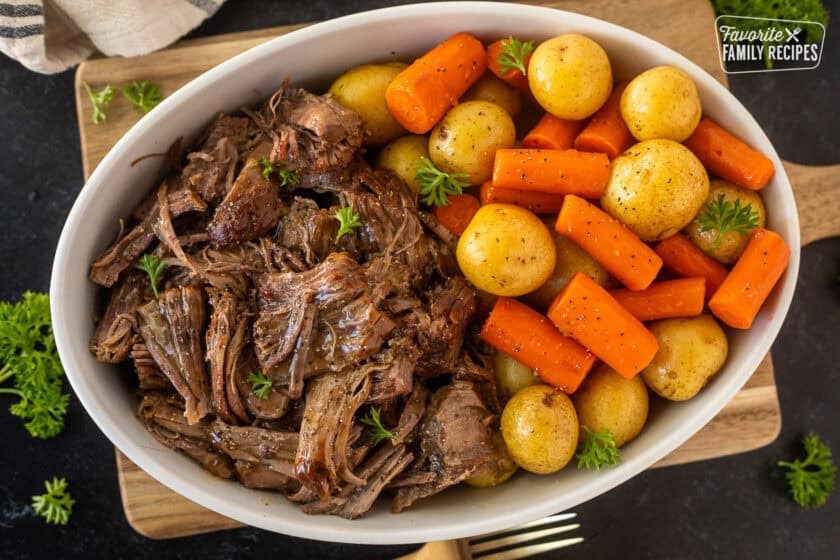
This Instant Pot Chuck Roast gives you tender, fall-apart beef, buttery potatoes, carrots, and a savory homemade gravy without waiting all day for dinner. It has all the comfort of a classic Sunday pot roast, but the pressure cooker gets it on the table much faster than the oven or slow cooker.
5 Star Reviews ⭐️⭐️⭐️⭐️⭐️
“Best pot roast recipe ever! This is my “go-to” recipe when we have people over for dinner. The vegetables are very flavorful and the meat is so tender, that it just falls apart.” – Joanne
“Fabulous! The Yukon gold potatoes were perfection as were the carrots and onions. I thickened the gravy & wow! It was a hit!” – Suz
“Delicious! And super easy!!! Thank you for making me look like an amazing cook!” – Amy
Why I Love This Instant Pot Roast
Pot roast has always been one of our favorite Sunday dinners. Sometimes I serve it with mashed potatoes on the side, and other times I cook potatoes and carrots right along with the roast. Either way, it is the kind of meal my family is always happy to see on the table.
The problem is that I am notorious for forgetting to start a roast early enough. I can’t tell you how many times I have walked in the door after church and realized I never put the roast in the oven or Crock Pot. That is exactly why I love this Instant Pot Chuck Roast. I can sear the meat, pressure cook it until it is tender, cook the vegetables, and make the gravy all in the same pot.
I also love that this recipe is easy to adjust. You can keep it simple with beef broth and onion soup mix, or add garlic, herbs, Worcestershire sauce, or a splash of red wine when you want a little more flavor. The biggest trick is giving the roast enough pressure cooking time and letting it naturally release before venting. That is what helps a chuck roast become tender enough to pull apart with a fork.
🩷 Erica
Table of Contents
- 5 Star Reviews ⭐️⭐️⭐️⭐️⭐️
- Why I Love This Instant Pot Roast
- Ingredients You’ll Need
- Ingredient Additions and Substitutions
- Best Cut of Beef to Use
- How to Make Instant Pot Chuck Roast
- Cook Times By Weight
- How to Make the Roast Gravy
- Crock Pot Option
- Recipe Tips
- Frequently Asked Questions
- Troubleshooting Instant Pot Chuck Roast
- Make Ahead and Storage
- Pairing Ideas
- More Hearty Beef Recipes
- Instant Pot Chuck Roast Recipe
Ingredients You’ll Need
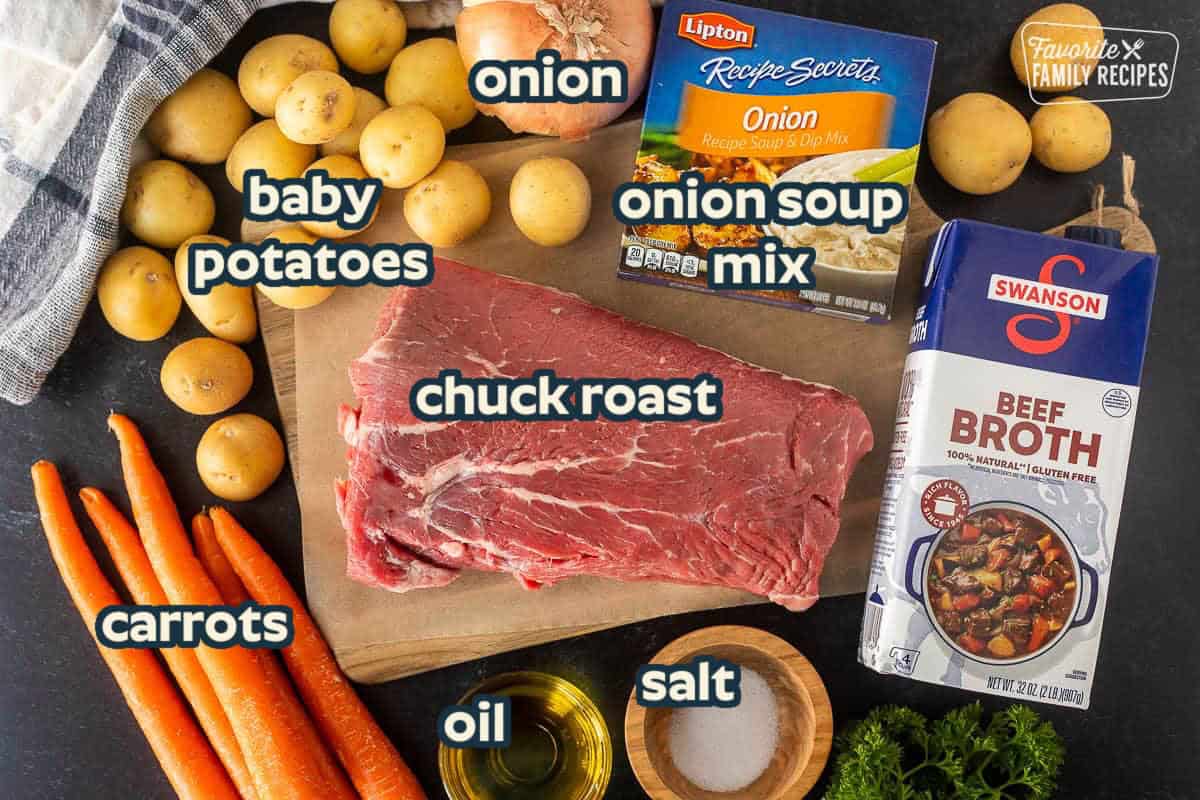
- Beef chuck roast: Chuck roast is my first choice because the marbling and connective tissue become tender during pressure cooking and give the beef that pull-apart texture.
- Salt: Season the roast before searing so the beef is well seasoned from the beginning.
- Vegetable oil: Use this for searing the roast because it handles the high heat well.
- Olive oil: This coats the vegetables and helps the onion soup mix stick to them.
- Beef broth: The broth provides the liquid the pressure cooker needs and gives you plenty of flavorful drippings for gravy.
- Dry onion soup mix: This is an easy way to season both the vegetables and the cooking liquid. Use a gluten-free mix if needed.
- Onion: I use a white or yellow onion cut into quarters. It softens into the broth and adds flavor to the gravy.
- Baby potatoes: Whole baby potatoes hold their shape much better than peeled, diced russets in the pressure cooker.
- Carrots: Baby carrots work well, or cut larger carrots into thick pieces so they do not cook too quickly.
- Cornstarch and water: Whisk these together for a quick slurry that thickens the cooking liquid into gravy.
I use a 6-quart Instant Pot, but another brand of electric pressure cooker will work too. Always follow the liquid and fill-line requirements for your specific model.
Ingredient Additions and Substitutions
This recipe is intentionally simple, but there are plenty of ways to change the flavor without changing the basic cooking method.
- Garlic: Add a few fresh garlic cloves to the pot with the broth.
- Fresh herbs: Rosemary and thyme are both great with chuck roast.
- Worcestershire sauce: Add a splash to the broth for a deeper beef flavor.
- Red cooking wine: Replace a small portion of the broth with red cooking wine.
- Balsamic vinegar: A small splash adds a little acidity and richness.
- Celery: Add a couple of celery stalks with the onion if you like.
- Pearl onions: These are a fun substitute for the quartered onion.
- Different potatoes: Yukon gold or red potatoes work well. Keep the pieces fairly large and leave the skin on when possible.
- Different cuts of beef: Bottom round, top round, brisket, or eye of round can work, but chuck roast is my favorite for the most tender, juicy result.
- Gluten-free: Use gluten-free beef broth and gluten-free onion soup mix.
Best Cut of Beef to Use
For this recipe, boneless chuck roast is my first choice. Chuck comes from a hard-working part of the animal, so it has plenty of connective tissue and marbling. Pressure cooking gives that connective tissue time to soften, which is what makes the finished roast tender and easy to shred.
You can also use:
- Bottom round roast
- Top round roast
- Brisket
- Eye of round roast
- Top sirloin petite roast
Leaner cuts can still work, but they may not shred quite as easily as a well-marbled chuck roast. Whatever cut you use, do not judge doneness by the clock alone. If the roast is still tough when you test it with a fork, it needs more time.
How to Make Instant Pot Chuck Roast
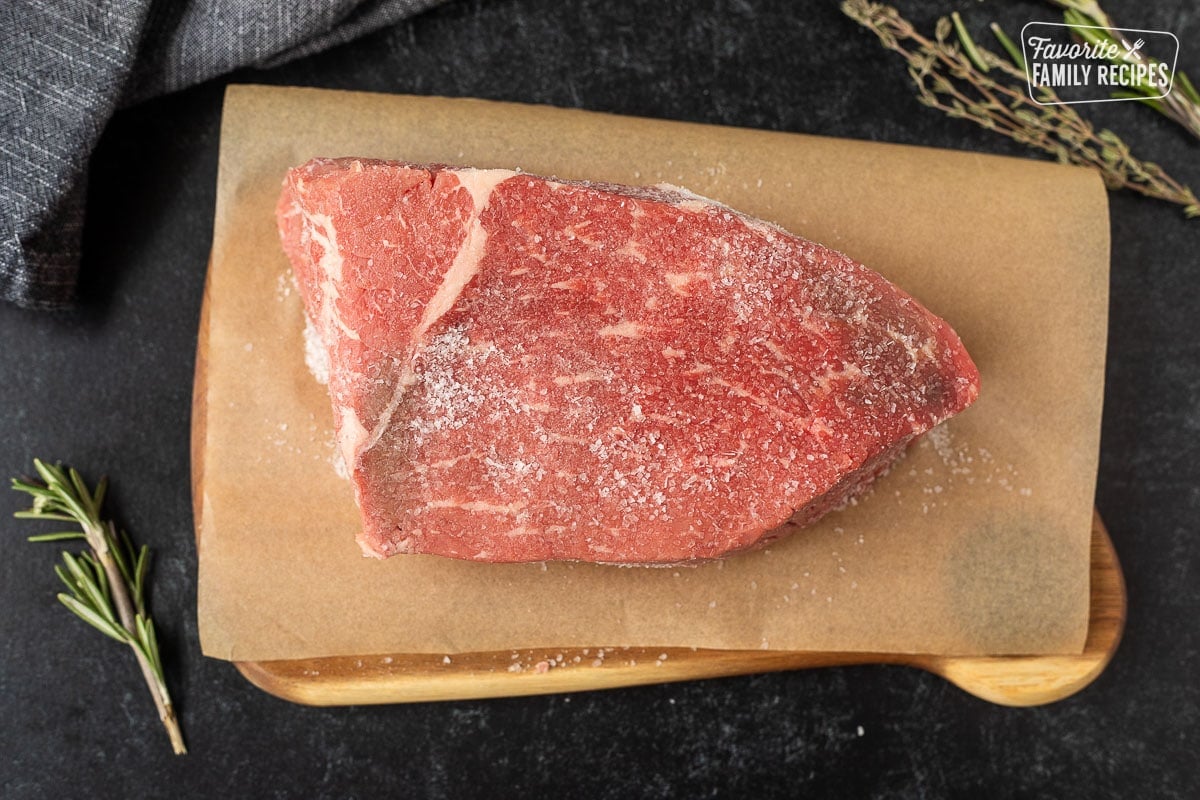
- Pat the chuck roast dry with paper towels and season it generously with salt.
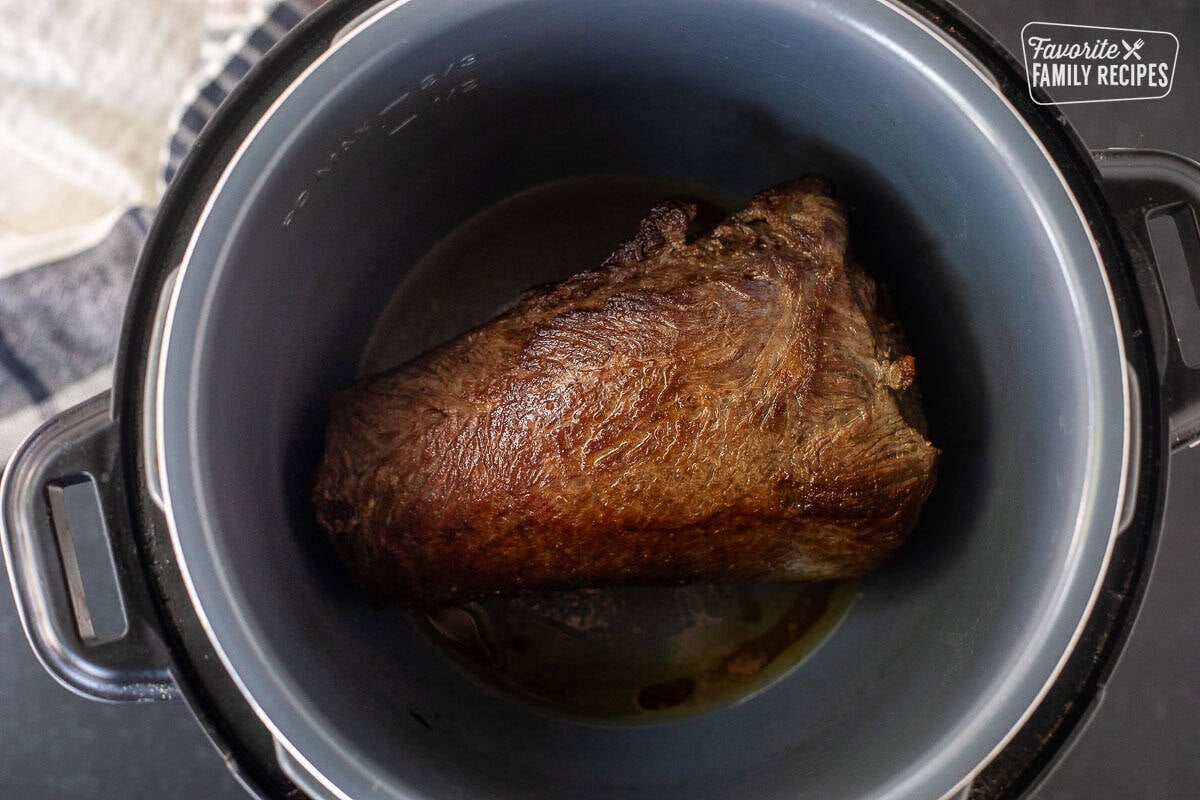
- Set the Instant Pot to Sauté and add the vegetable oil. When the oil is hot and shimmering, sear the roast for 4 to 5 minutes per side, including the edges when possible. Remove the roast briefly if needed.
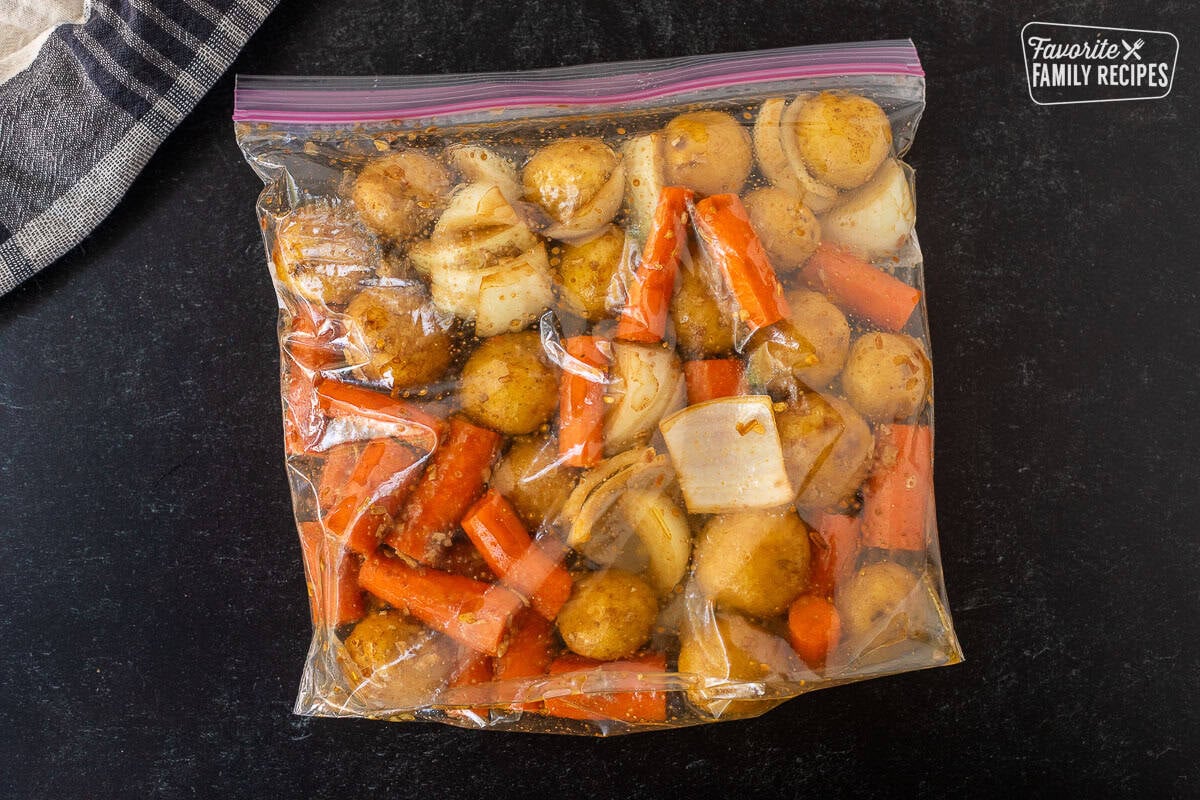
- Toss the potatoes, carrots, and onion with olive oil and dry onion soup mix. If you like very soft vegetables, you can cook them with the roast from the beginning. For vegetables that hold their shape better, add the onion to the pot now and set the potatoes and carrots aside until the roast is done.
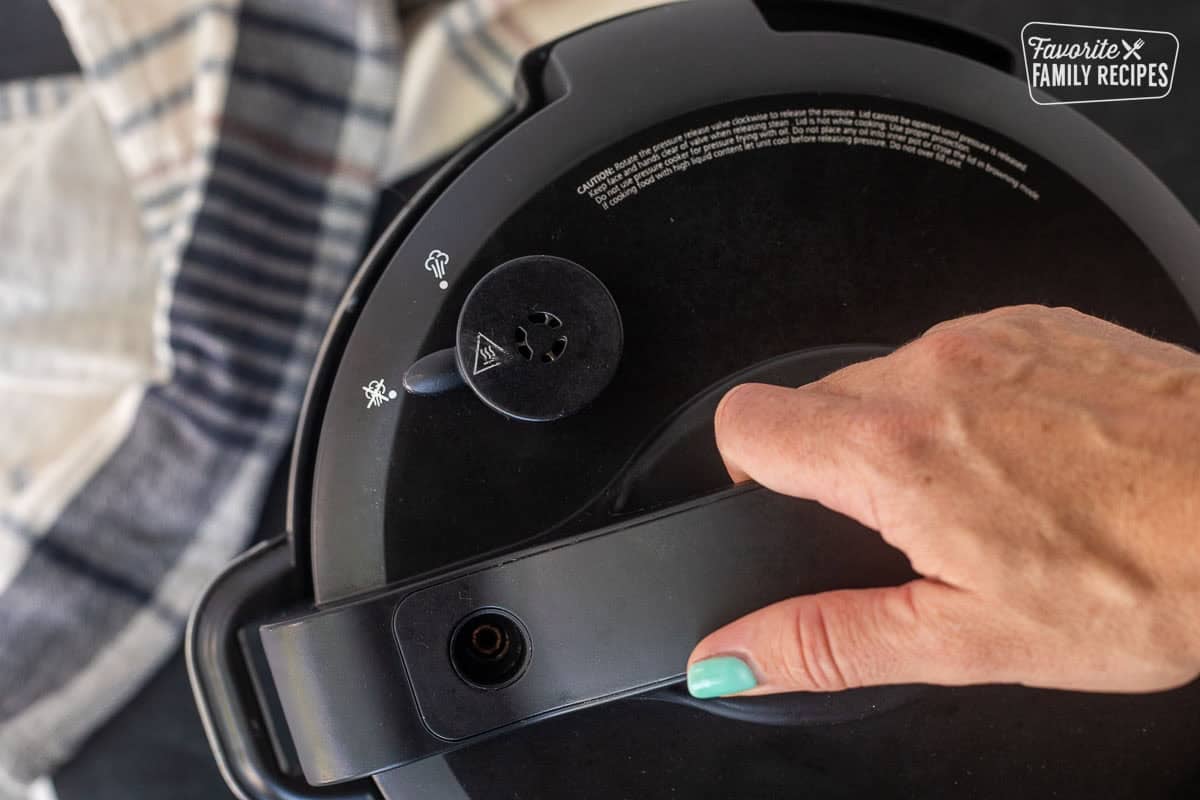
- Pour in the beef broth and scrape the bottom of the pot well so no browned bits are stuck to it. Return the roast to the Instant Pot, lock the lid, and cook on High Pressure according to the weight chart below. When the cook time is finished, let the pressure release naturally for at least 15 minutes before venting the remaining pressure.
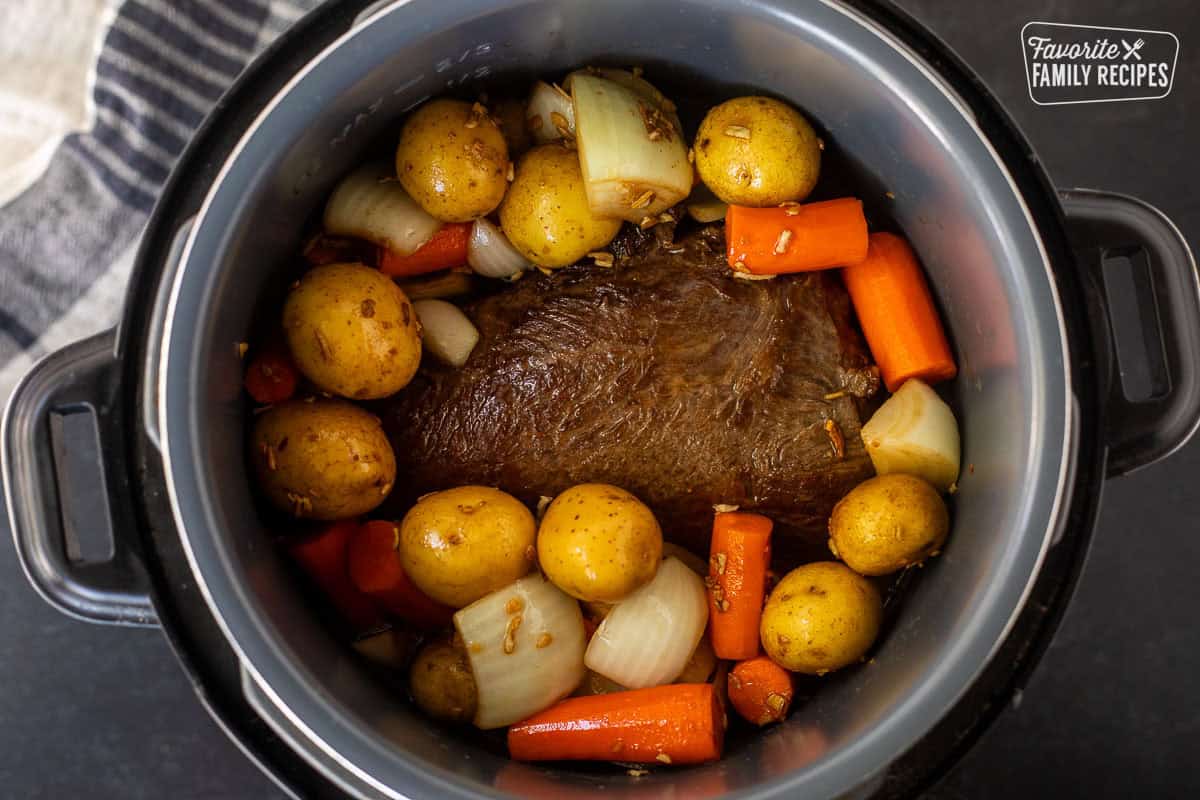
- Check the roast with a fork. If it is not tender enough to pull apart easily, pressure cook it for another 10 to 20 minutes and allow another natural release. Once tender, transfer the roast to a platter and loosely cover it. Add the reserved potatoes and carrots to the liquid in the pot and cook on High Pressure for 4 to 5 minutes. Let the pressure release naturally for 5 minutes, then carefully vent the remaining pressure.
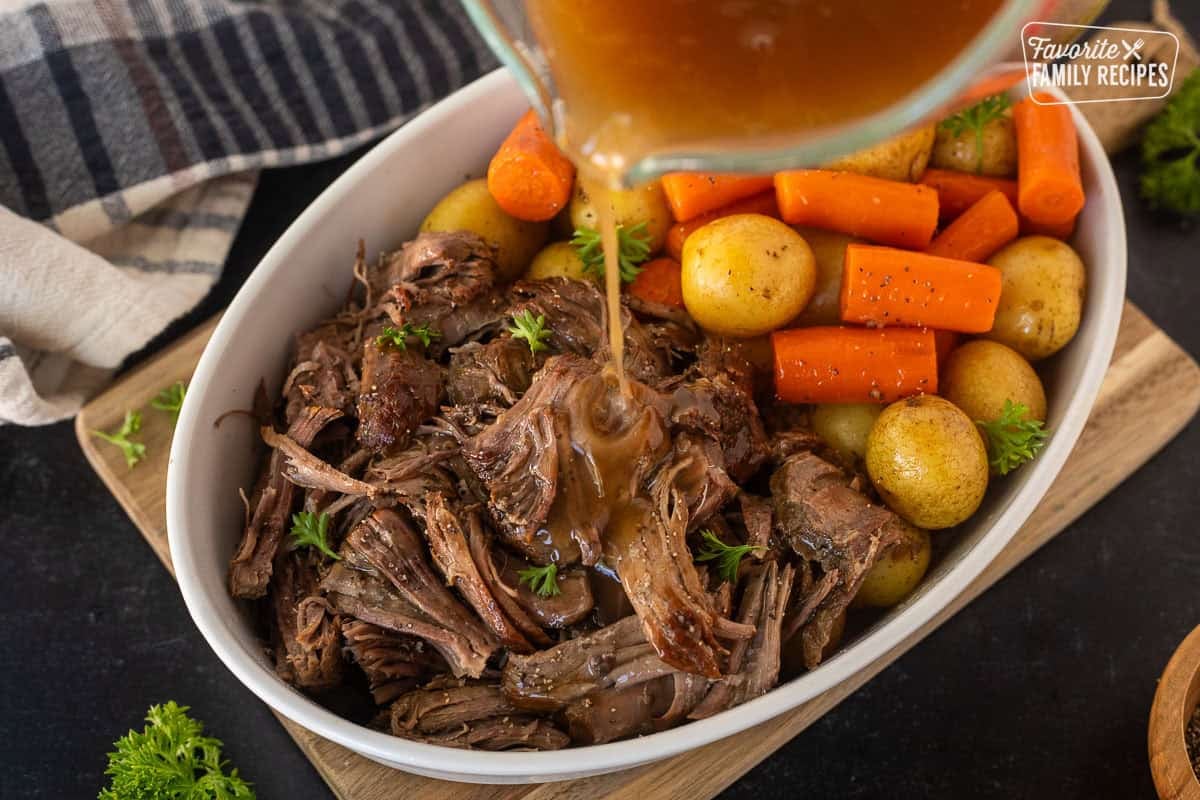
- Transfer the vegetables to the platter with the roast. Shred or slice the beef and serve it with the vegetables and cooking juices, or turn the juices into gravy using the instructions below.
Cook Times By Weight
The exact time can vary depending on the thickness and shape of the roast, your Instant Pot model, and how cold the meat is when it goes into the cooker. I would rather plan for enough time and add a little more cooking time if needed than serve a roast that is still tough.
| Roast Weight | High Pressure Cook Time |
|---|---|
| 2 pounds | 45 to 50 minutes |
| 3 pounds | 60 to 70 minutes |
| 4 pounds | 75 to 90 minutes |
| 5 pounds | 90 to 100 minutes |
| 6 to 7 pounds | 110 to 120 minutes, if it fits safely in your cooker |
After the pressure cook time, give the roast at least a 15-minute natural release before releasing any remaining pressure. A thick, compact roast may need more time than a flatter roast of the same weight.
For a very large roast, make sure you stay below your pressure cooker’s maximum fill line. A 6 to 7 pound roast is generally better suited to an 8-quart cooker, or you can cut the roast into two large pieces if needed.
How to Make the Roast Gravy
One of my favorite parts of this recipe is turning all those beef drippings into gravy right in the Instant Pot.
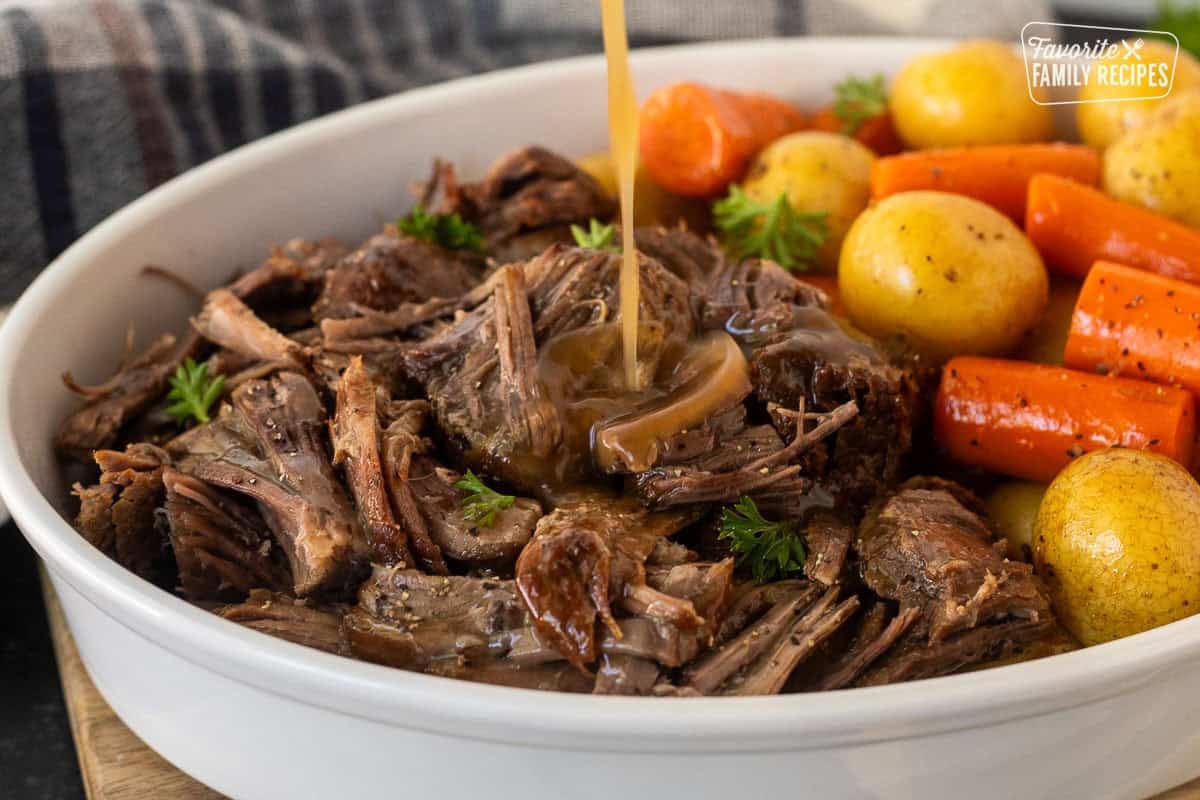
- Remove the roast and vegetables, then strain the cooking liquid if you want a smoother gravy. Set the Instant Pot to Sauté and bring the liquid to a simmer.
- Whisk together the water and cornstarch in a small bowl until smooth. Slowly whisk the slurry into the simmering broth. Let the gravy bubble for 2 to 3 minutes, stirring often, until it reaches the thickness you like.
- If the gravy gets too thick, add a little more beef broth. Taste before adding more salt since the broth and onion soup mix can already be salty. I also like a little black pepper and garlic powder in the finished gravy.
Crock Pot Option
If you have more time and want the roast to cook low and slow, try our Slow Cooker Pot Roast. For that version, sear the roast first, add it to the slow cooker with the sauce, and cook on low for 8 to 10 hours or high for 5 to 6 hours. Add the potatoes and carrots about halfway through so they do not become too soft.
You can also make a classic Oven Roast Beef when you want the traditional oven method.
Recipe Tips
- Use chuck roast when you can. The marbling gives you the best chance of getting juicy, fork-tender beef.
- Do not skip the sear if you have time. Browning the roast adds flavor to both the meat and the gravy.
- Deglaze the bottom of the pot. After searing, scrape up every browned bit with the broth. This adds flavor and helps prevent a burn notice.
- Do not quick release the roast right away. Give the beef at least 15 minutes of natural pressure release before venting the rest.
- Cook the potatoes and carrots after the roast for firmer vegetables. Pressure cookers work quickly on vegetables, so they do not need nearly as much time as the beef.
- Use whole baby potatoes when possible. Their skins help them stay intact. Yukon gold and red potatoes are also good choices.
- The roast does not need to be submerged. The Instant Pot cooks with steam and pressure, so the meat can sit above part of the liquid.
- Two cups of broth makes plenty of gravy. If you reduce the broth, make sure you still use at least the minimum liquid required for your pressure cooker.
- If the roast is tough, cook it longer. Tough chuck roast usually needs more time for the connective tissue to soften.
- Remember the pressure time is not the total time. The cooker also needs time to come to pressure and release pressure, so plan on more than the programmed cook time.
Frequently Asked Questions
No. The roast does not need to be submerged in liquid. The Instant Pot cooks with steam and pressure, so it is completely fine if part of the roast sits above the broth.
You can, but I prefer adding the potatoes and carrots after the roast is finished. This keeps them from becoming overly soft during the longer beef cooking time. Once the roast is done, pressure cook the vegetables for 4 to 5 minutes.
Yes. Bottom round, top round, brisket, or eye of round can work, but chuck roast is my favorite. The marbling and connective tissue in chuck roast make it especially well suited for pressure cooking and give you tender, juicy beef.
Yes, although I prefer starting with a thawed roast so I can sear it first. For a frozen roast, skip the searing step and add approximately 30 to 40 minutes to the pressure cooking time, depending on the size and thickness of the meat.
Yes. The main ingredients are naturally gluten-free. Just make sure your beef broth and dry onion soup mix are labeled gluten-free.
Absolutely. Mushrooms, celery, pearl onions, or large chunks of parsnip are all good additions. Keep in mind that vegetables cook very quickly under pressure, so I would add most of them during the shorter vegetable cooking step rather than with the roast.
Yes. An 8-quart Instant Pot works especially well for larger chuck roasts. Just be sure to stay below the maximum fill line and follow the minimum liquid requirements for your specific pressure cooker.
No. I put the chuck roast directly in the cooking liquid rather than on a trivet. This lets the beef cook in the seasoned broth and gives you flavorful drippings for the gravy.
Troubleshooting Instant Pot Chuck Roast
- Why is my chuck roast still tough? A tough chuck roast usually means it hasn’t cooked long enough, even if it has reached a safe temperature. Put the lid back on and pressure cook it for another 10 to 20 minutes, followed by another natural pressure release. When it is ready, a fork should slide in easily and the meat should pull apart without much effort.
- Why did my potatoes and carrots turn mushy? They were likely cooked under pressure for too long. For vegetables that hold their shape, cook the roast first, remove it, then add the potatoes and carrots and pressure cook them for only 4 to 5 minutes.
- Why did I get a burn notice? This usually happens when browned bits are stuck to the bottom of the Instant Pot after searing. Before pressure cooking, pour in the beef broth and scrape the bottom thoroughly with a wooden spoon until it feels smooth. Also make sure you have added enough thin liquid.
- Why is my gravy too thin? Let the cooking liquid come to a simmer using the Sauté setting, then add a little more cornstarch slurry. Mix cornstarch with cold water before adding it so it doesn’t clump. Add it gradually because the gravy will continue to thicken as it simmers.
- Why is my gravy too thick? Whisk in a little beef broth or water, a few tablespoons at a time, until the gravy reaches the consistency you like. Taste it again after thinning and adjust the seasoning if needed.
- Why is my roast dry? The roast may be too lean, or it may have been cooked too long after it was already tender. Chuck roast works especially well because its marbling helps keep the meat moist. Serve shredded roast with some of the cooking liquid or gravy to add moisture back to the meat.
Make Ahead and Storage
Make ahead: You can season the roast and prep the potatoes, carrots, and onion a day ahead. Store the meat and vegetables separately in covered containers in the refrigerator. You can also measure out the broth, soup mix, cornstarch, and water so everything is ready to go.
Refrigerator: Store leftover roast, vegetables, and gravy in airtight containers in the refrigerator for 3 to 4 days.
Freezer: The shredded beef freezes very well for up to 3 months. I like to freeze it with a little of the cooking liquid or gravy so it stays moist. Potatoes and carrots can become soft or grainy after freezing, so I usually freeze the meat separately.
Reheating: Reheat the roast gently with a little broth or gravy on the stovetop, in the microwave, or using the Sauté setting on the Instant Pot. Add a splash of broth if the gravy has thickened too much in the refrigerator.
Pairing Ideas
This Instant Pot Chuck Roast already has beef, potatoes, and carrots, so it can absolutely stand on its own. If I am making a bigger Sunday dinner, I love serving it with Homemade Dinner Rolls for soaking up the gravy, Sautéed Asparagus, or a fresh Nuts About Berries Salad. If you leave the potatoes out of the Instant Pot, spoon the roast and gravy over Homemade Mashed Potatoes. Cheesy Cauliflower and Honey Glazed Carrots are also great sides for a holiday or Sunday meal.
More Hearty Beef Recipes
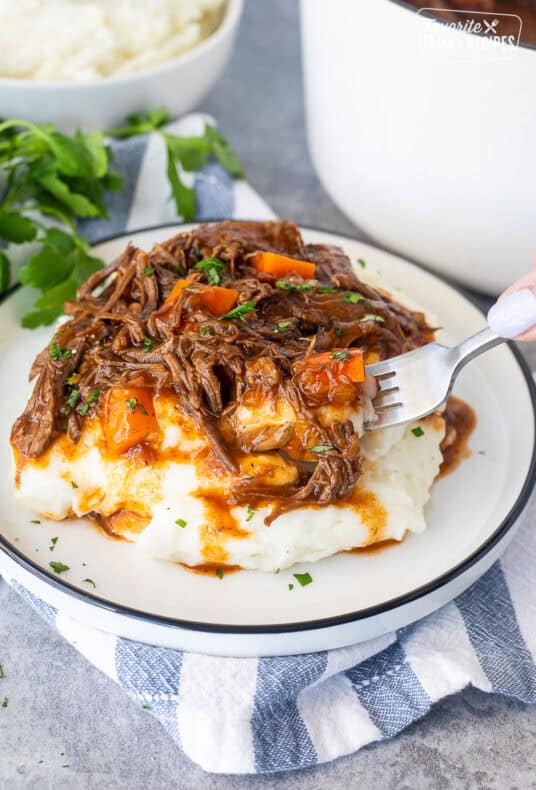
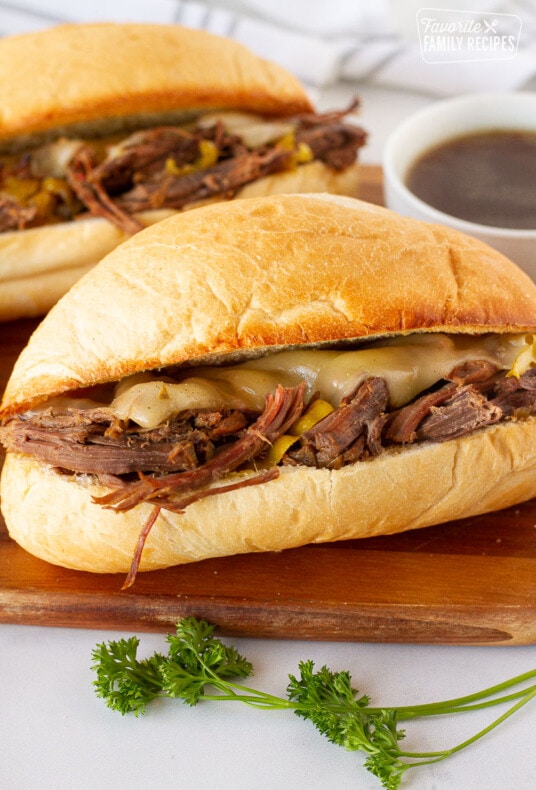
This Instant Pot Chuck Roast is one of my favorite ways to get a classic pot roast dinner on the table without having to remember to start it first thing in the morning. The beef is tender, the vegetables are easy, and the gravy is made right in the pot. If you make this recipe, please leave a comment and a rating below. I would love to hear how it turned out! 💛
Instant Pot Chuck Roast

Video
Ingredients
- 3 to 5 pounds beef chuck roast
- 1 teaspoon salt, (or to taste)
- 2 tablespoons vegetable oil
- 2 tablespoons olive oil
- 2 cups beef broth, *can use gluten-free beef broth
- 1 packet dry onion soup mix, *can use gluten-free onion soup mix
- 1 onion, white or yellow, quartered
- 1 pound baby potatoes, (see notes above)
- 1 cup cut carrots, (baby carrots work too)
- 1/4 cup water
- 2 tablespoons corn starch
Instructions
- Pat the roast dry with paper towels and rub it generously with salt.

- Add the vegetable oil to the Instant Pot and set it to Sauté. When the oil is hot and shimmering, add the roast and sear for 4 to 5 minutes on each side until well browned.
- Toss the onion, potatoes, and carrots with the olive oil and dry onion soup mix. For very soft vegetables, add everything to the pot now. For firmer potatoes and carrots, add the onion now and set the potatoes and carrots aside.
- Pour the beef broth into the Instant Pot and scrape the bottom well to loosen any browned bits. Add the roast, secure the lid, and set the valve to sealing.
- Pressure cook on High for 60 to 70 minutes for a 3-pound roast, or use the cook-time chart in the post for other sizes. When the cook time ends, allow at least a 15-minute natural release, then carefully vent any remaining pressure. If the roast is not fork-tender, cook for another 10 to 20 minutes and allow another natural release.
- When the roast is tender, transfer it to a platter and loosely cover it. If you reserved the potatoes and carrots, add them to the liquid in the Instant Pot. Secure the lid and pressure cook on High for 4 to 5 minutes. Let the pressure release naturally for 5 minutes, then carefully vent the remaining pressure. Transfer the vegetables to the platter. Shred or slice the roast.
- For gravy: Strain the liquid in the pot if desired and set the Instant Pot to Sauté. Whisk the water and cornstarch together until smooth, then slowly whisk the slurry into the simmering broth. Cook for 2 to 3 minutes, stirring often, until thickened. Serve the gravy with the roast and vegetables.



Equipment
- Instant Pot Pressure Cooker
Notes
- This recipe was developed using a 6-quart Instant Pot. Follow the liquid and maximum-fill requirements for your specific pressure cooker.
- The cook times are for a thawed roast. A frozen roast will need extra pressure cooking time and cannot be seared first.
- For the most tender beef, allow at least a 15-minute natural pressure release before venting the remaining pressure.
- For firmer vegetables, cook the roast first and pressure cook the potatoes and carrots separately for 4 to 5 minutes.
- If the roast is still tough, pressure cook it for another 10 to 20 minutes. Tough roast usually means it needs more time.
- The roast does not need to be covered with broth. The 2 cups of broth in this recipe provide pressure-cooking liquid and enough drippings for gravy.
- Whole baby potatoes hold their shape better than peeled, diced russet potatoes.
- Deglaze the pot thoroughly after searing to help prevent a burn notice.
- To make this recipe gluten-free, use gluten-free beef broth and dry onion soup mix.
- Total time is based on a 3-pound roast and includes estimated pressure build and release time. Larger roasts will take longer.
Nutrition
Nutrition information is automatically calculated, so should only be used as an approximation.
Love this recipe?
We want to hear from you! Please leave a review.

Great recipe that is easy to follow.
NOTE: The Instapot total ready to eat time between the saute of all sides (don’t forget the sides at 4 min each) plus the IP pressure build up to the set cook time and then the IP natural release and then quick release time can add upwards of 45 minutes to the total time. I continue to underestimate the timing. Not anymore.
Regardless, this recipe is a hearty, down home meal for any hungry human.
Just do it!
Thank you so much for your comments and sharing what times exactly worked best for you! Glad you liked the Pot Roast!
So delicious and quick. My family was very happy.
Happy family is the goal! I’m glad they enjoyed it. Thank you!
It turned out super good!
Thanks so much!
Easy & delish! Great comfort food on a snow day!
I’m cooking this up right now too, it’s one of my favorite Sunday meals! So glad you liked it.
yummy!
For 2024 Christmas our household received an Instant pot as a gift. I always wanted to find an easy way to do pot roast beef. This recipe by far is the best. That a novice like me was able to achieve a delicious roast! I followed the recipe but made one change, I used Japanese sweet potato because it’s favorite I like to eat with steak, and wanted to see how it would turn out cooking this creation. Yes, 70 minutes cooking time for a 4 lbs. chuck roast was on point, and everything turned out excellent. Making gravy with the drippings was a no-brainer, and the Japan sweet potatoes held its shape. This is another recipe being filed under comfort food. Thank you for sharing this recipe.
Thank you, Michael. I’m so glad this recipe was a success for you. Here is a link to more recipes for your new Instant Pot: https://www.favfamilyrecipes.com/category/recipes/cooking-method/instant-pot/
I’m going to try this today with a 7lb roast in an 8qt instant pot. It will be more tall than wide.
Does it need to be covered with broth? And does the 20-25 min per lb still hold at that weight? That would be 140-175 min. Given it may cook from the sides should it be less?
No the roast does not need to be covered in broth and for a 7 lb roast I would still try and go for at least 2 hours. A roast that big will definitely need more time to be tender. However don’t cook it with veggies that long, you will definitely have mush. I would do 2 hours, check the roast for tenderness/doneness, add the veggies, and do another 15-20 min to cook the veggies. Hope this helps!