
We may earn a commission when you click on the affiliate links in this post.
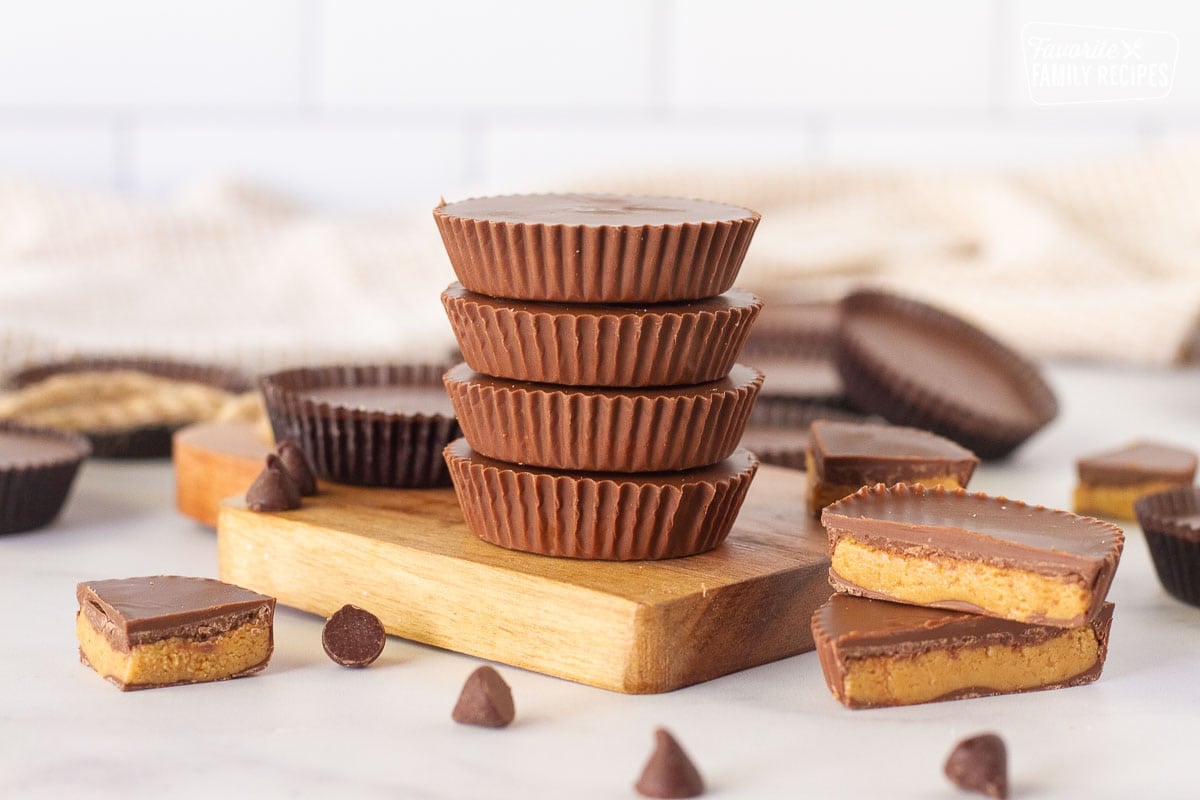
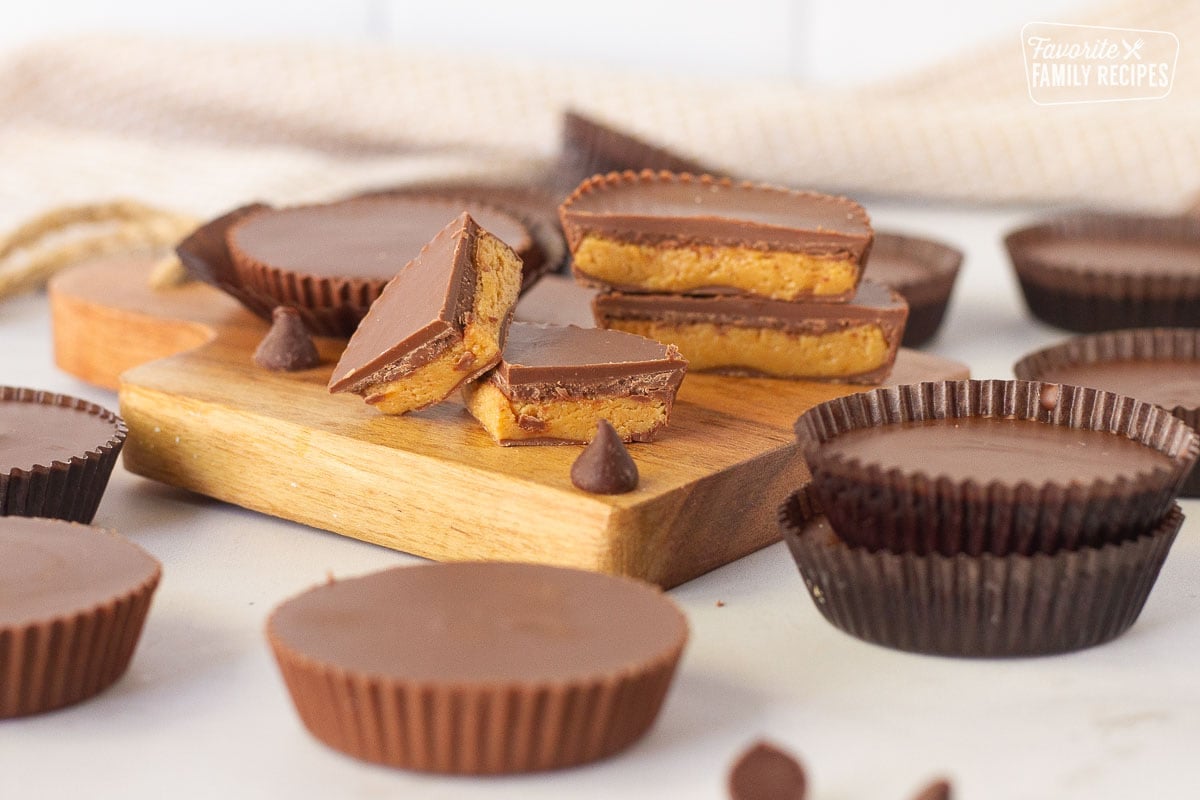
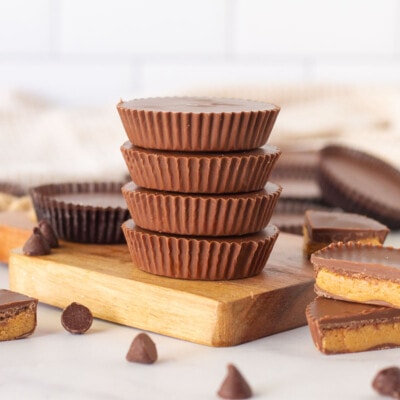
These homemade Reese’s Peanut Butter Cups have layers of smooth chocolate wrapped around a sweet, creamy peanut butter filling. The graham cracker crumbs give the center that familiar Reese’s texture, and you can make a whole batch with just a few simple ingredients.
5 Star Reviews ⭐️⭐️⭐️⭐️⭐️
“I just finished making these and will surprise my family with them on Thanksgiving. I can not believe how much they taste like Reece’s! Thank you so much!” – Misty
“Spot on!! Even better. The secret is the graham cracker crumbs. I will never feel the need to buy a Reese’s again” – Emma
“Wow!! I made these and they are indeed better than Reese’s! The peanut butter filling is absolutely delicious….GIVE THESE A TRY, you will not be disappointed!” – Cheryl
Why I Love These Peanut Butter Cups
We love peanut butter cups in our family, and we take them pretty seriously. This homemade Reese’s Peanut Butter Cups recipe came from my grandma, who made them for years.
What makes this recipe so good is the filling. The graham cracker crumbs add just enough texture to make the center taste more like the candy you buy at the store instead of plain sweetened peanut butter. The outside is covered in rich chocolate that stays slightly soft, just like a classic Reese’s cup.
I love making these for Halloween, Christmas, Valentine’s Day, Easter, and homemade gifts. I also like keeping a batch in the freezer for those times when I need a little chocolate and peanut butter treat.
🩷Erica
Table of Contents
- 5 Star Reviews ⭐️⭐️⭐️⭐️⭐️
- Why I Love These Peanut Butter Cups
- Ingredients You’ll Need
- Ingredient Additions and Substitutions
- Equipment You’ll Need
- How to Make Reese’s Peanut Butter Cups
- Other Ways to Make Homemade Peanut Butter Cups
- Recipe Tips
- Frequently Asked Questions
- Make Ahead and Storage
- Pairing Ideas
- More Peanut Butter and Chocolate Recipes
- Reese’s Peanut Butter Cups Recipe
Ingredients You’ll Need
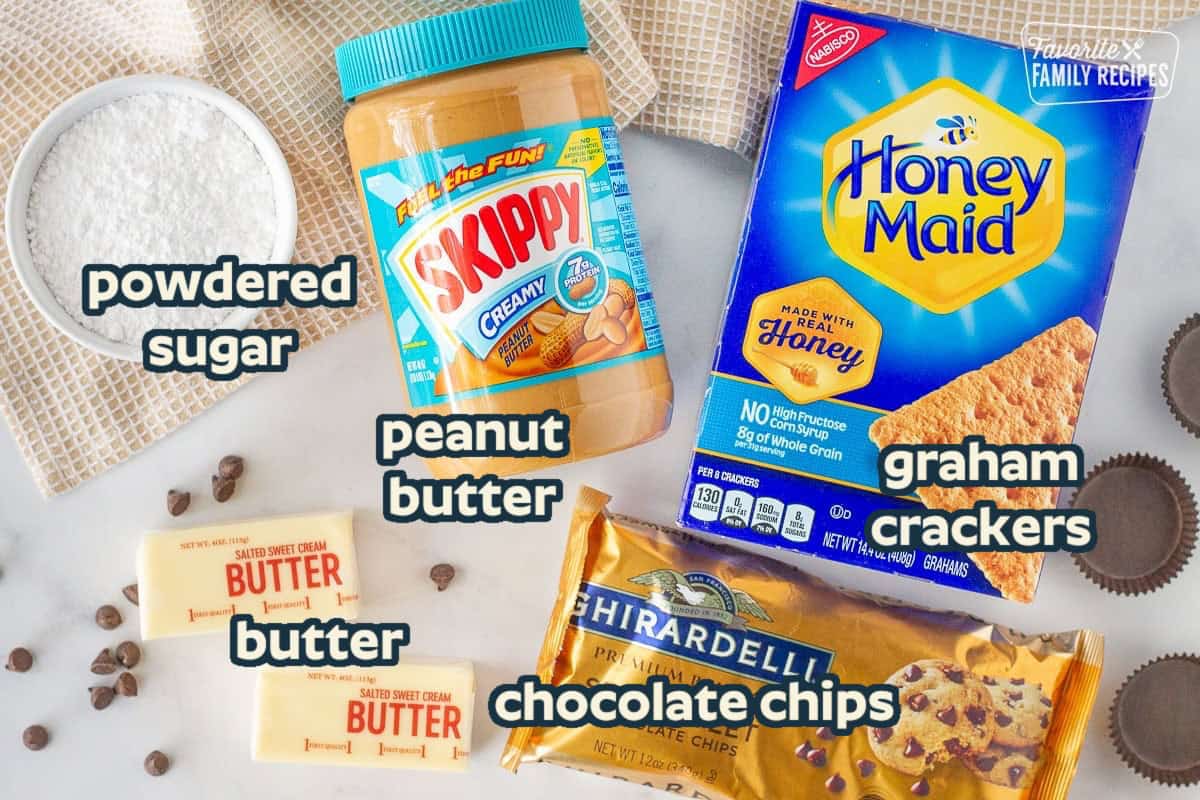
- Peanut butter: I use regular creamy peanut butter for the smoothest filling, but crunchy peanut butter can be used if you like more texture.
- Graham cracker crumbs: Finely crushed graham crackers help hold the filling together and give it that familiar Reese’s-style texture.
- Powdered sugar: This sweetens the peanut butter mixture and helps it become firm enough to press into the cups.
- Butter: Butter is mixed into the peanut butter filling and chocolate coating to keep both layers rich and smooth.
- Chocolate chips: Use good-quality chocolate that you enjoy eating on its own because the flavor really stands out in this recipe. Semi-sweet chocolate balances the sweet filling, but milk chocolate, dark chocolate, or a combination also works well.
Ingredient Additions and Substitutions
This homemade peanut butter cups recipe is easy to adjust depending on the flavor and texture you prefer.
- Milk chocolate: Use milk chocolate chips for a sweeter coating that tastes closer to traditional Reese’s Peanut Butter Cups.
- Dark chocolate: Dark chocolate creates a firmer coating and balances the sweet peanut butter filling.
- Mixed chocolate: Try half milk chocolate and half semi-sweet chocolate for a good balance of sweetness and rich chocolate flavor.
- White chocolate: Use white chocolate chips or melting wafers for a sweeter variation.
- Different nut butters: Creamy almond butter or cashew butter can be substituted for the peanut butter. The flavor and texture may be slightly different.
- Peanut-free option: Sunflower seed butter or soy-based WowButter can be used, but check every ingredient label if you are preparing these for someone with a peanut allergy.
- Gluten-free: Replace the regular graham crackers with certified gluten-free graham crackers.
- Candy pieces: Add mini M&M’s, Reese’s Pieces, chopped peanuts, or toffee bits to the filling.
- Salted chocolate: Sprinkle a small amount of flaky sea salt over the chocolate before it sets.
- Caramel or jam: Add a very thin layer of caramel or raspberry jam between the peanut butter and top chocolate layer.
Equipment You’ll Need
- Muffin tin or mini muffin tin
- Cupcake liners or silicone candy molds
- Microwave-safe bowls or a double boiler
- Food-safe pastry brush or a brand-new brush reserved only for food
- Mixing bowl and spoon or small spatula
How to Make Reese’s Peanut Butter Cups
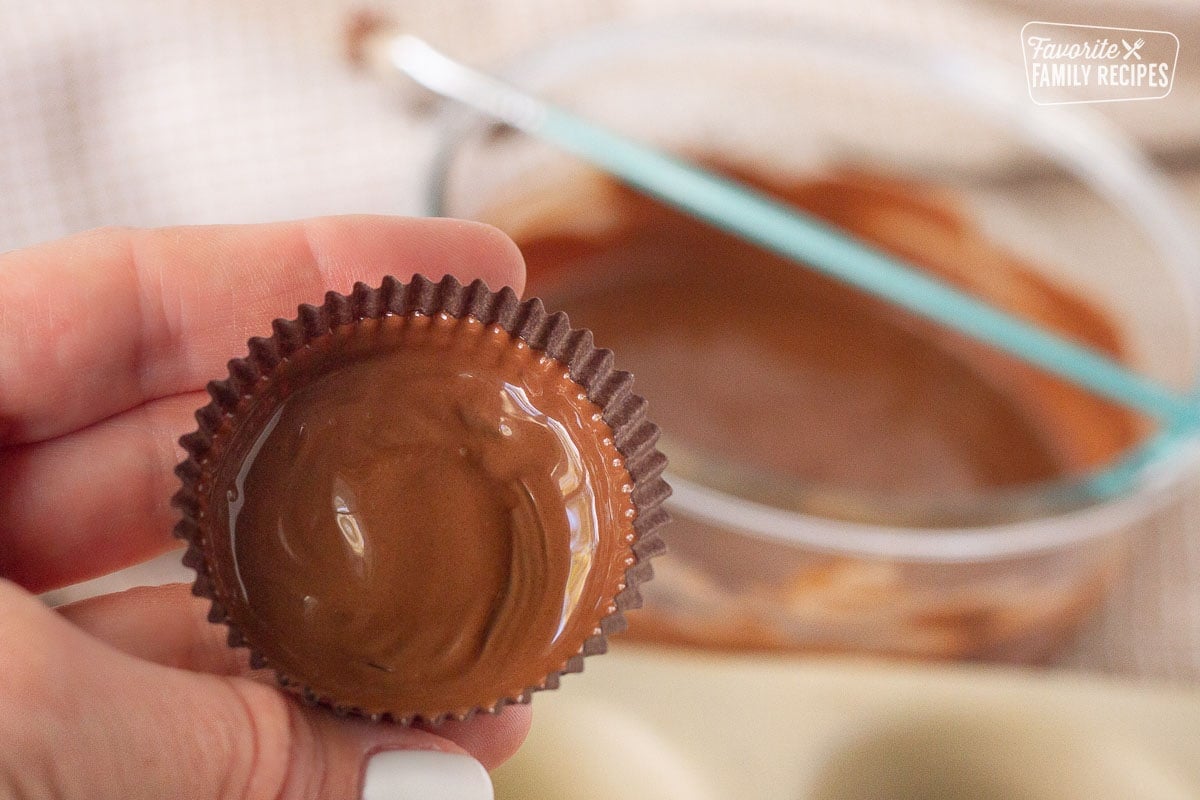
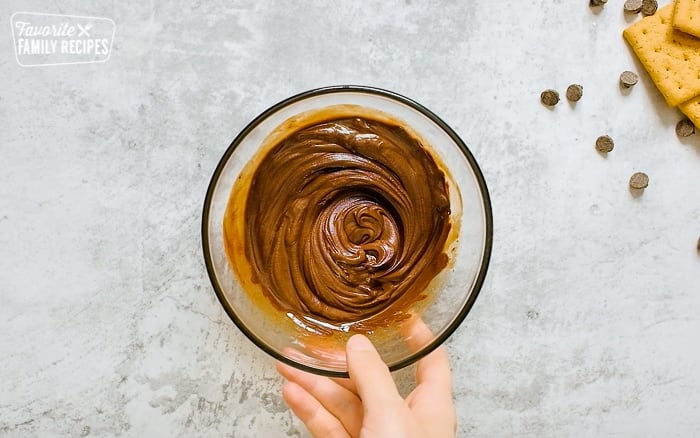
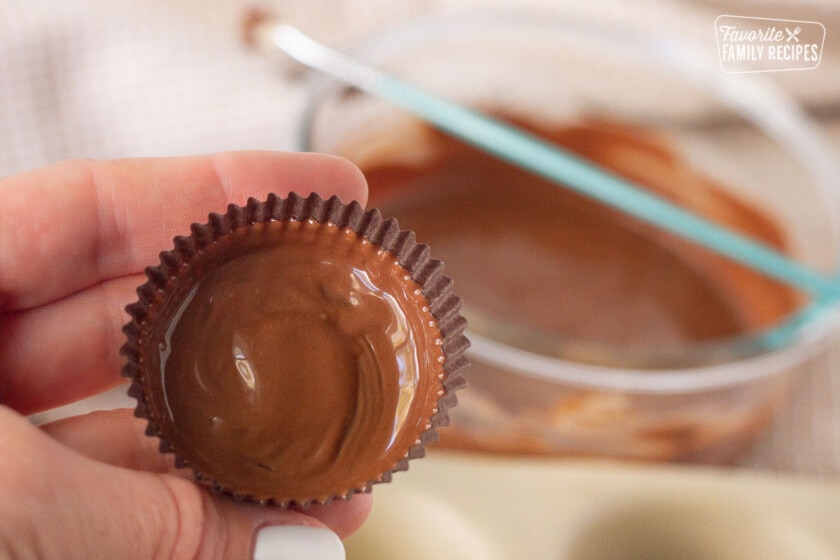
- Make the bottom chocolate layer. Melt half of the chocolate chips with part of the butter in 15-second intervals, stirring after each interval. Place liners in a muffin tin and brush the melted chocolate over the bottom and slightly up the sides. Refrigerate for about 5 minutes.
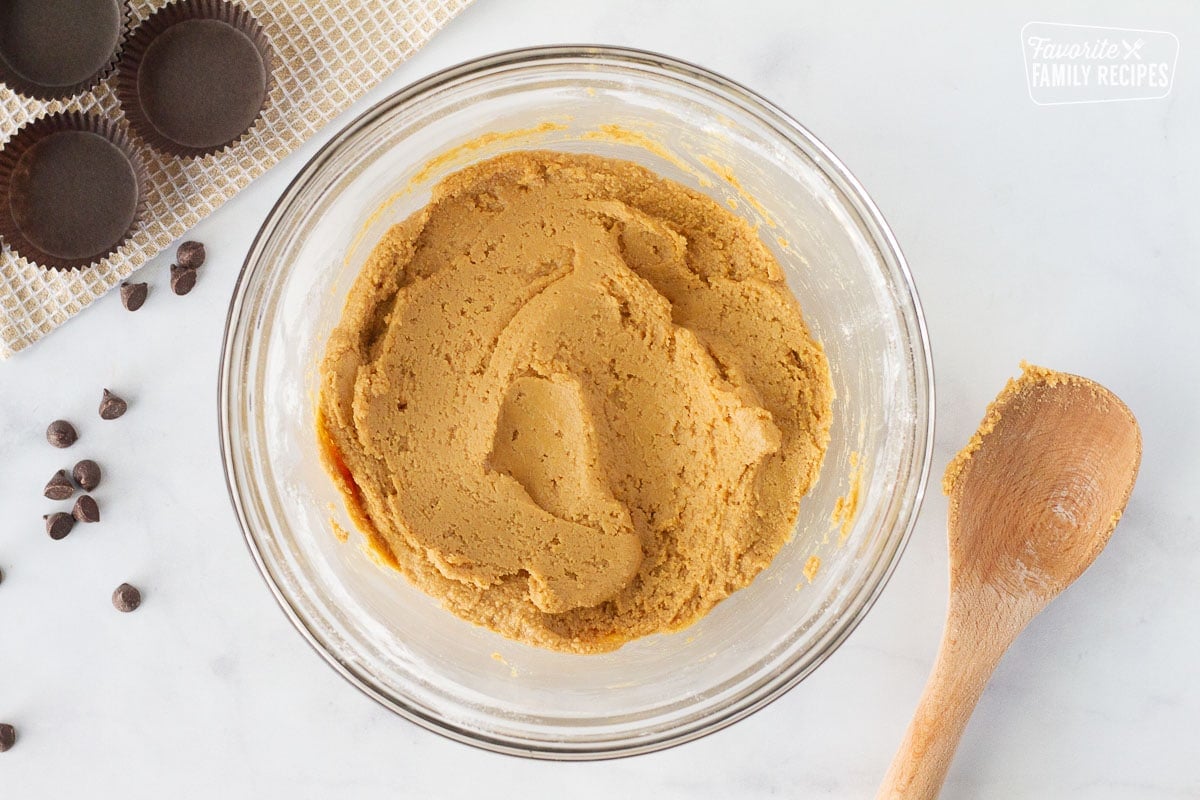
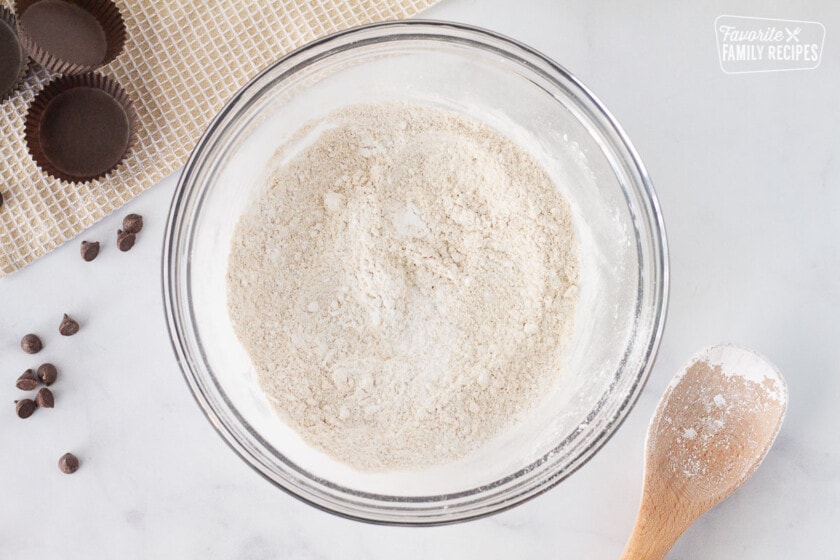
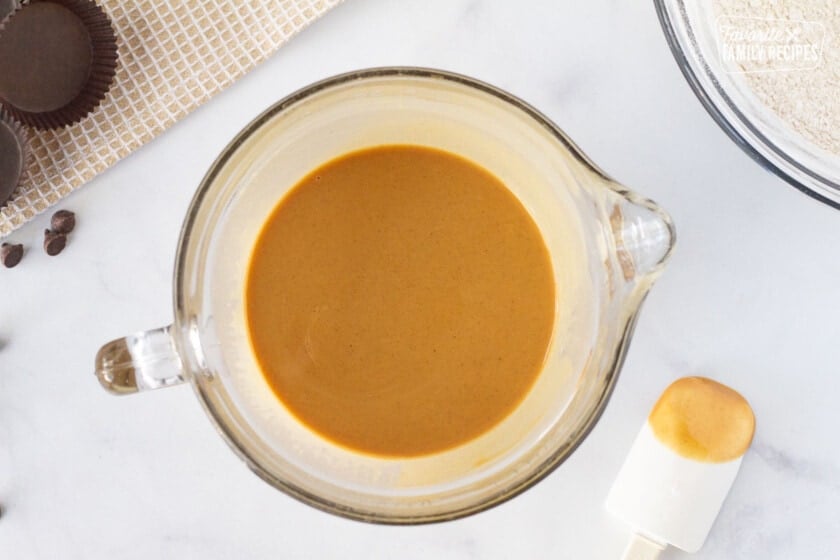
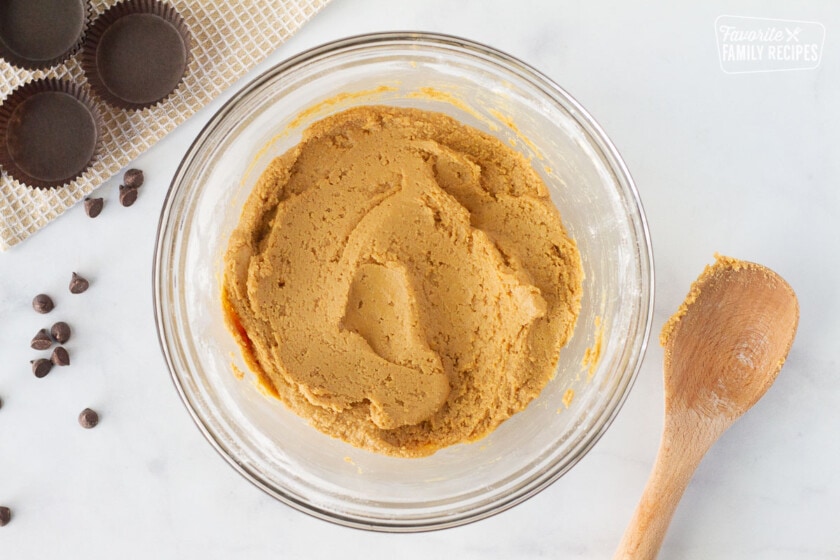
- Prepare the peanut butter filling. Combine the graham cracker crumbs and powdered sugar. Melt the peanut butter with the butter, then stir it into the graham cracker mixture until everything is evenly combined.
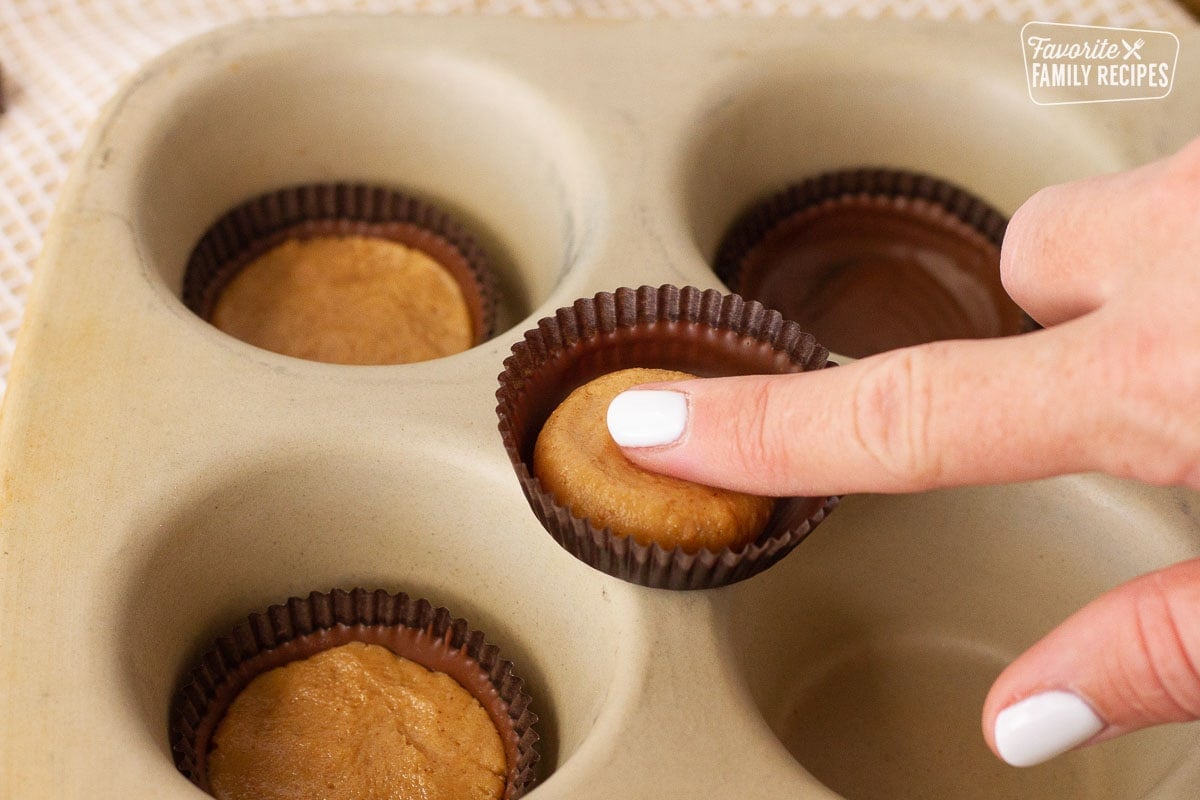
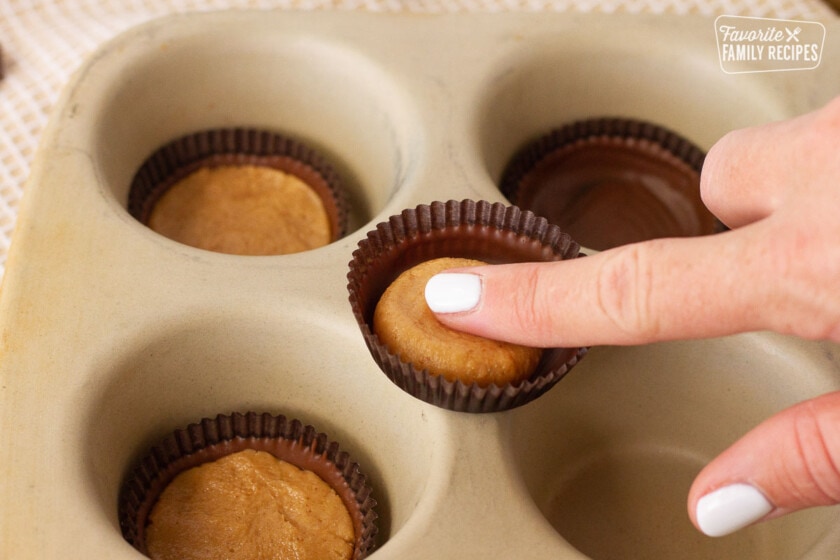
- Add the peanut butter layer. Press the peanut butter filling over the hardened chocolate. Keep the filling below the top edge of the chocolate coating so it can be completely covered.
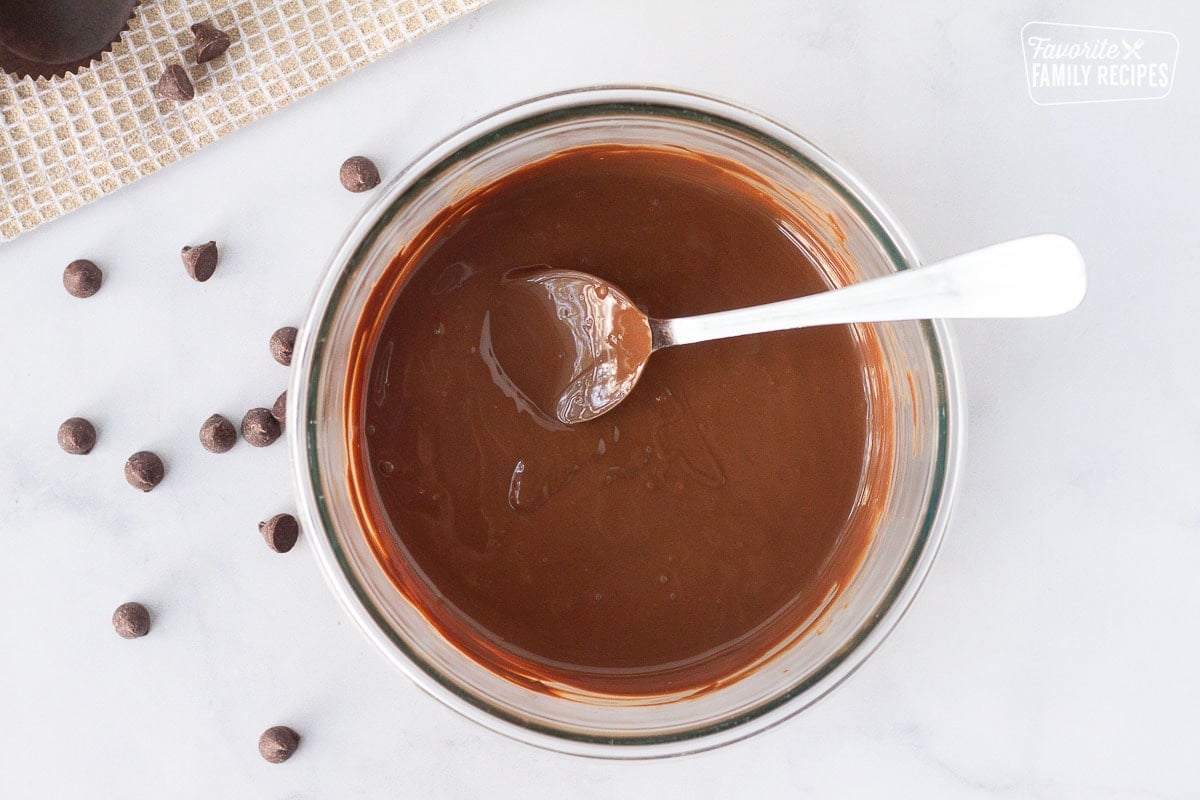
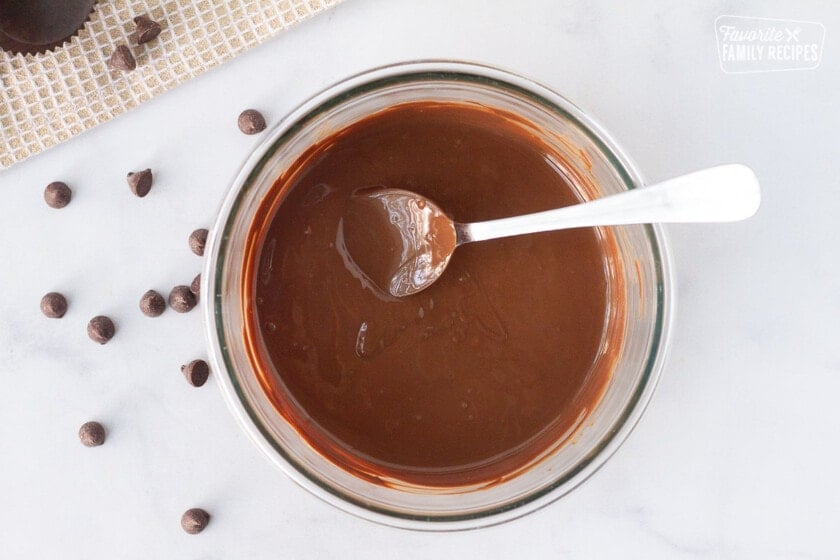
- Melt the remaining chocolate. Add the remaining chocolate chips and butter to the bowl of melted chocolate. Microwave in 15-second intervals, stirring frequently, until smooth.
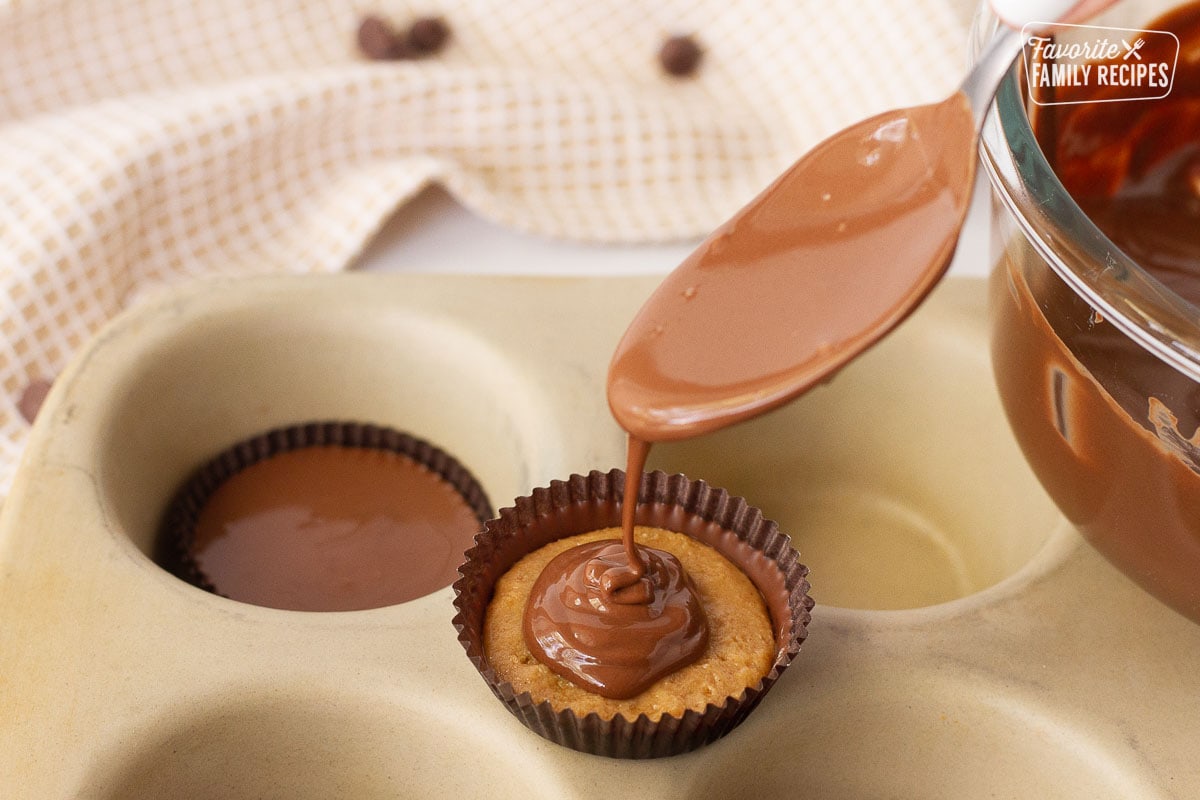
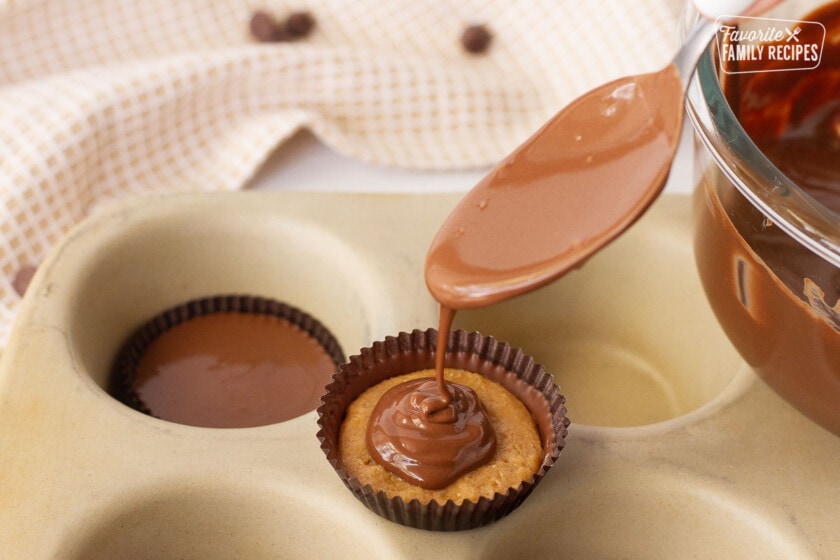
- Cover the filling. Spoon melted chocolate over each cup until the peanut butter filling is completely covered. Gently tap the muffin tin against the counter to smooth the tops and remove air pockets.
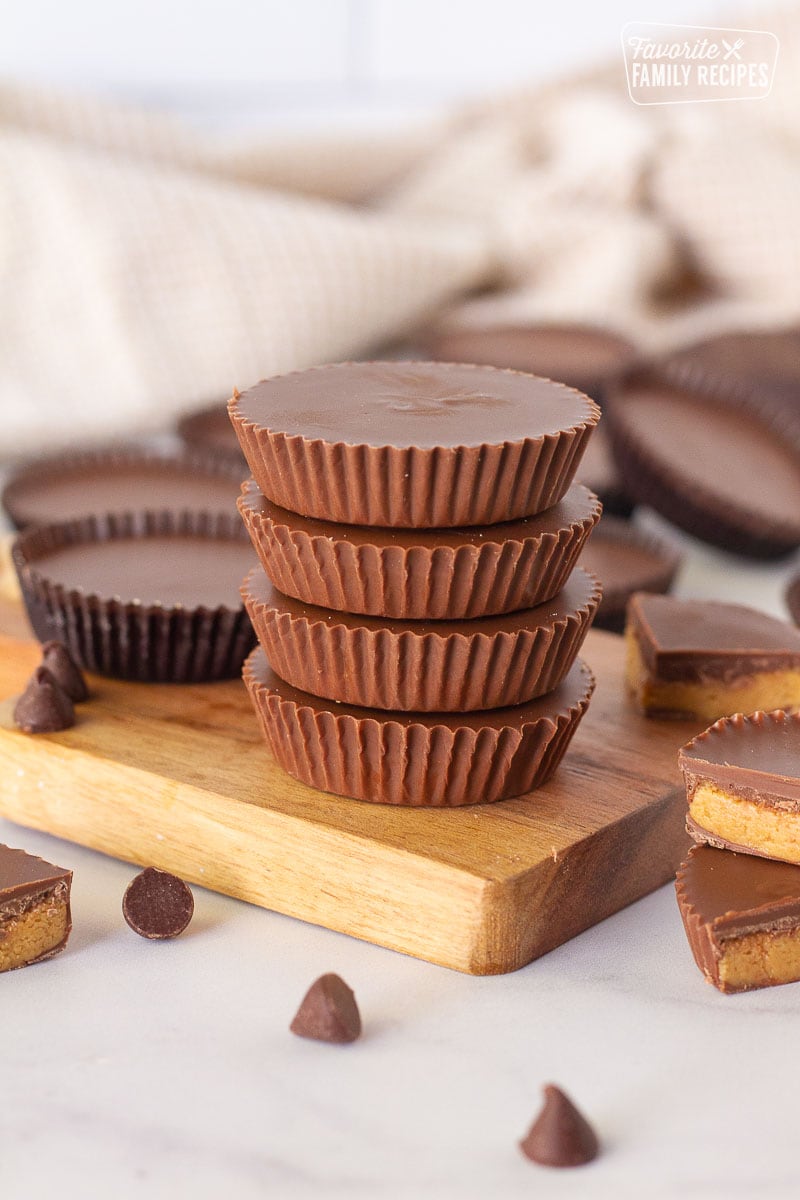
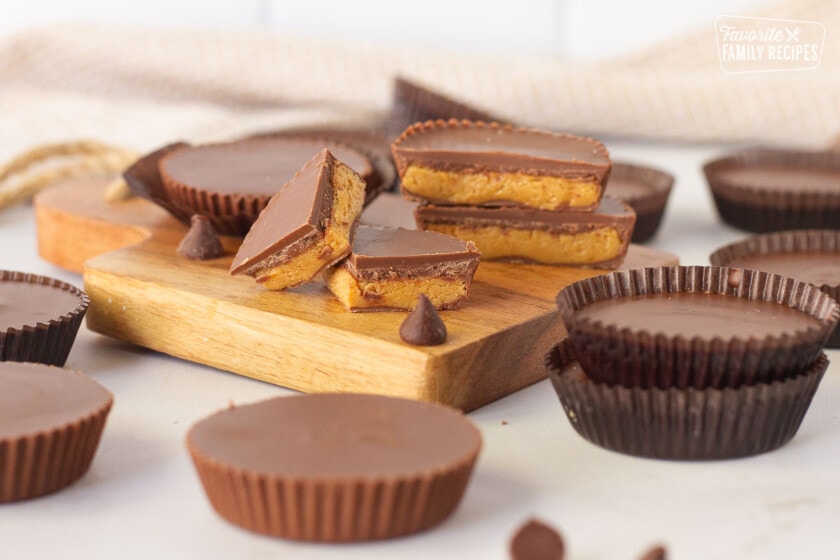
- Chill until set. Refrigerate the peanut butter cups for about 20 minutes, or until the chocolate is firm and no longer shiny. Remove them from the liners and serve.
Other Ways to Make Homemade Peanut Butter Cups
You do not have to make these in full-size cupcake liners. The same recipe can be used for mini cups, candy molds, bars, or chocolate-covered peanut butter balls.
Mini peanut butter cups: Use a mini muffin tin and mini paper liners. Brush the chocolate about halfway up the sides and use about a teaspoon of filling in each cup.
Silicone molds: Spoon or brush the chocolate directly into clean, dry silicone molds. You generally do not need to grease silicone molds. Chill the chocolate until firm before adding the filling.
Peanut butter cup bars: Line a small baking pan with parchment or wax paper. Spread a layer of melted chocolate over the bottom and slightly up the sides. Chill, spread the peanut butter filling over the chocolate, and finish with another chocolate layer. Refrigerate until firm, then cut into squares.
Peanut butter balls: Roll the filling into small balls and chill until firm. Dip each ball into melted chocolate and place it on wax paper or parchment paper until the chocolate sets.
Holiday shapes: Use heart, egg, pumpkin, or Christmas candy molds and decorate the tops with sprinkles before the chocolate hardens.

Recipe Tips
- Use good-quality chocolate. Chocolate makes up a large part of these peanut butter cups, so using a brand you like will give you the best flavor and a smoother coating.
- Crush the graham crackers finely. Large pieces can make the filling crumbly and difficult to press into the cups.
- Melt the chocolate slowly. Chocolate can burn or become thick when overheated. Microwave it in short intervals and stir well each time.
- Keep moisture away from the chocolate. Make sure your bowls, spoons, and molds are completely dry. Even a small amount of water can cause melted chocolate to become grainy.
- Use a small flat brush. I like using a clean brush that is about half an inch wide to coat the bottoms and sides of the liners.
- Do not make the shell too thick. The chocolate only needs to be thick enough that you cannot see the liner underneath.
- Keep extra chocolate nearby. The amount needed can vary depending on the size of your liners and how thickly you coat them.
- Thin thick chocolate carefully. If the chocolate is too thick to brush, stir in a very small amount of coconut oil. Add just a little at a time.
- Choose the texture you prefer. Butter gives the chocolate a softer texture similar to a Reese’s cup. For a firmer shell, reduce or leave the butter out of the chocolate coating or use chocolate melting wafers.
- Flatten the filling. A smooth, level peanut butter layer makes it easier to completely cover the filling with chocolate.
- Tap the pan gently. Tapping the muffin tin on the counter helps the top layer spread evenly and creates smoother tops.
- Let frozen cups thaw gradually. Move them from the freezer to the refrigerator before serving to help prevent condensation on the chocolate.
Frequently Asked Questions
You can, but natural peanut butter tends to be softer and oilier than regular peanut butter. Stir it very well before measuring. You may need to add a little more powdered sugar or graham cracker crumbs if the filling is too soft to hold its shape.
The chocolate may have been heated too quickly or for too long. Continue stirring because sometimes the remaining heat will smooth it out. You can also stir in a very small amount of coconut oil. Avoid adding water or milk because moisture can cause melted chocolate to become grainy.
The butter in the chocolate creates the softer texture found in Reese’s Peanut Butter Cups. For a firmer coating, use less butter in the chocolate, leave it out of the coating, use darker chocolate, or replace the chocolate chips with melting wafers.
Yes. Finely chop the chocolate so it melts evenly, then heat it in short intervals and stir frequently. Milk, semi-sweet, and dark chocolate can all be used.
Silicone cupcake or candy molds can be used without paper liners. Make sure the molds are completely clean and dry before adding the chocolate. Chill the cups until fully firm before carefully removing them.
Yes. Use certified gluten-free graham crackers and check the labels on the chocolate chips, peanut butter, and other ingredients for possible cross-contact.
The filling may need a little more peanut butter or melted butter. Add a small amount at a time and stir until the mixture holds together when pressed. Avoid adding too much at once or the filling may become greasy.
Brush the bottom chocolate layer slightly up the sides of each liner. Keep the peanut butter filling below the top of that chocolate edge, then make sure the top chocolate layer flows down around the filling.
Make Ahead and Storage
These Reese’s Peanut Butter Cups are a great make-ahead dessert because they keep well in both the refrigerator and freezer.
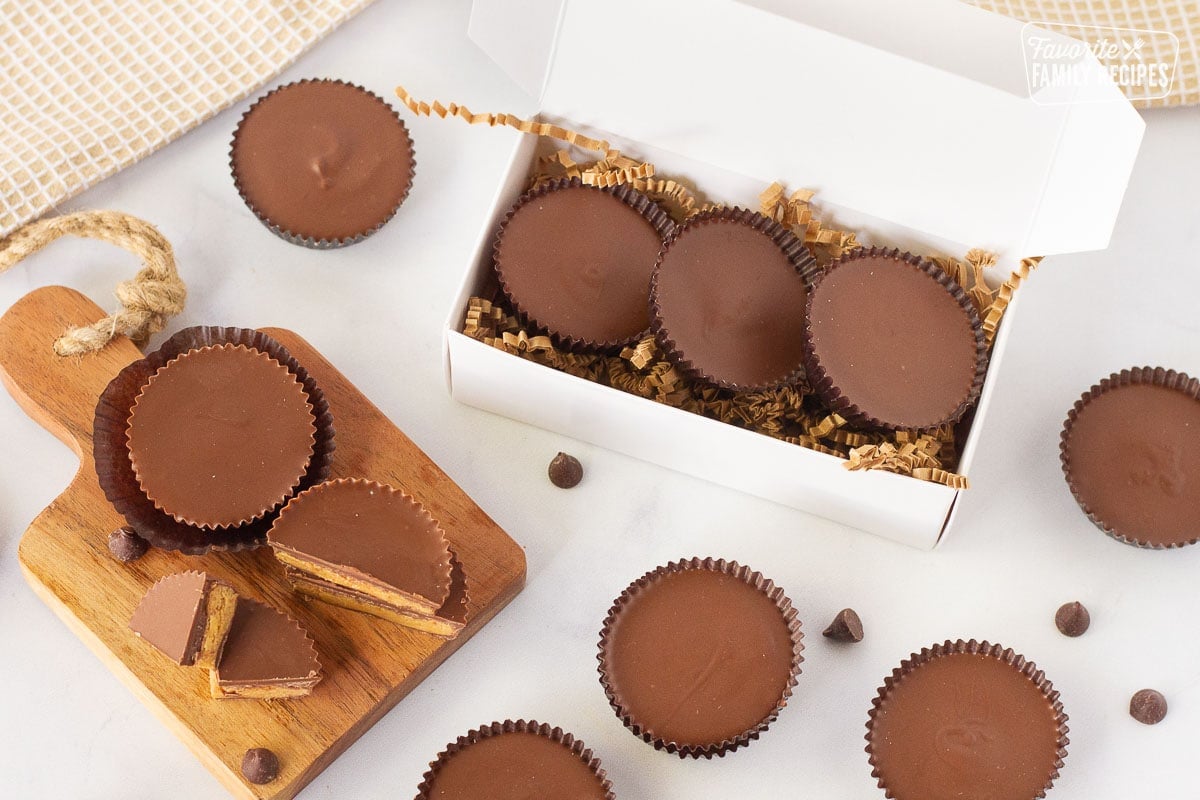
Store the cups in an airtight container in the refrigerator for up to 3 weeks. Separate layers with parchment or wax paper so they do not stick together.
For longer storage, freeze them in an airtight, freezer-safe container for up to 3 months. Transfer frozen peanut butter cups to the refrigerator and let them thaw before serving. This gradual thawing helps keep moisture from collecting on the chocolate.
The cups can sit at cool room temperature while you serve them, but they may soften in a warm kitchen. I prefer keeping them refrigerated until shortly before serving.
Pairing Ideas
Chop these Reese’s Peanut Butter Cups and sprinkle them over Homemade Vanilla Ice Cream, serve them next to fruit and cookies with Chocolate Fondue, or enjoy one with a mug made from our Homemade Hot Chocolate Mix. They also make a fun addition to a candy or dessert board for holidays and parties.
More Peanut Butter and Chocolate Recipes
If you love the combination of chocolate and peanut butter, try some of these family favorites:
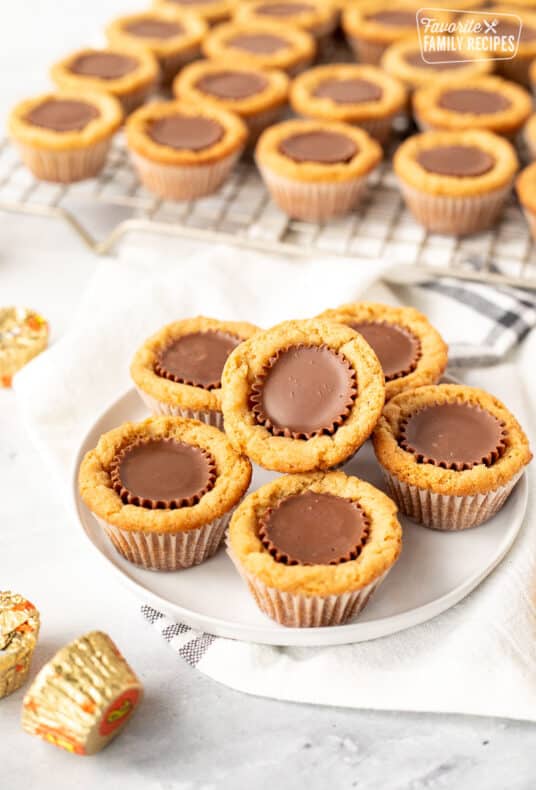
- Chocolate Reese’s Pieces Cookies: Chocolate cookies filled with Reese’s Pieces, peanut butter chips, and chopped peanut butter cups.
- Chocolate Peanut Butter Fudge: A rich chocolate and peanut butter swirl fudge that tastes like a peanut butter cup.
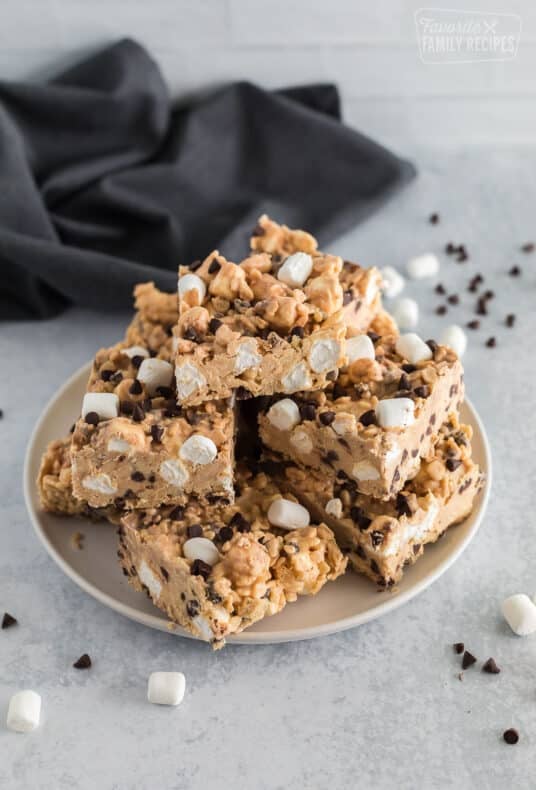
- Chocolate Peanut Butter Rice Krispie Treats: Classic crispy treats topped with chocolate, peanut butter, and mini peanut butter cups.
- Candy Bar Hot Chocolate: A creamy hot chocolate made with your favorite candy bar flavors.
- Peanut Butter Bon Bons: Creamy peanut butter centers dipped in a smooth chocolate coating.
- No Bake Cookies: A quick chocolate and peanut butter cookie made with hearty oats.
- Reese’s Peanut Butter Cup Cake – This cake is so fun! It is a round cake that looks and tastes just like a giant Reese’s Peanut Butter Cup!
These homemade Reese’s Peanut Butter Cups are easy to customize and always disappear quickly at our house.
When you make them, please leave a comment and star rating below. I would love to hear which chocolate and filling variations you tried! 💛🥜🍫
Reese’s Peanut Butter Cups
Video
Ingredients
- 12 ounces semi-sweet chocolate chips
- 4 tablespoons butter, divided, for the chocolate coating
- ¾ cup crushed graham crackers
- 1 cup powdered sugar
- 9 ounces peanut butter, (creamy or crunchy)
- 6 tablespoons butter, for the peanut butter filling
Instructions
- Place cupcake liners in a muffin tin. In a microwave-safe bowl, combine 6 ounces of chocolate chips with 2 tablespoons of butter. Microwave in 15-second intervals, stirring after each interval, until melted and smooth.

- Use a small pastry brush to coat the bottom and sides of each cupcake liner with melted chocolate. For full-size liners, brush the chocolate about one-third of the way up the sides. For mini liners, brush it about halfway up. Refrigerate for about 5 minutes, or until firm.

- In a medium bowl, stir together the graham cracker crumbs and powdered sugar.
- In a separate microwave-safe bowl, combine the peanut butter and 6 tablespoons of butter. Microwave in 15-second intervals, stirring between each interval, until melted and combined.
- Pour over the graham cracker mixture and stir well.
- Press approximately 1 tablespoon of peanut butter filling into each full-size cup or about 1 teaspoon into each mini cup. Flatten the tops and keep the filling below the chocolate-covered sides.
- Add the remaining chocolate chips and remaining 2 tablespoons of butter to the bowl containing the melted chocolate. Microwave in 15-second intervals, stirring frequently, until smooth.
- Spoon the chocolate over each cup until the filling is completely covered. Gently tap the pan on the counter to smooth the tops.
- Refrigerate for about 20 minutes, or until the chocolate is firm and no longer shiny. Remove the cups from the liners and serve, or transfer them to an airtight container for storage.
Notes
- Use good-quality chocolate that melts smoothly and tastes good on its own.
- Crush the graham crackers into fine crumbs so the filling holds together smoothly.
- A clean, flat pastry brush about half an inch wide works well for coating the cupcake liners.
- Melt the chocolate in short intervals and stir frequently to prevent overheating.
- Keep a few extra chocolate chips nearby because the amount needed can vary depending on the cup size and coating thickness.
- For thinner chocolate, stir in a very small amount of coconut oil.
- Butter gives the chocolate a soft Reese’s-style texture. Reduce or omit the butter in the coating or use melting wafers for a firmer shell.
- Use regular, creamy peanut butter for the closest copycat texture. Crunchy peanut butter can also be used.
- Store in an airtight container in the refrigerator for up to 3 weeks or freeze for up to 3 months.
Nutrition
Nutrition information is automatically calculated, so should only be used as an approximation.
Love this recipe?
We want to hear from you! Please leave a review.

Fantastic recipe. Did swap the sugar for Splenda and had no texture or taste issues. Followed the recipe as is otherwise and it turned out great, made a dark chocolate variant for my wife who likes low sugar dark chocolate cups too! I also made another with a bag of cookies and cream chocolate chips which I pressed into the top as part of the flattening process. Tastes just like the Oreo crossover that Recess did.
Thanks for testing it with Splenda to let us know there were no issues! I haven’t tried it with Splenda before and have been curious to know if it would make a difference. Thanks for sharing!
easy, simple, and delicious! I made this 2x over the years, once with almond butter as a substitute, and theyve been great both years! Friends love them, and its especially good for people with peanut allergies because they cant have the real thing. 10/10 would make again
Great idea. I’m so glad the almond butter worked well! For anyone making these for a peanut allergy, be sure to check whether tree nuts are also safe for that person and check all ingredient labels for possible cross-contact.
Delicious. Absolutely delicious. I made these into “bars” instead of cups and it still worked fine. I have tried to find a recipe that truly tasted like actual Reese. This recipe even nailed the texture perfectly. Not just the flavour! New favourite homemade treat! My whole family loved them and we are huge Reese fans. OH! I also made a batch and added M&Ms to the filling and it was fantastic too! I did them like bars as well. Just used wax paper in small cake pan. Spread the chocolate on the bottoms and up the sides a little. (I wasnt looking for perfect appearance) Popped it in the freezer to harden. Added the filling. Smoothed it out. Then put the melted chocolate on top and again, smoothed with an offset spatula. Popped them in the fridge for a few hours. Perfect!
So glad you liked it and great idea making it into bars!
I’m allergic to peanut butter and used Wowbutter (soy) instead. I have no frame of reference for how they compare to Reece’s, but the filling is the best texture! Unfortunately the butter ruined my chocolate and it never was able to set. I’ll try it without butter next time.
So sorry to hear the chocolate didn’t set.
Emily, i’m sorry for my initial claim that the chocolate did not set. I’ve been informed by my non-allergic cohorts that Reece’s have a soft chocolate texture, I never knew! I always assumed it was a snappy hard chocolate with a soft middle. So they really are the perfect imitation and my family devoured them for christmas. Thank you!
Where’s the icing sugar go?
In step 2 the powdered sugar is mixed with the graham crackers to be part of the peanut butter filling. Hope this helps!
Just finished a half batch of these …. amazing, hard to tell they are not the store bought … other than the fact there is no chemical taste … used a small double boiler for both the filling and the chocolate. I also did not use butter in the chocolate and used Ghiradelli milk chocolate chips. Used silicon cupcake forms and a small stencil paint brush to paint the chocolate into cups… if you like craft projects and have patience you’ll do fine. Thanks for sharing this recipe will be a go to for when we have a peanut butter cup craving.
So glad you liked them, and I love all the great tips!
This recipe tastes great, but my chips and butter mixture was not runny enough for brushing or dipping. Help !! What can be done to correct this? Thsnk you!!
You can try adding a little coconut oil.
I’m working on this recipe now and respectfully think that step # 4 should be the first step. The chocolate could be set up and ready for the peanut butter by the time you’re done with melting it and adding the graham crackers and powdered sugar.
That’s actually a great suggestion! Thank you!
The flavor profile was so good- I used semi sweet and barely sweetened the peanut butter filling. If you are looking for a sweet that isn’t so sweet, i think you can play with it.
One question to the author: I did swap the chocolate out for Great Value or Kroger semi sweet. I warmed it over a double boiler, so I know it didn’t get too hot. But, even with each candy in the fridge, when you handle it to remove the paper, you are immediately melting the chocolate and it gets super messy. How do I avoid this?
You will want to reduce the amount of butter (or just leave it out) and/or use a darker chocolate that will firm up better than the chocolate chips you use. You can also swap out the chocolate chips for chocolate melts and leave out the butter completely. Hope this helps!
I want to make these ahead of time for a party. Any ideas on long they would stay good for in the fridge or maybe it is best to freeze them? I am going to use a halloween mold for them, wish me luck!
Halloween molds are perfect for peanut butter cups! You can make them ahead and store them in the fridge for up to 3 weeks or in the freezer for up to 3 months. If you freeze them, let them thaw in the fridge before serving so the chocolate stays smooth and glossy. Either way, keep them in an airtight container to prevent moisture or “chocolate bloom.”
Great recipe. The only thing I’ll do differently next time is use half semi-sweet and half milk chocolate chips. If you do the chips in the microwave, it’s easy to overdo it. You can add a tiny bit of milk to thin it if this happens. If you cook by grams:
Graham Crackers – 85 g
Powder Sugar – 140 g
Peanut Butter – 255 g
Butter – 140 g (14 g/Tbls)
Choc Chips – 340 g
Thanks for the recipe.
Marshall, Thank you for comment! I appreciate you sharing this in grams. I’ll add this to the recipe notes for future readers. I’m glad you enjoyed the recipe. 😀
Hello,😊 can I use almond butter?
I haven’t tested that. It will taste a little different but should still hold up.
Is 9 ounces peanut butter about 1 cup?
Yes, a little over 1 cup measured. Hope this helps!
I just finished making these and will surprise my family with them on Thanksgiving. I can not believe how much they taste like Reece’s! Thank you so much!
I like to make my own homemade penut butter cup pie
Homemade is always best!
How many does the 1x size portion make approximately?
It makes about 18 cups, 36 cups if you double the recipe!
Spot on!! Even better. The secret is the graham cracker crumbs. I will never feel the need to buy a Reese’s again