We may earn a commission when you click on the affiliate links in this post.
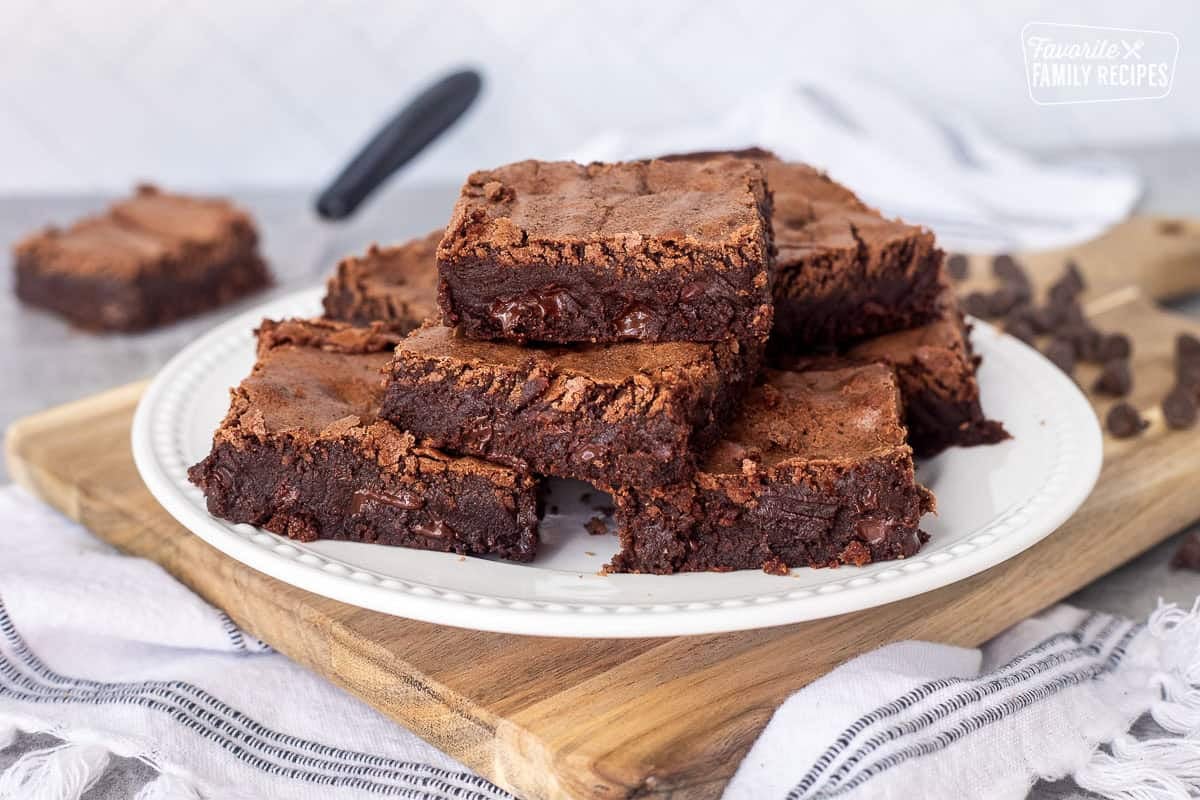
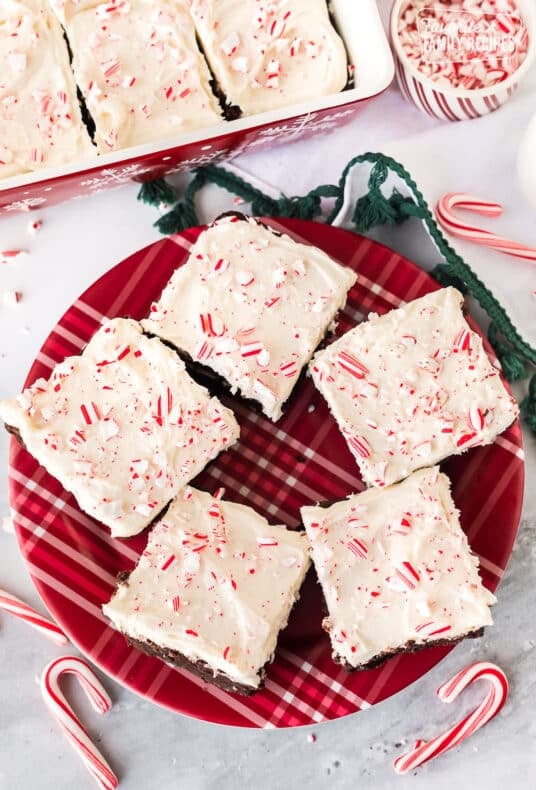
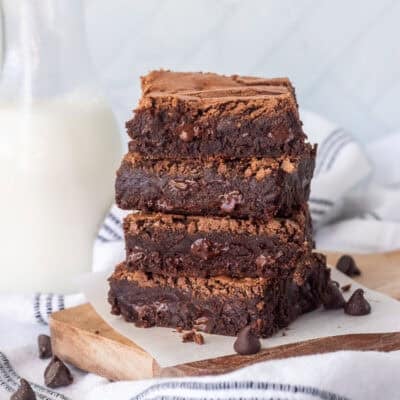
These better than box mix brownies are perfection! Ooey and gooey right out of the oven, soft and chewy after they cool with a light, flaky crust.
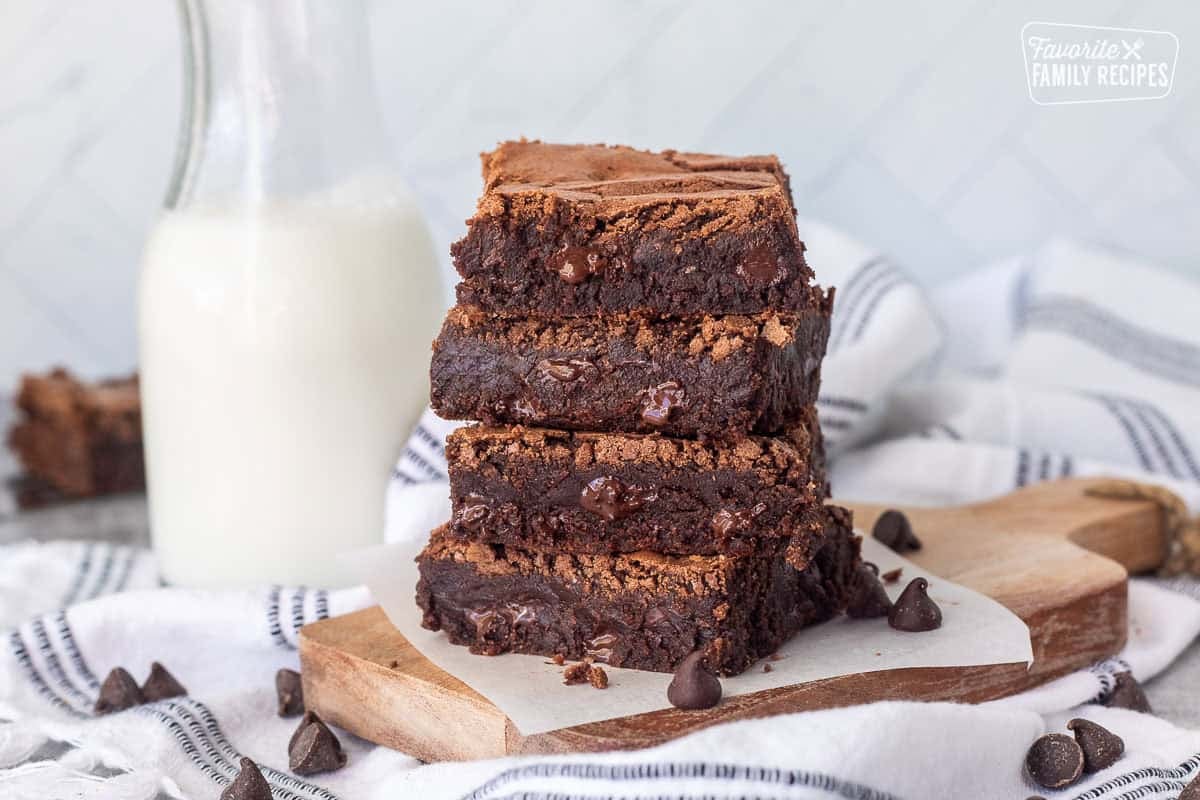
Don’t Settle For Box Brownies. These Are Way Better.
There are two things I am an absolute perfectionist about: Chocolate chip cookies and brownies. When it comes to brownies, they need to be thick, gooey, fudge-y, and of course oozing with chocolate. None of these thin, cakey, dry brownies here. If I wanted chocolate cake, I would make chocolate cake. Box brownies don’t even come close to how good these brownies are. Trust me. Take like 2 extra minutes and make these from scratch. You will thank me later!
🩷Erica
Ingredients to Make Brownies
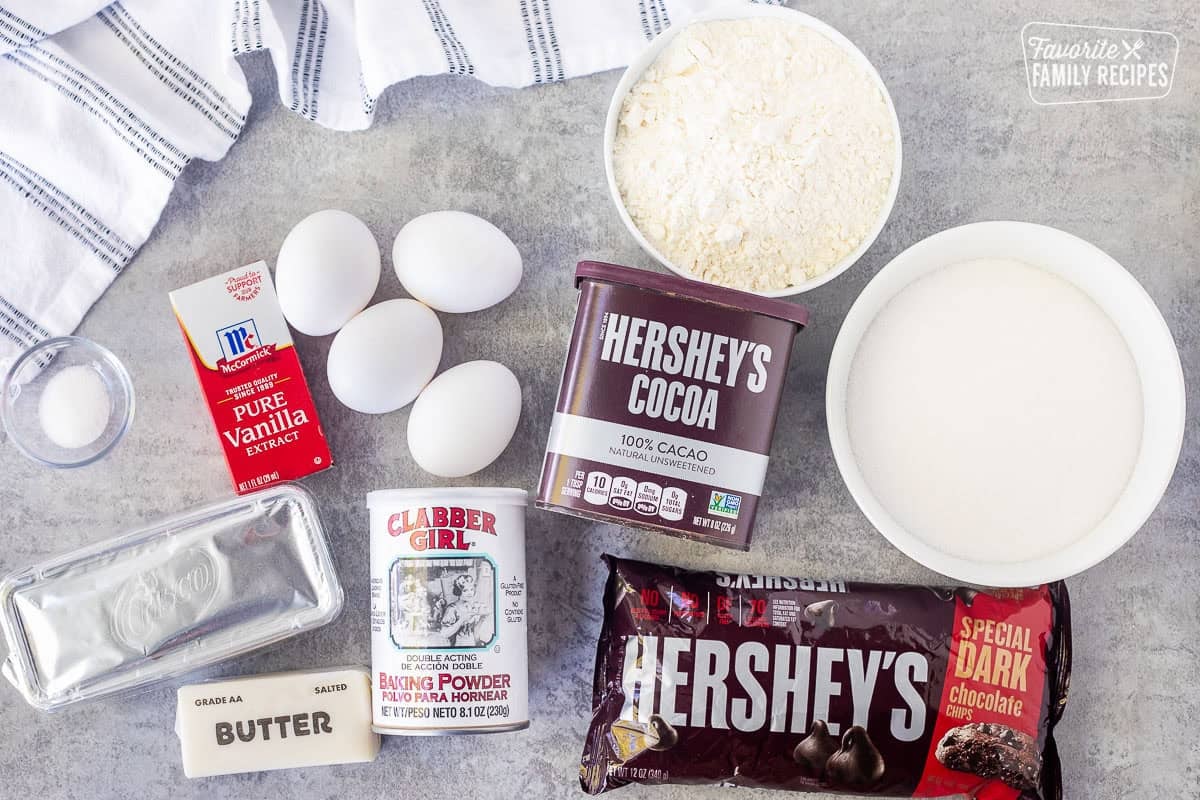
- Butter and Shortening: I know shortening can be a little controversial, but hear me out. Butter gives these brownies amazing flavor and the shortening gives them that soft, chewy texture that keeps them tasting fresh for days. Together they make the perfect brownie.
- Wet Ingredients: Sugar, cocoa powder, vanilla, and eggs come together to create a rich, chocolatey batter. These are the “wet” ingredients for this recipe. The sugar helps give the brownies that light, flaky crust on top while the eggs keep them fudgy and soft in the center.
- Dry Ingredients: You only need a few basic dry ingredients for these brownies. The flour gives them structure, the baking powder adds just a little lift, and the salt balances out the sweetness and brings out the chocolate flavor.
- Chocolate Chips: I love using dark chocolate chips because they make these brownies extra rich, but semi-sweet chocolate chips work great too. Every bite gets little pockets of melted chocolate, which is never a bad thing.
How to Make Brownies from Scratch
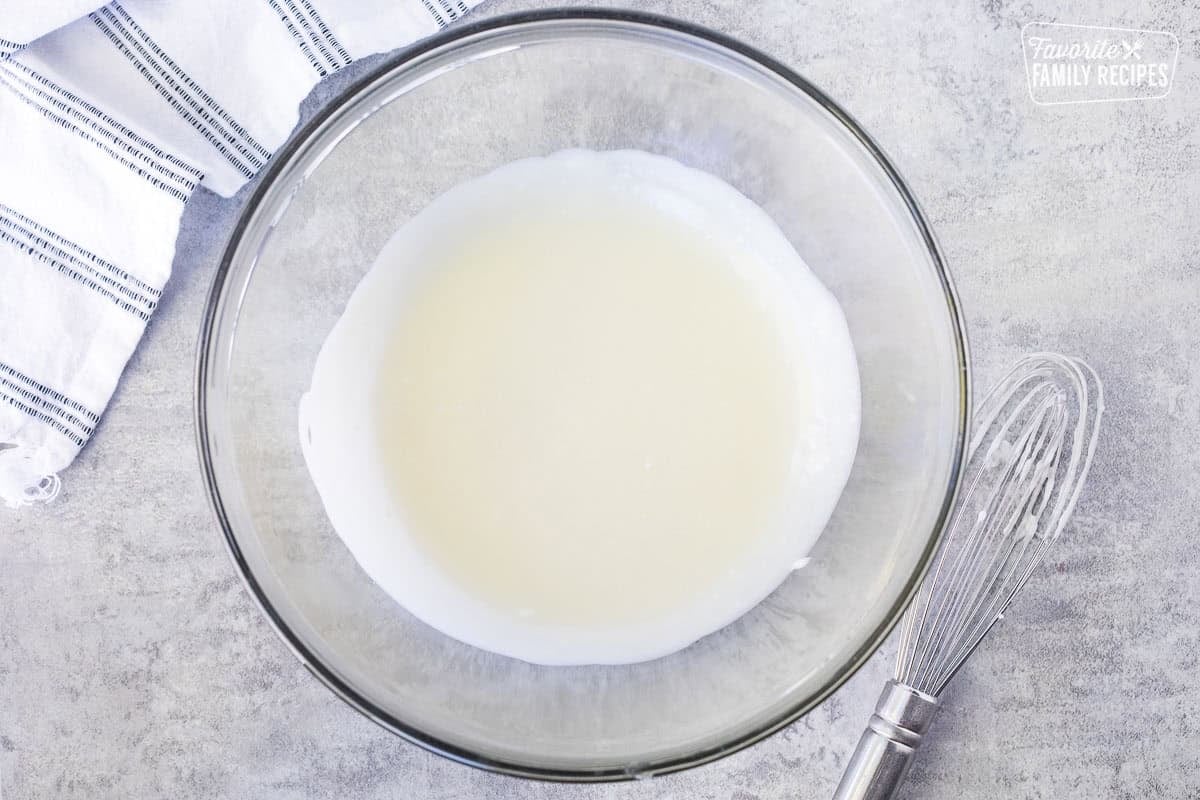
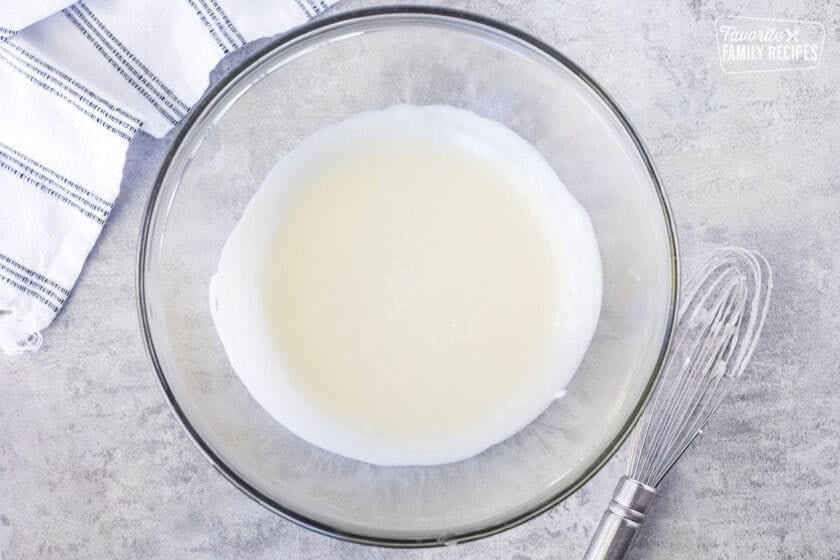
- Preheat the oven to 350 degrees F. Melt the butter and shortening together in a microwave-safe bowl, stirring until smooth. Allow to cool to room temp.

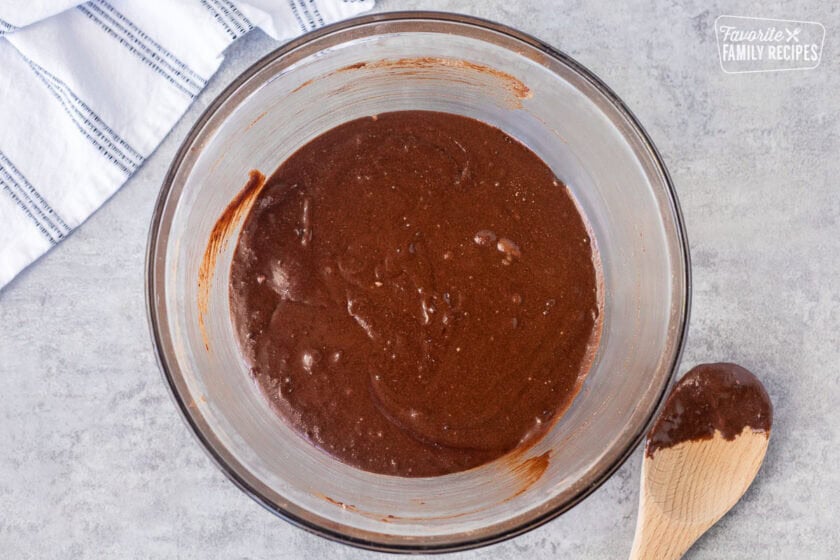
- Whisk the wet ingredients (sugar, cocoa powder, vanilla, and eggs) into the cooled butter mixture. Stir until everything is well combined and the batter is smooth.
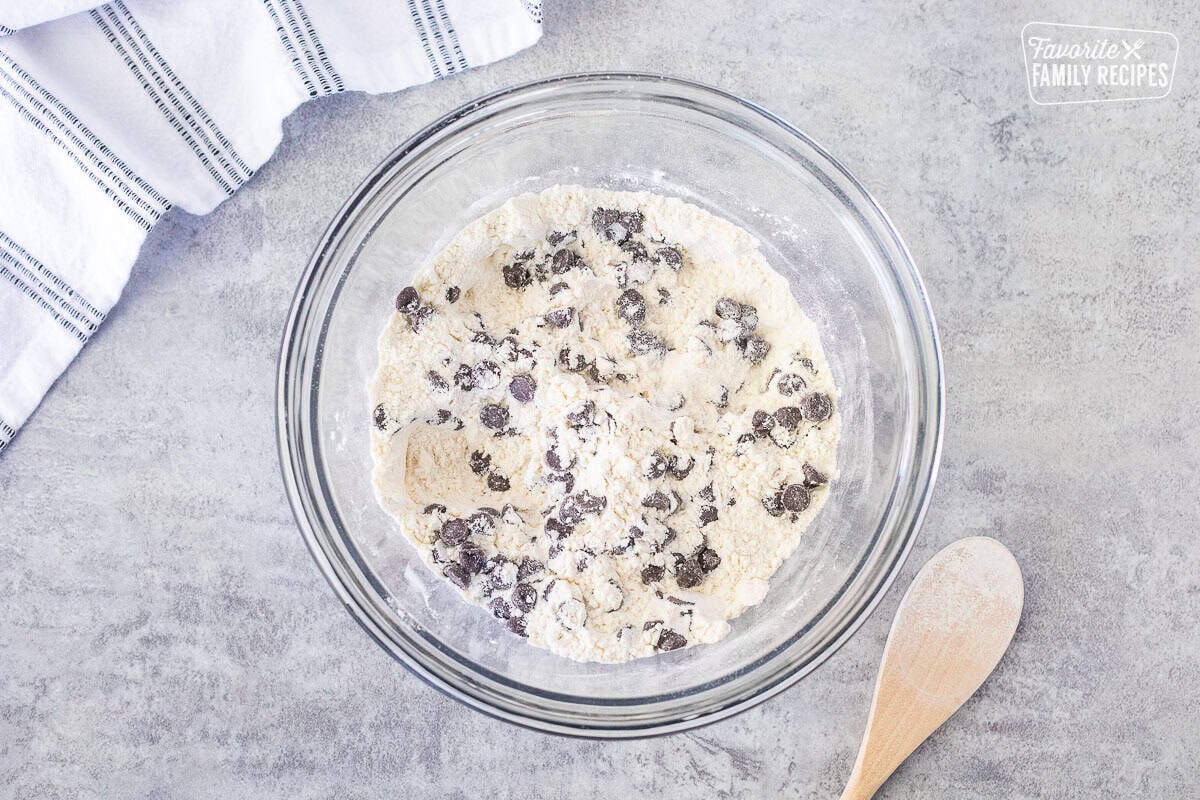
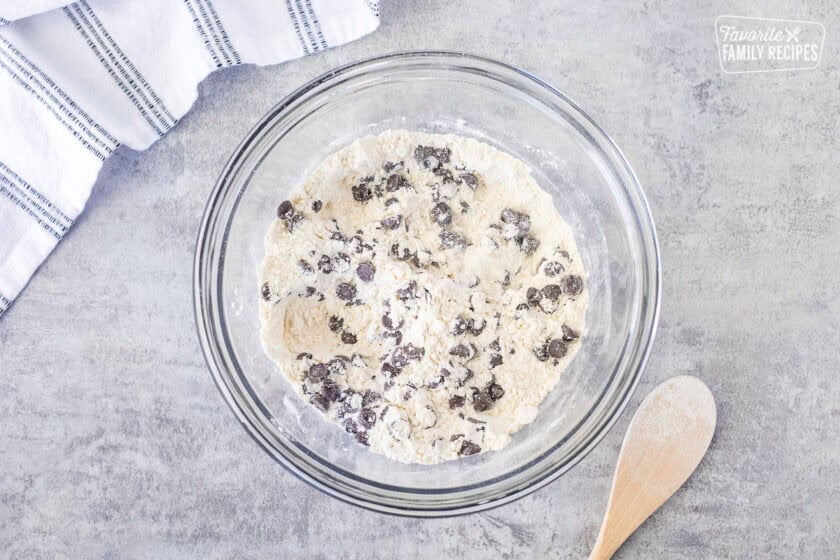
- In a separate bowl, combine the dry ingredients (flour, baking powder, salt, and chocolate chips). This helps distribute everything evenly throughout the batter.
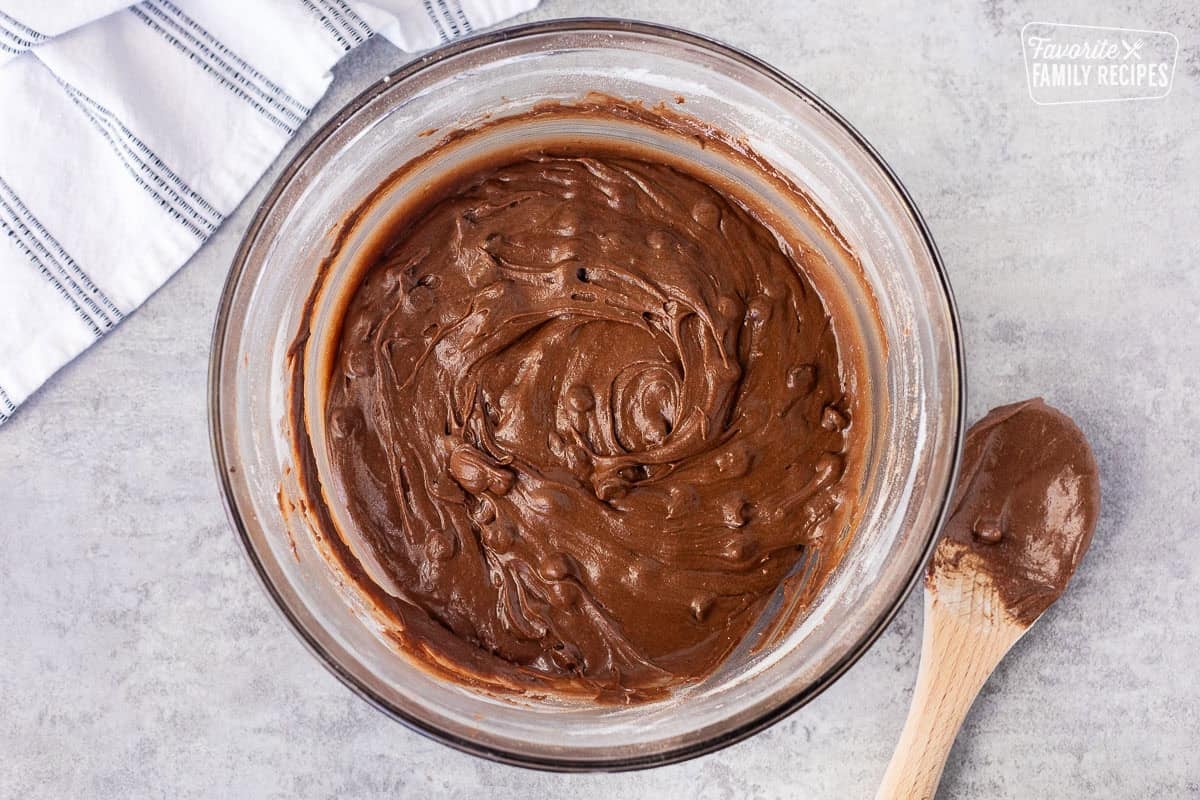
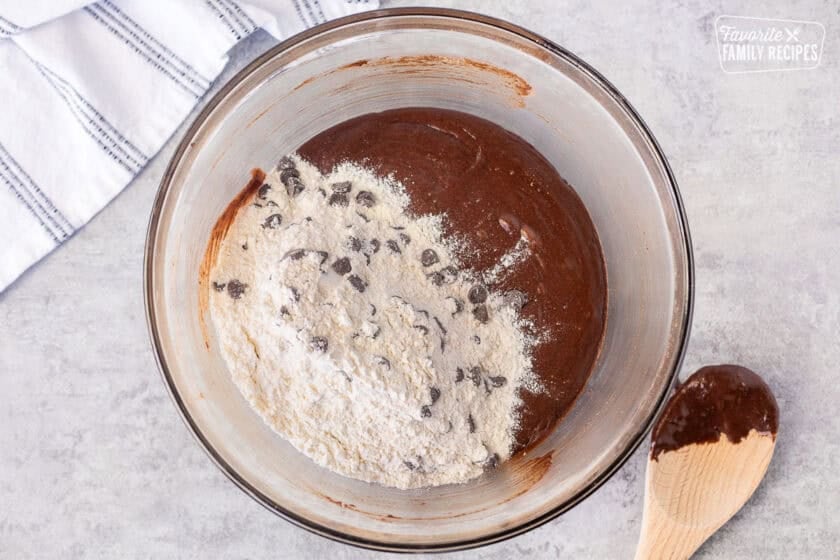
- Add the dry ingredients to the chocolate mixture and stir just until combined. The batter will be thick, which is exactly what you want.
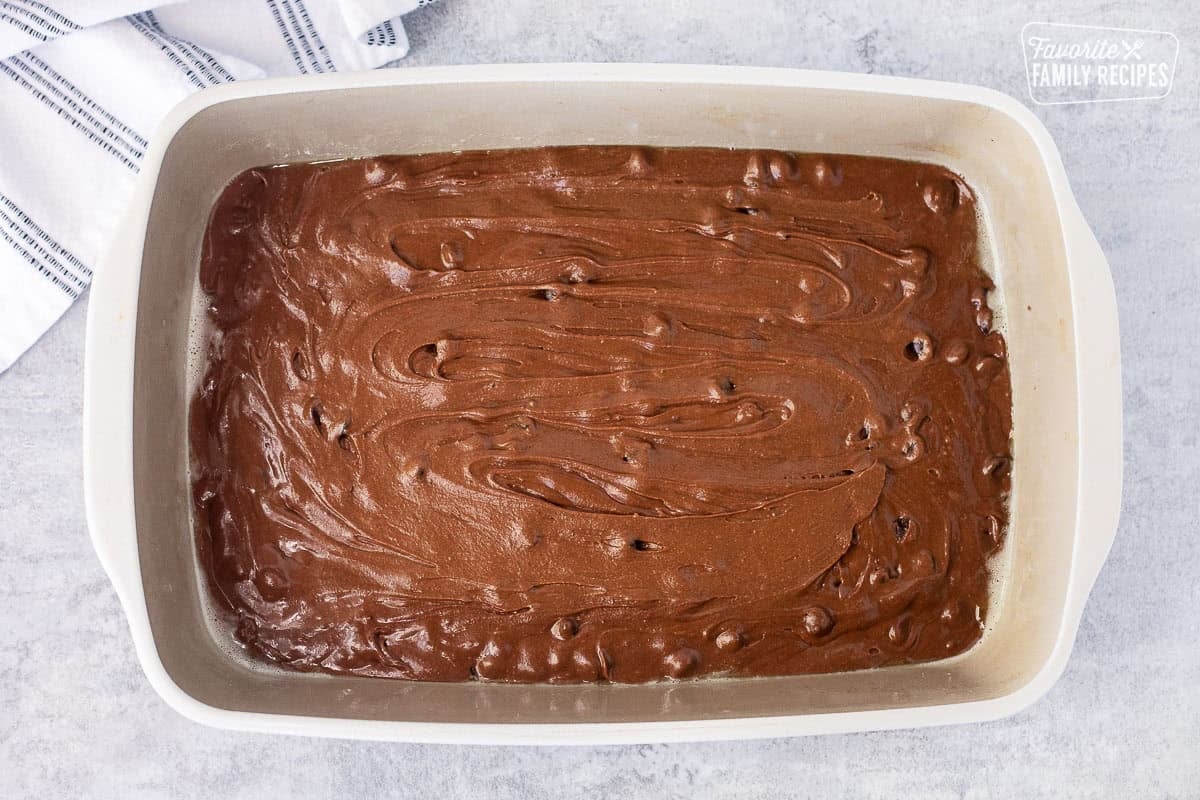
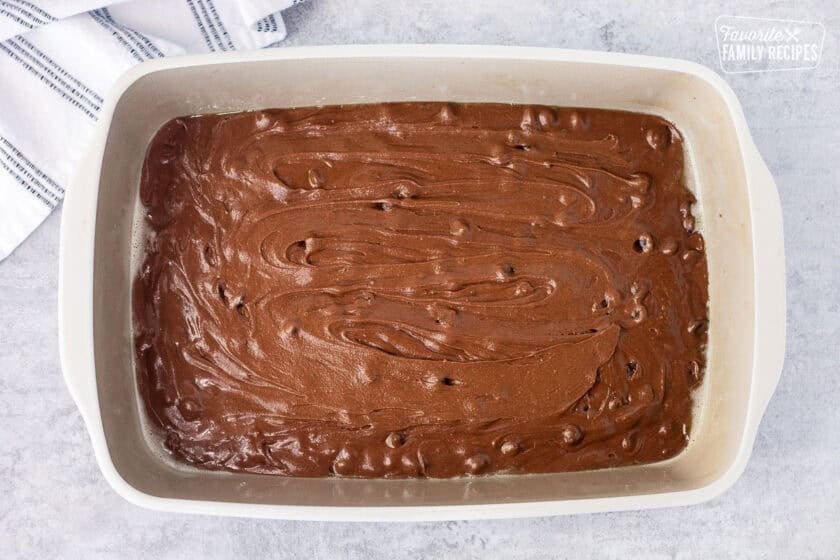
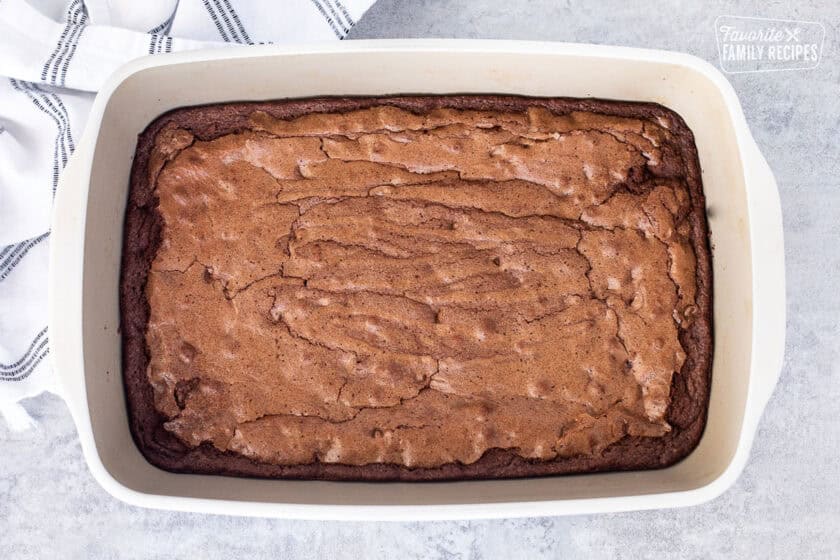
- Spread the batter into a greased baking dish and smooth the top. Bake until the brownies are just set and starting to pull away from the edges of the pan. Be careful not to overbake.
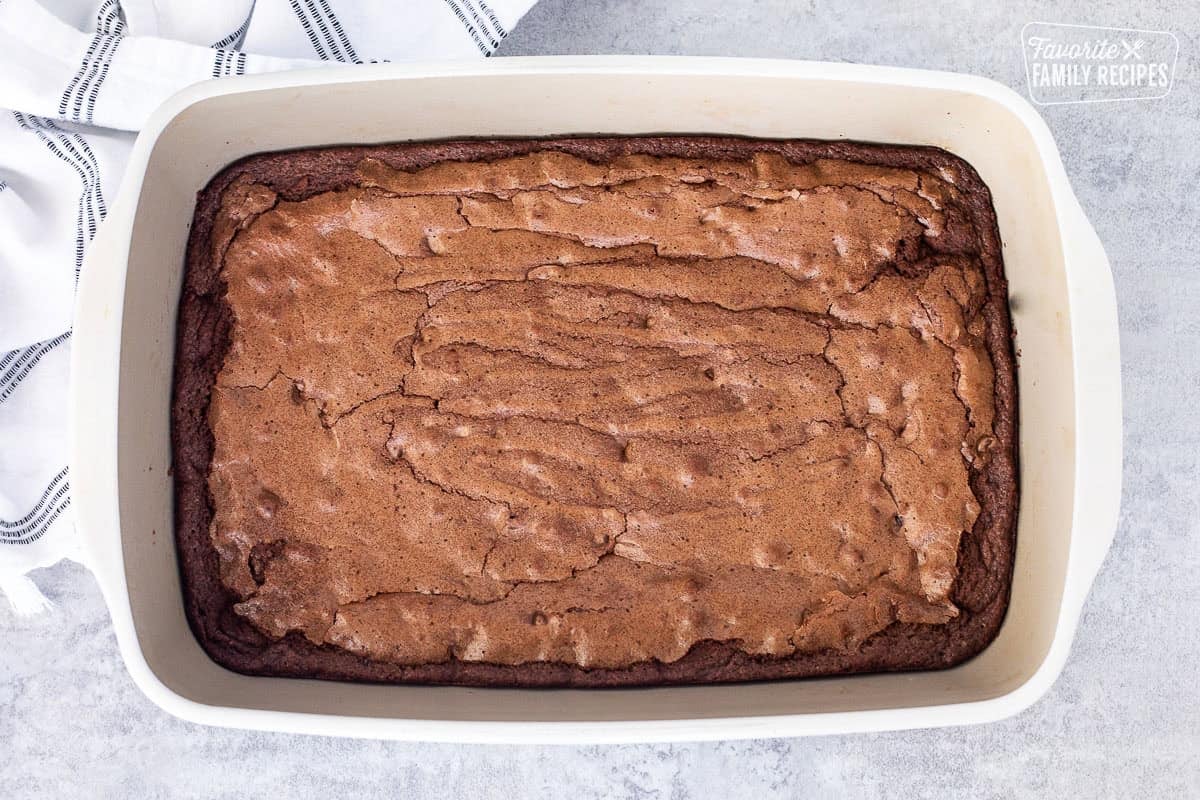
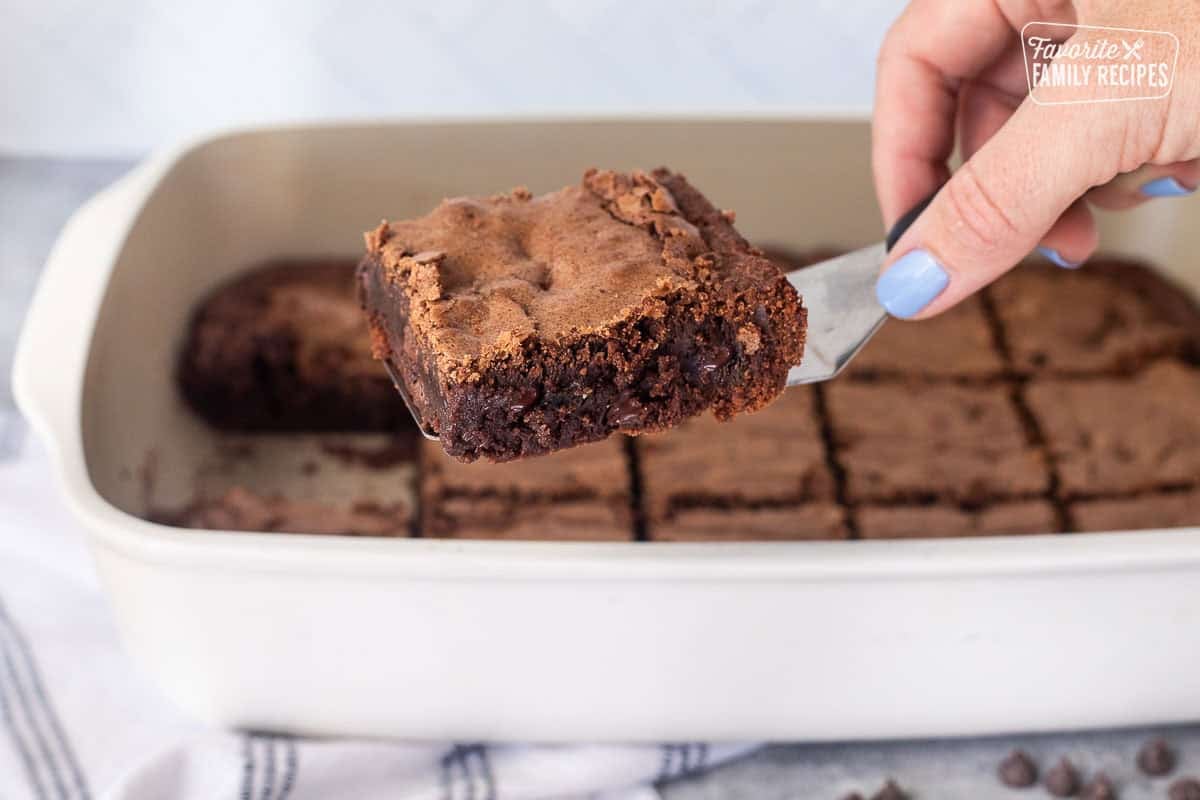
- Let the brownies cool for at least 20 minutes before slicing. They will be extra gooey when warm and perfectly soft and chewy once they’ve cooled.
Additions/Subsititutions
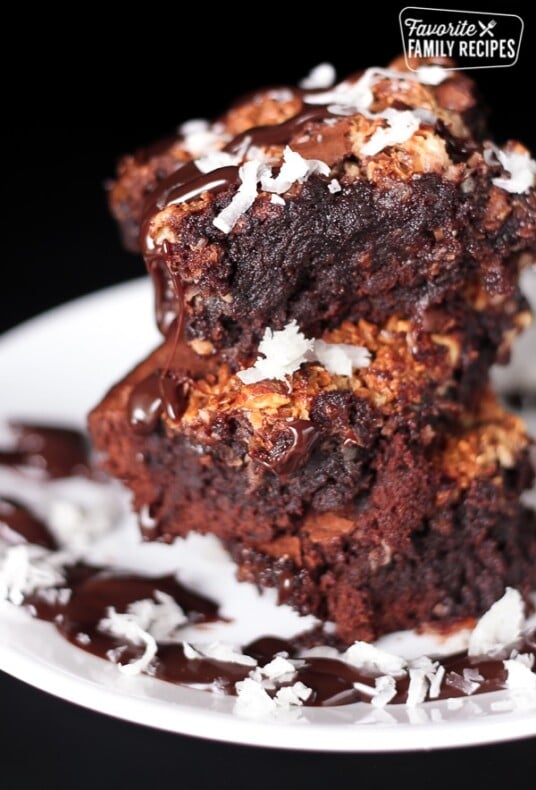
These really don’t need anything extra. They are perfect the way they are. If you want to swap out the dark chocolate chips for semi-sweet chocolate chips, that is totally ok. You can even use peanut butter chips or you want to switch it up. We have used mini-chocolate chips before and those work great too. Mint chocolate chips would be a fun substitution around the holidays. Chocolate chunks are also another great way to add gooey chocolate to your brownies. You can also add nuts like pecans or walnuts.
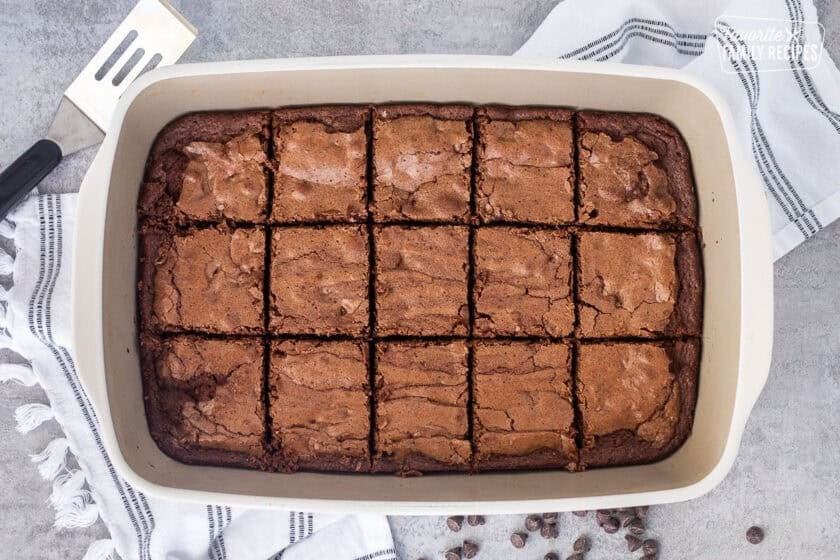
The Perfect Brownie Breakdown
- The Crust: The crust can never be dry and should never be “crunchy”. It must be chewy with a lightly crisp edge with very few crumbs.
- The Center: The center needs to be hot and gooey (perfect for adding a a scoop of ice cream). When they cool, they should be soft and chewy (even for the next day or two).
- The Top: The top of the brownies should have an ultra thin, delicate, flaky, crackly crust. Thinner than tissue paper. See image below to see what I am talking about.

Baking Tips
- The biggest tip for making these brownies is to NOT OVER BAKE. They may seem slightly under-done when you pull them out and that is totally normal. When they cool, they will be soft and chewy. You want these brownies to fail the “toothpick test”, unlike cake. They don’t need to be “done” all the way through.
- Line the baking pan with parchment paper for easy serving.
- Use dutch-processed cocoa powder for the best chocolate flavor.
- Bake these brownies in metal pans instead of glass pans if possible. Metal pans allow for more even heating.
Gluten-Free Brownies
Because there is only just a little over a cup of flour in this recipe it makes it SUPER easy to make gluten free. You can use pretty much any 1:1 flour blend and you will not even be able to tell they are GF. You can use Better Batter, Namaste Four (Costco), or your own flour blend with this recipe. Trust us, we have made them GF for friends and family before and no one even suspected they were GF!
Frequently Asked Questions
The four eggs in this recipe are the secret to moist brownies! Eggs add liquid and also help bind all the dry and wet ingredients together. While we think of eggs as a protein, they are used for their fat content in brownies.
The ratio of fat to flour is responsible for the fudgy or cakey texture. If you have more flour, then you will have cakey brownies and if you have more fat you will have fudgy brownies. This recipe is more fudgy – with butter and shortening in the batter.
Store leftover brownies in an airtight container at room temperature for up to 4 days. For longer storage, wrap them tightly and freeze for up to 3 months.
More Brownie Recipes
This is a recipe for good ol’ plain chocolate brownies. It is a no-frills homemade recipe. If you are looking to try some other brownie variations, give one of these a try:
If you make these brownies, be sure to come back and tell me how they turned out! They have been a family favorite for years and I can’t wait for you to try them. Leave a comment below and let me know what you think, and don’t forget to snap a pic and tag us on Instagram @favoritefamilyrecipes 📸
The BEST Brownies Ever
Video
Ingredients
- ⅓ cup butter
- 2/3 cup shortening
- 2 cup sugar
- ½ cup cocoa powder
- 1 teaspoon vanilla
- 4 eggs
- 1 1/4 cup flour
- 1 teaspoon baking powder
- 1 teaspoon Kosher salt
- 1 cup chocolate chips, dark
Instructions
- Preheat oven to 350-degrees.In a medium-sized microwave-safe bowl, combine butter and shortening. Microwave for 15 seconds at a time until just melted together. Stir and set aside to cool.

- When butter mixture has cooled, add baking cocoa, sugar, vanilla, and eggs. Mix well.
- In a separate bowl, combine flour, baking powder, salt, and chocolate chips.
- Stir dry mixture into chocolate mixture until combined (it will be fairly thick).
- Pour mixture into a greased 9×13 baking dish (or 9×9 if you want them to be thicker).
- Bake for 30 minutes or until brownies just start to pull away from the sides of the pan (if you are using a 9×9 dish you may need to add a few minutes). Do not over bake.
- Cool at least 20 minutes before cutting. Enjoy!
Notes
- For Gluten Free Brownies: You can use pretty much any 1:1 flour blend and you will not even be able to tell they are GF. You can use Better Batter, Namaste Four (Costco), or your own flour blend with this recipe.
- The biggest tip for making these brownies is to NOT OVER BAKE. They may seem slightly under-done when you pull them out and that is totally normal.
- If you want to swap out the dark chocolate chips for semi-sweet, that is totally ok. You can even use peanut butter chips or you want to switch it up. We have used mini-chocolate chips before and those work great too.
Nutrition
Nutrition information is automatically calculated, so should only be used as an approximation.
Love this recipe?
We want to hear from you! Please leave a review.
Absolutely amazing!! My husband and I both love to bake although we don’t very often anymore. I printed your recipe out and left it on the counter. He decided to make it today. He used gluten-free flour (for me) and it was our all-time favorite! 🤩 Thank you for sharing!
I’m so happy you like these brownies! It’s always a win when you can find a recipe that works well with gluten-free flour. Thank you for sharing!
Very good and easy.
go-to brownie recipe—my siblings and i have made these every holiday for the past five years for our aunt and parents because everyone loves them <3
This makes me so happy! Happy Holidays!
These brownies are fabulous! They also adapt well to variations like different types of chips and add-ins. Try them with a cup of dried cherries. Awesome!
Thank you!
How long should I bake them if using an 8×8 glass pan?
In a smaller pan, the brownies will be thicker and will take 40-45 minutes to bake. Set the timer for 40 minutes, and use the toothpick test (stick a toothpick in the center of the pan) to see if the brownies are fully cooked. If not, check every 3-5 minutes or so until the toothpick comes out clean. Thanks for asking!
Would it be ok if I didn’t add the chocolate chips? Years ago Hershey had my favorite brownie recipe. It was chewy with the crackle top, it didn’t require chips. I’ve been trying to find that recipe. This one sounds close, think it has more eggs and the chips.
Of course! I hope it turns out the way you remember it!
I haven’t made them yet but wanted to know if I could add walnuts to the batter?
Yes, of course! Walnuts would taste great in this recipe!
can you use regular salt instead of kosher salt or will it mess with the flavor
You can use regular salt!
Just came to say this is the 3rd time I’ve made these brownies in a month! They are delicious.
Thank you, Amy! I’m so glad you like them!
These were yummy, chewy and moist! I made these using all butter. Since I used a glass baking dish, I decreased the temp to 325* and ended up baking them for 35 min. because at 30 min. they were kind of “liquidy” in the center. Maybe they are supposed to be that way? I think I will boost the temp back to 350* even though I use a glass pan and bake them for the suggested 30 min. Recipe is definitely a keeper!
It shouldn’t be liquid but definitely gooey. Glad they turned out well for you! Thanks for sharing your results with butter!
what is the purpose of the shortening versus full butter?
The shortening helps get that perfectly flaky top, you can go ahead and try it with full butter. It will taste the same. 🙂 Hope this helps
Is there anything that I can substitute the shortening with? I don’t use it for anything.
You can use just all butter. Hope this helps!
I just made these for my boys and i have to say they were delicious. thanks for the great recipe.
Thanks, so glad you liked it!
Yummmmm
Wow, all the pop-up ads are preventing me from seeing the recipe….
So sorry about that! We are working on getting that fixed so there aren’t so many.
That sounds great!! Best of luck with your efforts! I agree .. love your site btw ! A Canadian new fan
😀 We are excited that you found us! Welcome 🙂 Hope you are able to find more recipes here that you enjoy!