We may earn a commission when you click on the affiliate links in this post.
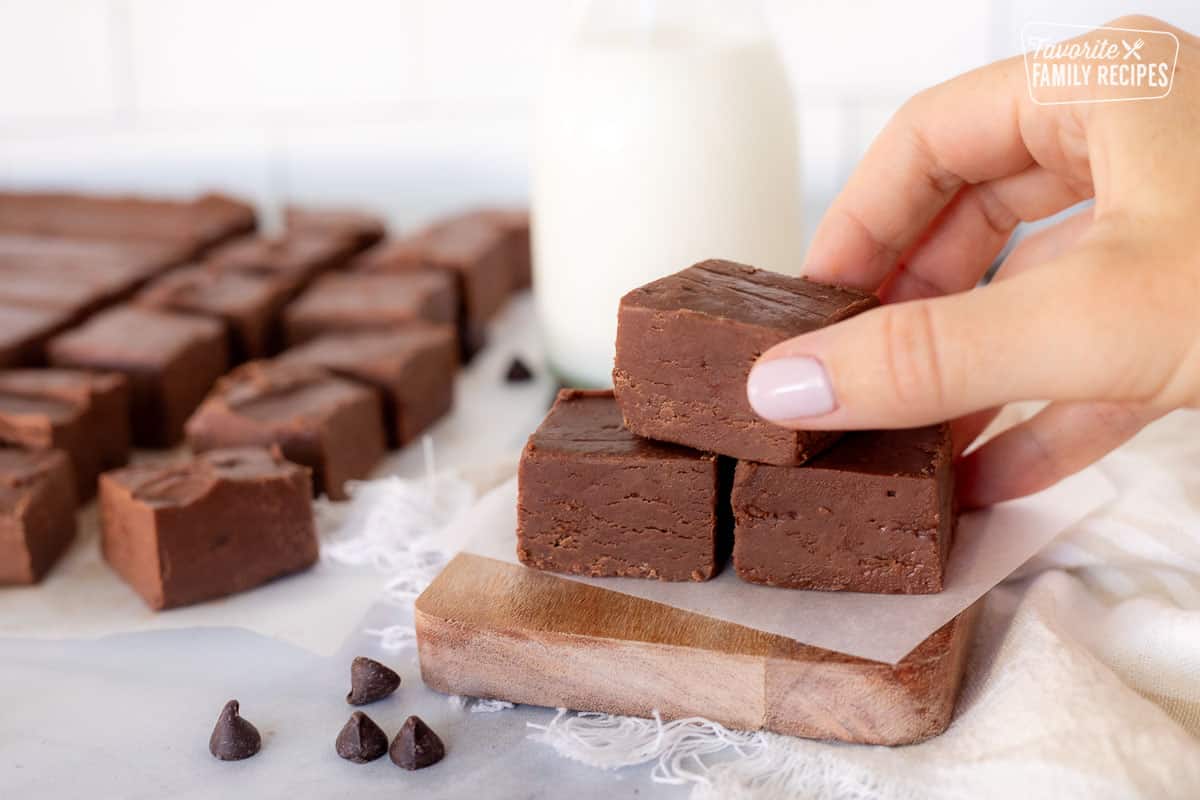
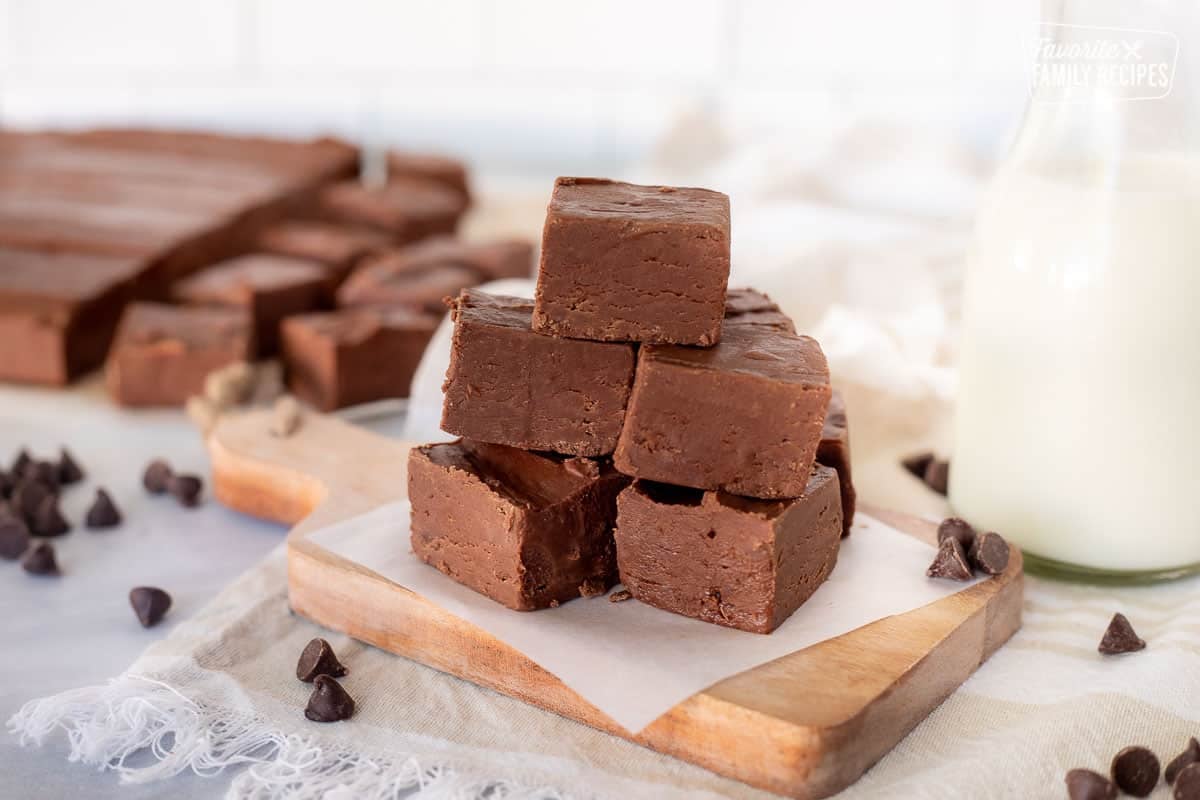
Try this See’s Fudge copycat recipe for a smooth, creamy, and easy homemade treat. Perfect for holidays or gifting, this fudge tastes even better than the original!
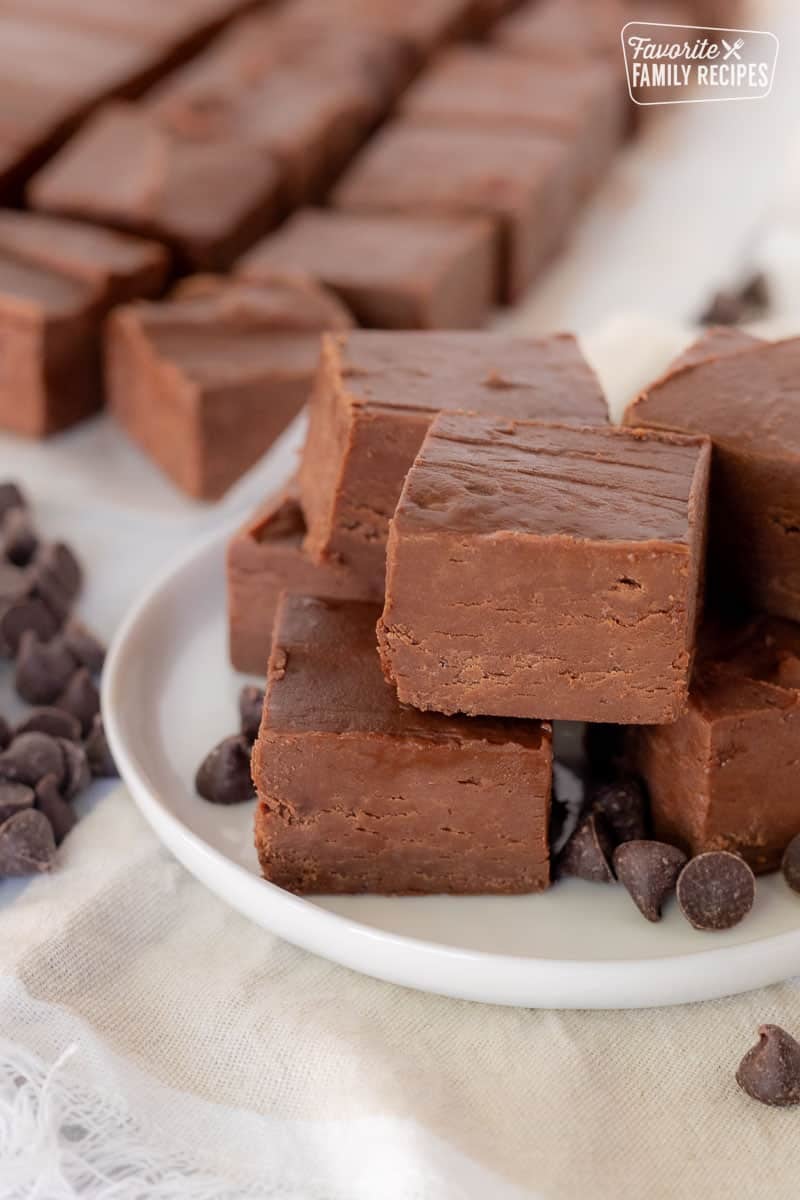
Homemade and Even More Delicious Than See’s!
This homemade fudge recipe tastes exactly like the real, actual, classic See’s fudge recipe. And in my opinion, even better! Not to just take my word for it – I whipped up a batch and then went to See’s and purchased some of their fudge to take home, so I could do a side-by-side flavor comparison. Guess what? Everyone who tested the two fudges (a blind comparison I might add) agreed that while both tasted remarkably similar, THIS recipe tasted better! This smooth and creamy fudge recipe makes beautiful gifts for Christmas or birthdays and is a fun treat to make with your kids.
Ingredients in this See’s Copycat Fudge Recipe
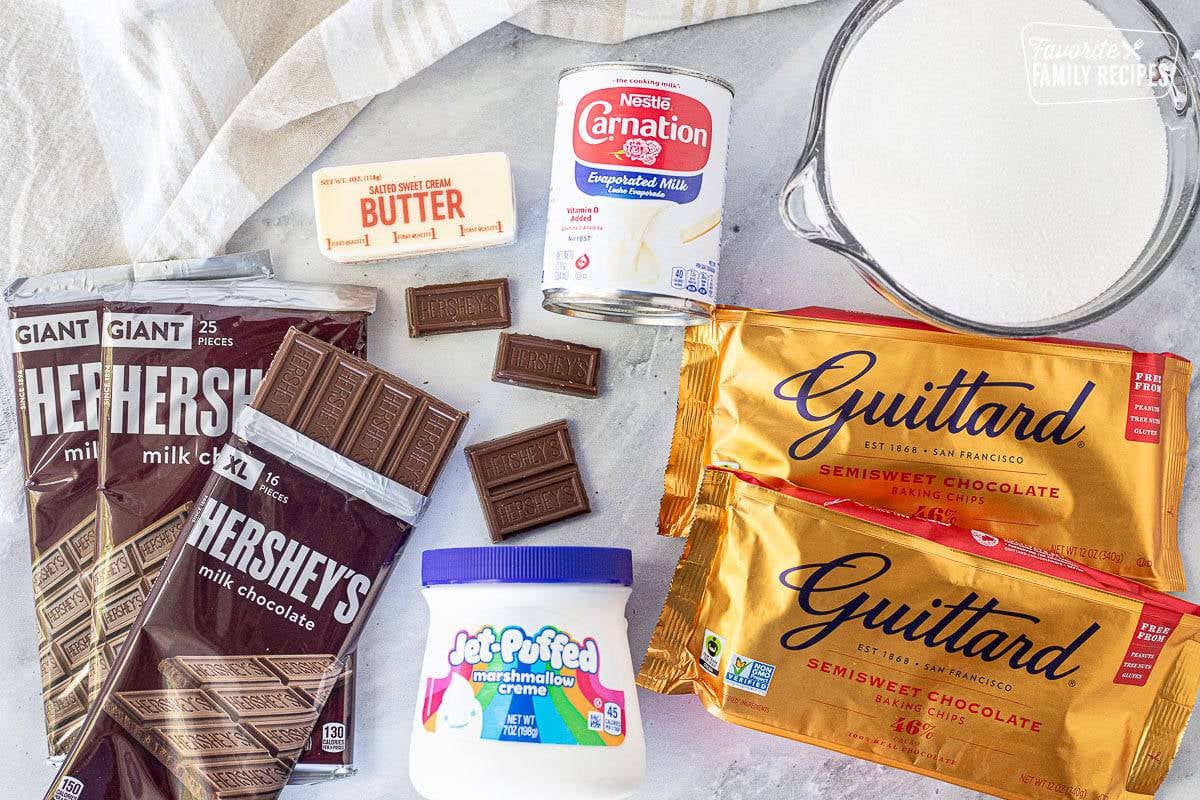
This easy chocolate fudge recipe is the most foolproof recipe ever. It comes out smooth every time and is never grainy! I have tried other recipes that take much longer (and are much more finicky) to prepare and trust me, it is so unnecessary! You really don’t need more than 15 minutes for perfect fudge! Here’s what you need:
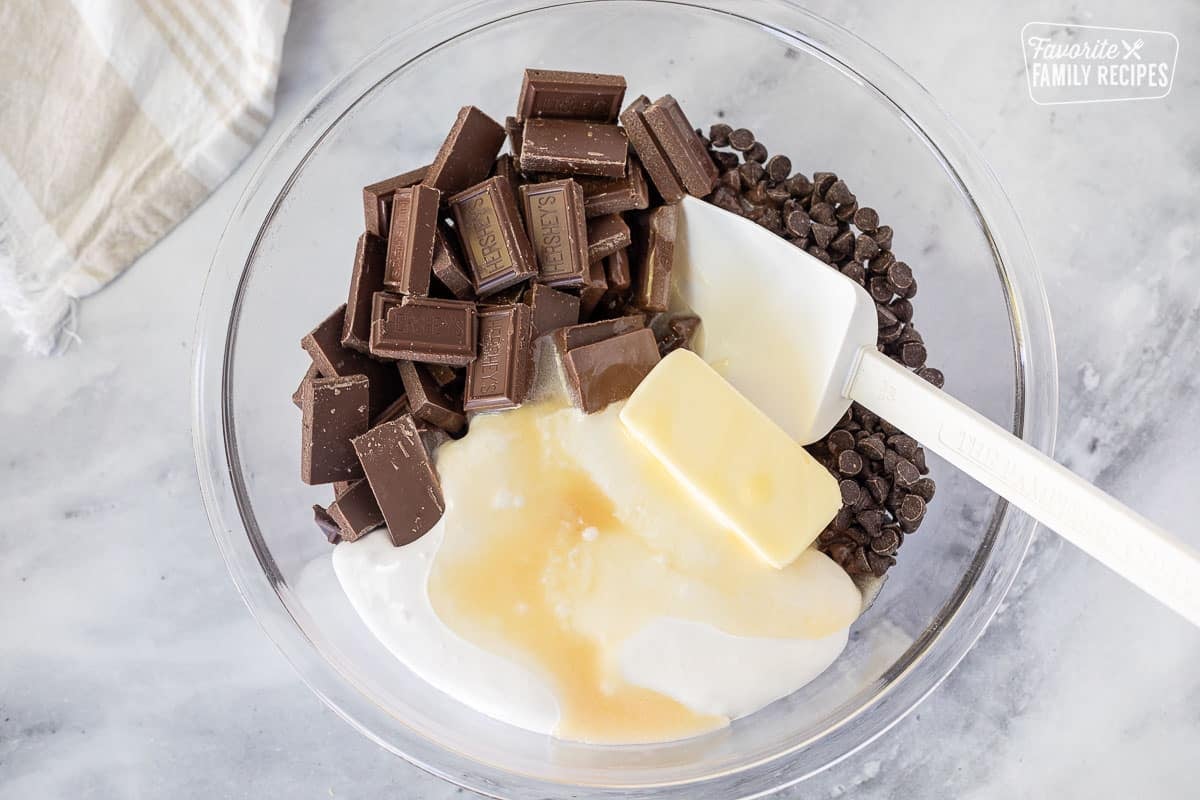
- Milk chocolate – I use two 8-ounce Hershey bars broken into pieces.
- Semi-sweet chocolate chips – 24 ounces (or two bags). I use the Guittard brand but any of your favorites will work.
- Butter – melted
- Marshmallow fluff – one jar (or about 7 ounces)
- Sugar – Yes, 4 ½ cups is a lot. But life is all about having little treats, am I right?
- Evaporated milk – NOT sweetened condensed milk
- Nuts- completely optional. Chopped walnuts, pecans, almonds, or pistachios all work great with this recipe.
Tips For Perfect, Smooth Fudge Every Time
- Follow the recipe – This might seem like a no-brainer, but with fudge, you want to be pretty exact. Substitutions do not fare well with this recipe. We have had readers that have swapped ingredients out or left them out, and they have been disappointed with the results.
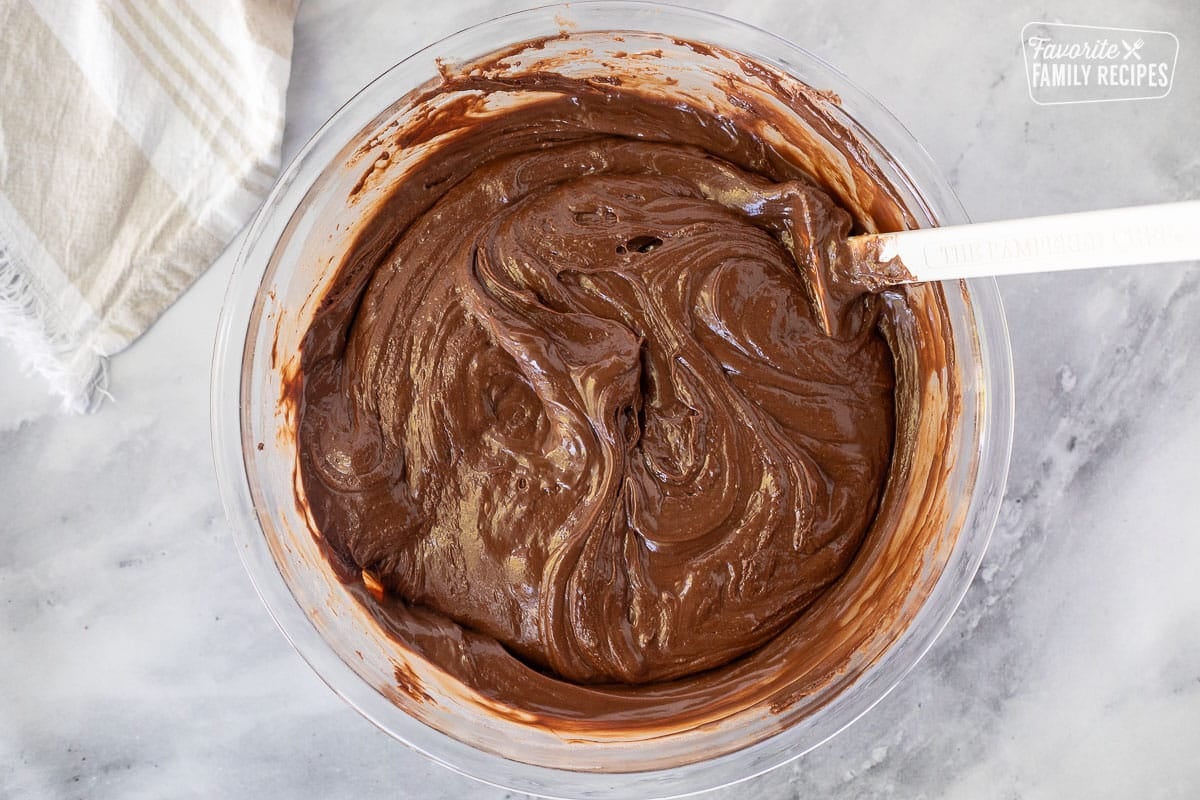
- Stir and scrape the sides when mixing – You want to get all that chocolate melted and smooth. Be sure to use a heavy rubber scraper spatula to help you accomplish this. Make sure to scrape way down to the bottom of the bowl to incorporate it all. Make sure your fudge is completely smooth before pouring it in. You also want to stir until the sheen is gone. It will become thick and harder to stir, which is a good thing!
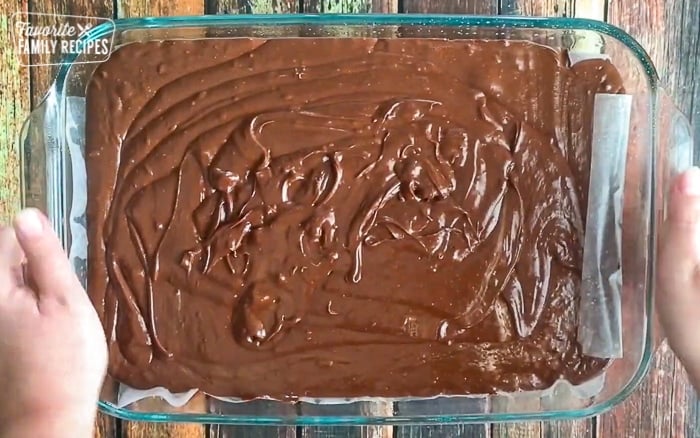
- Use parchment paper – For easy removal of the fudge from the pan, butter the baking dish, lay the parchment paper in, and then butter the parchment paper. Avoid using aluminum foil. It rips easily and can stick to the fudge.
- Keep it cool – For this fudge recipe, you will want to keep it in the refrigerator so it keeps its form. Keeping it at room temperature will make the fudge too soft and the texture won’t be right.
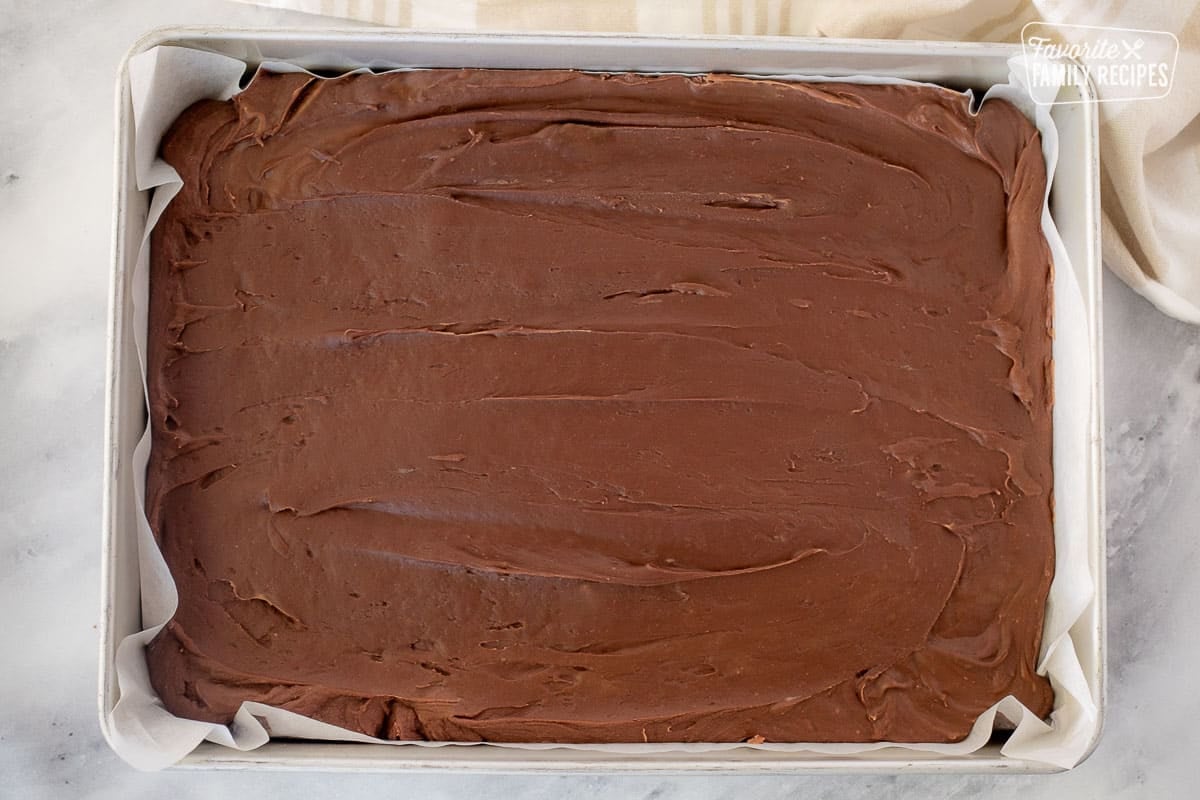
- Pour it in quickly, then leave it alone – Pour the hot fudge mixture into your prepared pan. Quickly smooth it into an even layer while it’s still hot. It will begin to set fast in the square baking dish and it won’t look as smooth if you keep running your spatula over it. Also, try not to bump your pan after it gets set. It will cause ripples in the fudge (I learned this the hard way). Try to quickly set it somewhere it won’t get bumped or moved until it has cooled enough to put it in the fridge.
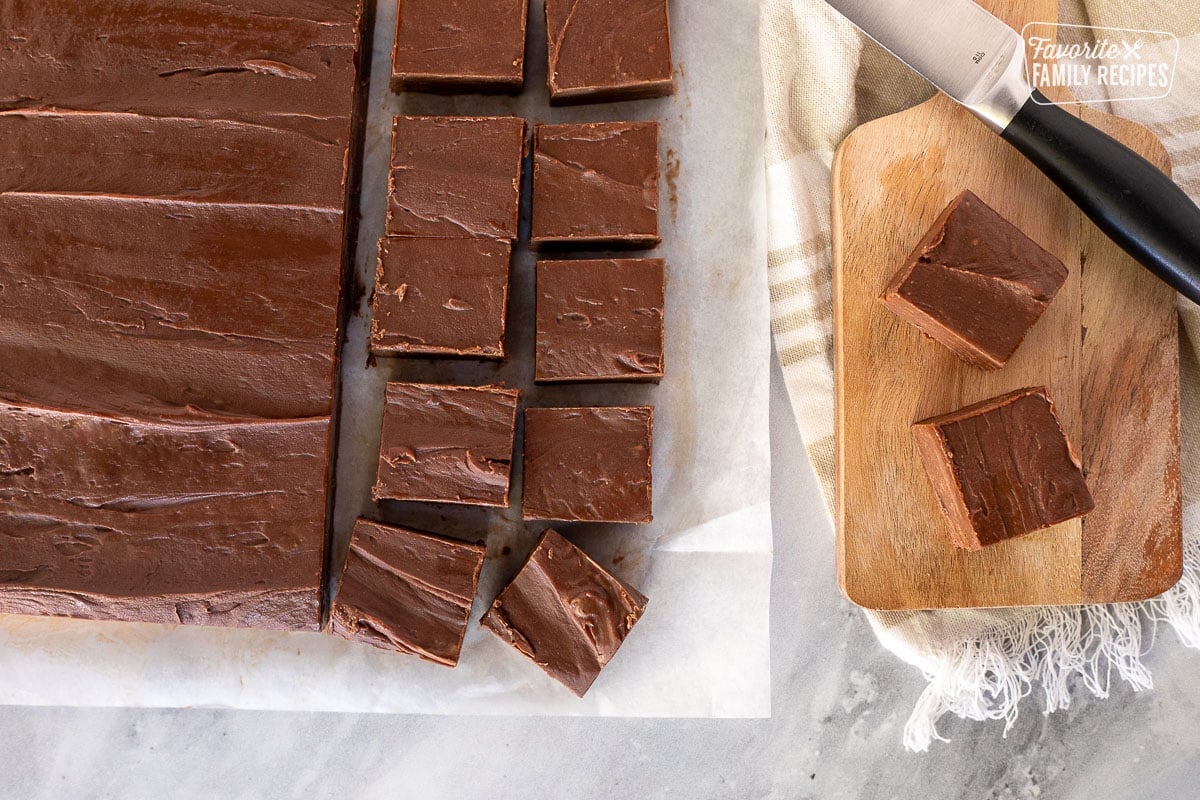
- Be patient – Wait until the fudge sets before cutting. You will get nice, perfect squares if you wait until it has completely cooled through.
- Slice before serving – Again, be patient. For fresh, creamy fudge, cut it just before you serve it. Fudge tends to dry out over time. Cut it into 1-inch squares just before you eat it. If you must cut it earlier, be sure to keep the cut pieces in an airtight container or covered with plastic wrap.
If the Fudge Doesn’t Set
The reason I love this recipe is that it isn’t as temperamental as other fudge recipes. The reason it doesn’t get grainy is because you don’t cook the chocolate on the stove and that keeps it from getting too hot. Pouring the hot liquid over the chocolate is JUST enough to melt it and get it to the temperature you want without overheating.
That being said, sometimes the hot liquid you pour over it doesn’t get hot enough, causing the fudge to not set properly. You want to make sure you get a nice rolling boil when you heat the sugar and evaporated milk. Make sure you are heating this in a LARGE enough pot because it will bubble up and expand. You WANT this to expand to be a rolling boil so it gets hot enough to pour over your chocolate. Otherwise, it won’t get up to the right temperature and it won’t set right. Just watch it closely and stir constantly so it doesn’t burn.
Another factor that can cause your fudge to not set up is humidity. If it is a very humid day when you make your fudge, it may have difficulty setting.
5-Star Reviews for See’s Copycat Fudge
Here are just a few of the 5-star reviews we’ve received over the many years this popular recipe has been on our website:
“I love this recipe! This was my first attempt at making fudge and I was so happy with it. Many thanks for sharing your recipe so my family and I can enjoy this super yummy, smooth fudge. I’m certain I will be sharing it for years to come.”
-Brooke
This is the best fudge recipe I have ever made. The only thing I did different is add 1 Tbsp of vanilla bean paste. Delicious, smooth, and not grainy at all!! Very easy to make.
– Elizabeth
“By far, the most delicious fudge our family has ever tasted!! It is so smooth, so rich. Used 60% dark chocolate this time, gave it a deep, chocolatey flavor. Will never try another recipe!!!
– Julie
Frequently Asked Questions
Let’s be honest, fudge can be intimidating! Before you get started, here are some questions we are frequently asked that may help ease some of your concerns. You can do it!
In a word, no. We have had readers try it and they say it doesn’t turn out right. We haven’t tried it before, but I can tell you it won’t be the same. Some say that they have melted marshmallows down or used a recipe to actually make marshmallow fluff, but again, we haven’t tried this so we can’t tell you for sure that it will work. We like to keep things simple and always stick to this original fudge recipe.
No, you don’t. If you follow the directions, a candy thermometer isn’t necessary. Please use a timer!
Yes! This fudge recipe freezes great! Just cut it into squares and wrap it in freezer paper and put it in a freezer container to freeze. Once frozen, you can transfer it to a freezer-safe Ziplock bag. When ready to eat, just thaw in the fridge until soft. I like to thaw it in the fridge overnight.
Fudge can become grainy if the sugar crystalizes during the cooking process. This often happens from overheating or over-stirring the milk/sugar mixture, and when sugar gets stuck on the sides of the pan. To prevent graininess, cook the sugar and milk on low heat until the sugar completely dissolves in the milk, before bringing the mixture to a boil. Also try swirling the pan instead of stirring, so sugar doesn’t splash up on the sides.
Read More: 25+ Christmas Dessert Ideas
More Must-Try Fudge Recipes
Fudge is a decedent treat that satisfies that chocolate craving like nothing else! With these homemade fudge recipes, you can’t go wrong with making these year-round.
Chocolate Peanut Butter Fudge
Vanilla Fudge
Mint Chocolate Fudge
German Chocolate Fudge
Rocky Road Fudge
Creamy Chocolate Coconut Fudge
How to Make See’s Fudge
See’s Fudge Copycat Recipe
Ingredients
- 16 ounces milk chocolate (I use two 8 ounce Hershey bars broken into pieces)
- 24 ounces semi-sweet chocolate chips I use the Guittard brand
- ½ cup butter
- 1 (7-ounce) jar marshmallow creme
- 4 ¼ cups sugar
- 1 (12-ounce) can evaporated milk
- 1 teaspoon vanilla
Instructions
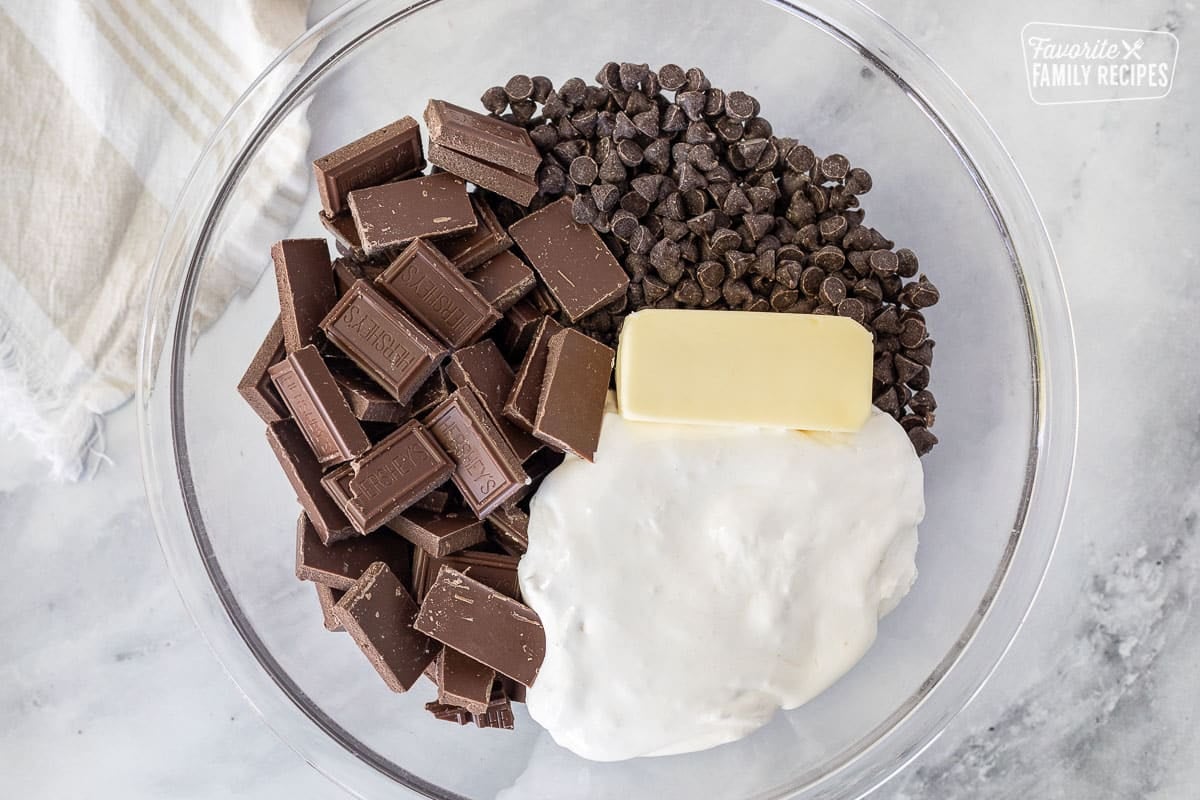
- Butter a 9×13-inch glass baking dish. Set aside. Combine milk chocolate, chocolate chips, butter, and marshmallow in a large mixing bowl. Set aside.
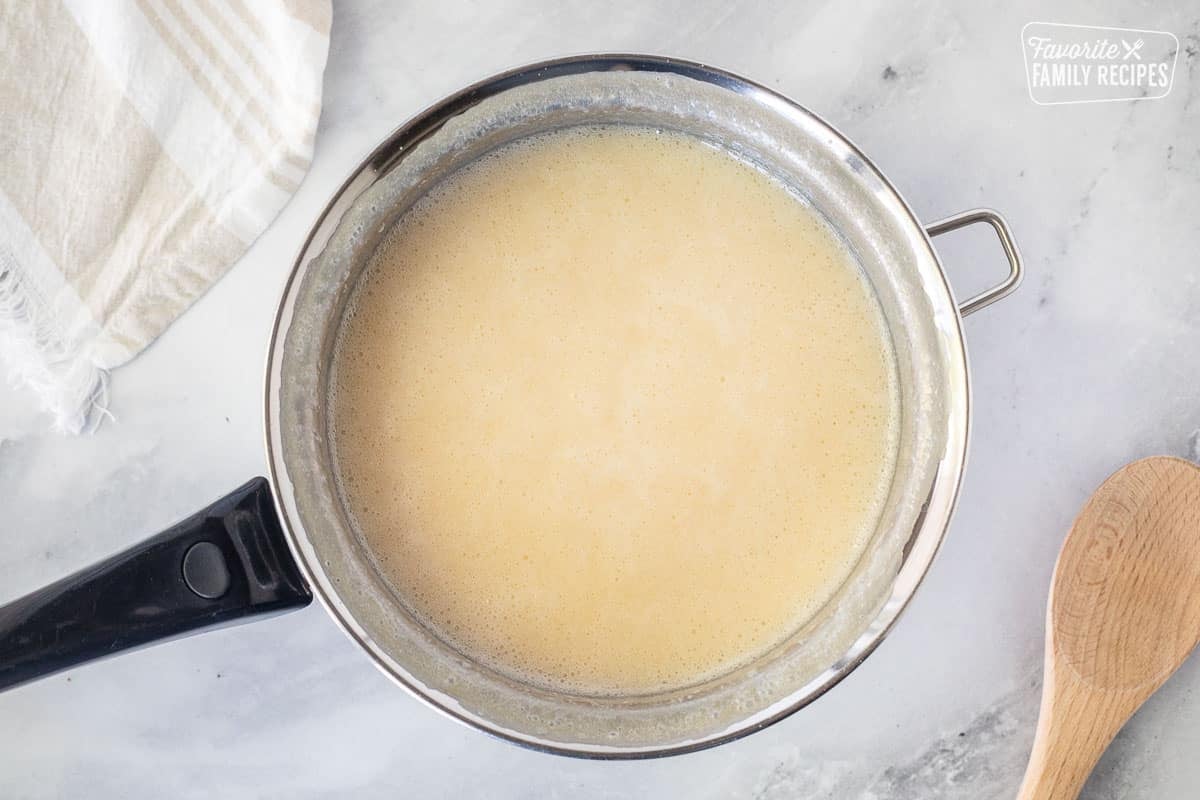
- In a large saucepan, combine sugar and evaporated milk. Bring to a rolling boil over medium heat. Stir constantly at a rolling boil for 4 minutes with a wooden spoon. Remove from heat and stir in vanilla.
- Pour the evaporated milk mixture over the chocolate mixture in several intervals, stirring constantly to keep the fudge from clumping.
- Continue stirring until well blended and smooth.
- Pour into prepared baking dish. Cover tightly and refrigerate for several hours or overnight, until hardened. Keep refrigerated until you serve.
My mother has been making this fudge for about 50, when she passed away in 2010 i took over making every Christmas. I have never had a problem with it turning out until this year. Let me tell you why, it is very important to boil it for 4 minutes just like it says because I had to make it on a gas stove in our motor home and it was not the same, I hard a hard time getting it to set up but when I moved it into a regular stove and timer it worked just fine. So when you make it please boil it hot the whole 4 minutes and it comes out perfectly.
Yes boil for the full amount for sure or it won’t turn out right! Great advice!
I made this fudge for my co-workers and everyone commented that it was the best they’ve ever had! It did take me much longer to prepare (over an hour), especially to get the sugar to dissolve in the evaporated milk. But the effort was totally worth it and I will definitely make it again!
I make this recipe every Christmas. I’m so glad this recipe was a success for you! We will check the preparation time on the recipe.
This is the best sees fudge recipe!
Thank you, Dana! I’m so glad you love it as much as we do.
I made this many times. It always comes out perfect and everybody loves it.
Super easy and yummy!
Hi I was wondering if you could put nuts in this as well?
Absolutely, nuts would be a great addition!
can you tell me how long this fudge will stay fresh at room temperature? Also it says 60 pieces, do you know the total weight? Thank you
Fudge usually stays good for up to 2 weeks at room temp. I don’t know the total weight, sorry! I will have to weigh each one next time.