We may earn a commission when you click on the affiliate links in this post.
Learn how to cook a turkey with these easy-to-follow steps. Whether you’re preparing a Thanksgiving feast or a Sunday dinner, this guide will ensure your turkey is tender, juicy, and packed with flavor.
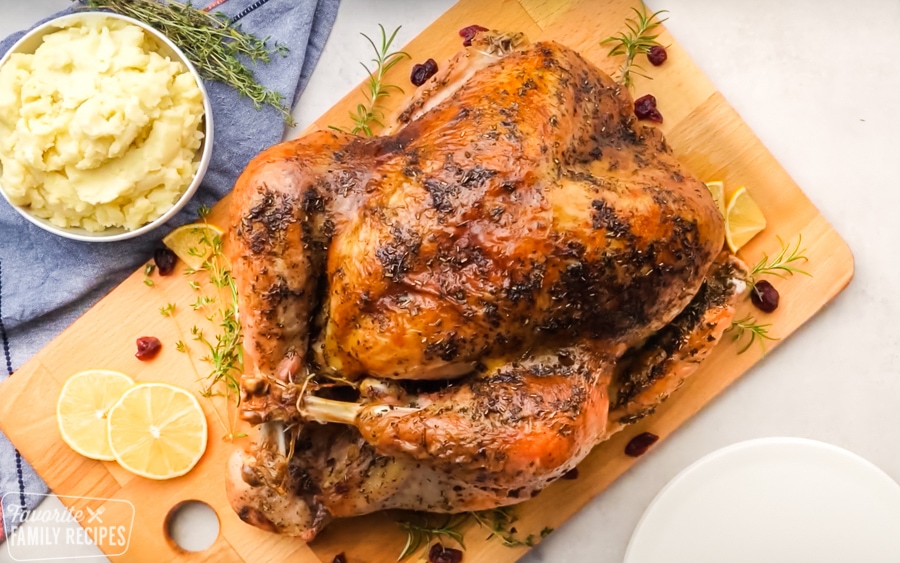
Table of Contents
- Step 1: Choosing the Right Turkey
- Step 2: Thawing Your Turkey Safely
- Step 3: Preparing Your Turkey for Cooking
- Step 4: Seasoning and Brining
- Step 5: Roasting the Turkey
- Step 6: Carving the Turkey
- Tips For Cooking a Turkey
- FAQ’s About Cooking a Turkey
- What To Serve With Turkey
- Storing and Reheating the Leftovers
- How to Cook a Turkey
- How to Cook a Turkey Recipe
Cooking a Turkey Doesn’t Have to Be Stressful
Cooking a turkey for Thanksgiving or any special occasion may feel intimidating, but it doesn’t have to be! With the right preparation and tips, you can confidently serve a perfectly cooked turkey.
Step 1: Choosing the Right Turkey
What Size of Turkey Do I Need?
This is a key question to ask when preparing a turkey for Thanksgiving or a Sunday dinner crowed. To avoid running out of turkey (or missing out on leftovers), follow this simple rule:
- 1 ½ pounds per person if you want leftovers.
- 1 pound per person if you prefer just enough for the meal.
For example, for 12 guests, buy an 18-pound turkey for Thanksgiving.
Step 2: Thawing Your Turkey Safely
Refrigerator Thawing (Recommended Method)
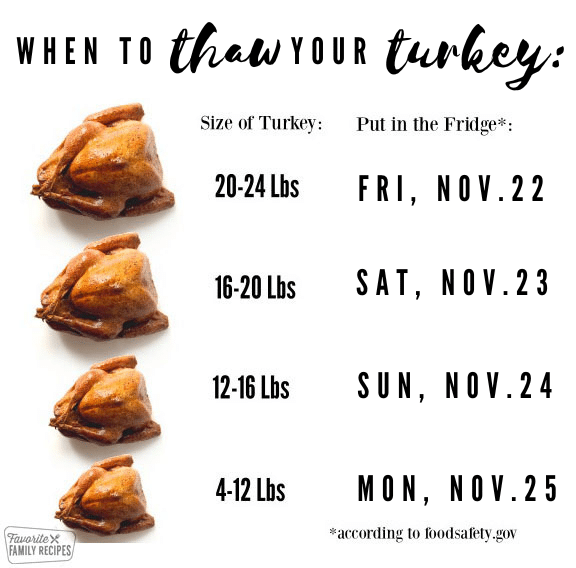
For food safety and thorough cooking, a turkey should be completely thawed before it is cooked. A frozen turkey can take 3-6 days to thaw completely, depending on size.
- Allow 24 hours of thawing time per 4-5 pounds of turkey.
- Refer to the following chart for when to thaw your turkey for Thanksgiving 2024:
Cold Water Thawing (Last-Minute Solution)
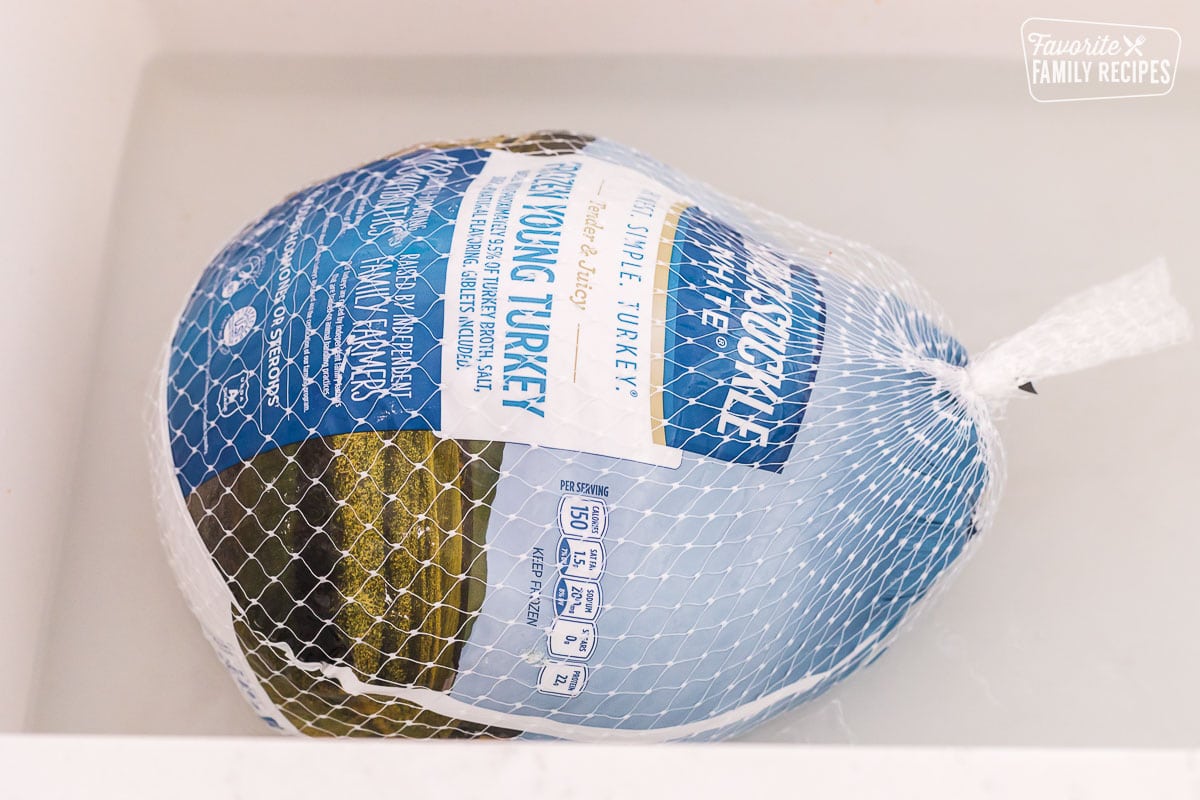
We have all waited until the last minute to thaw the turkey (or forgot to thaw it) before cooking. I have done it (several times actually) and we get comments and emails every year from others who have done it as well. This is the quick-thaw method approved by the USDA:
- Place the turkey in a leak-proof bag.
- Submerge it in cold water, changing the water every 30 minutes.
- Allow 30 minutes per pound to thaw. See chart below.
- Once the turkey is thawed, cook it immediately.
| Turkey Weight | Thawing Time (Cold Water) |
| 4-8 pounds | 2-4 hours |
| 8-12 pounds | 4-6 hours |
| 12-16 pounds | 6-8 hours |
| 16-20 pounds | 8-10 hours |
| 20-24 pounds | 10-12 hours |
Learn More: How to Thaw a Turkey Safely
Step 3: Preparing Your Turkey for Cooking
Should I Rinse My Turkey?
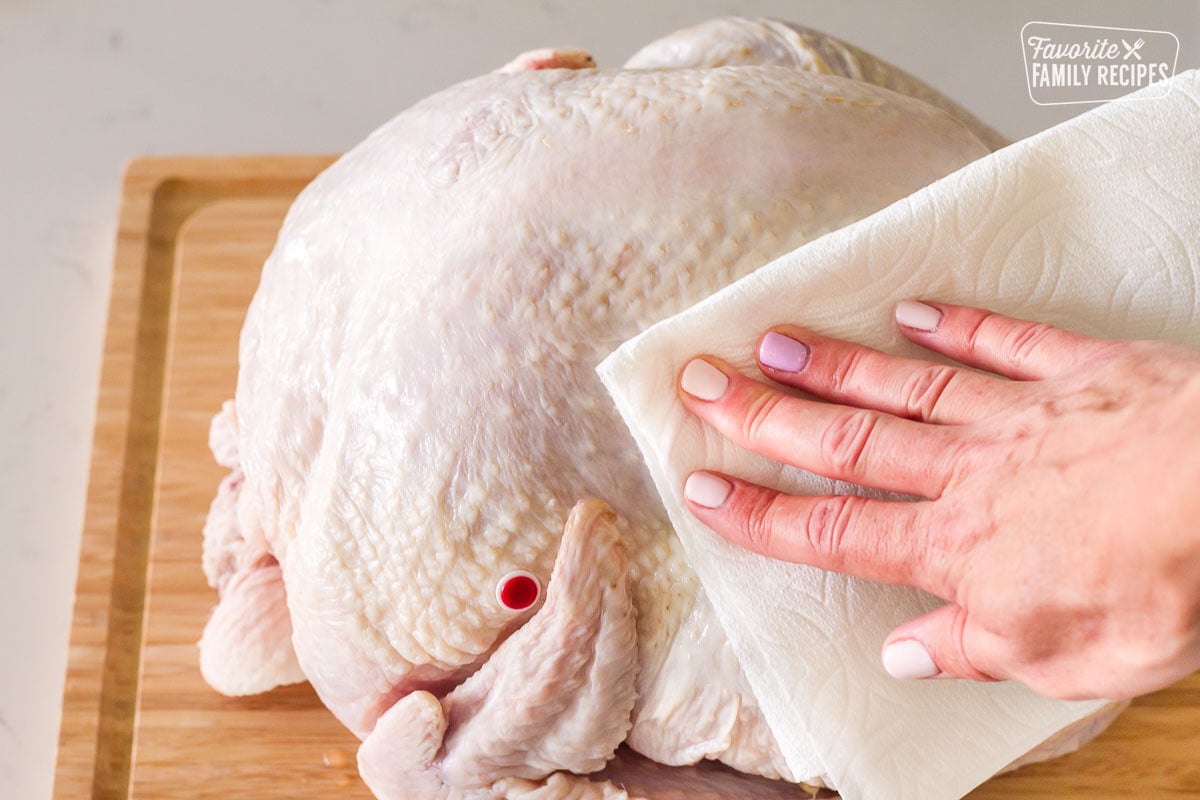
No, do not rinse your turkey. According to the USDA, can spread bacteria to your sink and countertops: Instead:
- Drain the excess juices from the turkey.
- Pat the turkey dry with paper towels.
Step 4: Seasoning and Brining
Brining a turkey is an optional, yet popular technique that adds moisture and enhances flavor. This is achieved through the process of osmosis, where the salt in the brine solution helps the turkey absorb extra moisture and seasoning. For a simple brine, check out these USDA Guidelines on wet brining.
Classic Turkey Seasoning Ideas:
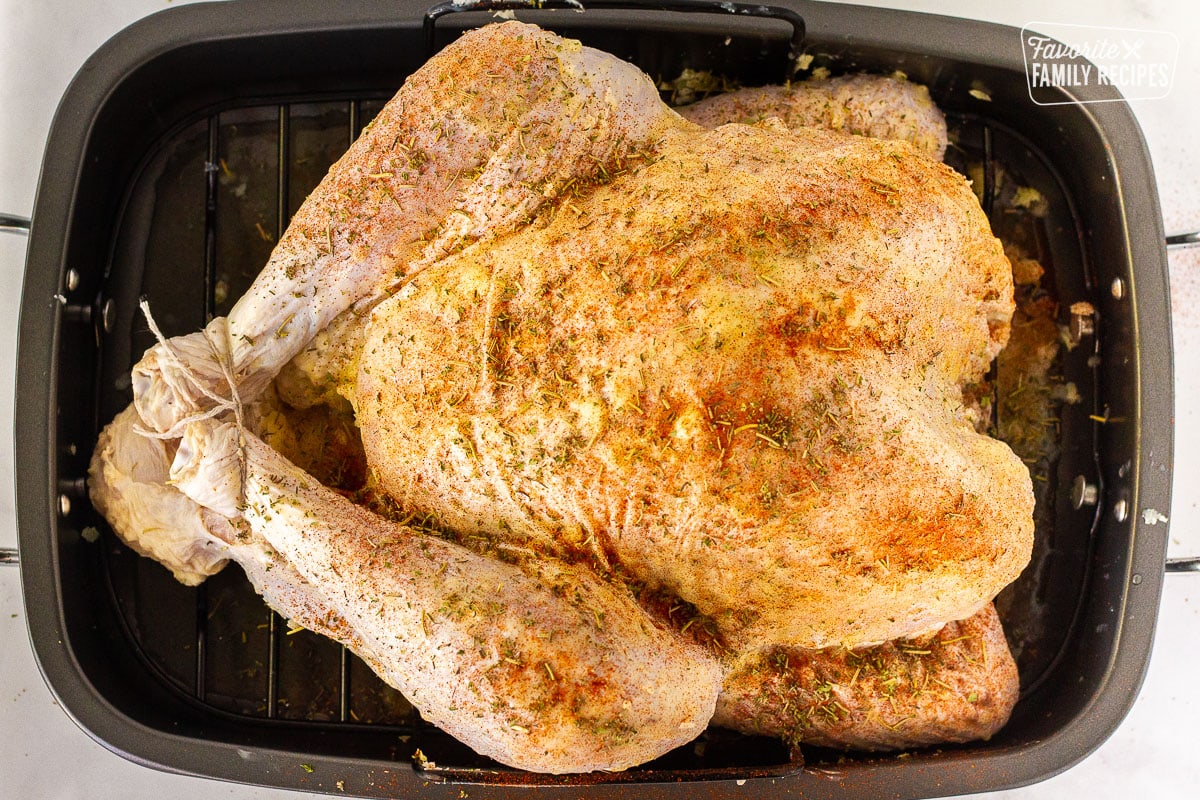
- Traditional Herbs: Parsley, sage, rosemary, and thyme. We also like to include a little paprika to the mix for a beautiful color and a smoky flavor.
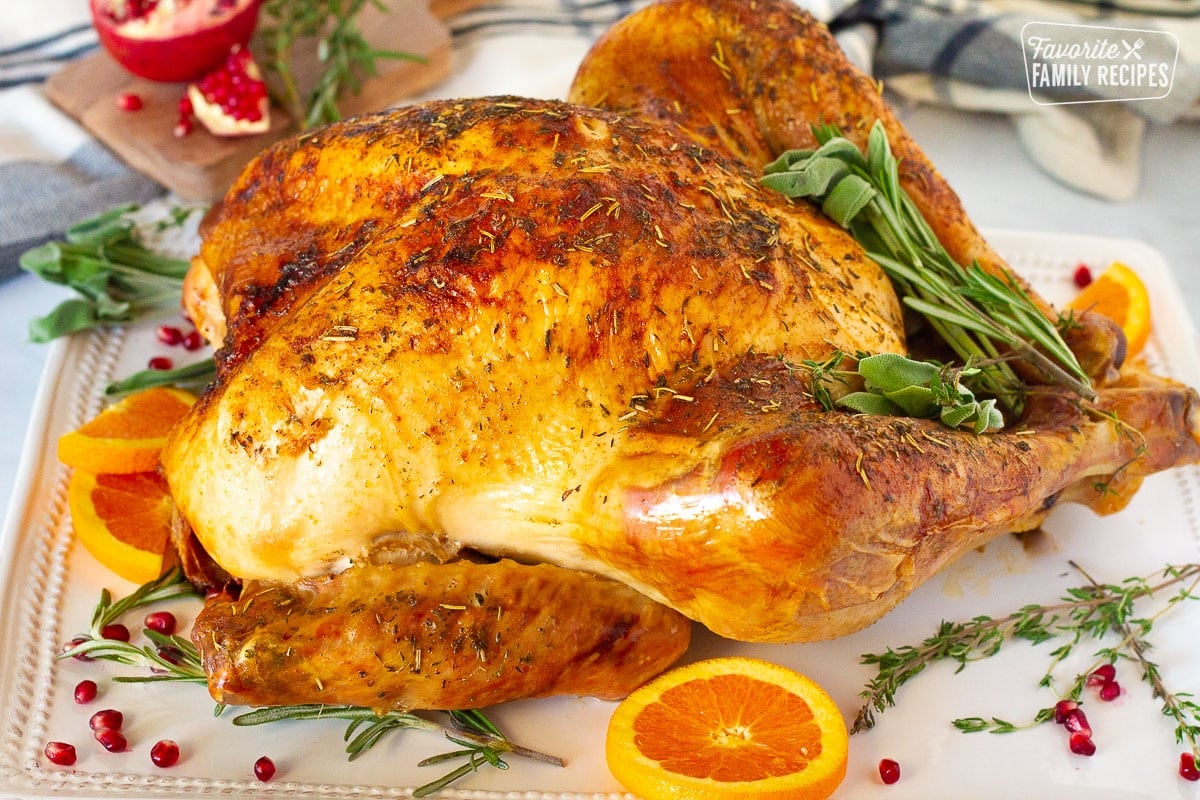
- Citrus Twist: Add lemon or orange slices to the cavity of the turkey, and as a garnish.
- Cajun Spice: A mix of paprika, cayenne, oregano, and thyme for a spicy kick. You can also use a cajun seasoning mix such as Tony Chachere’s Cajun Seasoning.
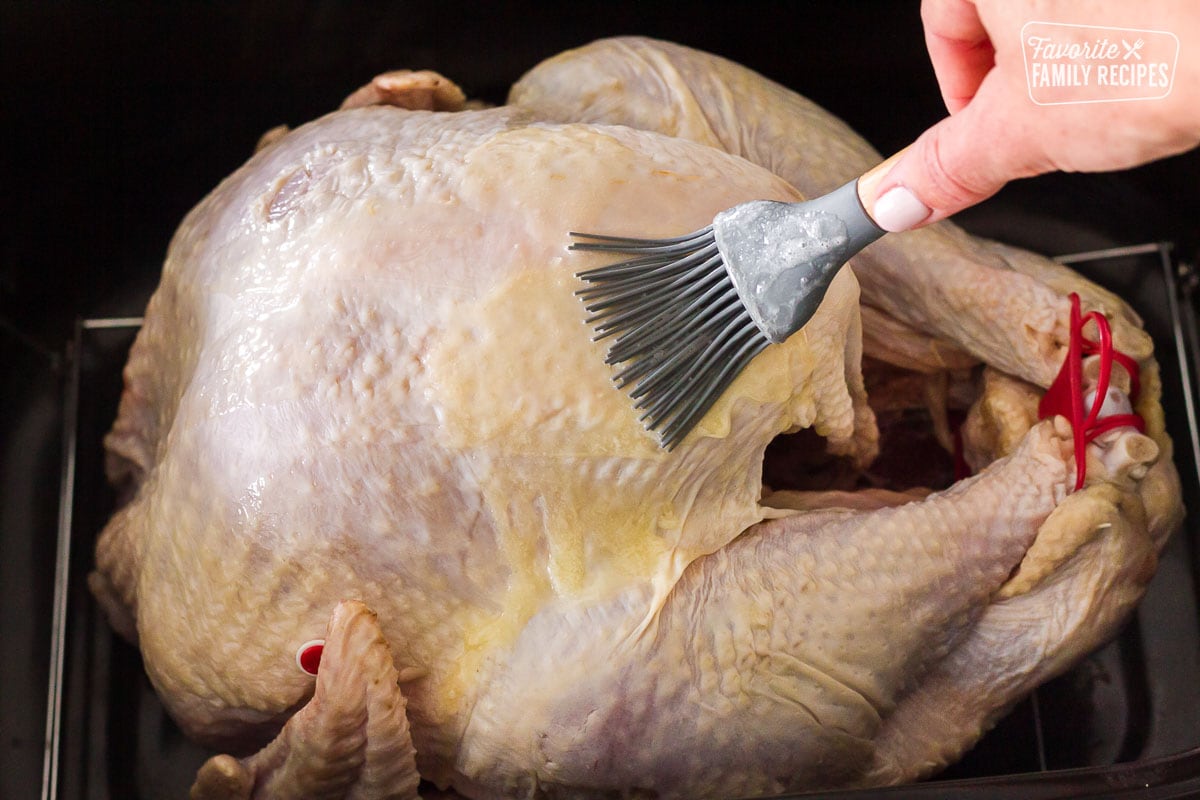
Tip: Before adding seasonings, pat the turkey dry and baste with melted butter.
Step 5: Roasting the Turkey
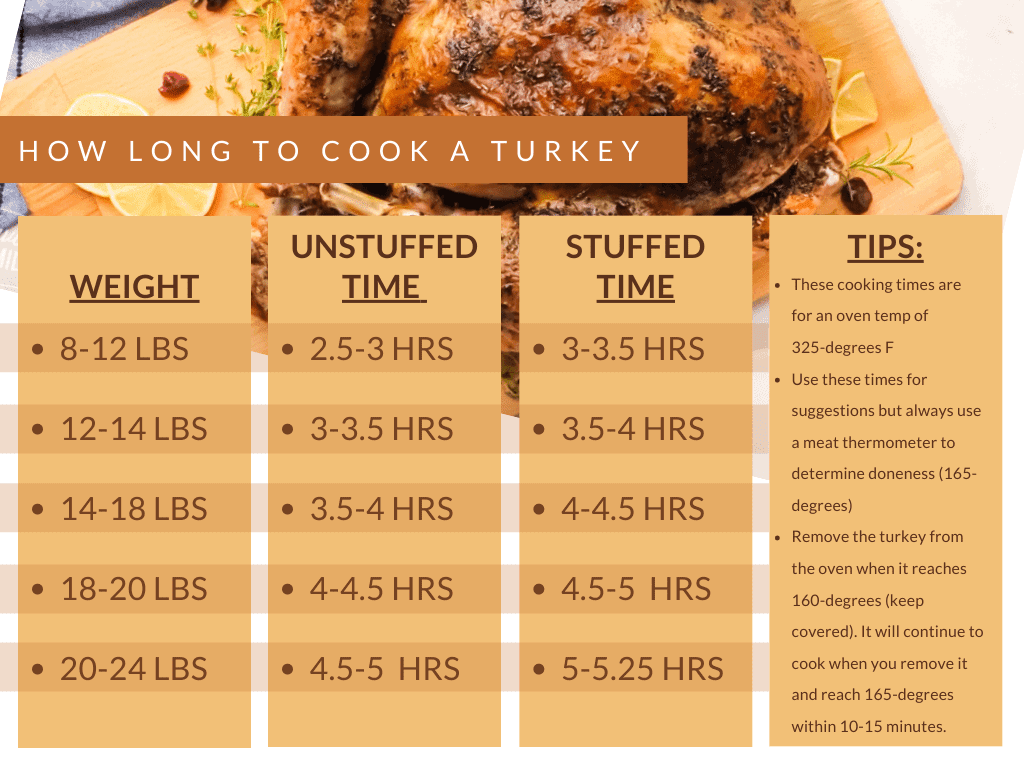
How Long to Cook a Turkey
- Preheat oven to 325°F.
- Cook the turkey for 15-20 minutes per pound. Refer to the chart below:
Cooking a Turkey in an Electric Roaster
If you cook your turkey in an electric roaster, it is going to cook faster. Depending on your roaster, it may cook up to 2 hours faster. This is due to the heat source being much closer to the turkey.
- Check the owner’s manual of your roaster to get the most accurate roasting times.
- Don’t forget to check the turkey with a meat thermometer when it is half way through cooking to see how it is coming along.
- Try to only lift the lid as much as needed to avoid too much heat escaping.
Meat Thermometer Placement in a Turkey
This is the recommendation from the National Turkey Federation for meat thermometer placement and internal temperatures:
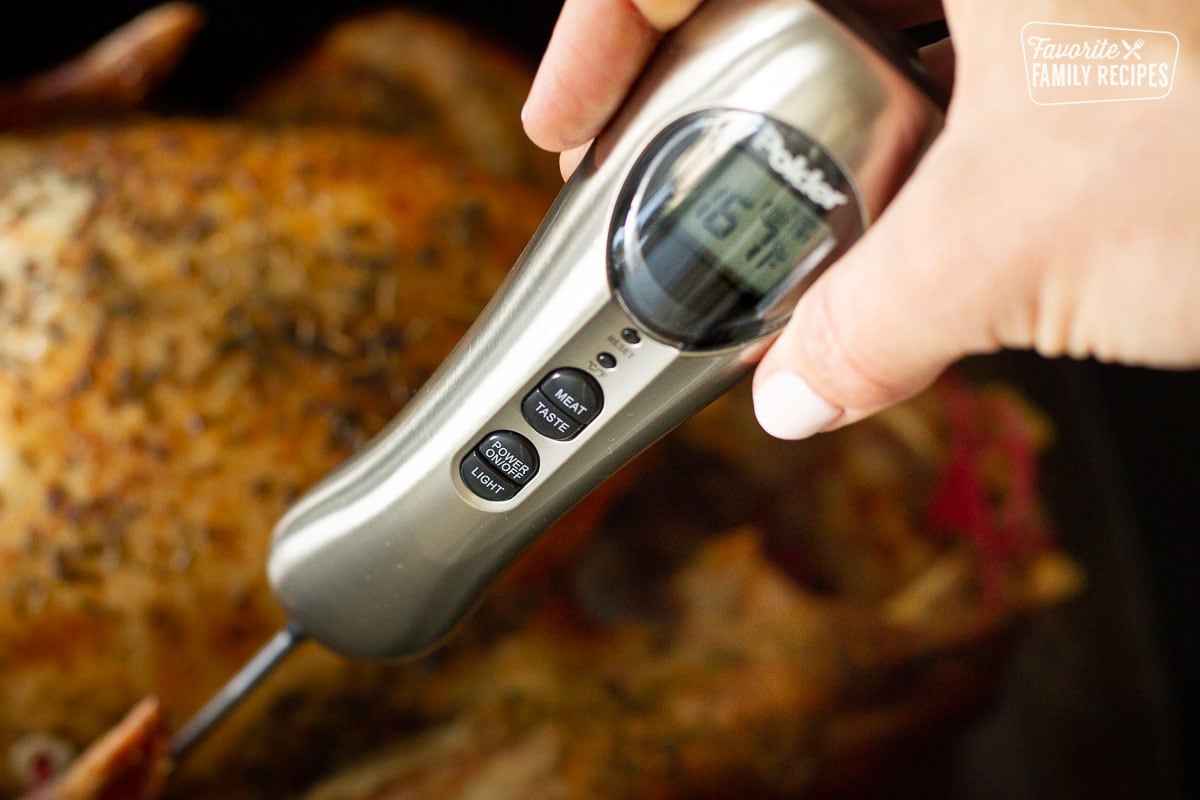
- Insert the thermometer 2 ½ inches into the deepest, thickest part of the breast or into the inner thigh near the turkey breast.
- Make sure the thermometer does not touch a bone.
- The internal temperature should reach:
- 165°F – 170°F in the breast
- 175°F – 180°F in the thigh
- 165°F in the center of the stuffing
Step 6: Carving the Turkey
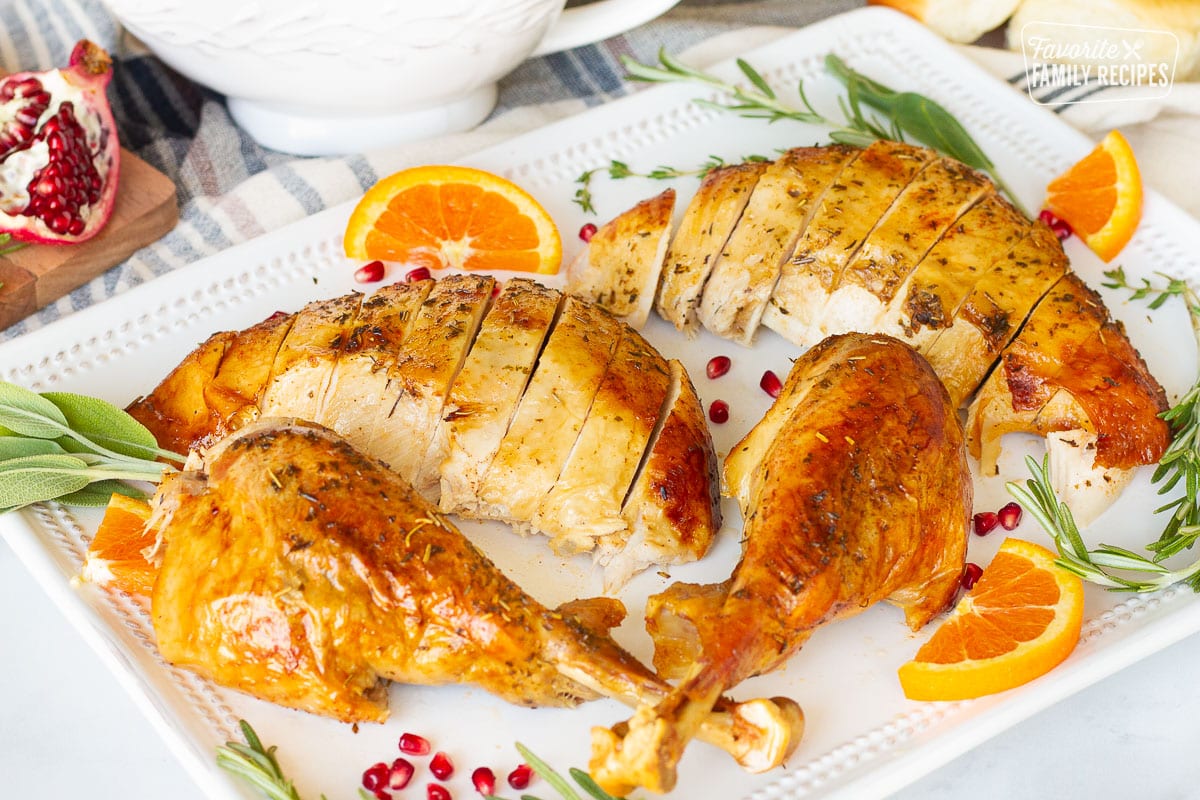
Let the turkey rest for 20-30 minutes before carving. Use a sharp carving knife and cut against the grain for tender slices.
Tips For Cooking a Turkey
- Use a good roasting pan. We use a Magnalite roasting pan. It’s what our mom has used for years. We call it the “magic pot”. Any deep-walled, heavy duty roasting pan will work great though.
- Use a roasting rack. This will make it so your turkey isn’t sitting down in the juices. You don’t want to have a turkey with a soggy bottom. A roasting rack will also make it so the turkey gets a good “crackling” all the way around.
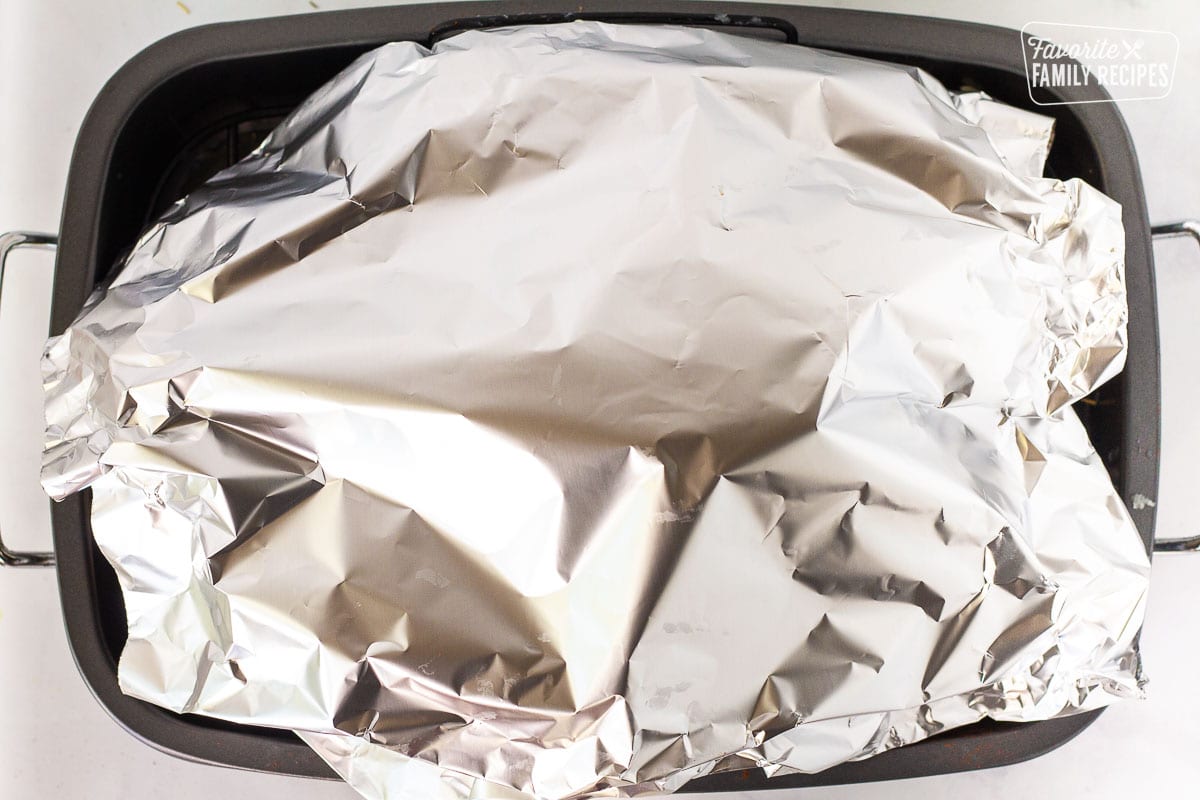
- If you can’t cover the turkey with a lid, cover with aluminum foil.
- Use an electric knife for carving. It just makes it so much easier to carve. If you don’t have an electric knife, be sure to use a very sharp knife so you don’t tear up the meat.
- If you want to add vegetables in with your turkey, you can add them before you place the turkey in the oven but this could make them soggy. We usually don’t add vegetables to our roasted turkey, but if you prefer adding veggies such as carrots, onions, celery, or even potatoes, we recommend adding them only an hour or two before the turkey is finished cooking.
FAQ’s About Cooking a Turkey
These are three commonly asked questions about cooking a turkey. If you need more in-depth information, you can find more detailed answers in the post above.
Submerge the wrapped turkey in cold tap water. Change the water every 30 minutes until the turkey is thawed. Cook the turkey immediately after it is thawed. This can take anywhere between 2-12 hours depending on the size of your turkey.
Generally, you cook a turkey at 325-degrees for 15-20 minute per pound but this isn’t always perfectly accurate. A meat thermometer is essential to making sure your turkey is properly cooked.
For tender, flavorful turkey, we prefer the classic roasting method.
What To Serve With Turkey
Traditional Turkey Side Dishes
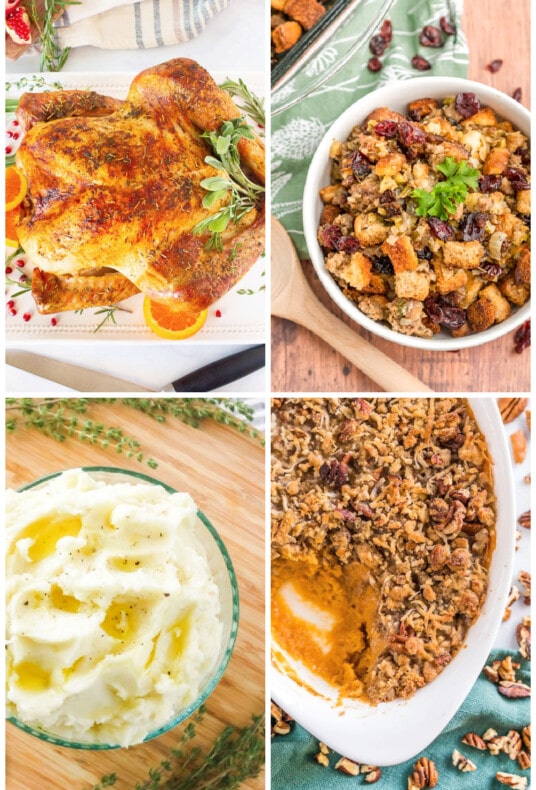
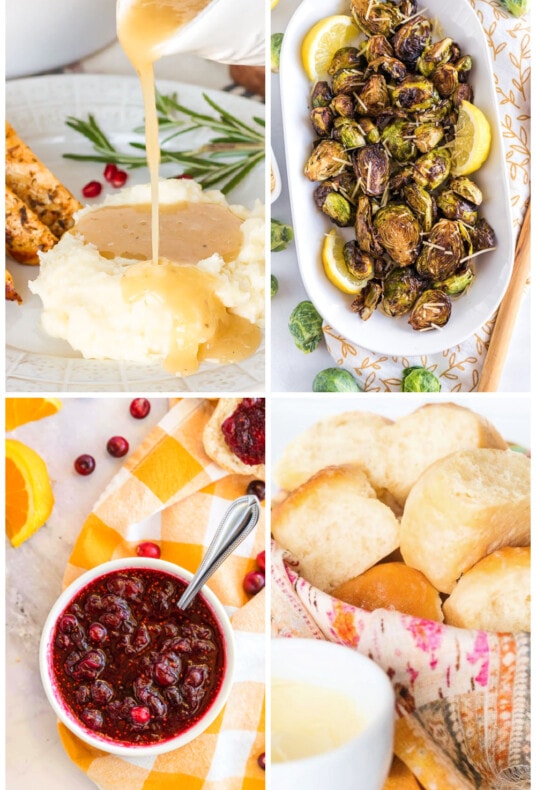
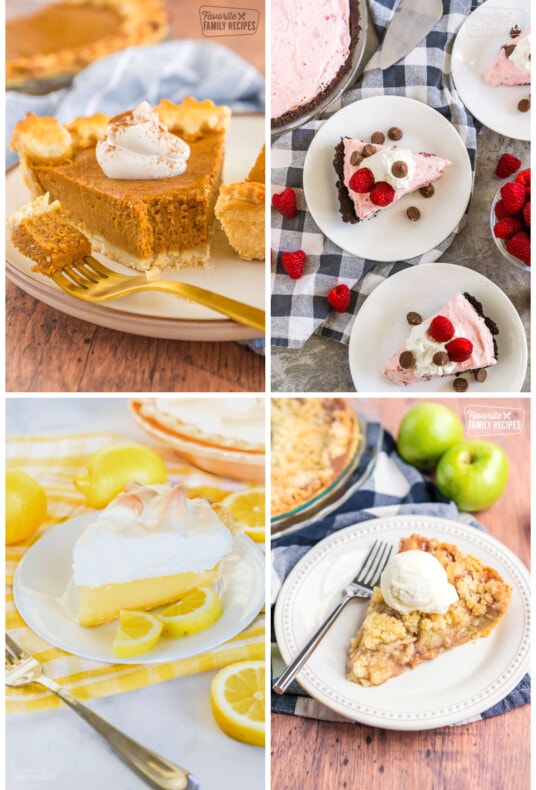
Prepare for your Thanksgiving feast with these complete guides to Thanksgiving Appetizers, Thanksgiving Side Dishes and Thanksgiving Desserts.
Storing and Reheating the Leftovers
- Allow the turkey cool to room temperature within two hours of cooking, then refrigerate it in airtight containers or resealable plastic bags.
- Leftover turkey will stay good for 3-4 days in the fridge and up to 4 months in the freezer.
- When reheating, you can use an oven or microwave. In the oven, cover the turkey with foil to prevent drying and reheat at a low temperature (around 325°F) until it’s warmed through. For a microwave, cook portions for 30 seconds at a time until heated through.
- For delicious ways to use turkey leftovers, try our Thanksgiving Leftover Casserole, Turkey Pot Pie, or Thanksgiving Sandwich.
How to Cook a Turkey

How to Cook a Turkey
Ingredients
- 1 whole turkey thawed (18-20 lbs)
- thick celery stalks and onion slices (optional, see steps 2 and 3)
- 1/3 cup salted butter
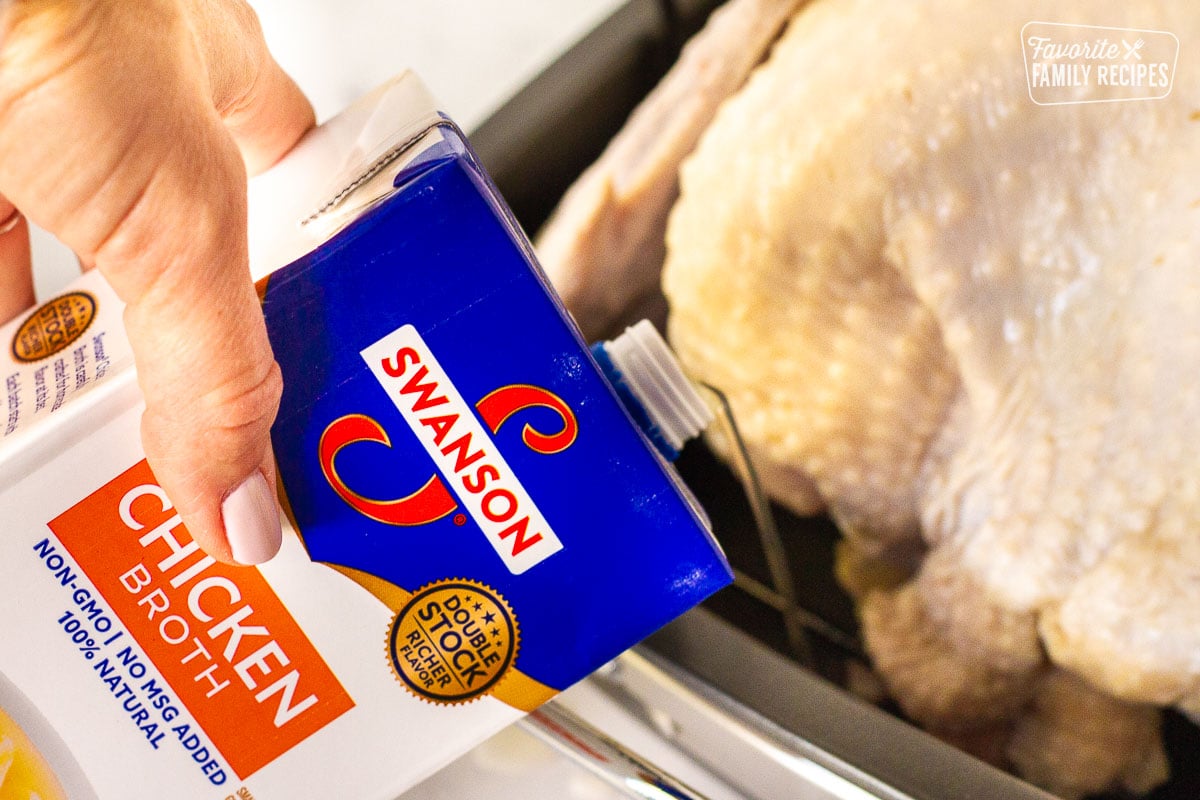
- 1 cup chicken broth
- 1-2 teaspoons paprika
- 1 teaspoon parsley
- 1 teaspoon sage
- 1 teaspoon rosemary
- 1 teaspoon thyme
- aluminum foil
Instructions
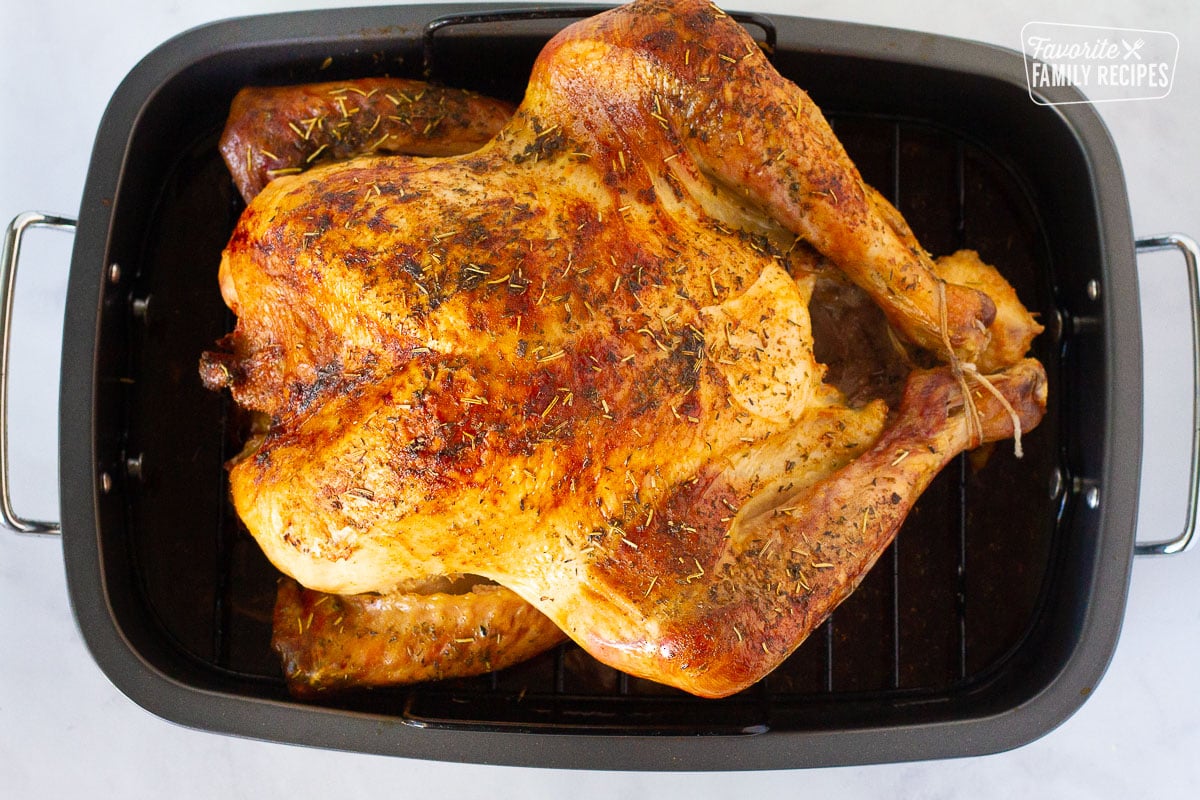
- Preheat oven to 325 degrees. Remove turkey from packaging. Remove the neck, giblets, and gravy packet included with the turkey. Keep the gravy packet in the refrigerator until you make the gravy (turkey gravy recipe in recipe notes). Pat completely dry with paper towels (this is important so the butter will adhere to the turkey).
- Spray a roasting pan with cooking spray. Add the chicken broth to the bottom of the pan, then place the turkey on a wire roasting rack inside the pan. Thick celery stocks and thick onion slices can be used instead of a wire rack.Note: If using an aluminum roasting pan, do not place the turkey directly on the aluminum. Place some thick celery stocks and thick onion slices in the bottom of the pan, and place the turkey on top of them.If the turkey is placed directly on the pan, the skin will stick to the bottom of the pan as the turkey cooks and the turkey will be difficult to remove from the pan.
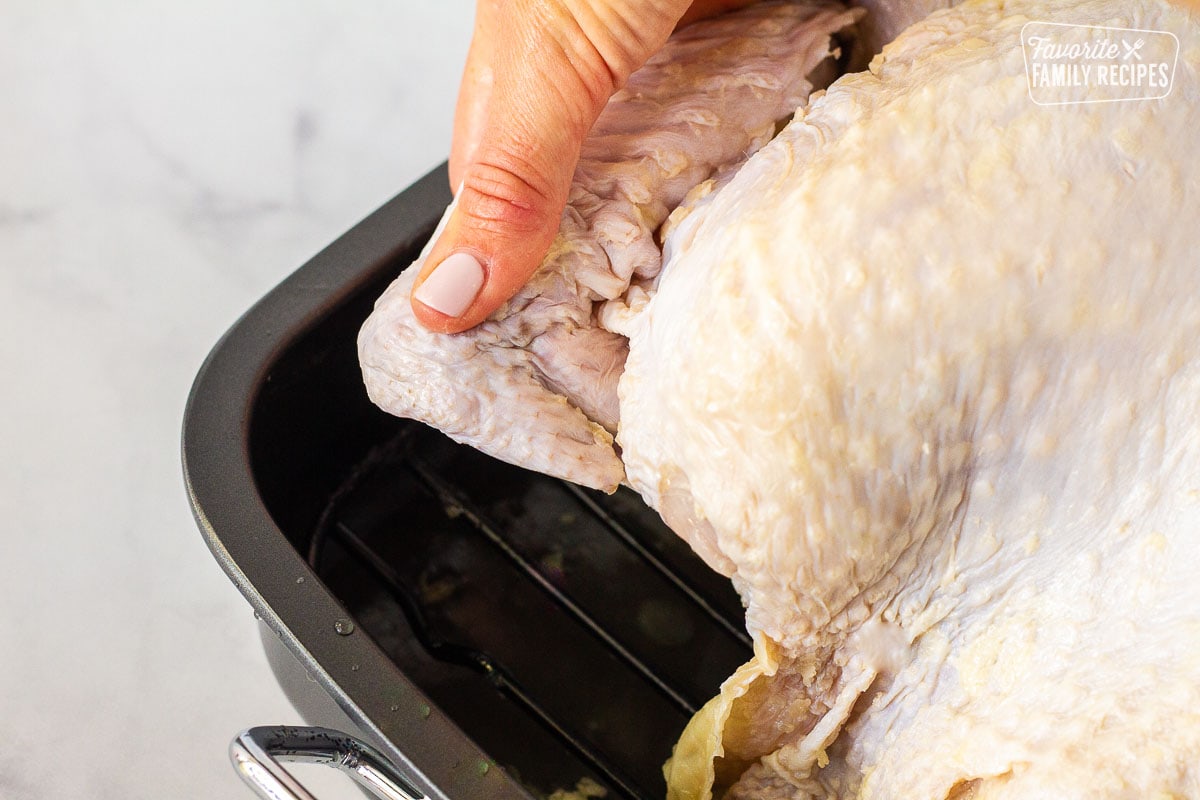
- Tuck the wing tips under the bird so that they will not get too brown while cooking. This also looks much more appetizing.
- Melt butter and brush evenly over the turkey. Gently lift the skin and rub some of the butter under the skin layer.
- Combine the spices and rub them evenly over the buttered turkey.
- Make an aluminum foil "tent" to go over the entire turkey. Using a wide aluminum foil sheet, or two long sheets crimped together to form a wide sheet, loosely cover the entire turkey. Tuck the foil inside the roasting pan around the turkey so the condensation from the turkey drips from the foil back into the pan.
- Place the turkey in the oven and cook according to turkey package directions. Cooking time will vary according to the turkey size. See turkey cooking chart in post above. A meat thermometer is always recommended. A turkey is fully cooked when the internal temperature reaches 165 degrees. If the turkey has been "stuffed" with dressing, add 15-45 minutes to the cooking time. The dressing, or stuffing, is fully cooked when it reaches 165 degrees in the center of the dressing.
- Remove the foil tent after one hour of cooking. The foil keeps the moisture in the turkey. As the skin browns, it thickens and will do the job of keeping the moisture in without the foil. If the turkey is getting too brown near the end of the cooking time, replace the foil tent.
- Once the turkey reaches 165 degrees, remove it from the oven and allow it to rest for at least 20 minutes, and up to 40 minutes before carving. This allows the juices to redistribute through the meat.
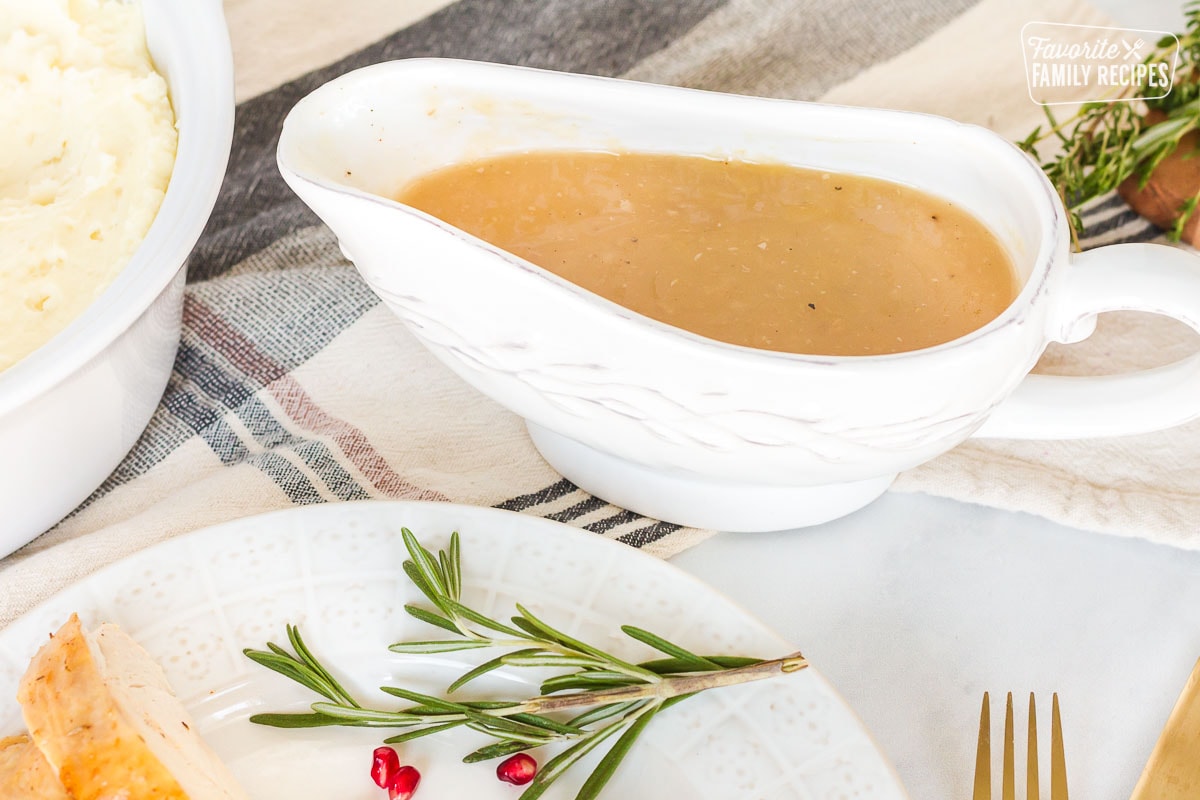
- While the turkey is resting, make turkey gravy. See the link to "How to Make Turkey Gravy" in the recipe notes below.
- Carve and slice. Enjoy a moist, delicious turkey!
Video
Notes
- Because of the butter on the turkey, there is no need to baste the turkey while it cooks. The aluminum foil tent also keeps moisture in the turkey. Once the skin browns, it thickens and keeps the moisture in.
- If you are using an electric roaster, the turkey will cook faster. Depending on your roaster it could cook up to 2 hours faster than a traditional roaster in the oven. Check it at the half-way point to see how it is coming along.
- See How to Make Turkey Gravy for a delicious turkey gravy to serve with your turkey.
Just popped my turkey in the oven! Thanks for the great recipe and tips, I bet it’ll be a banger! Nice layout on your website 🙂
Thanks so much, Happy Thanksgiving!
Looks juicy.
Your recipe for roasted turkey is a lot like mine so it gets 5 stars.
Since I am in my mid 70s I’ve been roasting big birds for a lot of years. Hope I’ve got lots more turkeys to cook.
All looks sooo yummy will be trying some of these recipes 😋
Yummy. I have always just put butter on an and roast it. I am going to use this recipe for my turkey for thanksgiving. I can’t wait to try it, my mouth is already watering. lol!
Great info., simple instructions, looks so good, I’m salivating.
Throw the neck & giblets away?!?! what kind of cooks are you guys? I learned from 8 years old from my Mum & GrandMum, you boil them & use the water in the gravy with the drippings, and either cut up the giblets for the gravy or snack on them before dinner!
i have read and will try tis method of cooking my turkey thank y0u!!!
Very helpful an informative recipe. Everything you need to know! Enter me to win the gift card.
Thanks for the tips!!
I so appreciate all the details that are in this one post! I am now ready to tackle the bird for this year!!!
I can’t believe the types of seasonings used, the brining technique and cooking instructions that was posted. I always rinsed my turkey, rubbed it with butter and let him cook. I can’t wait to brine my for the 1st time this year. Thanks so much for the tips.
I can’t wait to try this recipe! I’ve never been able to do a really good turkey but this sounds easy and delicious. If this works for me, maybe I’ll host Thanksgiving next year!
I love this recipe and all the information, a lot is review, but I like what I read.
This is the way I was taught this way Home EC in school
Oh my gosh!!! Who knew that it was so easy to cook a turkey following the basic and simple instructions. I was waiting until Thanksgiving to make the turkey but I couldn’t wait. So I cooked a small 10 pound as a trial and error and boy was it juicy and tender, not dry. Thank you so much!!! Satisfied chief. Happy Thanksgiving
We love to hear it! I’m very happy you like the recipe. Thank you!
I always have Turkey for Thanksgiving and each year I like to try something a little different so this year this will be my Turkey.