We may earn a commission when you click on the affiliate links in this post.
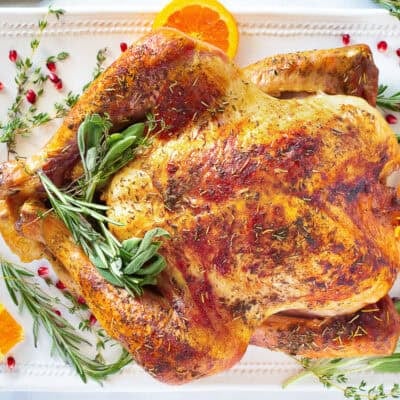
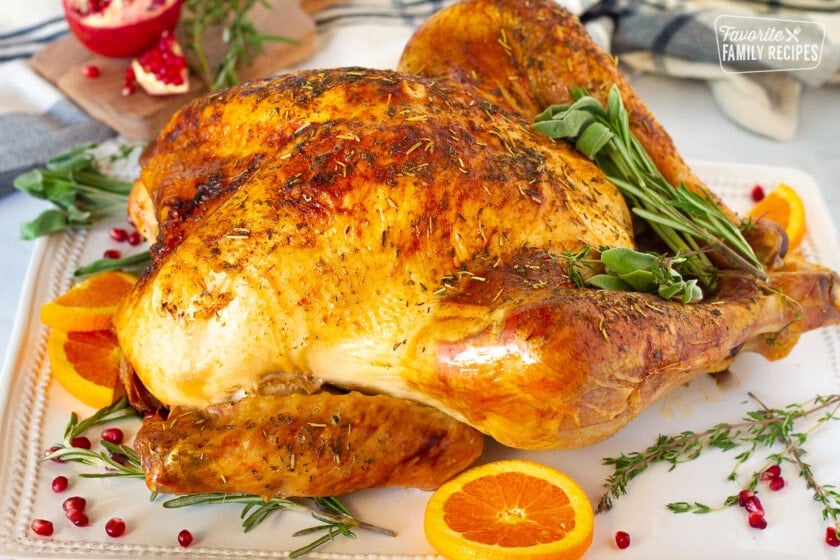
Want to know how to cook a turkey that’s juicy, buttery, and packed with flavor? This step-by-step guide shows you how to roast a perfect Thanksgiving turkey, even if it’s your first time.

5-Star Reviews From Our Readers ⭐️⭐️⭐️⭐️⭐️
“I was so nervous about cooking our Thanksgiving turkey for the first time, but this recipe and tutorial made it so easy. And the results were perfect–just how I wanted. I was surprised that even the gravy turned out so good. Gravy is notoriously hard for me, and it was delicious. Thank you!” -Marisa
“I did this last year and everyone said it was the best turkey they’ve had! And it was really easier than I was previously doing! Highly recommend!” -Jaffe
“This is an excellent recipe with the perfect amount of herbs. The instructions will walk you through it whether you are a beginner or experienced! I’ve seen all sorts of “gourmet” turkey recipes but this one is an all round winner!” -Arlene
Our Family’s Tried-and-True Turkey Recipe
For us, this isn’t just another recipe, it’s the way our mom has been cooking turkey for as long as we can remember. Every Thanksgiving (and countless Sunday dinners), she roasts it the same way, and it always comes out tender, juicy, and full of flavor.
Cooking a turkey might seem intimidating, but with this step-by-step recipe you’ll see just how easy it is to get perfect results every time. It’s simple, timeless, and proof that the best roast turkey doesn’t have to be complicated.
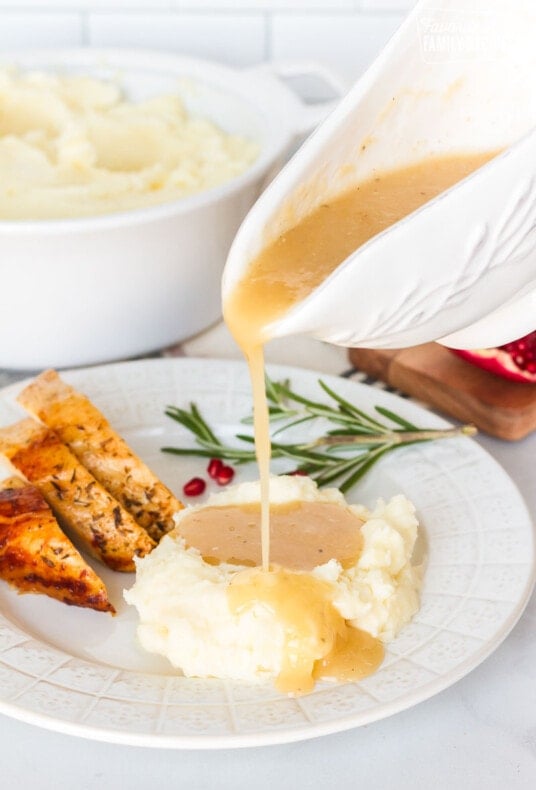
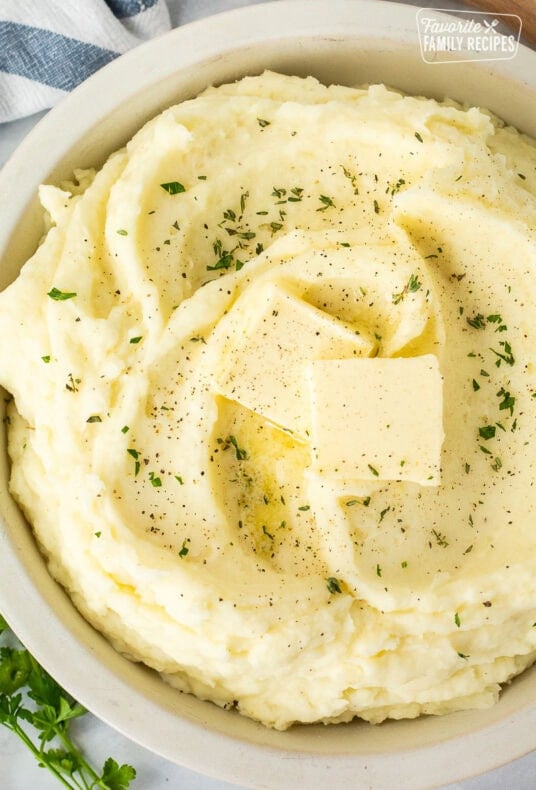
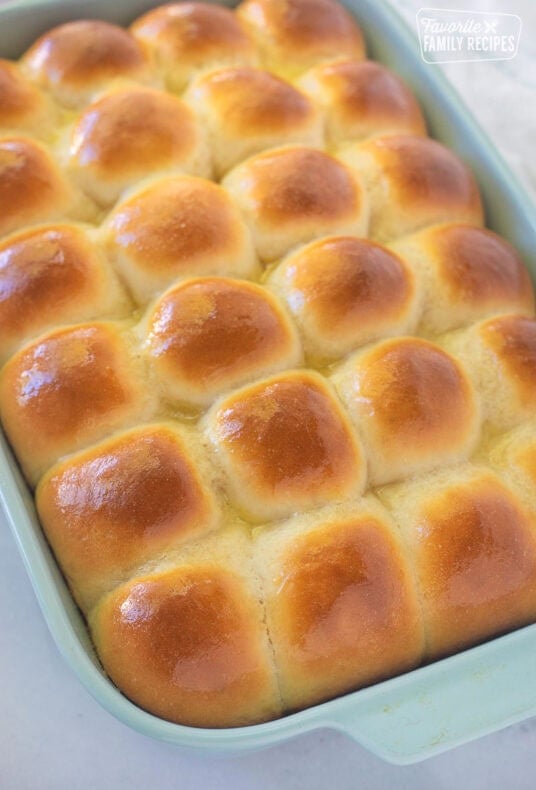
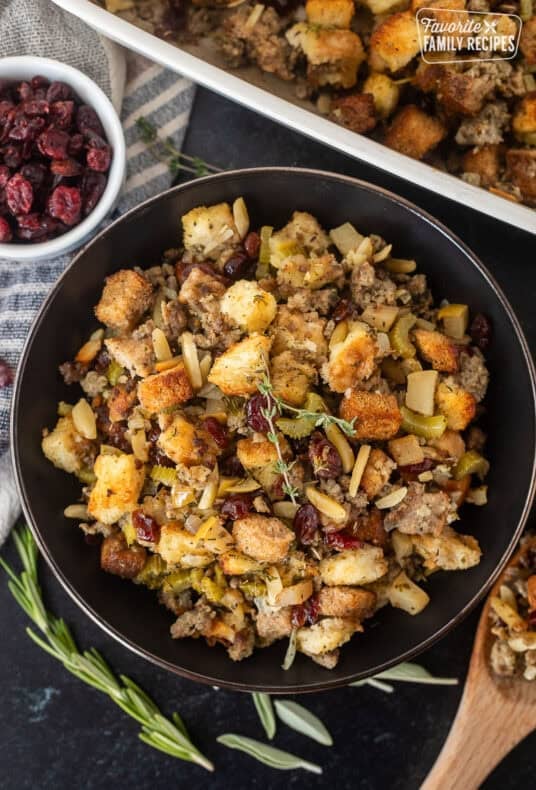
Of course, our family’s Thanksgiving dinner doesn’t stop with the turkey. My mom’s Turkey Gravy is absolute perfection, especially when served with Perfect Mashed Potatoes (our brother, Devin’s favorite), Homemade Rolls, and my famous Sausage Stuffing (not to toot my own horn or anything, but it really is the best ever!). Elise’s Sweet Potato Casserole is a tradition we look forward to all year (I could eat the coconut pecan topping all day), and dessert wouldn’t be complete without Echo’s Pumpkin Bundt Cake and Emily’s decadent Island Pecan Pie (and of course a traditional Pumpkin Pie).
Put them all together and you’ll feel like you’re right at the dinner table with our family. It’s a true taste of all our Favorite Family Recipes!
🩷 Erica
Table of Contents
- 5-Star Reviews From Our Readers ⭐️⭐️⭐️⭐️⭐️
- Our Family’s Tried-and-True Turkey Recipe
- Key Ingredients and Supplies
- Thawing Your Turkey Safely
- How to Cook A Turkey Step-By-Step
- Brining Your Turkey (Optional But Delicious)
- How Long to Cook a Turkey
- Using an Electric Roaster to Cook a Turkey
- Where to Place the Meat Thermometer
- How to Carve a Turkey
- Pro Tips For Cooking a Turkey
- Storing and Reheating Leftovers
- FAQ’s About Cooking a Turkey
- What To Serve With Turkey
- How to Cook a Turkey for Beginners Recipe
Key Ingredients and Supplies
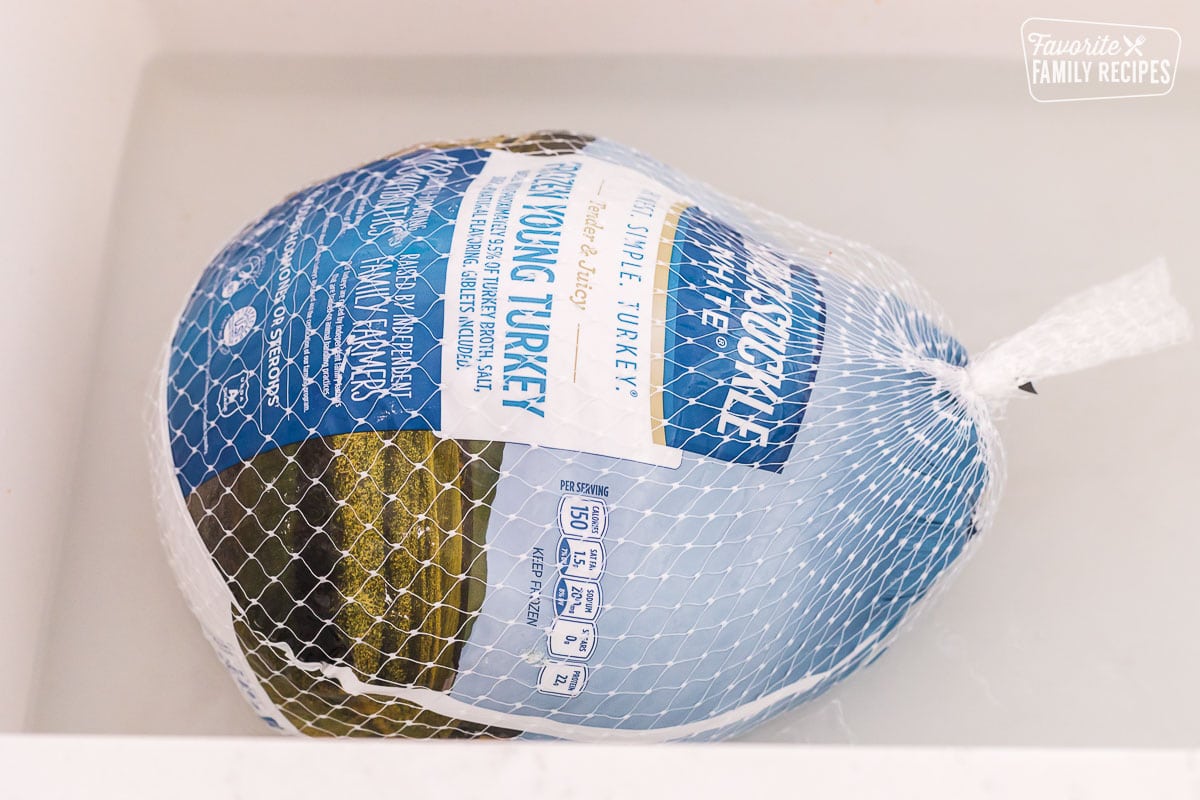
Frozen Turkey – Plan what size you need depending on the amount of guests you will have. Figure about 1 pound of turkey per person (or 1 ½ pounds if you want leftovers). For example, 12 guests will need an 18-pound turkey (we usually get an 18-20 pounder). Make sure to remove the neck, giblets, and gravy packet from inside the cavity before cooking. If you are having a small group, you may want to consider cooking a turkey breast instead.
Seasonings – We use a mix of paprika, parsley, sage, rosemary, and thyme gives the turkey classic flavor and color. We brush salted butter under and over the skin. This helps the seasonings stick and keeps the meat tender and juicy.
Roasting Pan – A sturdy roasting pan with a rack helps the turkey cook evenly and keeps the skin crispy. If the turkey is too big for the lid to fit (which is the case most of the time for us), cover it with a loose aluminum foil tent instead. You can also use an electric roasting pan (see instructions below).
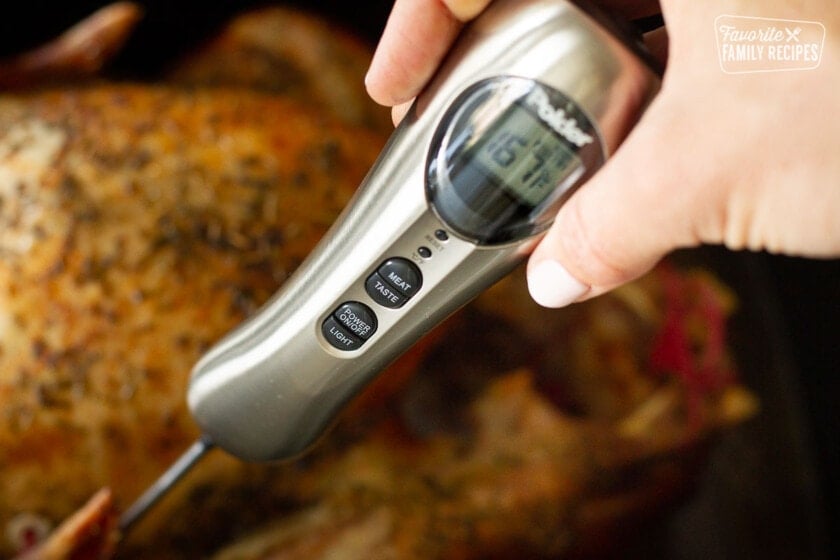
Meat Thermometer – Always use a meat thermometer to check for doneness. The turkey is safe to eat at 165°F in the breast and 175–180°F in the thigh. Don’t rely on the little plastic pop-up timer that comes with the turkey; they often go off too late and your turkey will be dry.
Thawing Your Turkey Safely
We have a full post on How to Thaw a Turkey Safely, but here’s a quick breakdown to guide you through the basics:
Refrigerator Thawing (Recommended Method)
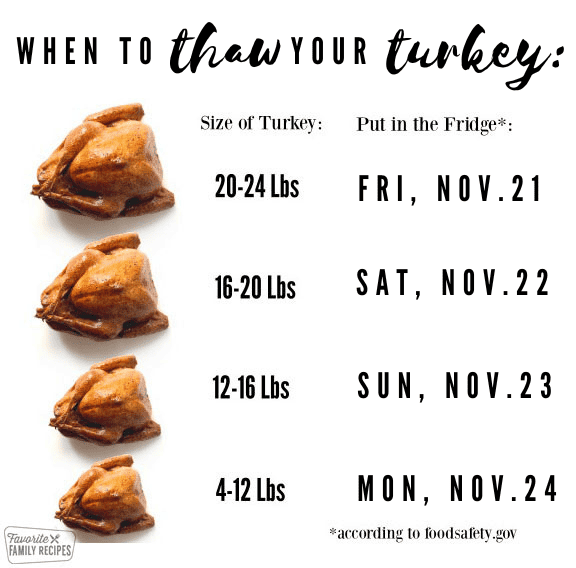
The safest way to thaw a turkey is in the refrigerator. Plan on 24 hours of thawing for every 4–5 pounds of turkey. A large turkey can take 3–6 days to fully thaw, so check the chart below to know when to start.
Cold Water Thawing (Last-Minute Solution)
If you’ve forgotten to thaw the turkey (it happens to all of us!), use this USDA-approved quick-thaw method: place the turkey in a leak-proof bag, submerge in cold water, and change the water every 30 minutes. Allow about 30 minutes per pound, then cook immediately once thawed.
How to Cook A Turkey Step-By-Step
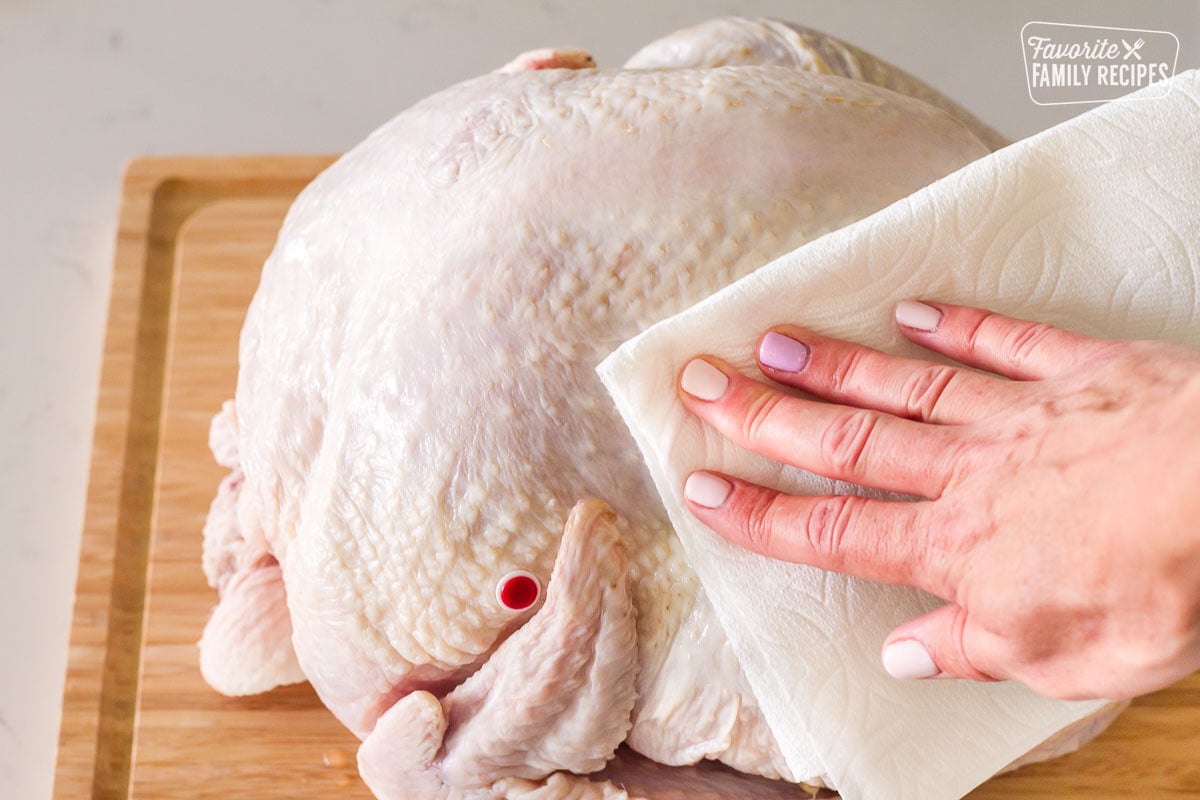
- Preheat oven to 325°F. Remove the turkey from packaging, take out the neck, giblets, and gravy packet, and pat the turkey completely dry with paper towels.
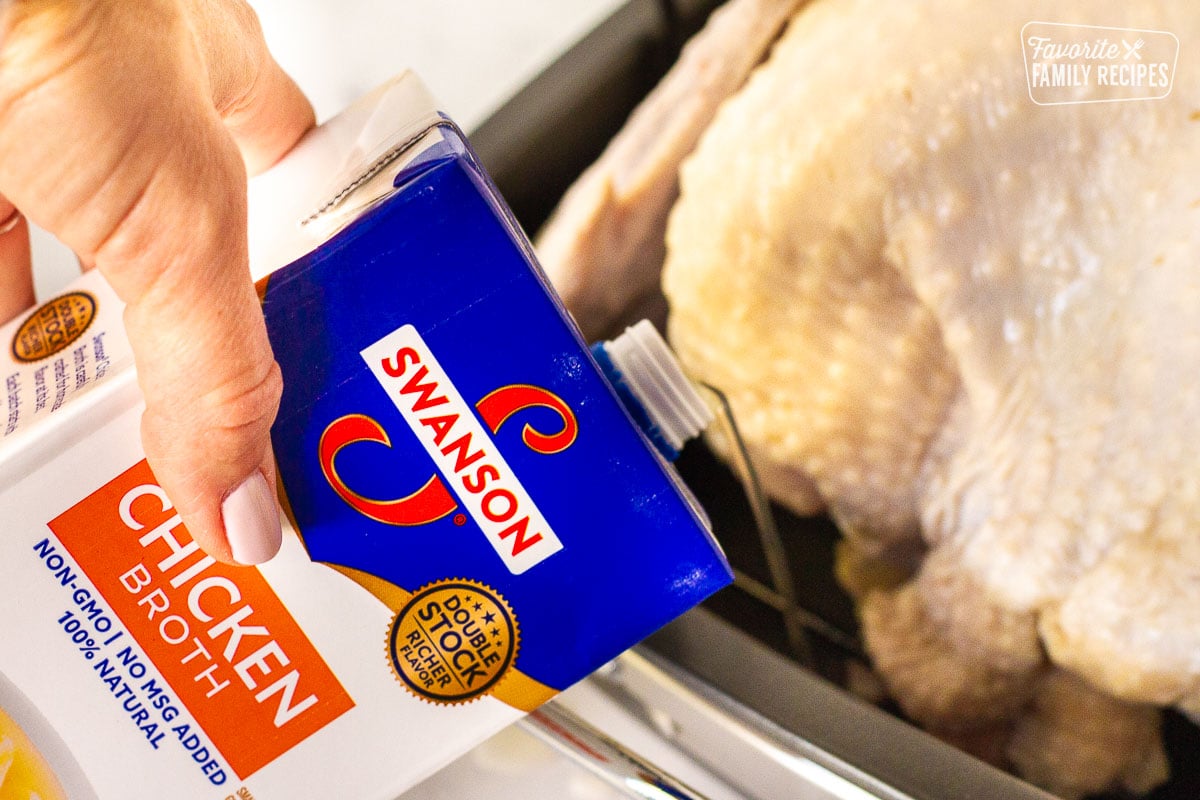
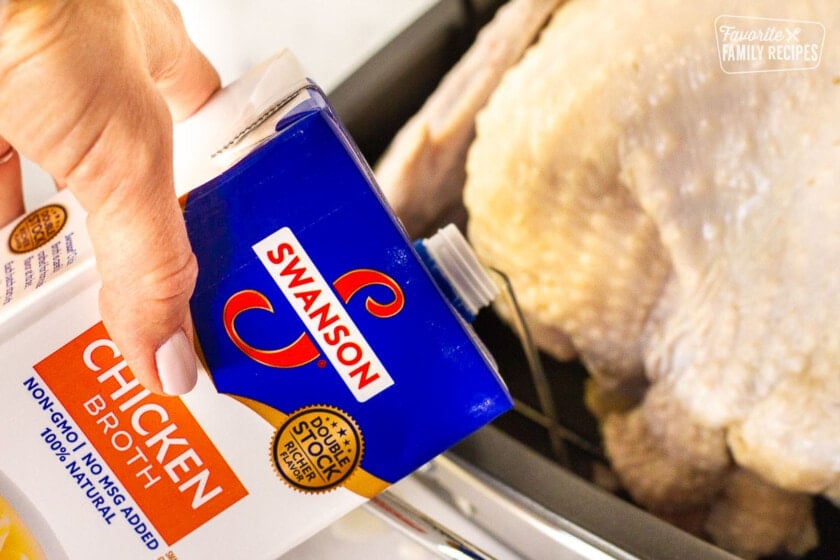
- Spray a roasting pan with cooking spray, add 1 cup of chicken broth to the bottom, and place the turkey on a rack. If using an electric roasting pan, see notes below.
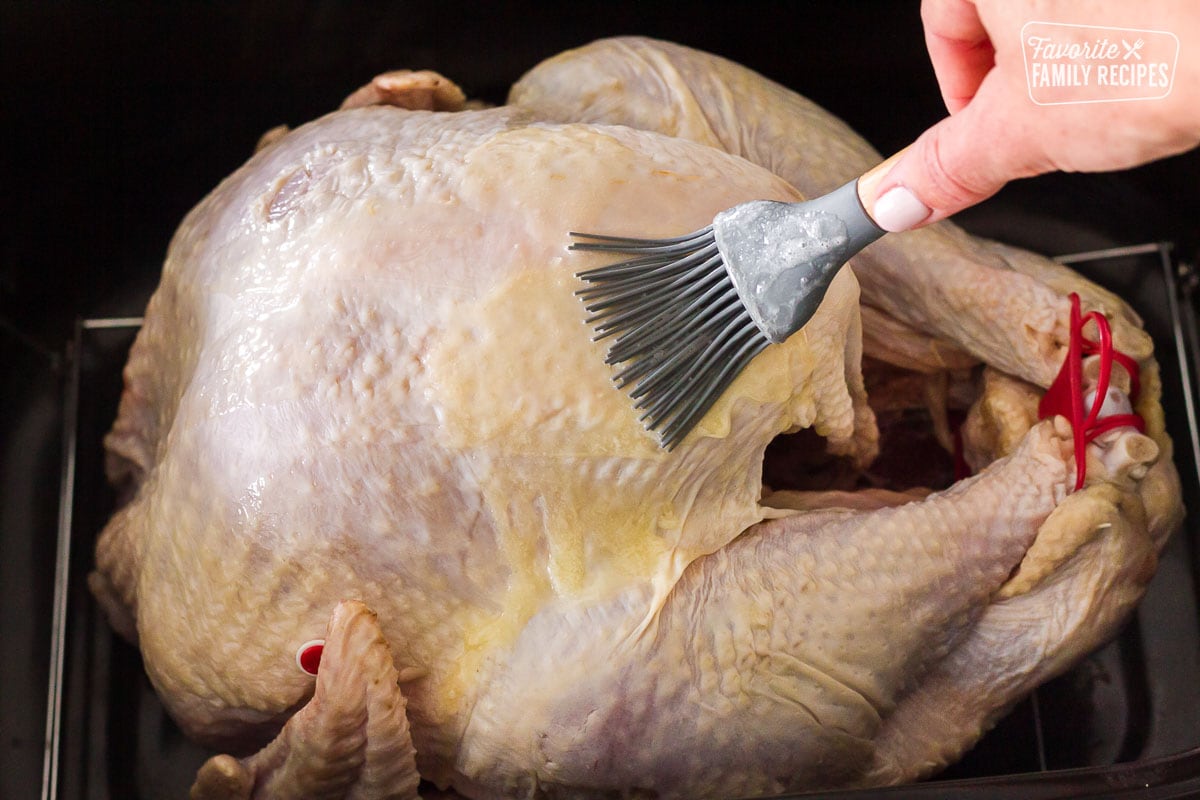
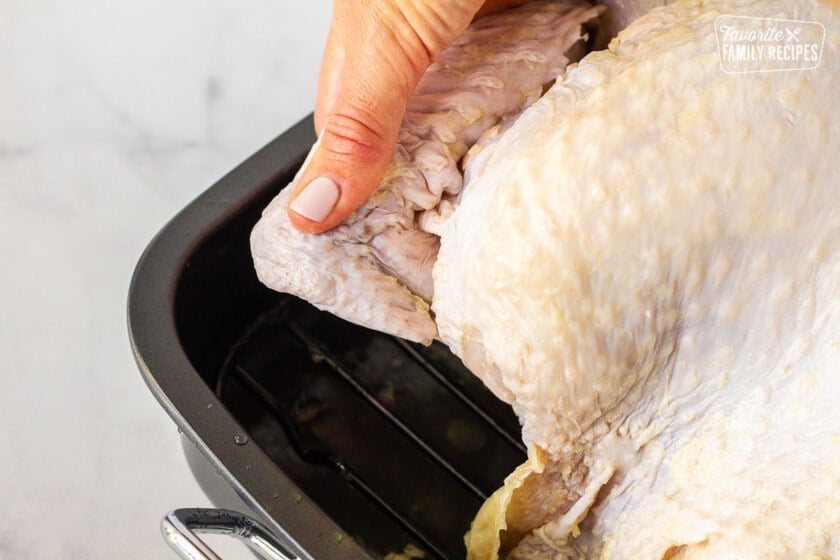
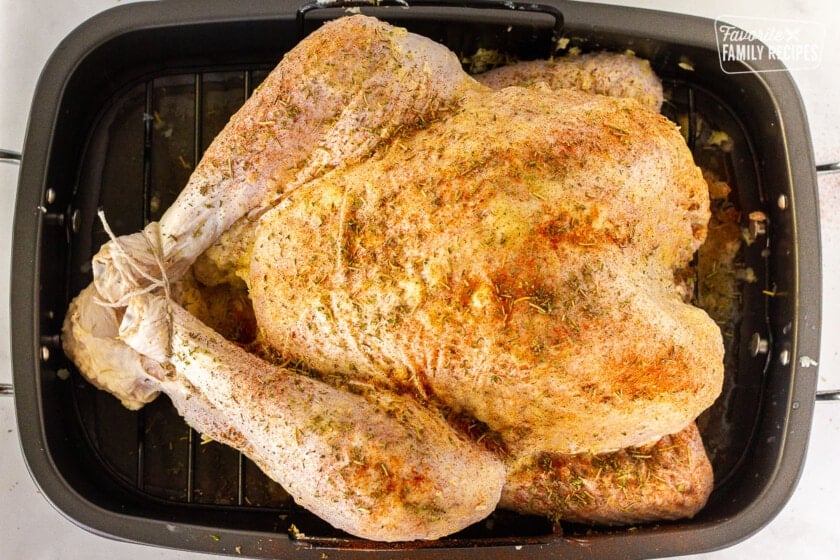
- Brush melted butter evenly over the turkey (including under the skin) and rub with paprika, parsley, sage, rosemary, and thyme. Tuck the wing tips under the bird.

- Loosely tent the turkey with aluminum foil (if the lid doesn’t fit) and roast according to package directions (about 15–20 minutes per pound).
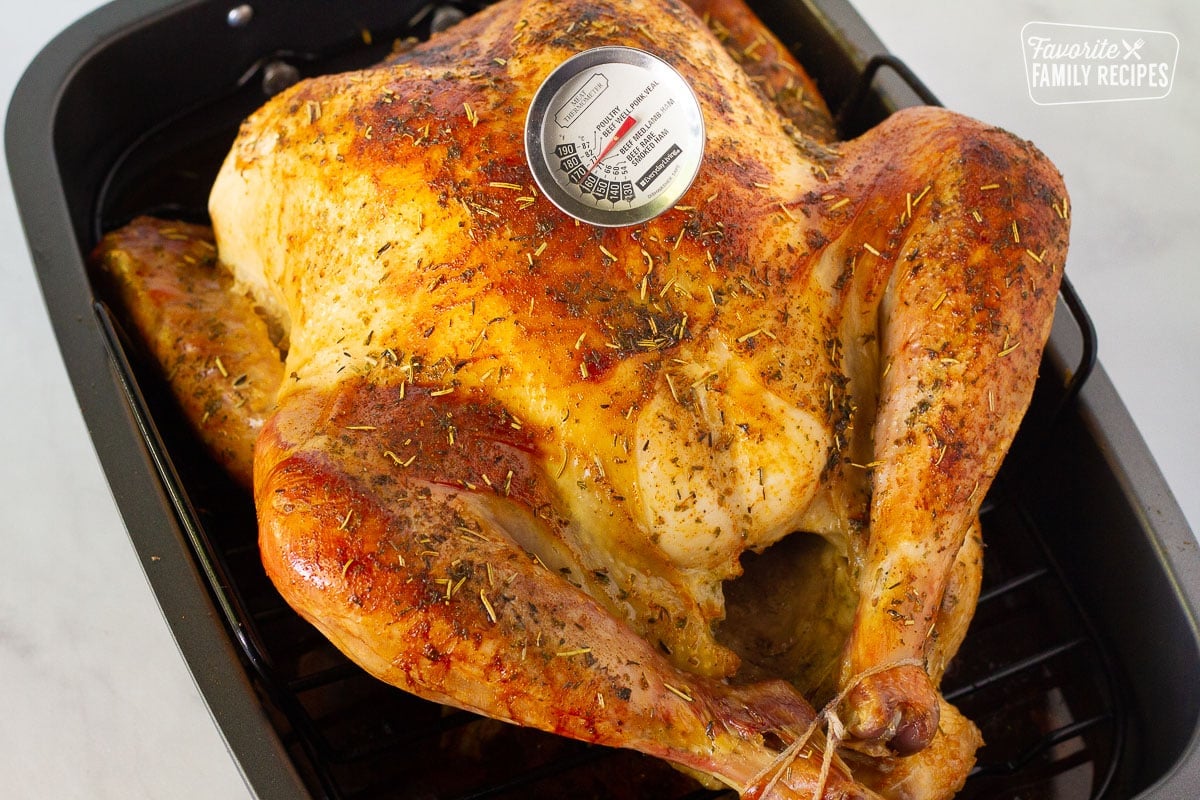
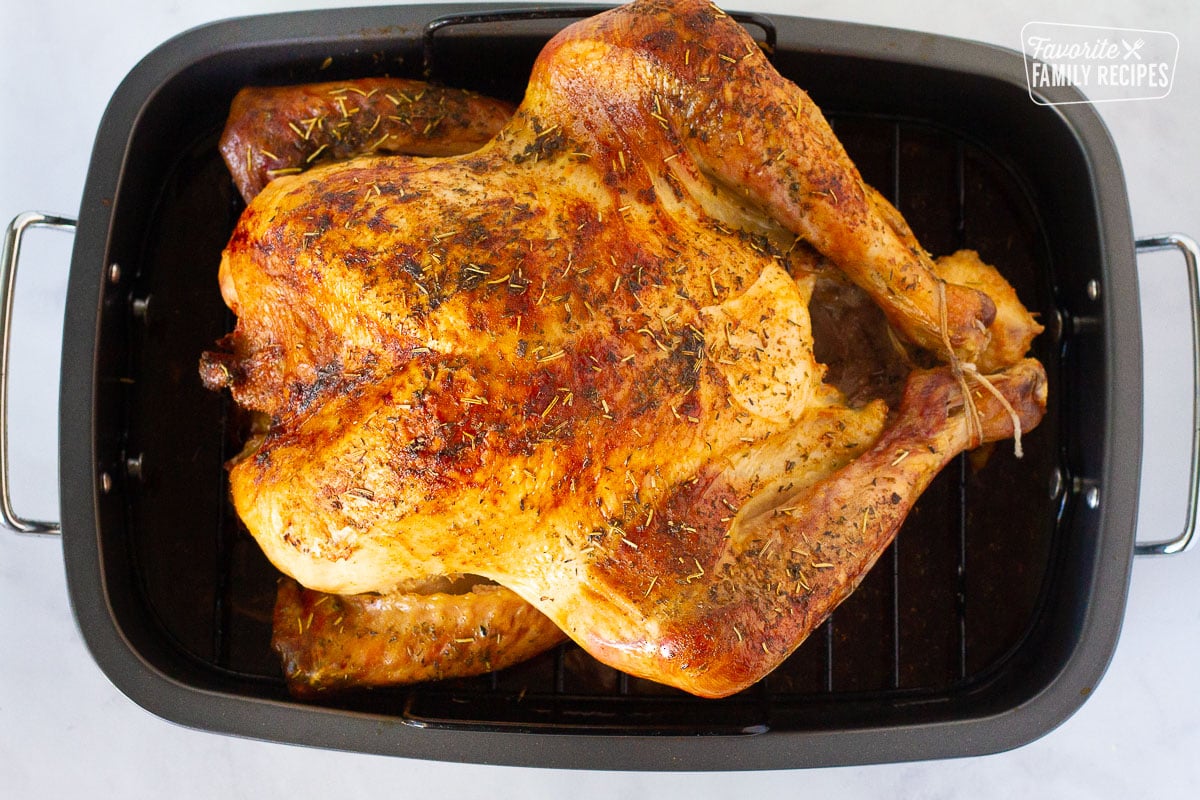
- Midway through cooking, remove the foil to allow the skin to brown. Use a meat thermometer, not the pop-up timer. Turkey is done at 165°F in the breast and 175–180°F in the thigh (and 165°F in the center of stuffing, if used).

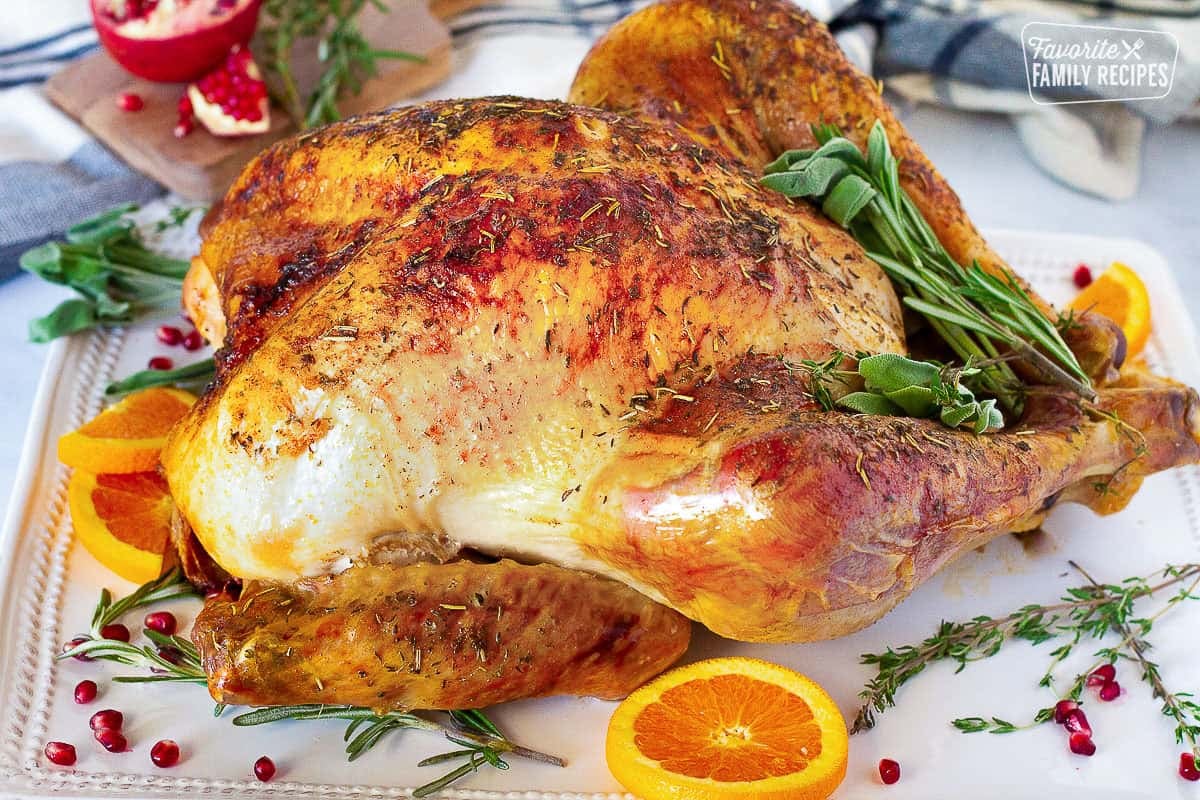
- Let the turkey rest 20–40 minutes before carving to lock in juices. Slice, serve, and enjoy.
Brining Your Turkey (Optional But Delicious)
Brining a turkey is an optional, yet popular technique that adds moisture and enhances flavor. This is achieved through the process of osmosis, where the salt in the brine solution helps the turkey absorb extra moisture and seasoning. For a simple brine, check out these USDA Guidelines on wet brining.

How Long to Cook a Turkey
While a digital thermometer is the only reliable way to check doneness, it’s nice to have a ballpark idea of when your turkey will be ready. Here’s a simple cheat-sheet to help you plan your day in the kitchen:

Using an Electric Roaster to Cook a Turkey
If you cook your turkey in an electric roaster, it is going to cook faster. Depending on your roaster, it may cook up to 2 hours faster. This is due to the heat source being much closer to the turkey.
- Check the owner’s manual of your roaster to get the most accurate roasting times.
- Don’t forget to check the turkey with a meat thermometer when it is half way through cooking to see how it is coming along.
- Try to only lift the lid as much as needed to avoid too much heat escaping.
Where to Place the Meat Thermometer
The National Turkey Federation recommends inserting a meat thermometer about 2 ½ inches into the deepest, thickest part of the breast or into the inner thigh near the breast, making sure it doesn’t touch any bone. A turkey is fully cooked when the internal temperature reaches 165–170°F in the breast, 175–180°F in the thigh, and 165°F in the center of the stuffing if your bird is stuffed.

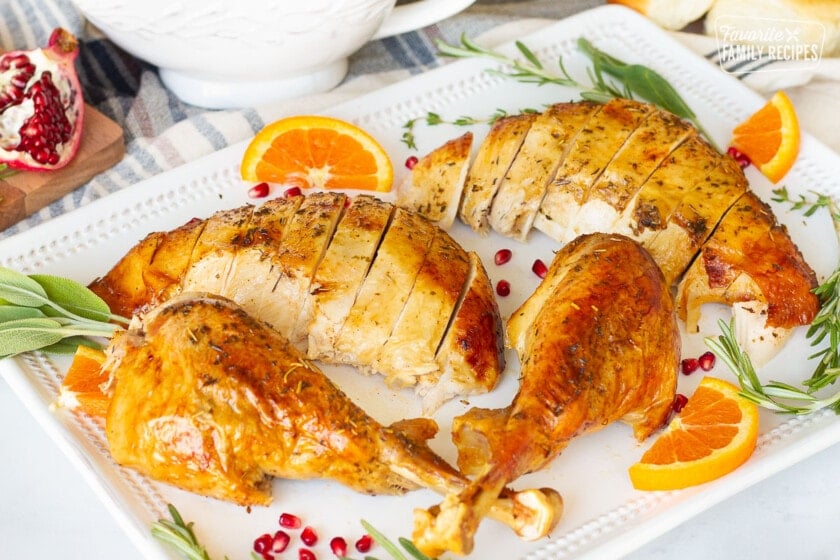
How to Carve a Turkey
Let the turkey rest for 20–30 minutes so the juices redistribute. Personally, I like using an electric carving knife but a sharp carving knife works great too. Start by removing the legs and wings at the joints, then slice the breast meat away from the bone and cut it into thin slices. Arrange the meat on a platter, mixing light and dark cuts so everyone can grab their favorite. Don’t worry if your slices aren’t perfect. Once it’s plated and garnished, it will look beautiful and taste amazing.
Pro Tips For Cooking a Turkey
Rotate the pan halfway through – This will just help the turkey roast evenly. All ovens are different and have different “hot spots” so rotating it will give it a more even roast.
Save those pan drippings – you will want them to make Turkey Gravy!
Let the turkey rest breast-side down (for part of the rest period) – After roasting, you can rest the turkey breast-side down on a platter (tent with foil). This lets the juices run back into the breast meat, keeping it extra juicy.
Carve only what you’ll serve right away – Leave the rest of the turkey whole and cover with foil until you’re ready to eat it. This helps keep the meat moist and prevents it from drying out on the platter.
Use your broiler if the skin needs crisping – If the meat is done but the skin isn’t quite golden enough, pop the turkey under the broiler for just 2–3 minutes at the end. Watch closely so it doesn’t burn!
Storing and Reheating Leftovers
Let the turkey cool to room temperature within two hours, then store in airtight containers or bags. Leftovers keep 3–4 days in the fridge or up to 4 months in the freezer. Reheat in the oven at 325°F (covered with foil to prevent drying) or in the microwave in 30-second bursts. If you want some creative ways to use up those leftovers, try our Thanksgiving Leftover Casserole, Turkey Pot Pie, or Thanksgiving Sandwich.
FAQ’s About Cooking a Turkey
These are commonly asked questions about cooking a turkey. If you need more in-depth information, you can find more detailed answers in the post above.
Submerge the wrapped turkey in cold tap water. Change the water every 30 minutes until the turkey is thawed. Cook the turkey immediately after it is thawed. This can take anywhere between 2-12 hours depending on the size of your turkey.
No, do not rinse your turkey. According to the USDA, can spread bacteria to your sink and countertops. Instead, drain the excess juices from the turkey and pat the turkey dry with paper towels.
Generally, you cook a turkey at 325-degrees for 15-20 minute per pound but this isn’t always perfectly accurate. A meat thermometer is essential to making sure your turkey is properly cooked.
For tender, flavorful turkey, we prefer the classic roasting method.
What To Serve With Turkey
Prepare for your feast with these complete guides to Thanksgiving Dinner, Thanksgiving Appetizers, Thanksgiving Side Dishes and Thanksgiving Desserts.
Have you tried this Thanksgiving Turkey Recipe? I’d love to hear what you think and what you served it with! Drop a comment below and tell me how you enjoyed it. And don’t forget to take a pic and tag us on Instagram @favoritefamilyrecipes! 📸🍗
How to Cook a Turkey for Beginners
Video
Ingredients
- 1 whole turkey, thawed (18-20 lbs)
- thick celery stalks and onion slices, (optional, see steps 2 and 3)
- 1/3 cup salted butter
- 1 cup chicken broth
- 1-2 teaspoons paprika
- 1 teaspoon parsley
- 1 teaspoon sage
- 1 teaspoon rosemary
- 1 teaspoon thyme
- aluminum foil
Instructions
- Preheat oven to 325 degrees. Remove turkey from packaging. Remove the neck, giblets, and gravy packet included with the turkey. Keep the gravy packet in the refrigerator until you make the gravy (turkey gravy recipe in recipe notes). Pat completely dry with paper towels (this is important so the butter will adhere to the turkey).

- Spray a roasting pan with cooking spray. Add the chicken broth to the bottom of the pan, then place the turkey on a wire roasting rack inside the pan. Thick celery stocks and thick onion slices can be used instead of a wire rack.Note: If using an aluminum roasting pan, do not place the turkey directly on the aluminum. Place some thick celery stocks and thick onion slices in the bottom of the pan, and place the turkey on top of them.If the turkey is placed directly on the pan, the skin will stick to the bottom of the pan as the turkey cooks and the turkey will be difficult to remove from the pan.
- Tuck the wing tips under the bird so that they will not get too brown while cooking. This also looks much more appetizing.
- Melt butter and brush evenly over the turkey. Gently lift the skin and rub some of the butter under the skin layer.

- Combine the spices and rub them evenly over the buttered turkey.
- Make an aluminum foil "tent" to go over the entire turkey. Using a wide aluminum foil sheet, or two long sheets crimped together to form a wide sheet, loosely cover the entire turkey. Tuck the foil inside the roasting pan around the turkey so the condensation from the turkey drips from the foil back into the pan.

- Place the turkey in the oven and cook according to turkey package directions. Cooking time will vary according to the turkey size. See turkey cooking chart in post above. A meat thermometer is always recommended. A turkey is fully cooked when the internal temperature reaches 165 degrees. If the turkey has been "stuffed" with dressing, add 15-45 minutes to the cooking time. The dressing, or stuffing, is fully cooked when it reaches 165 degrees in the center of the dressing.
- Remove the foil tent after one hour of cooking. The foil keeps the moisture in the turkey. As the skin browns, it thickens and will do the job of keeping the moisture in without the foil. If the turkey is getting too brown near the end of the cooking time, replace the foil tent.

- Once the turkey reaches 165 degrees, remove it from the oven and allow it to rest, lightly covered with foil, for at least 20 minutes, and up to 40 minutes before carving (flip it so it's breast-side-down for part of the time). This allows the juices to redistribute through the meat.
- While the turkey is resting, make turkey gravy. See the link to "How to Make Turkey Gravy" in the recipe notes below.

- Carve and slice. Enjoy a moist, delicious turkey!
Notes
- Check the owner’s manual of your roaster to get the most accurate roasting times.
- Don’t forget to check the turkey with a meat thermometer when it is half way through cooking to see how it is coming along.
Nutrition
Nutrition information is automatically calculated, so should only be used as an approximation.
Love this recipe?
We want to hear from you! Please leave a review.
Just popped my turkey in the oven! Thanks for the great recipe and tips, I bet it’ll be a banger! Nice layout on your website 🙂
Thanks so much, Happy Thanksgiving!
Looks juicy.
Your recipe for roasted turkey is a lot like mine so it gets 5 stars.
Since I am in my mid 70s I’ve been roasting big birds for a lot of years. Hope I’ve got lots more turkeys to cook.
All looks sooo yummy will be trying some of these recipes 😋
Yummy. I have always just put butter on an and roast it. I am going to use this recipe for my turkey for thanksgiving. I can’t wait to try it, my mouth is already watering. lol!
Great info., simple instructions, looks so good, I’m salivating.
i have read and will try tis method of cooking my turkey thank y0u!!!
Very helpful an informative recipe. Everything you need to know!
Thanks for the tips!!
I so appreciate all the details that are in this one post! I am now ready to tackle the bird for this year!!!
I can’t believe the types of seasonings used, the brining technique and cooking instructions that was posted. I always rinsed my turkey, rubbed it with butter and let him cook. I can’t wait to brine my for the 1st time this year. Thanks so much for the tips.
I can’t wait to try this recipe! I’ve never been able to do a really good turkey but this sounds easy and delicious. If this works for me, maybe I’ll host Thanksgiving next year!
I love this recipe and all the information, a lot is review, but I like what I read.
This is the way I was taught this way Home EC in school
Oh my gosh!!! Who knew that it was so easy to cook a turkey following the basic and simple instructions. I was waiting until Thanksgiving to make the turkey but I couldn’t wait. So I cooked a small 10 pound as a trial and error and boy was it juicy and tender, not dry. Thank you so much!!! Satisfied chief. Happy Thanksgiving
We love to hear it! I’m very happy you like the recipe. Thank you!
I always have Turkey for Thanksgiving and each year I like to try something a little different so this year this will be my Turkey.
Great information. Thanks so much for sharing.
I love all the information step by step on preparing the TURKEY. It was more information then I expected. I really appreciated everything concerning a Turkey, from Thawing, cleaning, cooking, weight and cooking time, the degrees to cook it, temperature Degrees while cooking and size, cutting it apart, and storing it. Great and Perfect Receipt!
Thank you! I’m so glad this recipe post has been helpful!
Looks Good
I love the step by step for cooking a turket, because I’m alway guessing & hoping the turkey is nice and brown & cooked all the way. I did this last turkey by your step by step way and it came out wonderfull, everyone love it It was cooked all the way and was wonderful. I couldn’t stop smiling Thank You, I will use thi step by step every time I make a turkey.
Thank you, Loretta. Happy Thanksgiving!
It shows you the best and easiest way to prepare your Turkey! To make it safe to consume. Plus the Turkey, will disappear off the plate.
Thanks for the information on patting dry the bird before using the butter,
And how to use the thermometer. I may try the brine this year
I’m directionally challenged and my first solution is to add a little of this and a little of that and assuming I GOT THIS when in fact I do not got this and never had it.
Then, I found your recipe and this will be the first turkey in 43 years….that is edible. All those poor turkeys sacrificed their life for nothing.
I am laughing out loud at your comment. Good luck with your turkey this year! I’m sure it will be a success!
This is the most thorough turkey recipe that I have ever seen ! I mean temperatures listed for every part of the turkey. Also including different cooking methods. this is Excellent !
Thank you, Marie. Happy Thanksgiving!
This is the best recipe for Turkey I’ve found! The instructions are detailed and so helpful especially if you’ve never made a Turkey before.
Thank you, Kris. Happy Thanksgiving!
This is my favorite recipe very informative. I rate this a 5 star recipe or a 10
I have been making the turkey for the last few years for the whole family. I am grateful for these ideas for the seasonings.
this was just like my mommy dinner and i miss her cooking very much i will keep this forever
I have never tried a fruit infused turkey, but come Thanksgiving I will! I will be doing a small turkey or even a turkey breast for 2 reasons. I have not had a stove for probably 8 years now. I use a hot plate, toaster oven, electric pressure cooker and air fryer. A small turkey will fit into my toaster oven and be enough for my dog and I. I really love the idea of the fruit, can’t wait to taste this. Thank you!
As always, a great, concise recipe. Turkey is pretty intimidating, but this recipe and the pictures makes cooking a turkey easy enough to prepare more than once or twice a year!
Thank you, Linda! I’m so happy it has made cooking a turkey less intimidating for you.
My husband is the Turkey King in our family. This recipe is very similar to ours and I’m sure it’s absolutely wonderful!
I could never get my turkey to brown like yours is. Thanks for the idea of drying it and putting butter on it!
Recipe was easy and my family was happy it was so moist and well seasoned.
I’m so glad you all enjoyed it. Thank you!
Last year we had a smoked turkey, it was okay. This year I am doing the traditional oven roasted turkey. My seasonings will be parsley, sage, rosemary and thyme. Thank you for the suggestions for placement of the thermometer, as I always forget.
Thos sounds yummy I might try it this year
Recipe was easy to follow and my family loves how juicy our turkey came out!
My son is making a Thanksgiving dinner for his future in-laws and I printed this information for him. He thank me and gave me a big hug. He said this will help me a great deal. So my hats off to you
Even though I consider myself a very seasoned cook, helpful reminders and different tips are always welcome. I’ve used ideas from these instructions to enhance my own roast Turkey and it came out perfect! Thank you for such attention to detail.
Going to try this this year
Looks like a good recipe.
I would covert it onto gluten dairy free and low sodium.
I was so nervous about cooking our Thanksgiving turkey for the first time, but this recipe and tutorial made it so easy. And the results were perfect–just how I wanted. I was surprised that even the gravy turned out so good. Gravy is notoriously hard for me, and it was delicious. Thank you!
We are so happy you like this gravy. We love it!
great easy directions on how to make a delicious turkey
super recipe for the turkey best all around
Roasted turkey with all the trimmings is my favorite meal. Delicious turkey is moist & savory. I love this recipe. A+A+A+
Slow roasting in the oven will always be my favorite way to make my turkey. I love the deep fried also, but the oven is so yummy!
It’s so thorough!! Every question you could ever think to ask is answered here.
I love all of your tips for roasting a turkey. I plan on brining the turkey first but roasting it in the oven. This will really come in handy for Thanksgiving and also anytime I cook a turkey.
Thank you fo this helpful information.
I’ve never cooked a turkey before. The instructions were easy to follow which is exactly what a first-timer needs. Juicy, tender and tasty.
That is a very complete and detailed account of how to cook a turkey.
It covers all the bases and answers any questions I could think of regarding picking the right size turkey, thawing the turkey, seasoning the turkey, length time cooking the turkey, and carving and serving. Can’t wait to use some of this good advice for a successful turkey dinner!
This is so helpful, beyond helpful and my favorite turkey “helper” from start to finish. Thank you!!
I love a roasted turkey for Thanksgiving and Christmas. There are only two of us so I opted to get the boneless turkey roast. I can’t wait to roast it and get that great flavor.
Happy Thanksgiving, Douglas!
This is super excellent!
I will be doing the brine turkey.
I’ll update my review.
I can’t wait to try it!
In fact, I will be trying all the recipes
Though out 2024! We have a whole turkey every three months!
This recipe looks fantastic and will try.
Brining is the key! TY. Turkey carving section helpful
Yep, this articles just confirms the steps we learned from Mom on roasting a turkey for any occasion. Just a slightly different carving procedure which will be tried this year for the breast meat.
Thanks and looking forward to more recipes and guides.
I love this recipe! so close to my mom’s
This turkey is the best!
I will let you know how it comes out. Thinking about making a brine and bought a injector pump, but would like direction and what to pump in it. any ideas would be grateful.
Many thanks.
Frank
This looks delicious!! I would certainly attempt it after reading this post on website.
I’m going to do this method , but I’m scared that taking the foil off after only 1 hour will dry the turkey . I would think only 1 -2 hours unfoiled …Please assure me that the turkey will not dry out with 3-3.5 hours uncovered …!
It won’t dry out. The turkey skin will hold in the moisture. You’ve got this! 🙂
Thanks for the recipe! I’m going to use it this week. Can I use fresh herbs?
Of course! Fresh herbs will taste great!
My mom always cooked the holiday dinners! I was to lazy to learn, so I’m glad u posted this recipe, thank you!
I love the idea of using foil for moisture! I’m going to use this recipe this year! Would you still brine the turkey?
We don’t brine our turkey. You can, but we think this recipe turns out really well without brining.
best explained directions I’ve found looking forward to a great turkey
Looks divine and simple to make with the guidelines given of ingredients and step by step cooking.
Wow 😘 very delicious and easy to make,I recommend 5star . Thanks 👍 and looking for many more recipes
This is how a turkey should be cooked. Great recipe.
Thanks for the great tip on cooking a turkey, I always went be what the instructions said. Happy Thanksgiving to you and your family.
This recipe looks very easy and delicious
I will be making this gravy for Thanksgiving. It is simple to make and sounds delicious.
I like the fact that the information is so complete that even a beginning Thanksgiving turkey cooker could complete the cooking of their turkey like a pro!
I showed this recipe to my sister and we are so excited to try it. Your recipes are always delicious!
Thank you, Natalie! You will love this easy to follow, and very delicious, turkey recipe!
I did this last year and everyone said it was the best turkey they’ve had! And it was really easier than I was previously doing! Highly recommend!
The steps make it a fool proof easy way to cook a turkey
Looks really good I will definitely try this!
Sounds delicious. Trying it for sure.
These tips are so helpful! The details for all the steps make the process so much less intimidating! Thank you for being so thorough for beginners like me! Definitely saving this post! This turkey looks delicious!
I usually don’t make turkey because it is always dry. I am going to try this recipe. It looks very appealing.
Cannot wait to try this
I normally smoke my turkey but we might give this a try this year it looks good enough to eat off the page
will sure be trying this !!!
Appreciate the way this recipe is laid out, added benefits is the reference used to brining by USDA. Step by step instructions along with times is very helpful. Actually removing certain steps will save time with unnecessary preparations. Very good recipe like the herbs that used a Turkey winner for sure.
I love simple and straight forward recipes, one cannot make a mistake. This is my all time favorite recipe for making a juicy delicious turkey every time. Thank you
This is an excellent recipe with the perfect amount of herbs. The instructions will walk you through it whether you are a beginner or experienced! I’ve seen all sorts of “gourmet” turkey recipes but this one is an all round winner!
I am glad to hear that I don’t have to brine the turkey or have lots of extra steps. I will try this out on Sunday for a preThanksgiving feast.
I think I’ve actually commented on the Thanksgiving recipes before (and I NEVER leave comments) but I seriously have to say (again) that I feel like my family and I are pretty expended in the kitchen and make some good food, but when I discovered your Thanksgiving recipes it changed our whole holiday… for the better! This turkey is so flavorful and moist. It’s truly the best turkey EVER and the ONLY way I do my turkey now.
This is a pretty good way to cook a turkey but the way I do it by bar b que one the past 30 years is a sure thing. My family will not have any body do any thing else but have me cook the turkey.
I’m not a huge turkey fan, but this sounds delicious!
I just love all the wonderful tips and tricks on how to cook a turkey. It was delicious and will be my go to recipe from now on. It was a big hit with my family! Thanks so much!!!
Your directions are spot on! I’ve got a lot of family to cook for and I assure you the turkey is the first thing to go! Happy Thanksgiving, and just a note to all your followers, turkey isn’t just for Thanksgiving, it’s delish, cook it more !
I love that this recipe skips the brining step.
Good directions and advice
Good directions and advice
Excellent info! Thanl you!
As a person who cooks a turkey once a year this step by step guide helps me look like a very accomplished cook, thank you!
Super easy and yummy recipe😍
the PERFECT turkey recipe! I have followed your recipe for several years in row! Thank you!!
Great recipe with details.
Loving the recipe! Thank you so much for the great idea. I don’t do a lot of Turkey’s and always on the look out for new ways to cook a good turkey and gravy. It looks great!
Concise directions and tips for the perfect turkey! Always good to have printed notes (or on phone) on hand to make sure the turkey is perfect!
I’ve been cooking Thanksgiving for years but this makes a great reference. I’ll use it from now on!
Thank you!
Great Recipe
This is the best Turkey…moist and flavorful. Details were easy to follow too.
What a plethora of good information! Although I have been cooking turkey dinners for over 40 years, this gentle reminder of how long, dressed and undressed, gravy reminders were fabulous!
I am going to laminate this, so I have a quick reference. Thanks so much.
GREAT recipe! Thank you so much!!
Love the thawing chart, I’ve never seen that before. To me after the thawing its really all down hill. After 35 years I have never had a turkey that wasn’t devoured ! Don’t panic all you first time cooks but please share your experience with the next generation !
First time making a Turkey and this has helped me tremendously! Can’t wait to eat!!
Sounds yummy. Going to try this Thanksgiving.
Sounds like a delicious recipe!
I love this turkey recipe! The flavors go so well together and it is simple. Win-win!
Every year I search the web for help with roasting my turkey. This recipe/article is the most comprehensive one I’ve ever gotten detailing everything I need to know. This will definitely be my go to from now on. No need to look any further.
I love how you give & show step-by-step pictures on how to do the turkey properly & have a great turkey!
This made everything so easy! The Turkey came out perfectly!!
This post was so helpful and helped me make the most delicious Turkey. Thank you!!!
This year is going to be my first Turkey!!! and I’m absolutely fascinated with all these tips, I was afraid to leave my Turkey dry, but I’ll follow all these tips to rock it. Love the way she explained !! Very detailed ! Thank you so muchhh!!! ❤️❤️
When there is so much to prepare for while hosting Thanksgiving this is beyond helpful! This really eased my mind while planning out my day of cooking!
A very detailed guide. Came out perfectly!
Thank you for such a detailed recipe! I can’t wait to try it!
Thanks for these detailed tips and tricks! I’ve been nervous to try and cook turkey before because it seems so intimidating. But with your instructions and photos I feel ready to take it on!! Thanks.
I made your turkey recipe for Thanksgiving and my family has requested it again for Christmas! Thanks for the fabulous recipe with all the tips!!
Absolutely the best turkey I have ever made!! I also made the mashed potatoes and gravy(to die for!) which was outstanding. Too bad it was just my husband and myself, due to the pandemic. Next year the gang will all be together and I will recreate the meal. Thank you for these terrific recipes!
I forgot to give it a rating. I give it a 10!!
Thank you so much! We are so glad you enjoyed it!
My turkey came out really moist and it taste great.
My Turkey was amazing!! Thanks for the low and slow advice! Yum!
Hello. This is essentially the same way I’ve always done it, EXCEPT that I keep the neck and giblets, cut up what’s able to be cut up (heart, liver, etc.), put all of them into a pan of water with whatever herbs I have on hand, let it simmer on the back burner while the bird cooks, and then, instead of the “gravy packet”, which I’m sure all but us old birds prefer, I use the cornstarch/water/butter method except that the “water” is the water used to cook the giblets. Though I don’t particularly care to eat organs or any pieces thereof, all of my family love the little bits IN the gravy. And, I make about a ton of stuffing which includes chestnuts, apples, celery, onion, spices and herbs, several different kinds of bread stuffs (bagels, white and wheat bread, brioche, again, whatever I have on hand. And of course cook it IN the bird as well as a separate pan. They come out very different. Just a thought. Shari
Thank you so much for sharing your methods! Sounds delicious!
I have this book marked for the big day, which is coming up so fast! Can’t wait to have a very small gathering this year!
The perfect guide to cook a turkey. Bookmarked in case I need it!
Such great tips for making a great turkey! Perfect for Thanksgiving!
With a big extended family, I almost never get turkey duty, so in the years that I do, it always feels a little daunting as I try to remember how I’d pulled it off last time around. Thank you so much for the concise steps and handy tips … just in time for me to start thinking about THIS year’s bird! 😉
I love these killer tips — especially the cook times per pound because I feel like I always screw this up. Can’t wait to put these tips to action in a few short weeks!
This is really helpful! Thank you so much for the tips!
Great information here! Thanks for sharing!
Thanks so much for all the detailed tips! With the holiday season coming up, this will definitely come in handy, so I really appreciate the resource.
I so need this! I have struggled over the years cooking a turkey. Always too dry but still cold on the outside! lol! Thank you, I’ll be using this guide for thanksgiving!
I am hosting Thanksgiving this year, so I can’t wait to use these tips to make the perfect turkey!
This is the second year I’ve used your recipe at Thanksgiving and it’s amazing! Love it!! Great instructions.
Can I use fresh herbs? How would I adjust the amounts?
Yes you can! The ratio is 1 tsp of dried herbs = 1 tbs of fresh herbs. Dried herbs are more concentrated so you have to use more fresh herbs to match the flavors.
This is my first year ever cooking a turkey or hosting thanksgiving for my family. I was super super intimidated about cooking one. I plan on using this recipe for the turkey and my mind is already a little at ease. Thanks!
If I have a wire rack that the turkey sits on. Can I stuff the turkey with the veggies instead ?
We haven’t tried it that way before, but I don’t see why not. Let us know how it goes if you try it!
Thank you for this! I have always been so intimidated by cooking a turkey, but this really helped. Thanks for sharing!
Hi, I’m going to use your recipe for how to cook a turkey this Thanksgiving. In the ingredients it calls for 1 cup of chicken broth but doesn’t explain how to use it. Do you just put that in the bottom of the roasting pan? Also, my grandson is allergic to milk products so I can’t use butter. Could I use oil or something else or would it change the recipe to much? I have been using your Easy Butter & Herb turkey recipe for a few years. I’ve never actually used a roasting pan like this so I’m a little nervous. Also, do you prefer this method over your Easy Butter & Herb recipe?
Thanks for catching the part about the chicken broth! I have updated the recipe – basically you just pour the chicken broth into the bottom of the pan to create more moisture for the turkey. For a butter substitute, you could use margarine or olive oil, but maybe about half the amount. You can also baste the turkey while cooking instead of adding the butter to lock in the moisture. As far as which recipe we like better – the Easy Butter & Herb Turkey is definitely more focused on the herb flavoring and this turkey recipe is more about the flavor of the turkey. It is totally up to you and your preferences! I hope this helps! Let us know how it turns out!