We may earn a commission when you click on the affiliate links in this post.
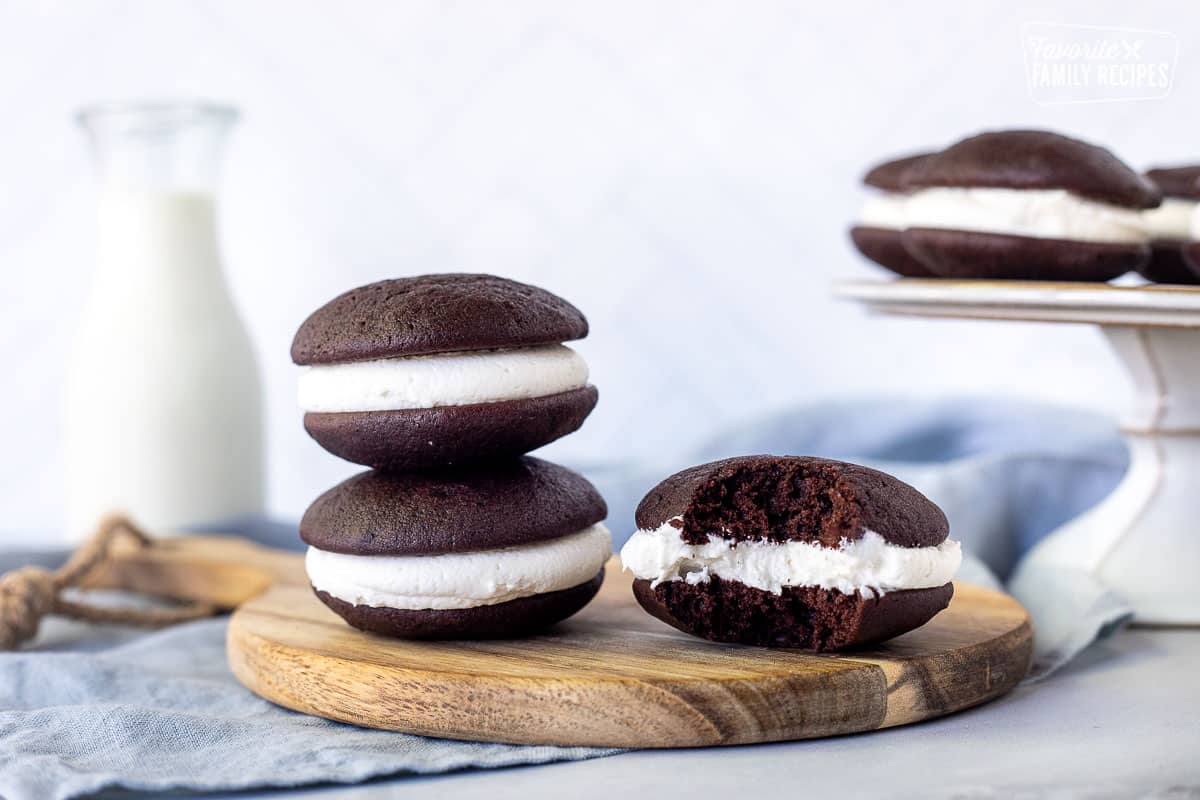
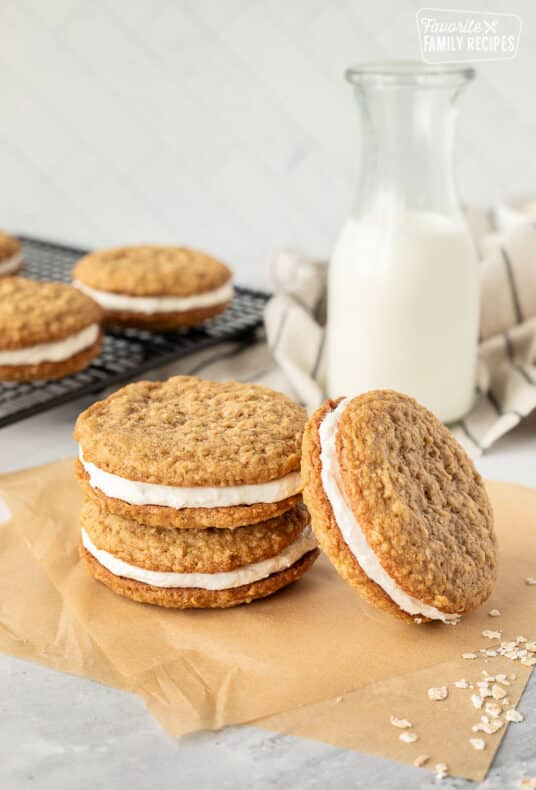
Sometimes there’s nothing better than homemade whoopie pies. These rich, spongy, cake-y sandwich cookies are always at the top of my kids’ list!
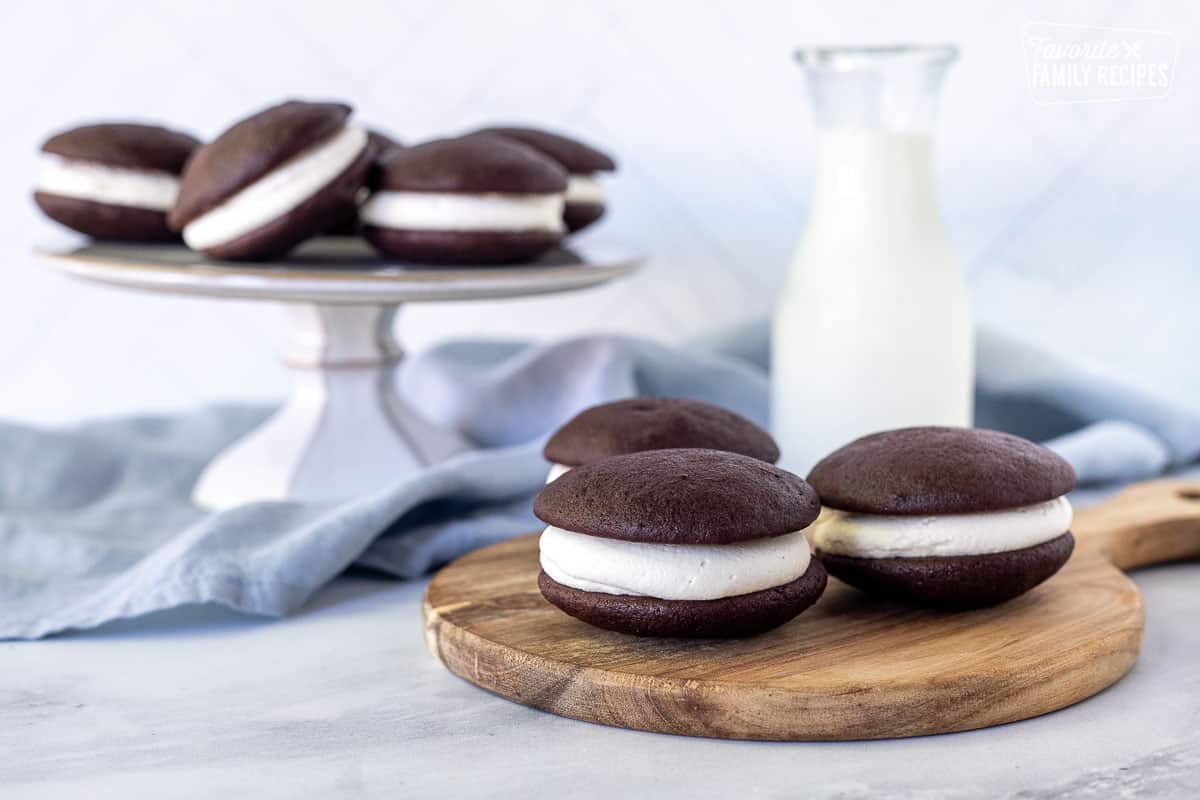
Table of Contents
These popular pop-able cake-like sandwich cookies are always a hit at our house. They are called “Whoopie” pies because they are so delicious you shout “Whoopie!” but they can just as easily be called “Yay! Mom made our favorite cookies” or “These are the BEST! Thanks Mom” cookies. They are the perfect cookies for picnics, lunch boxes, a day at the lake, a fun dessert, or even just a sweet treat for lazy afternoons.
What is a Whoopie Pie?
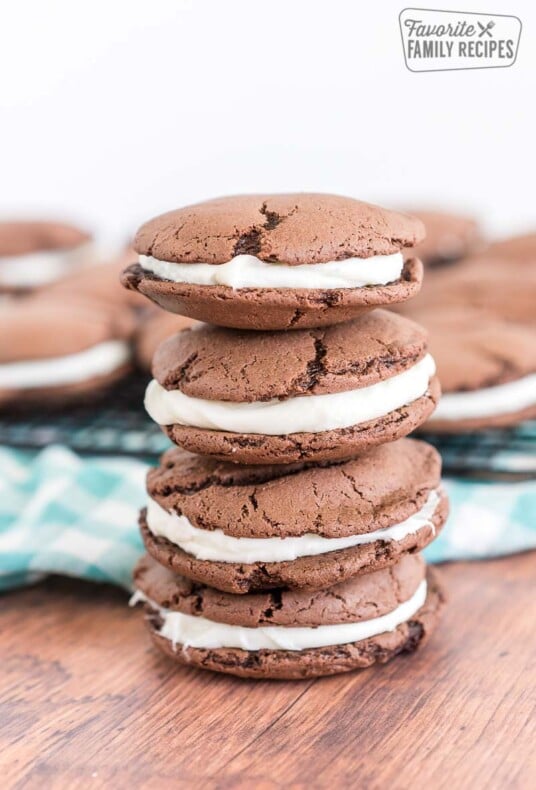
A Whoopie Pie is like a magical, spongy, miniature cake with a sweet, soft center. It’s made of two halves, like a sandwich, with a yummy, creamy marshmallow frosting filling in the middle. When you take a bite, it’s like a party in your mouth with all the delicious flavors coming together. It is a classic American cookie that originated in New England, most likely by the Amish in Pennsylvania (the exact origination is a hot debate). Depending on where you are from, they can also be called “gobs” or “hucklebucks”. No matter where they came from or what people may call them, everyone can agree they are like little chocolate-y, pillowy bites of heaven.
Ingredients in Whoopie Pies
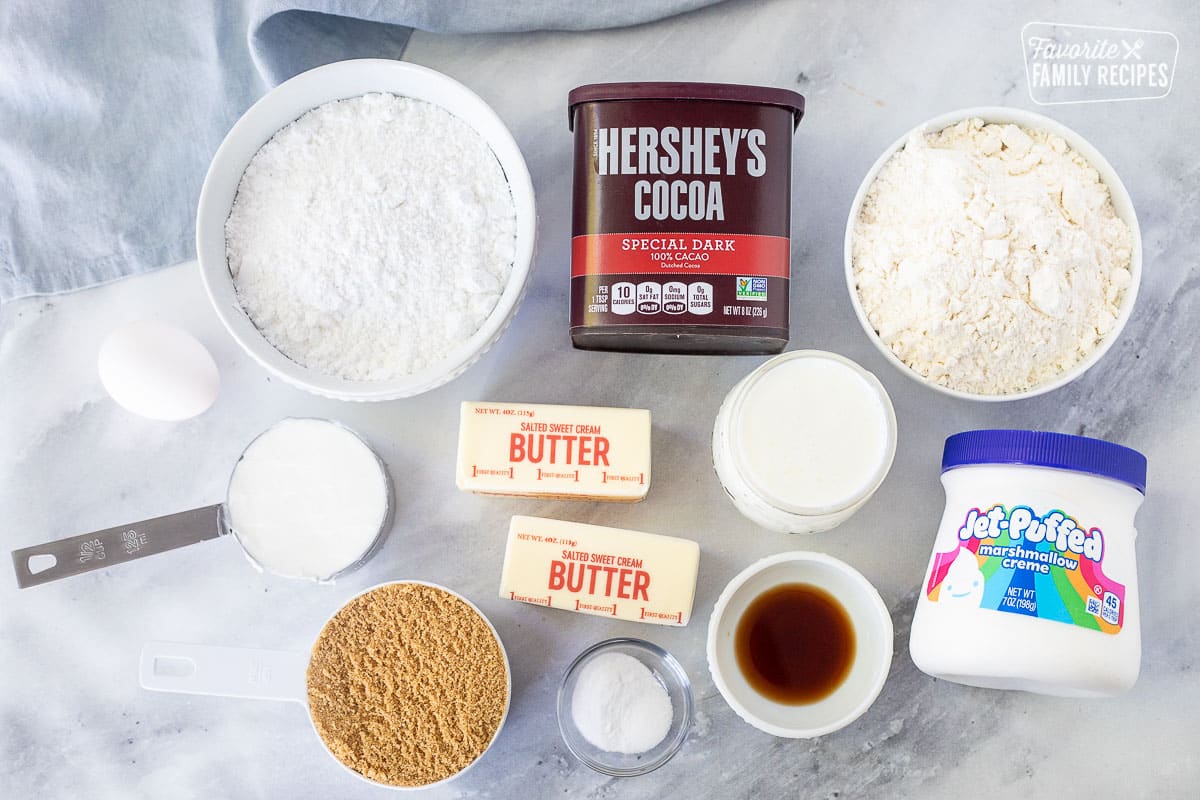
Though some Whoopie Pie recipes call for a box cake (much like our homemade Oreos recipe), we have found that to get that perfect, spongy cookie, you need to make the cookies from scratch. For the cream filling you can use marshmallow creme (also known as marshmallow fluff) on its own but we like it best whipping it up into a frosting that holds its shape better. Ingredients for both the cake-like cookies and the center filling are easy to find. Here’s what you need to make whoopie pies:
For the Cookies
The ingredients for these cookies are much like any other cake-like cookies. The ingredients are pretty basic and can be found at most stores. Here’s a list of ingredients for the cookies:
- all-purpose flour (you can also use cake flour)
- dark cocoa powder dutch processed (sifted)
- baking soda
- salt
- brown sugar packed
- butter room temperature
- egg
- buttermilk
- vanilla extract
Like any baking recipe, we can’t guarantee the results will be the same if any of these ingredients are left out or substituted for other ingredients. For the best results, stick to the exact ingredients and measurements.
Whoopie Pie Cream Filling
The marshmallow cream frosting for this whoopie pie recipe is out-of-this-world delicious. It is soft, delicate, and fluffy, but will keep its shape. It doesn’t set like a traditional buttercream frosting or cream cheese frosting. It’s light yet sturdy if that makes sense. And it tastes oh so good! It is the perfect filling for these cookies. You are going to love it! There aren’t any complicated ingredients so most can be found at your local grocery store. Here’s what you need:
- butter (room temperature)
- shortening
- marshmallow fluff
- powdered sugar
- vanilla (try it with our homemade vanilla extract recipe!)
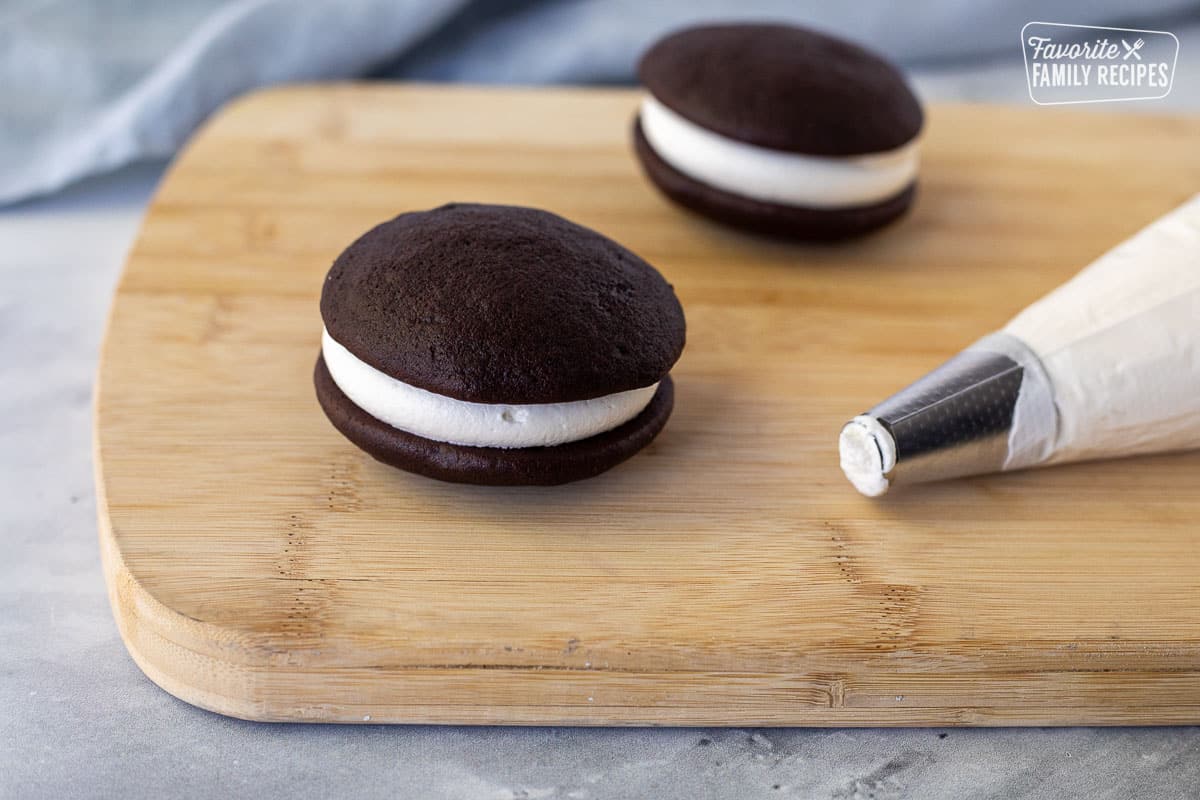
Pro Tip: Use a Piping Bag
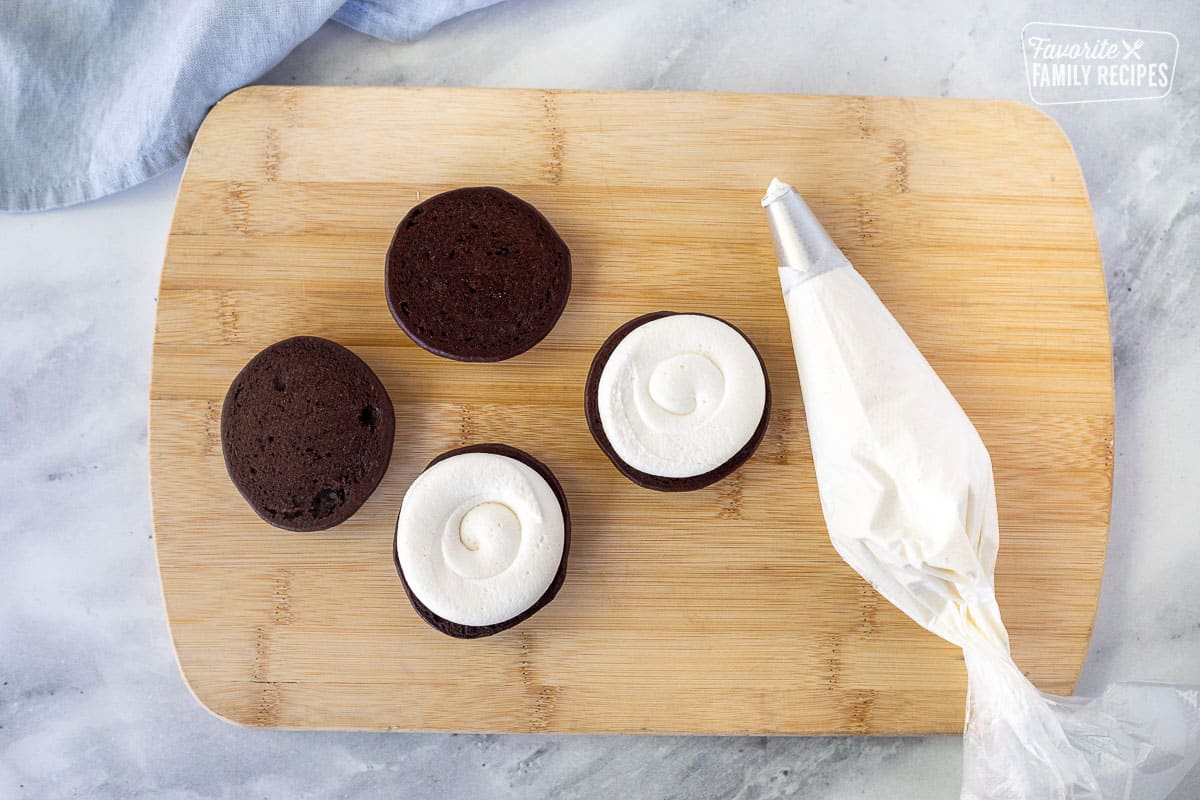
Using a piping bag gives the cream frosting that perfect, soft pillow-y look. Spreading the frosting between the cookies with a spreader or knife gives the center more of a flat look. I used a piping bag with a large round tip to fill the centers, but a ziplock bag cut on the corner works great for filling too. Using a piping bag may seem like a little more work up front but it actually saves time. Once you start piping, it goes by quickly and you can do a lot at once. Spreading the frosting on each one takes a bit more time and doesn’t look as fun. (in my honest opinion).
Tips for Making Whoopie Pies
- Use Cold or Cool Ingredients – Do not use melted butter in this recipe, I used the buttermilk and egg cold from the refrigerator and the butter was at a cool room temp. The cake-like cookie will not set up if the butter is too soft.
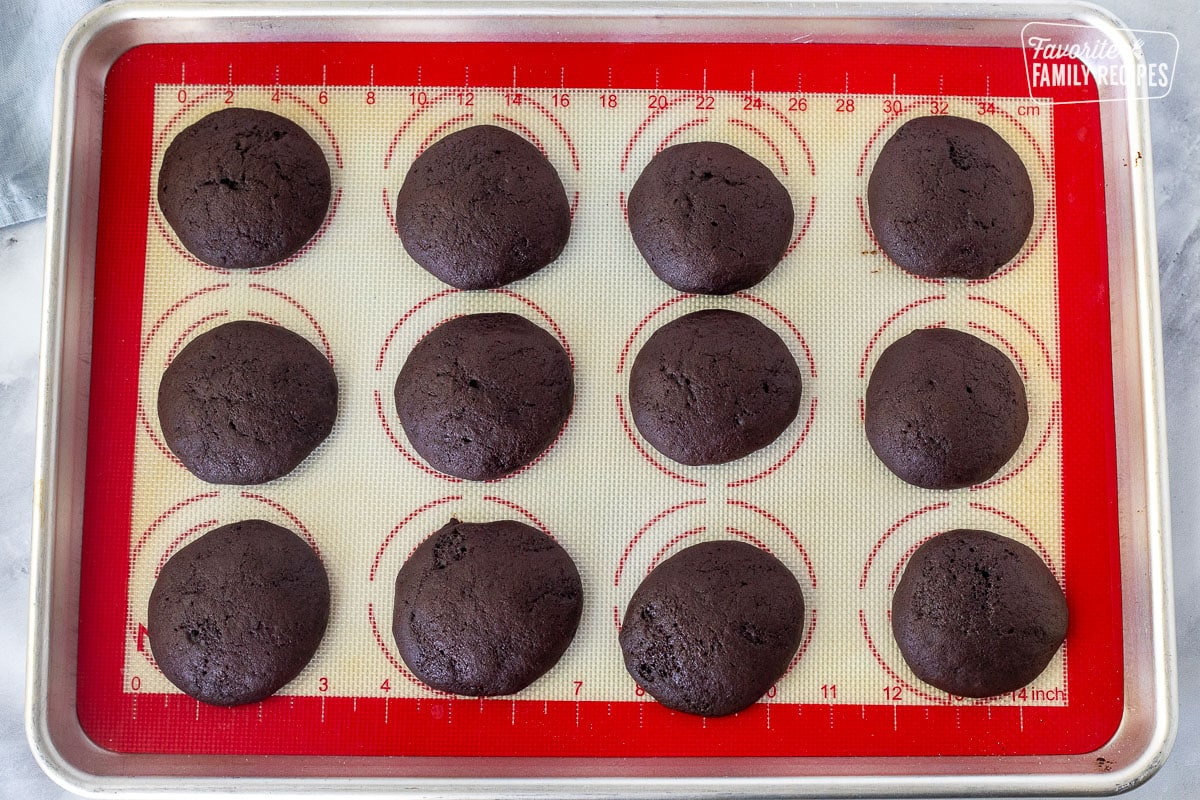
- Fully Bake – Do not underbake the cake like cookies. They will deflate, become sticky and hard to handle.
- Buttermilk Only – Buttermilk is a must for this recipe. You can make your own buttermilk if needed by adding 1 tablespoon of white vinegar or lemon juice to a liquid measuring cup. Then add enough whole milk to the same measuring cup until it reaches 1 cup. Stir it around and let sit for 5 minutes. This homemade version of buttermilk will be somewhat curdled and ready to use in the recipe.
- Dark Dutch Cocoa – Dutch processed cocoa is a dark cocoa and gives it a deeper brown color. Dark cocoa also has a richer chocolate flavor. You can use regular unsweetened cocoa, but the color of the finished Whoopie Pies will be a lighter brown color and not as chocolatey.
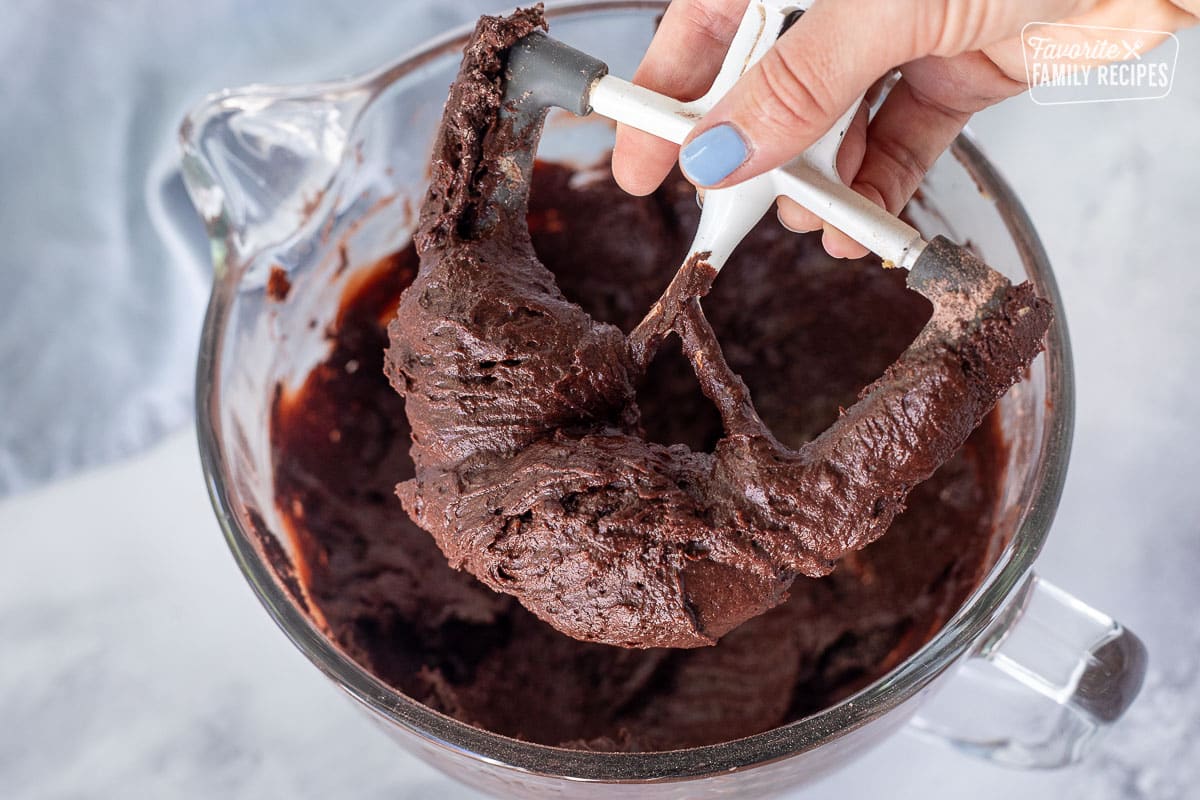
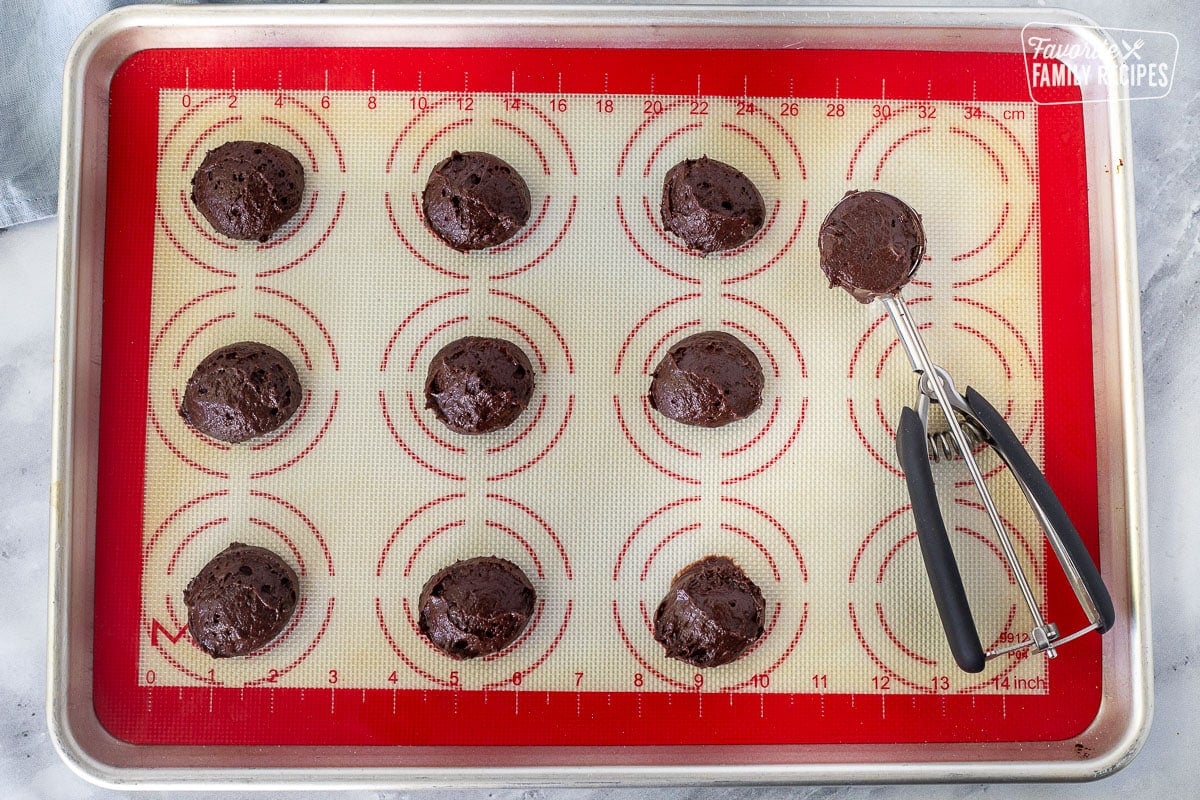
- Get the Right Consistency – The dough for these cookies is closer to a thick cake batter than a typical cookie dough. The mixture should be slightly sticky but also hold its shape when scooped onto a baking sheet. Use a cookie scoop for easier handling.
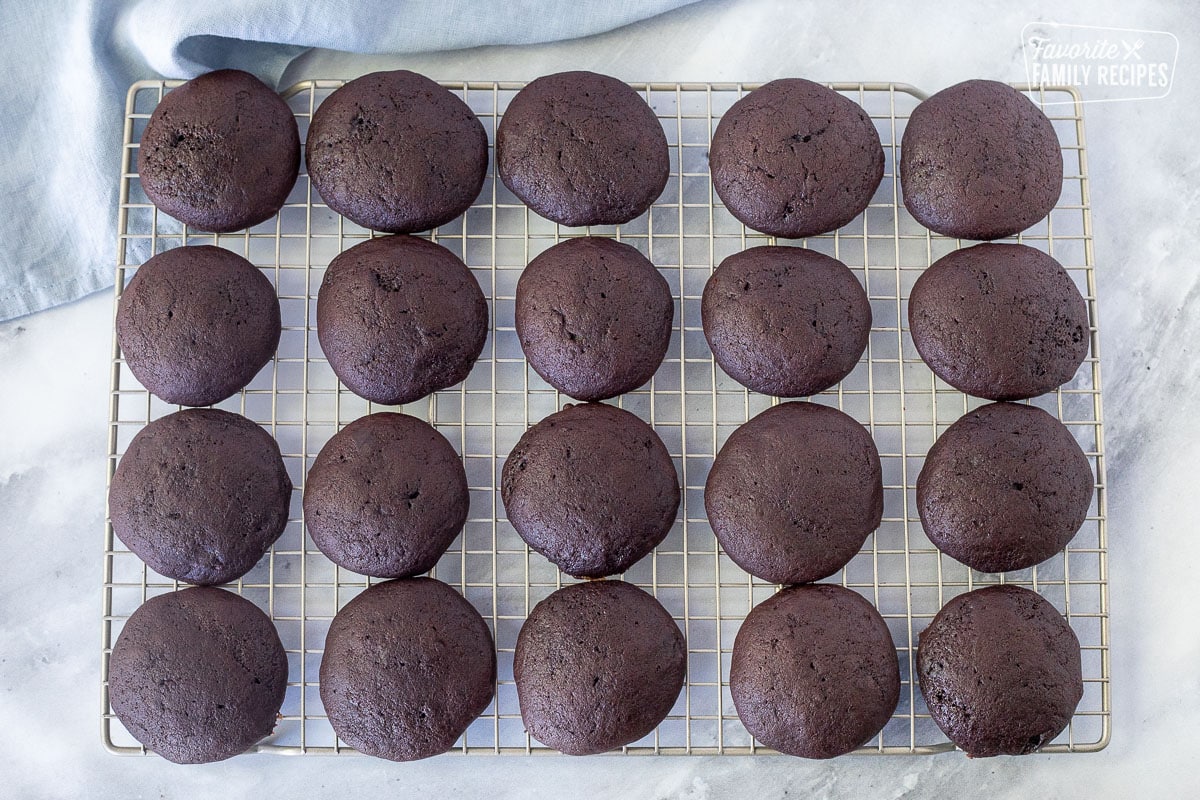
- Let it Cool – Allow the cookies to cool and set on a wire rack before adding filling.
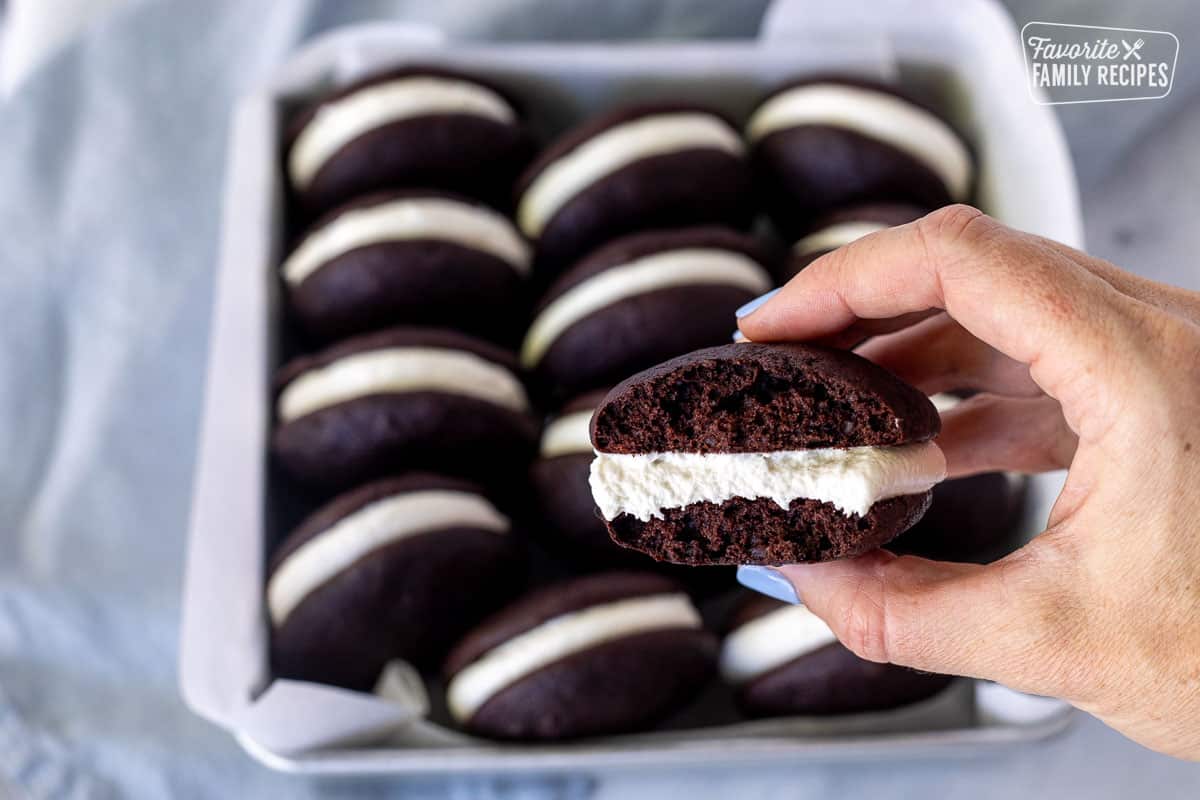
Fun Filling Variations
- Marshmallow Fluff Filling: If you want to keep it simple, you can opt for a pure marshmallow fluff filling. Just take the marshmallow fluff straight from the container and spread or pipe it onto the cookies.
- Chocolate Buttercream: For a rich and indulgent option, you can use a chocolate buttercream filling. It adds a smooth, chocolatey layer to your Whoopie Pies.
- Cream Cheese Filling: A cream cheese frosting filling is a popular choice that adds a creamy, slightly tangy contrast to the chocolatey cakes. You can sweeten it to your liking.
- Peanut Butter Filling: If you love the combination of chocolate and peanut butter, try adding a scoop of peanut butter to your filling.
- Mint Chocolate Filling: Add a drop of mint extract to your filling for a cool, minty flavor that pairs well with the chocolate cakes. Add a little green food coloring to give it a minty look.
- Coconut Cream Filling: Mix in some coconut extract and some shredded coconut into your filling for a tropical twist that pairs nicely with chocolate.
- Nutella Filling: If you’re a fan of Nutella, you can create a creamy filling using Nutella or a Nutella-flavored cream.
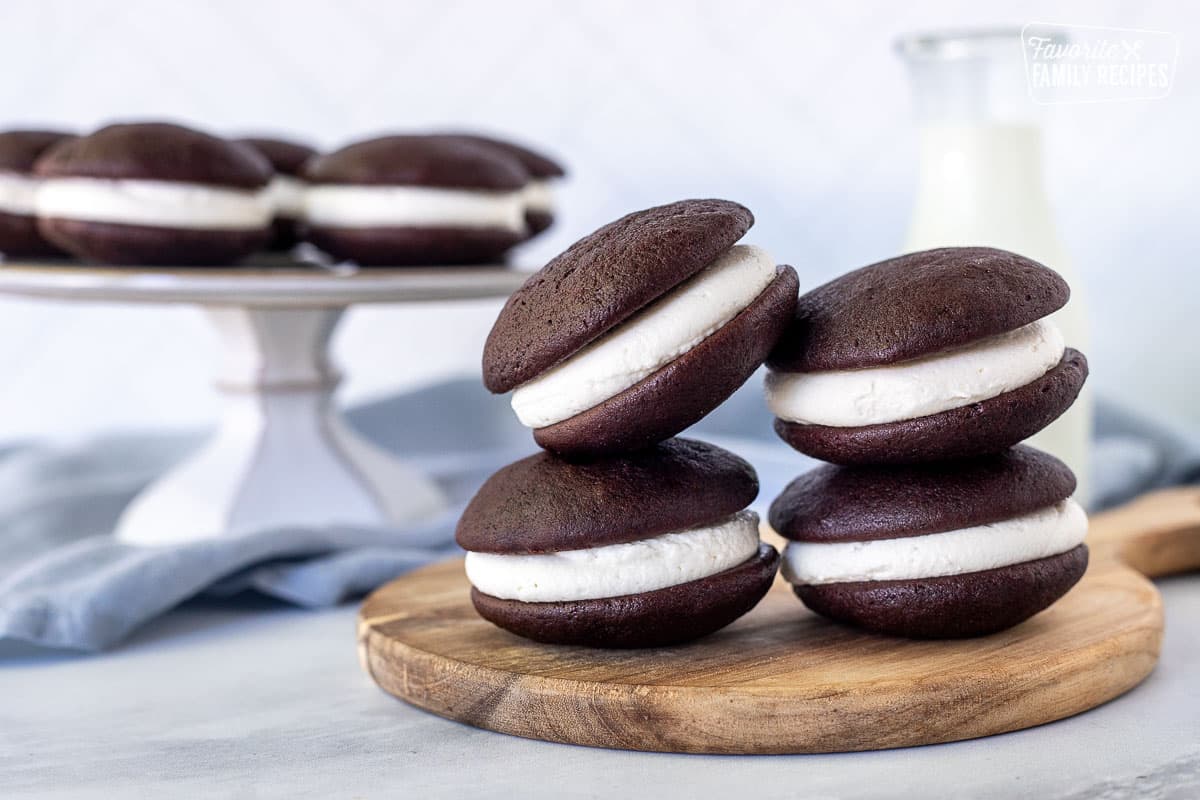
How to Store Whoopie Pies
For maximum freshness, enjoy your homemade whoopie pies within 1-2 days. You can keep them at room temperature in an airtight container or wrapped in plastic on a plate. If you want to store them for a bit longer or if they have a filling like cream cheese that can go bad, it’s better to keep them in the fridge. Just put them in an airtight container or wrap them in plastic wrap, and they should stay fresh for about a week. For the longest storage, you can freeze them by wrapping each one in plastic and then putting them in an airtight container or freezer bag. They can stay good for up to 2-3 months in the freezer. When you’re ready to enjoy them, just move them to the fridge for a few hours to thaw before eating (I actually like eating them when they are frozen too, so either way works).
More Sandwich Cookie Recipes
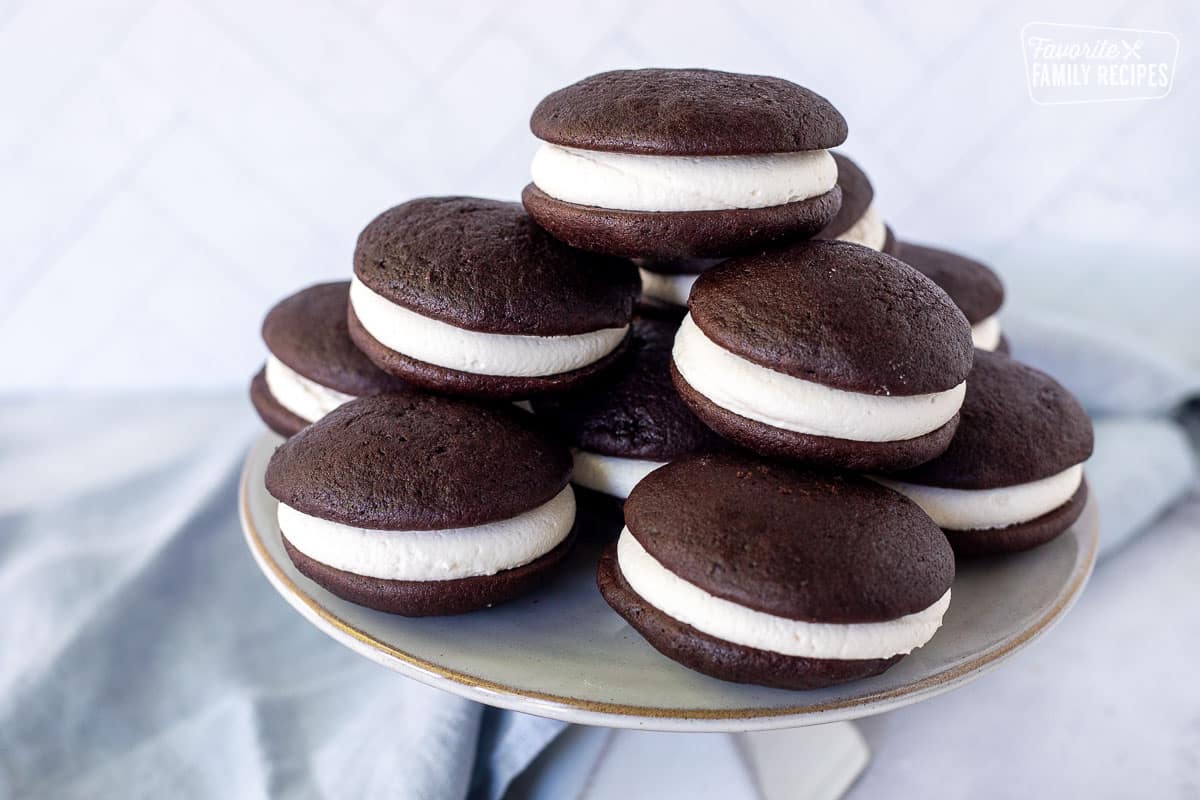
How to Make Whoopie Pies
Whoopie Pies
Ingredients
- 2 cups flour
- 1/2 cup dark cocoa powder dutch processed (sifted)
- 1 teaspoon baking soda
- 1/2 teaspoon salt
- 1 cup brown sugar packed
- 1/2 cup butter room temperature
- 1 egg
- 1 cup buttermilk
- 1 1/2 teaspoons vanilla extract
For the Filling
- 1/2 cup butter room temperature
- 1/2 cup shortening
- 7 ounces marshmallow fluff
- 2 1/2 cups powdered sugar
- 1 teaspoon vanilla
Instructions
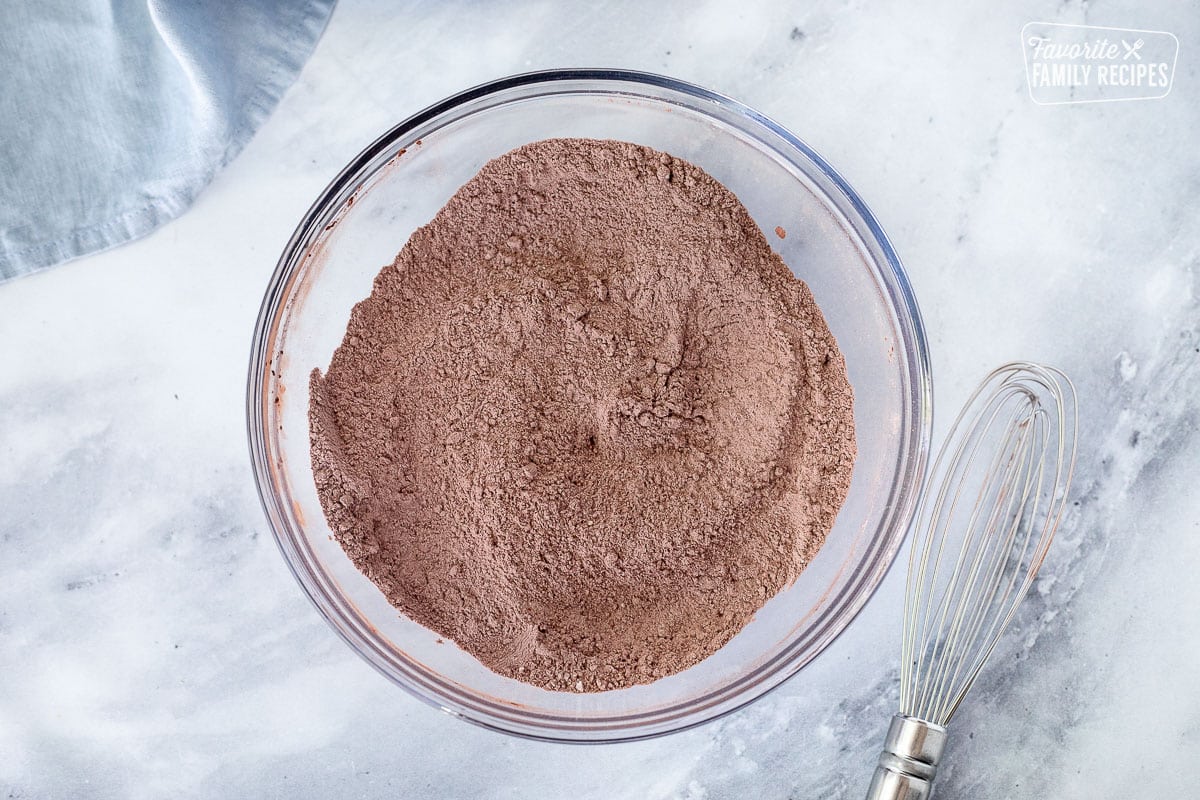
- Preheat the oven to 350°F. Line two large baking sheets silicone baking mats or parchment paper. Set aside.In a bowl, whisk the flour, cocoa powder, baking soda and salt together. Set aside.
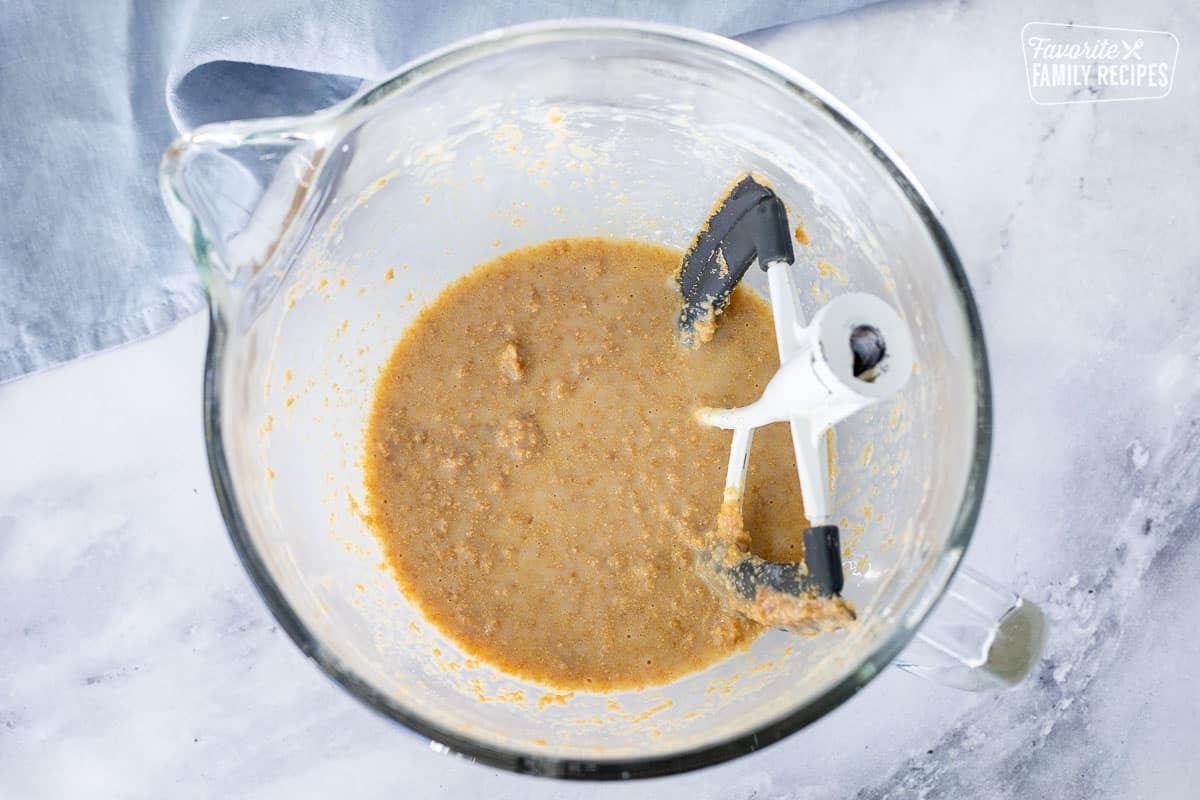
- In a large bowl using a hand-held or stand mixer fitted with a paddle attachment, beat the butter and brown sugar together until smooth and creamy. Add egg and beat until combined. Scrape down the sides and bottom of the bowl as needed. Beat in the vanilla and buttermilk.
- On low speed, slowly mix the dry ingredients into the wet ingredients until combined.
- Scoop or spoon rounded mounds of batter, about 1 ½ Tablespoons each, onto prepared baking sheets, no more than 12 per baking sheet. Make sure to leave about 3 inches space between because they will spread.
- Bake the cookies for 10-12 minutes or until centers appear set. Let them sit on the baking sheet for 5 minutes before removing and cooling the rest of the way on a cooling rack.
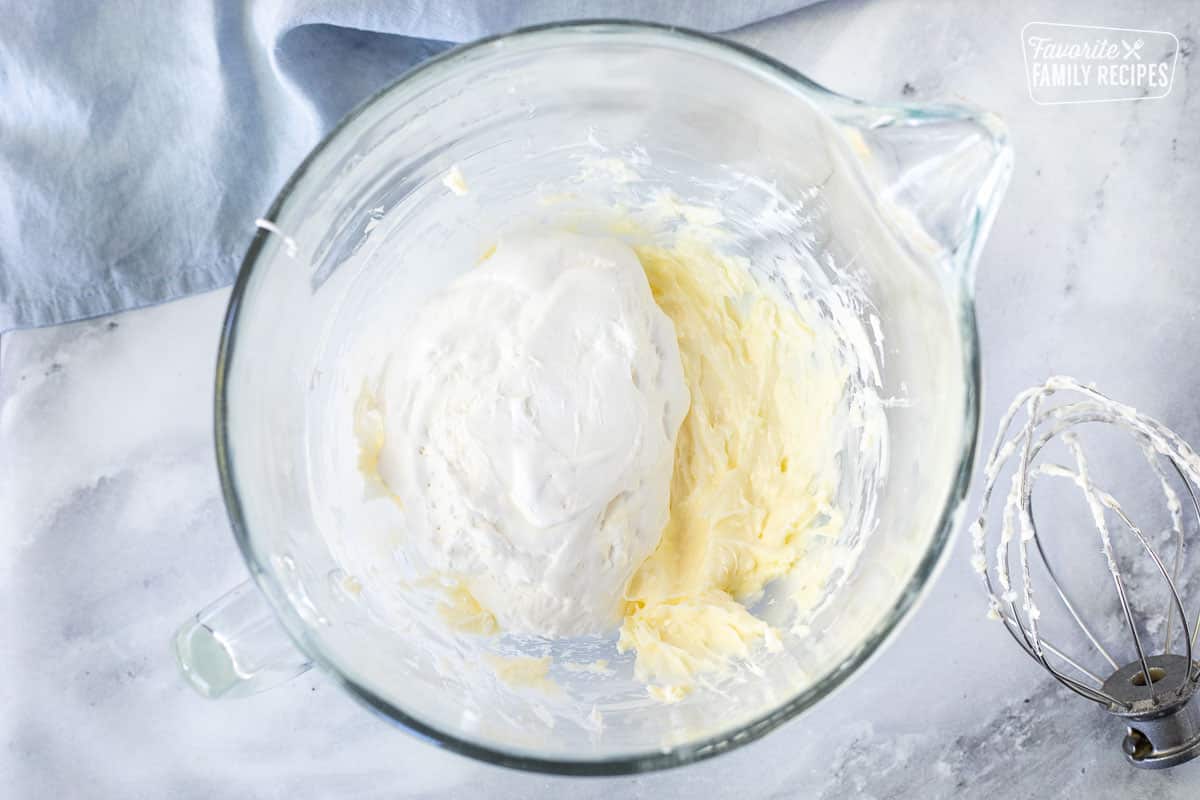
- Using an electric mixer, beat the butter and shortening together for 1 minute on high speed until smooth and creamy. Add the marshmallow creme and mix on medium speed until combined.
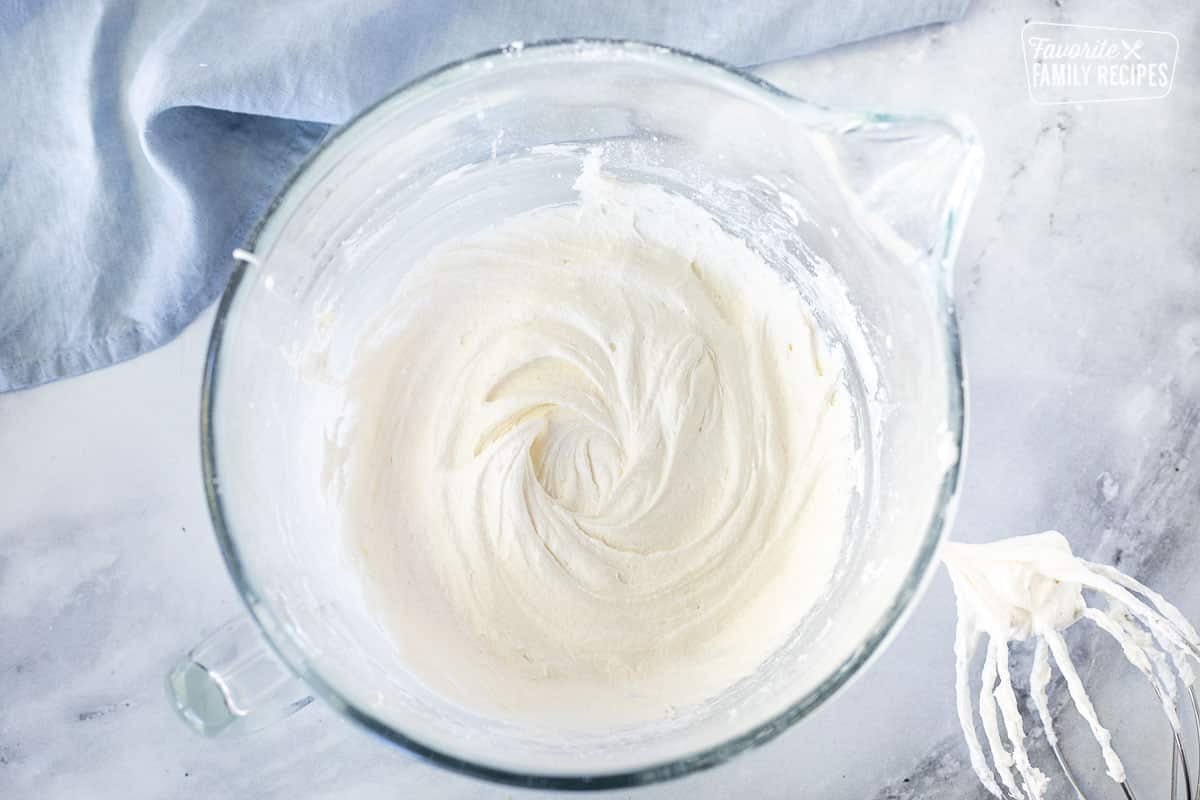
- Add the powdered sugar (confectioners’ sugar) and vanilla and beat on medium-high speed until combined and creamy.
- Pair the cookies up based on their size. Pipe or spread the marshmallow filling onto the flat side of one cookie and sandwich with the other. Repeat with remaining.
- Cover leftover whoopie pies and store in the refrigerator for up to 1 week. Place wax or parchment paper between if you stack them.
Delicious!! I made a double batch because everyone wanted more!! The cake is moist and the filling is tasty and doesn’t ooze out. They are even better when frozen. I will definitely be keeping this recipe. Thank you.
So glad this was a hit for you! We love freezing them too, so good for picnics and camping trips!