Favorite Family Recipes
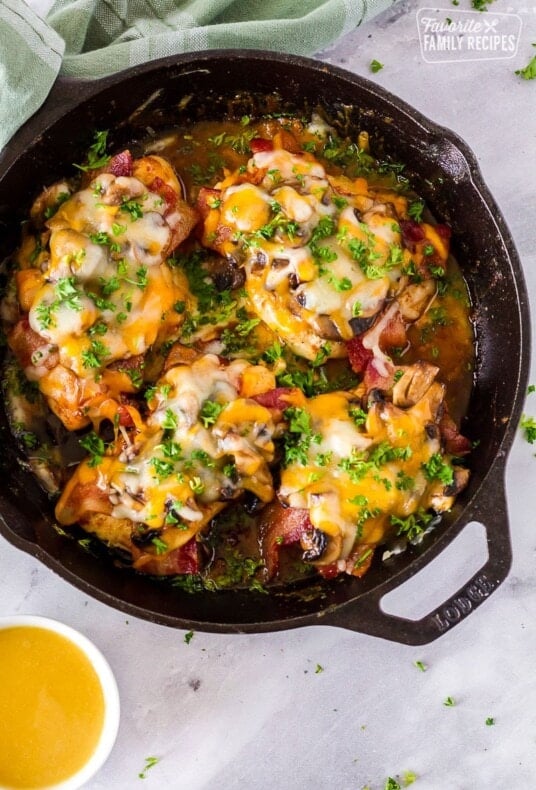
Easy Dinner Ideas
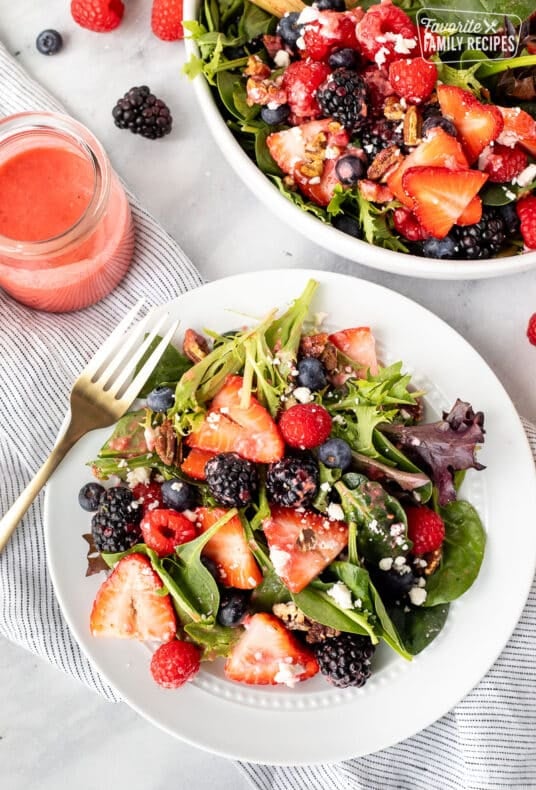
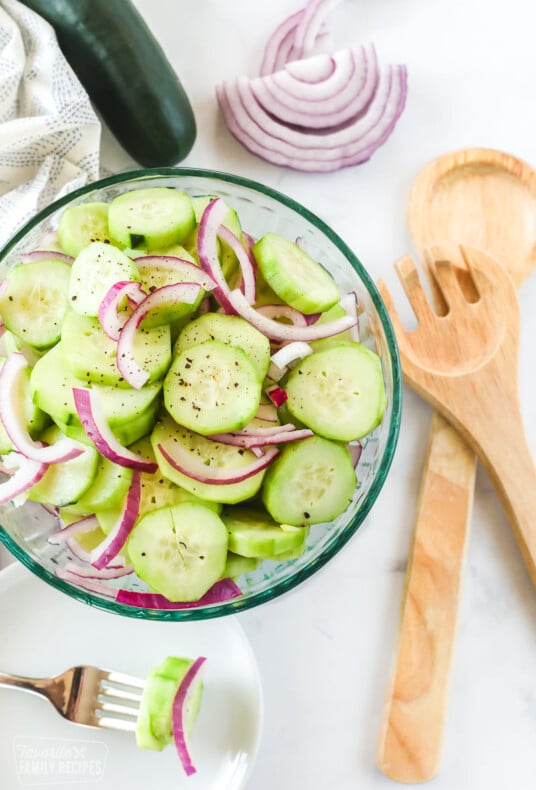
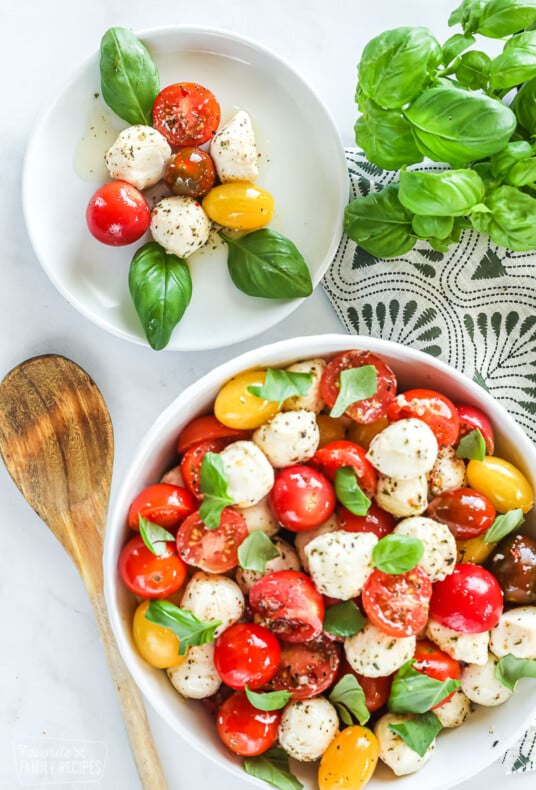
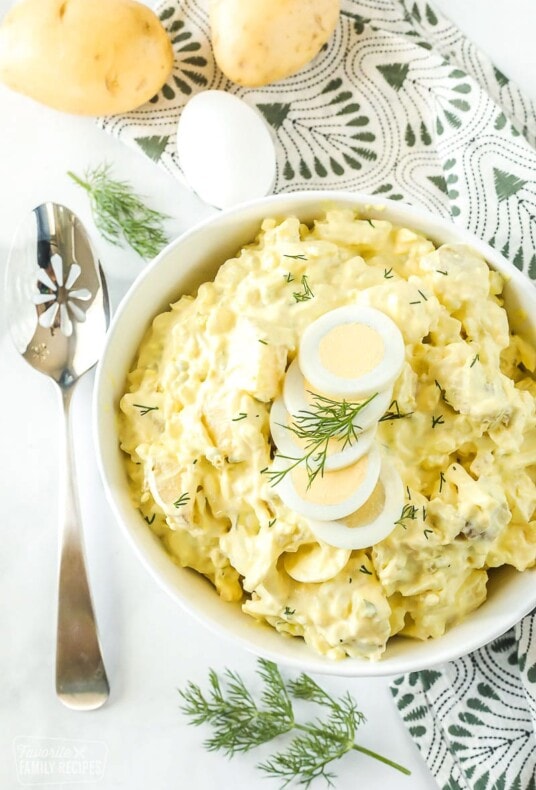
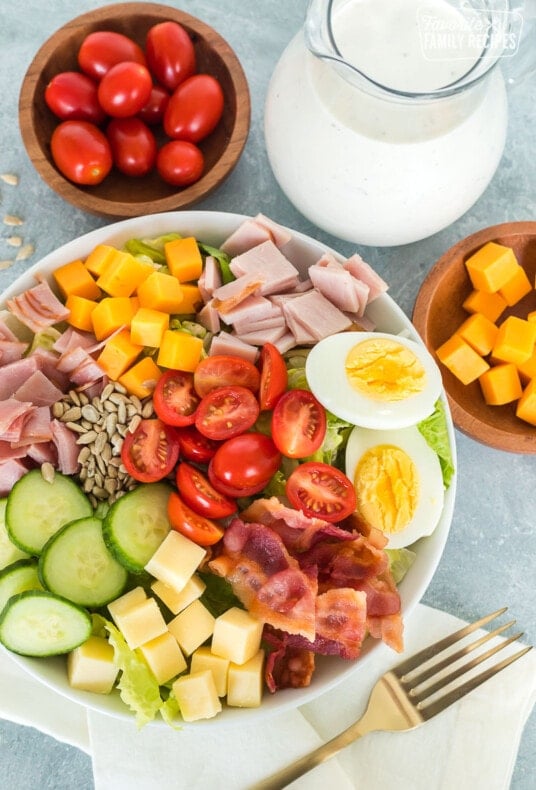
Spring Salads
Latest Recipes
About Us

Since 2007, our family has been dishing out tried and true recipes for classic, home-cooked food online. We’re your place for more than 1,000 actionable, traditional recipes to serve and celebrate your friends and family.
Popular Recipes

Copycat Recipes
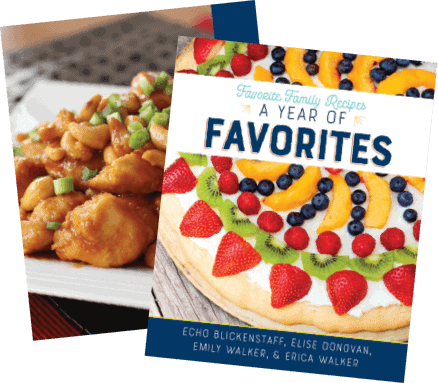
Cookbook
A Year of Favorites
This cookbook was created to share our favorite family recipes for each month of the year — recipes we prepare for our families when we gather and spend time together.


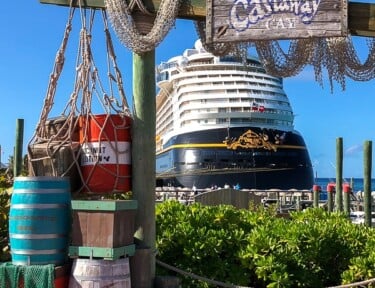
How to Do Disney
Check out our latest promotions for vacations and Disneyland discounts from Get Away Today! And get an extra discount with our Promo Code: FAVORITE


Featured In